Search the Community
Showing results for tags 'junghans 93/1'.
Found 1 result
-
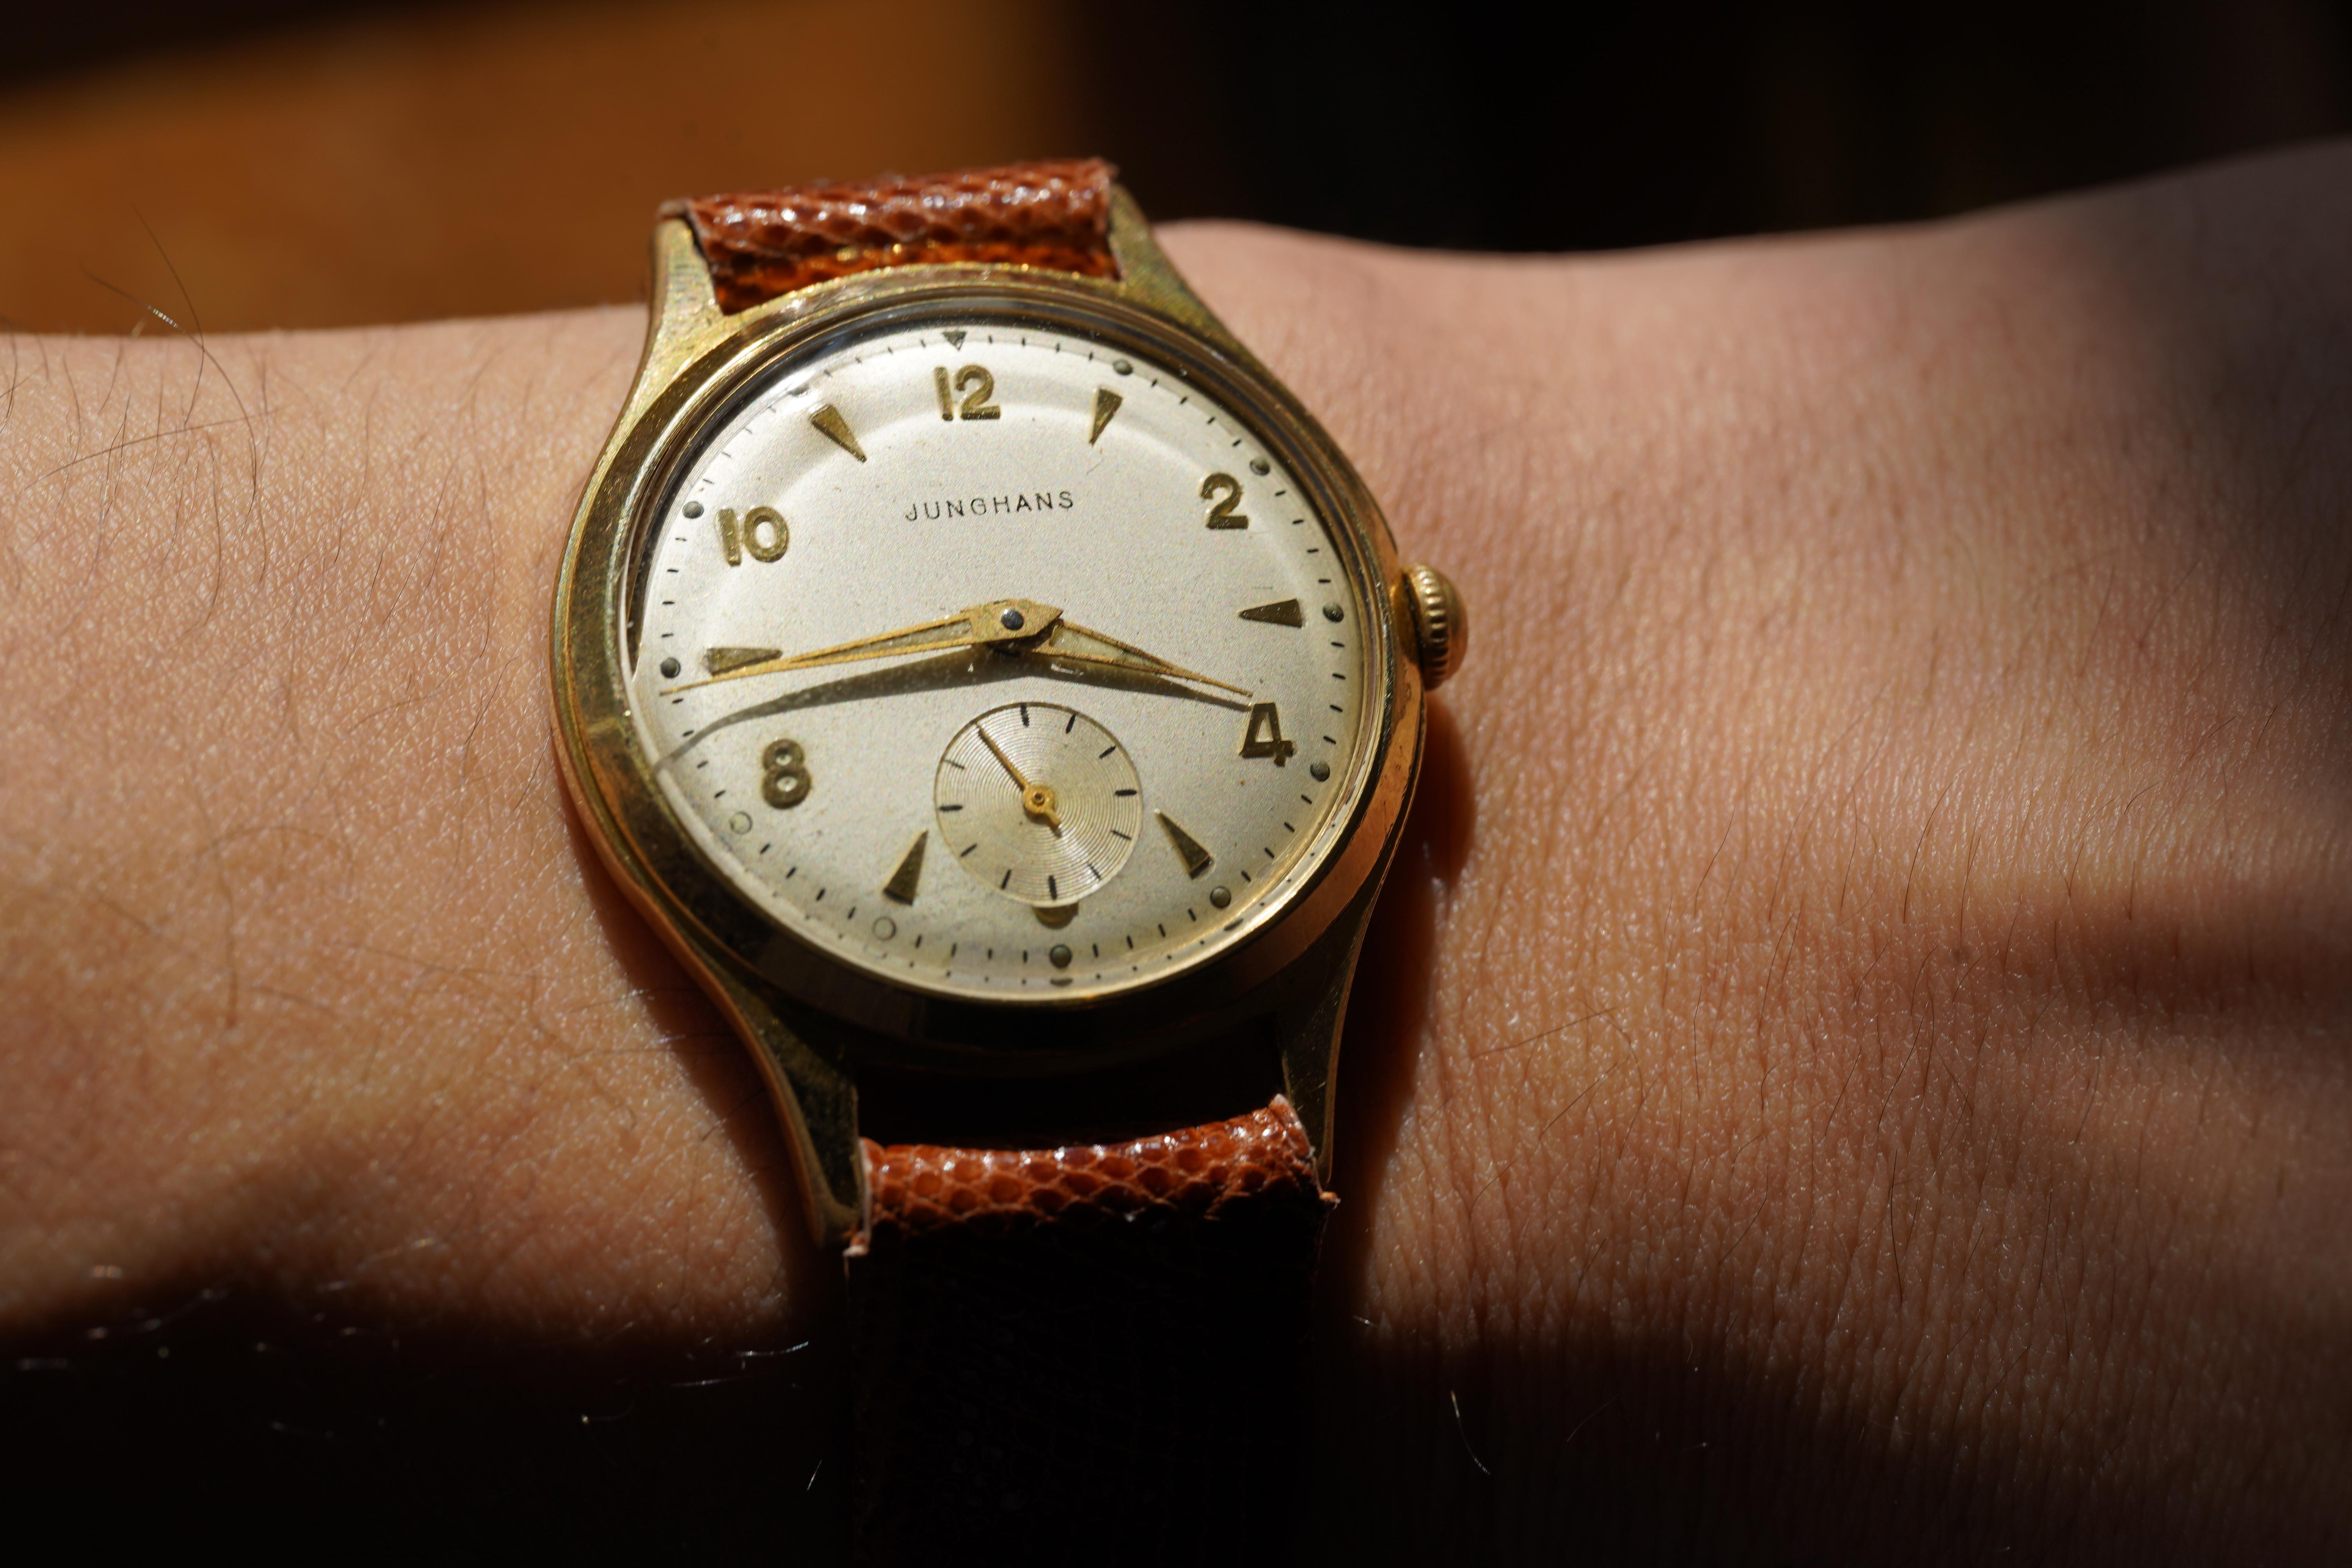
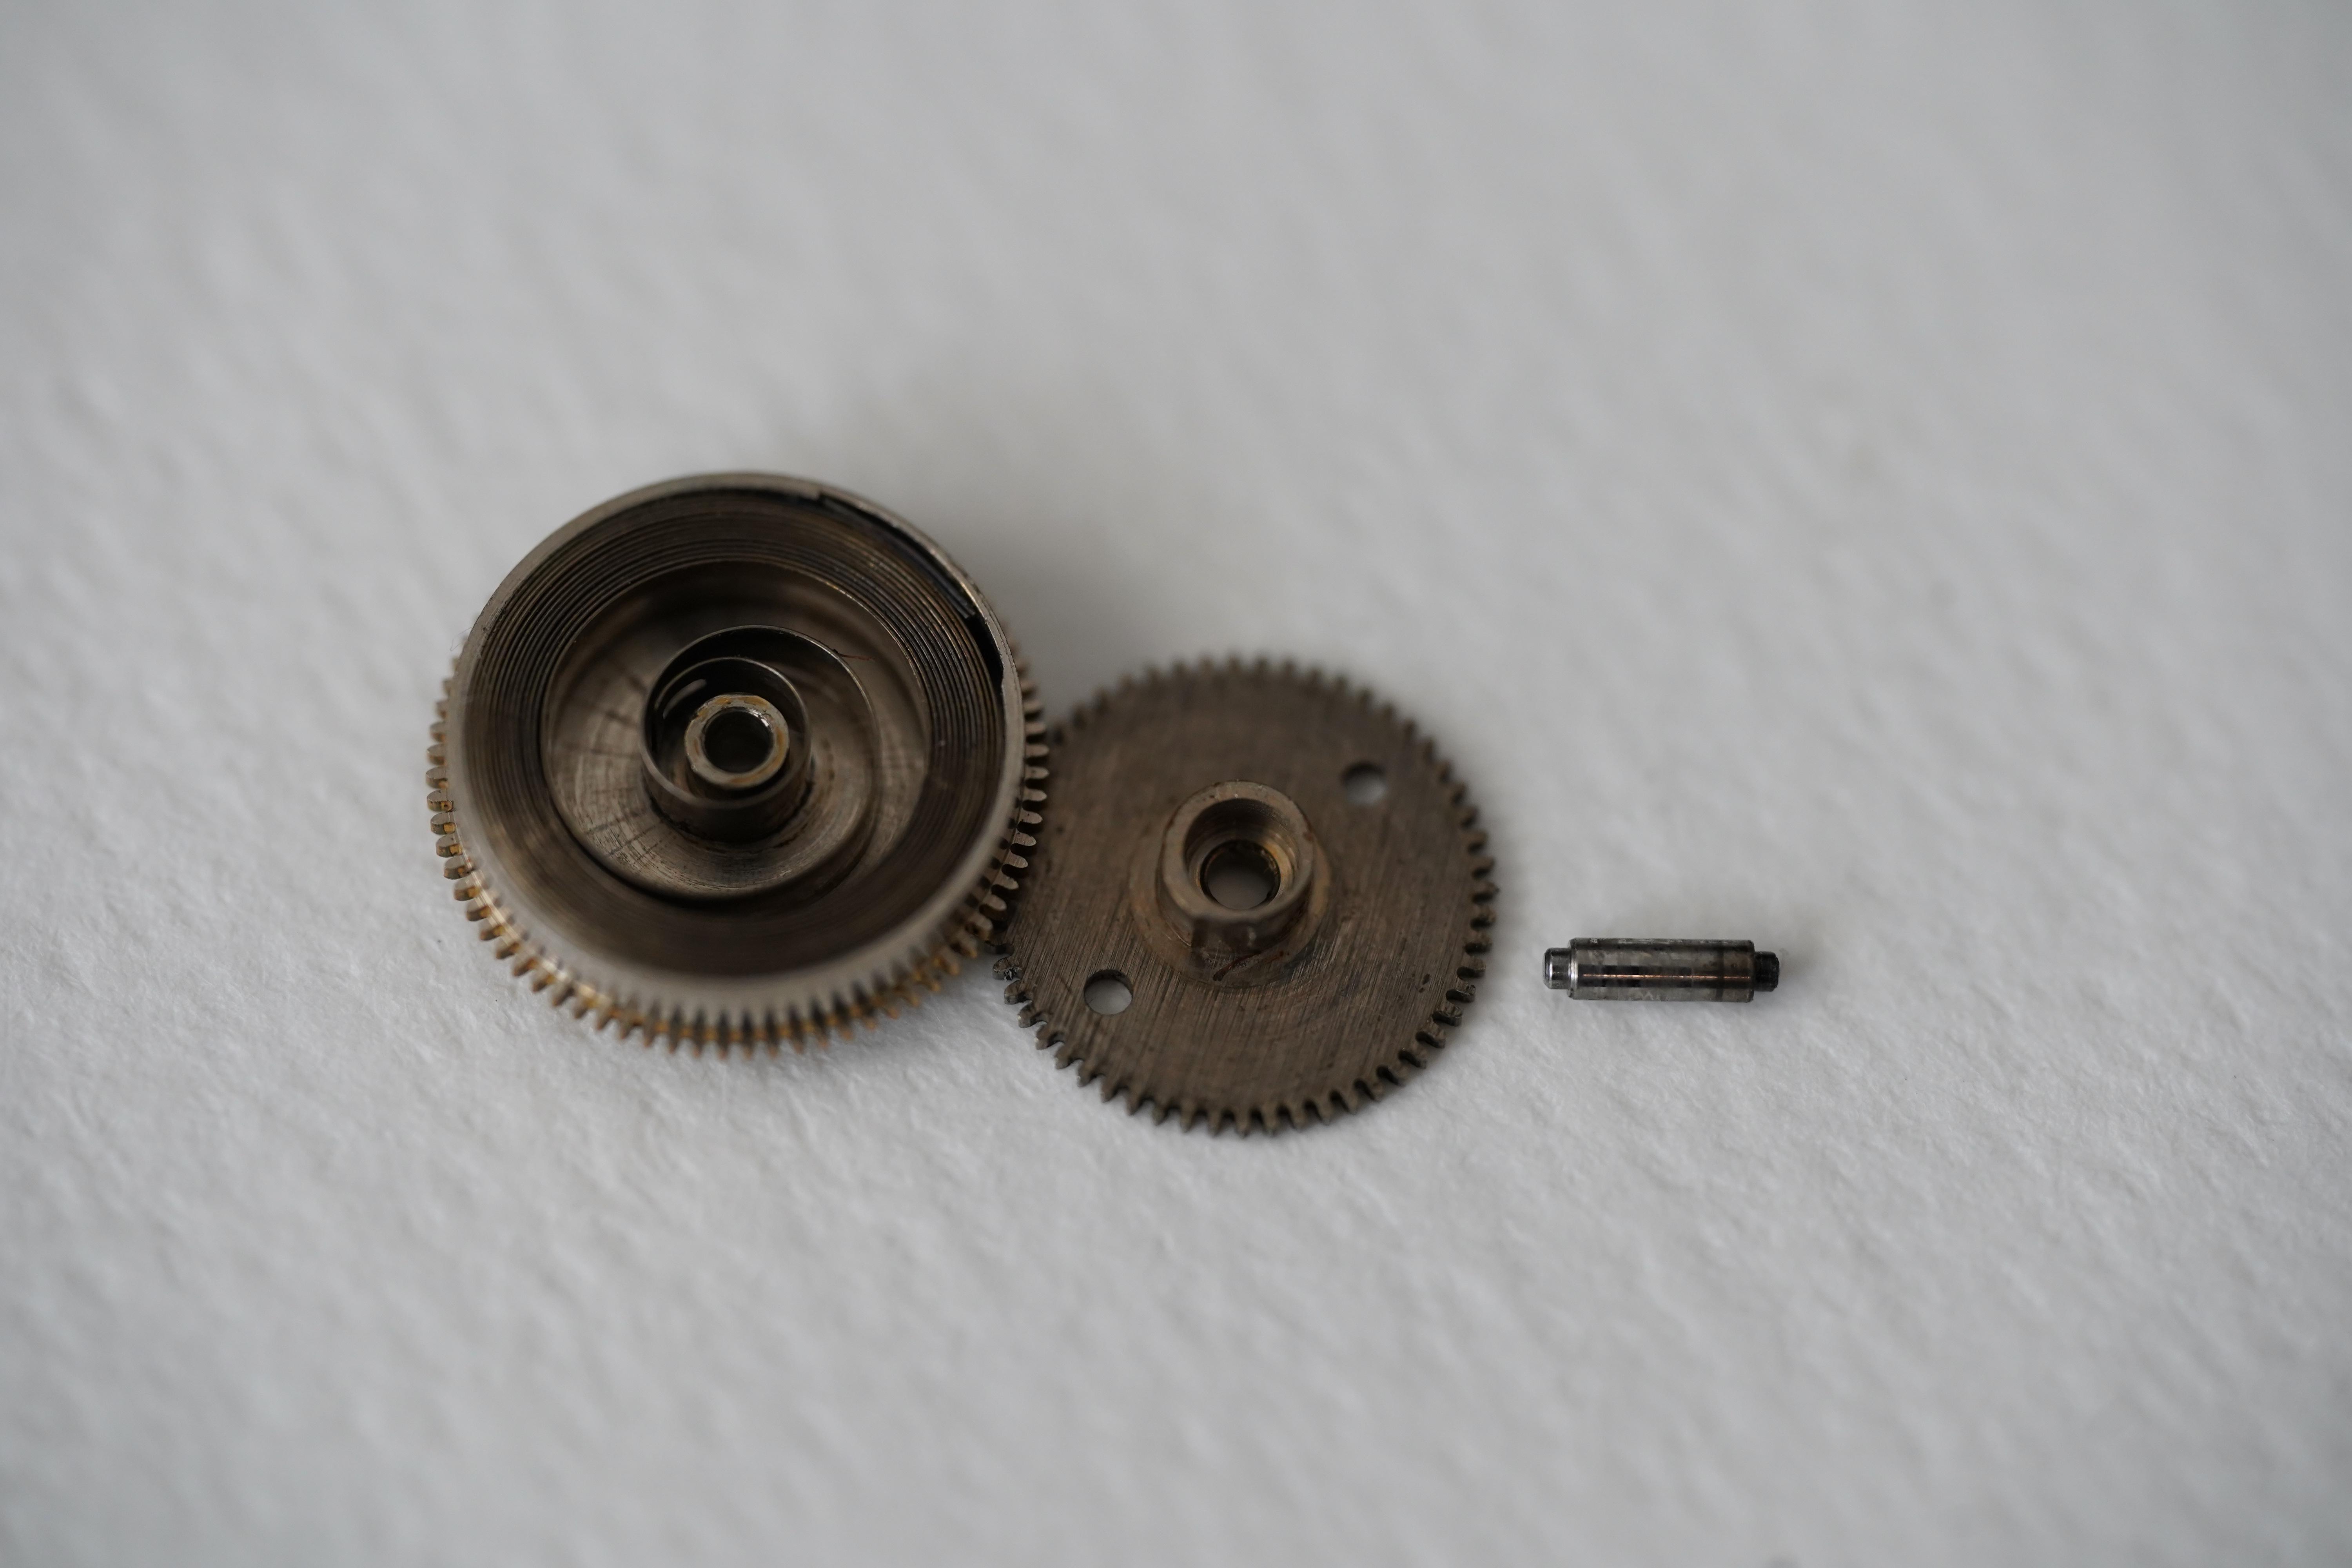
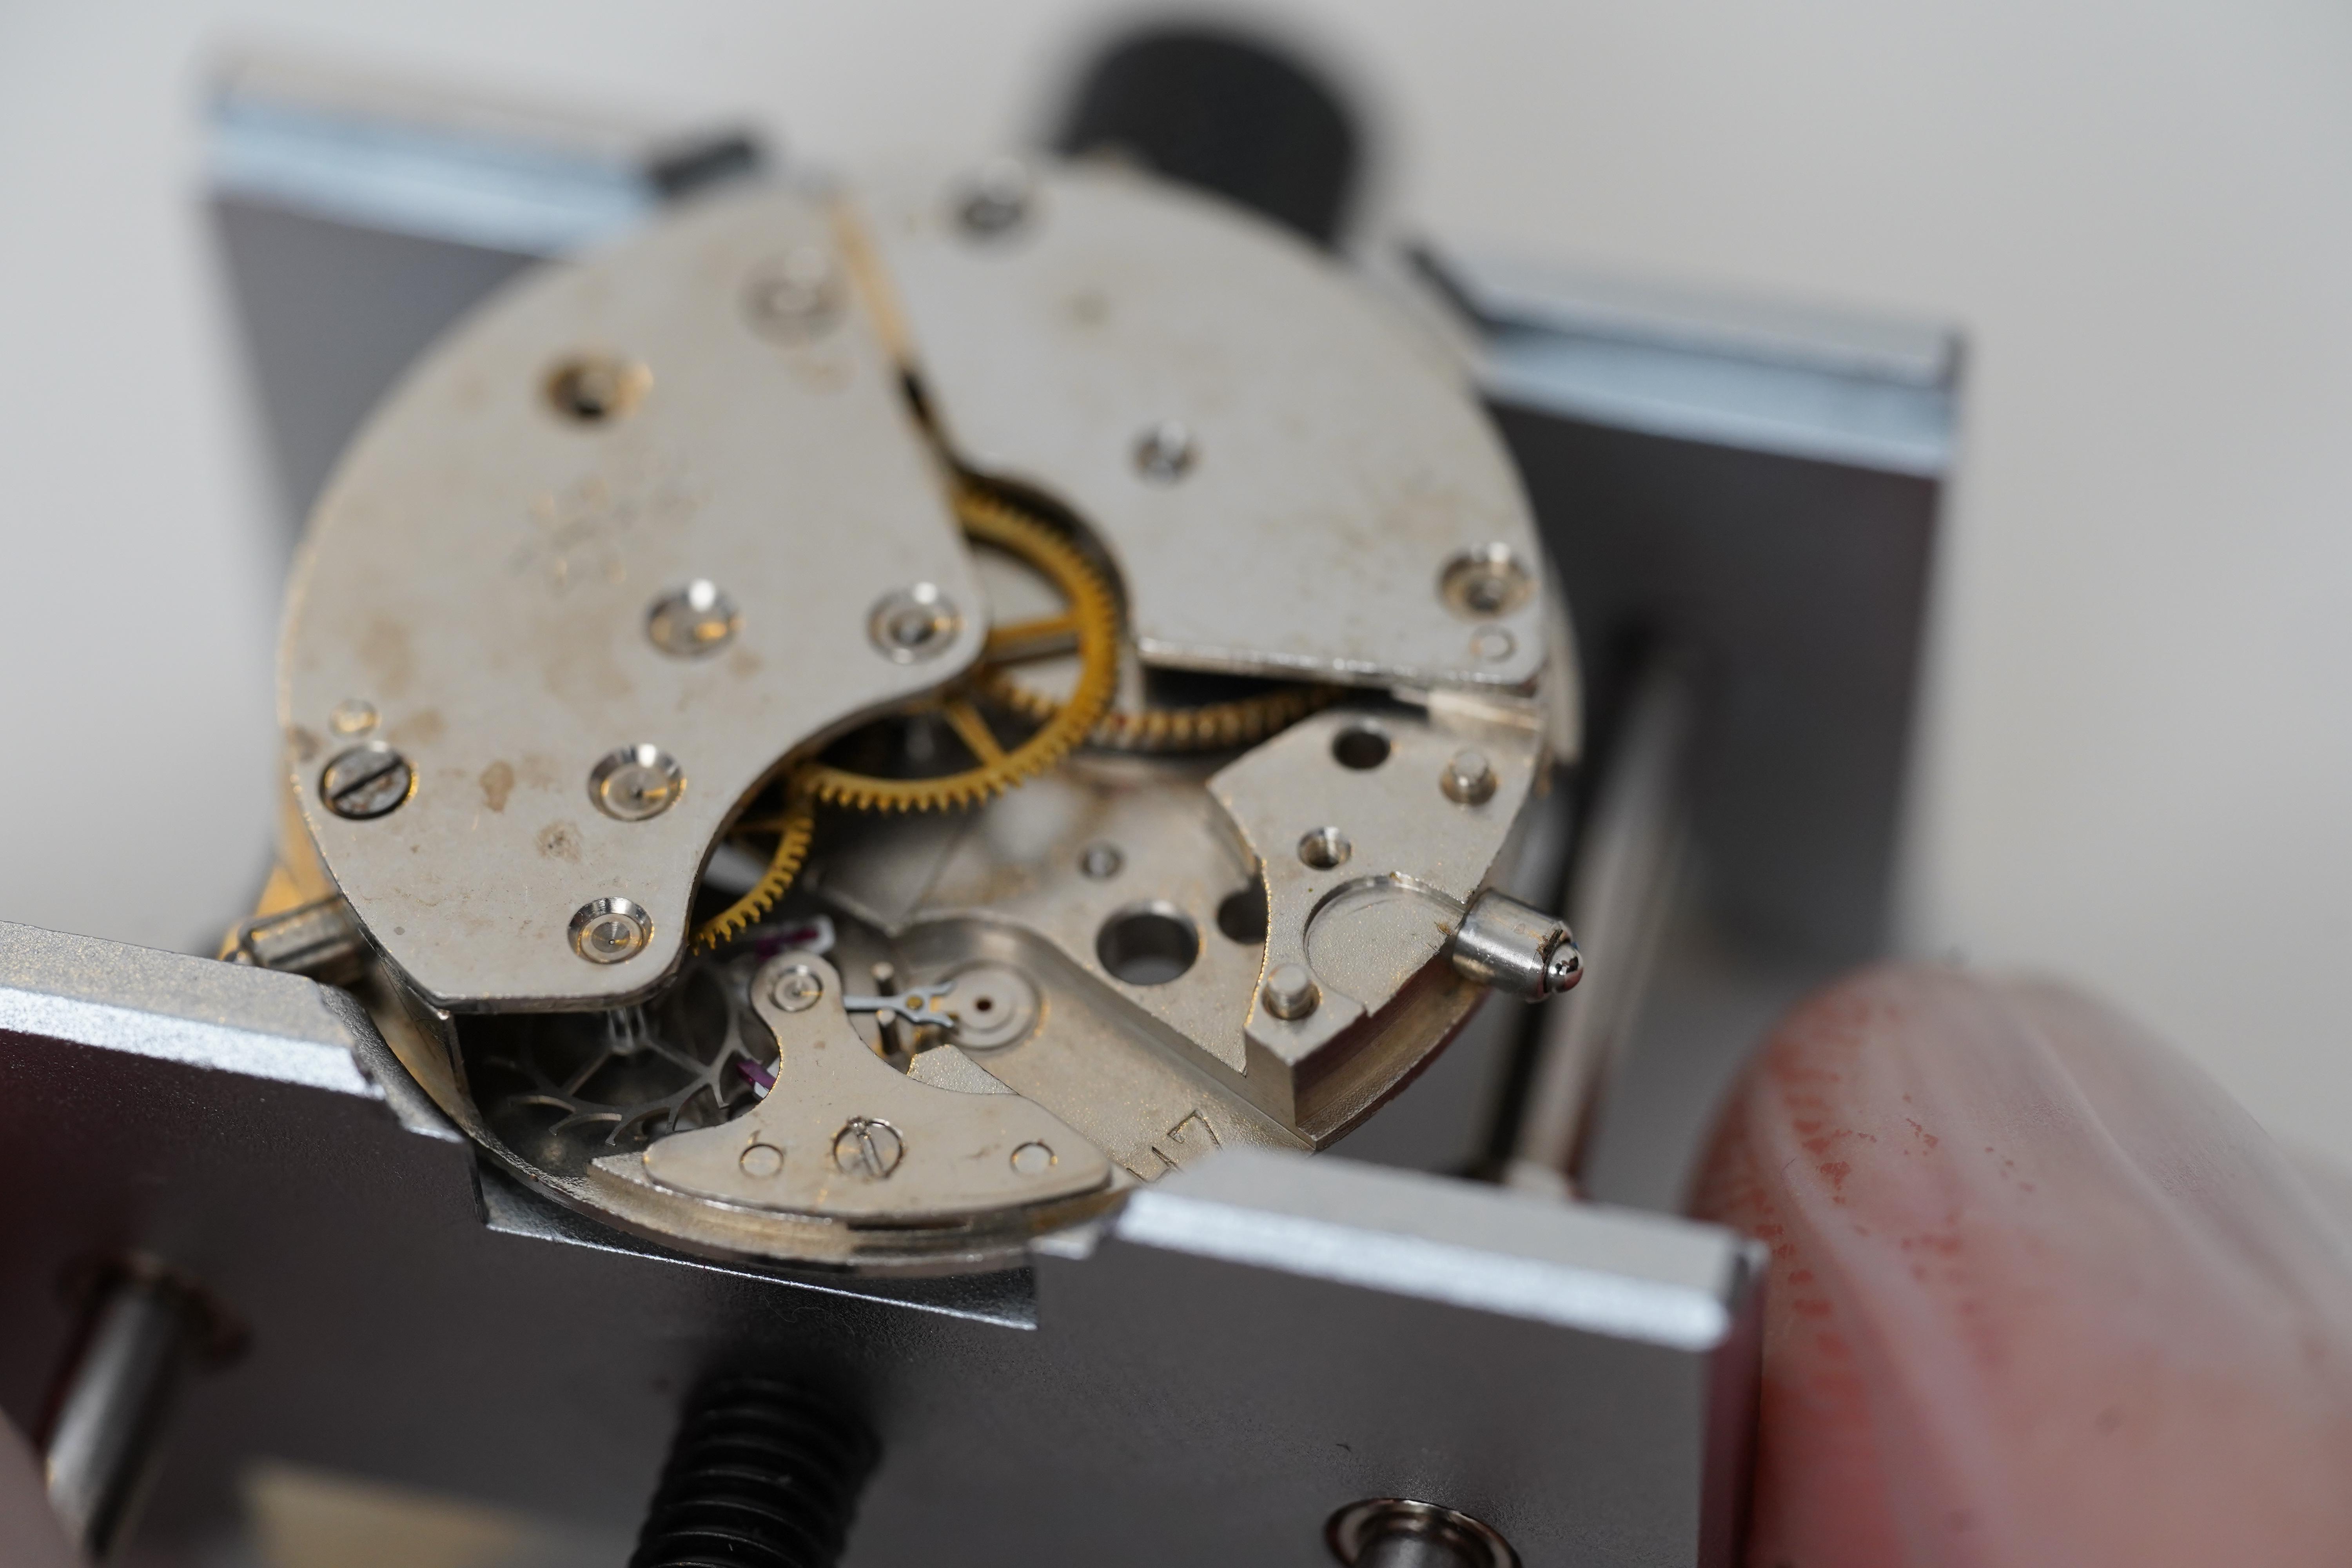
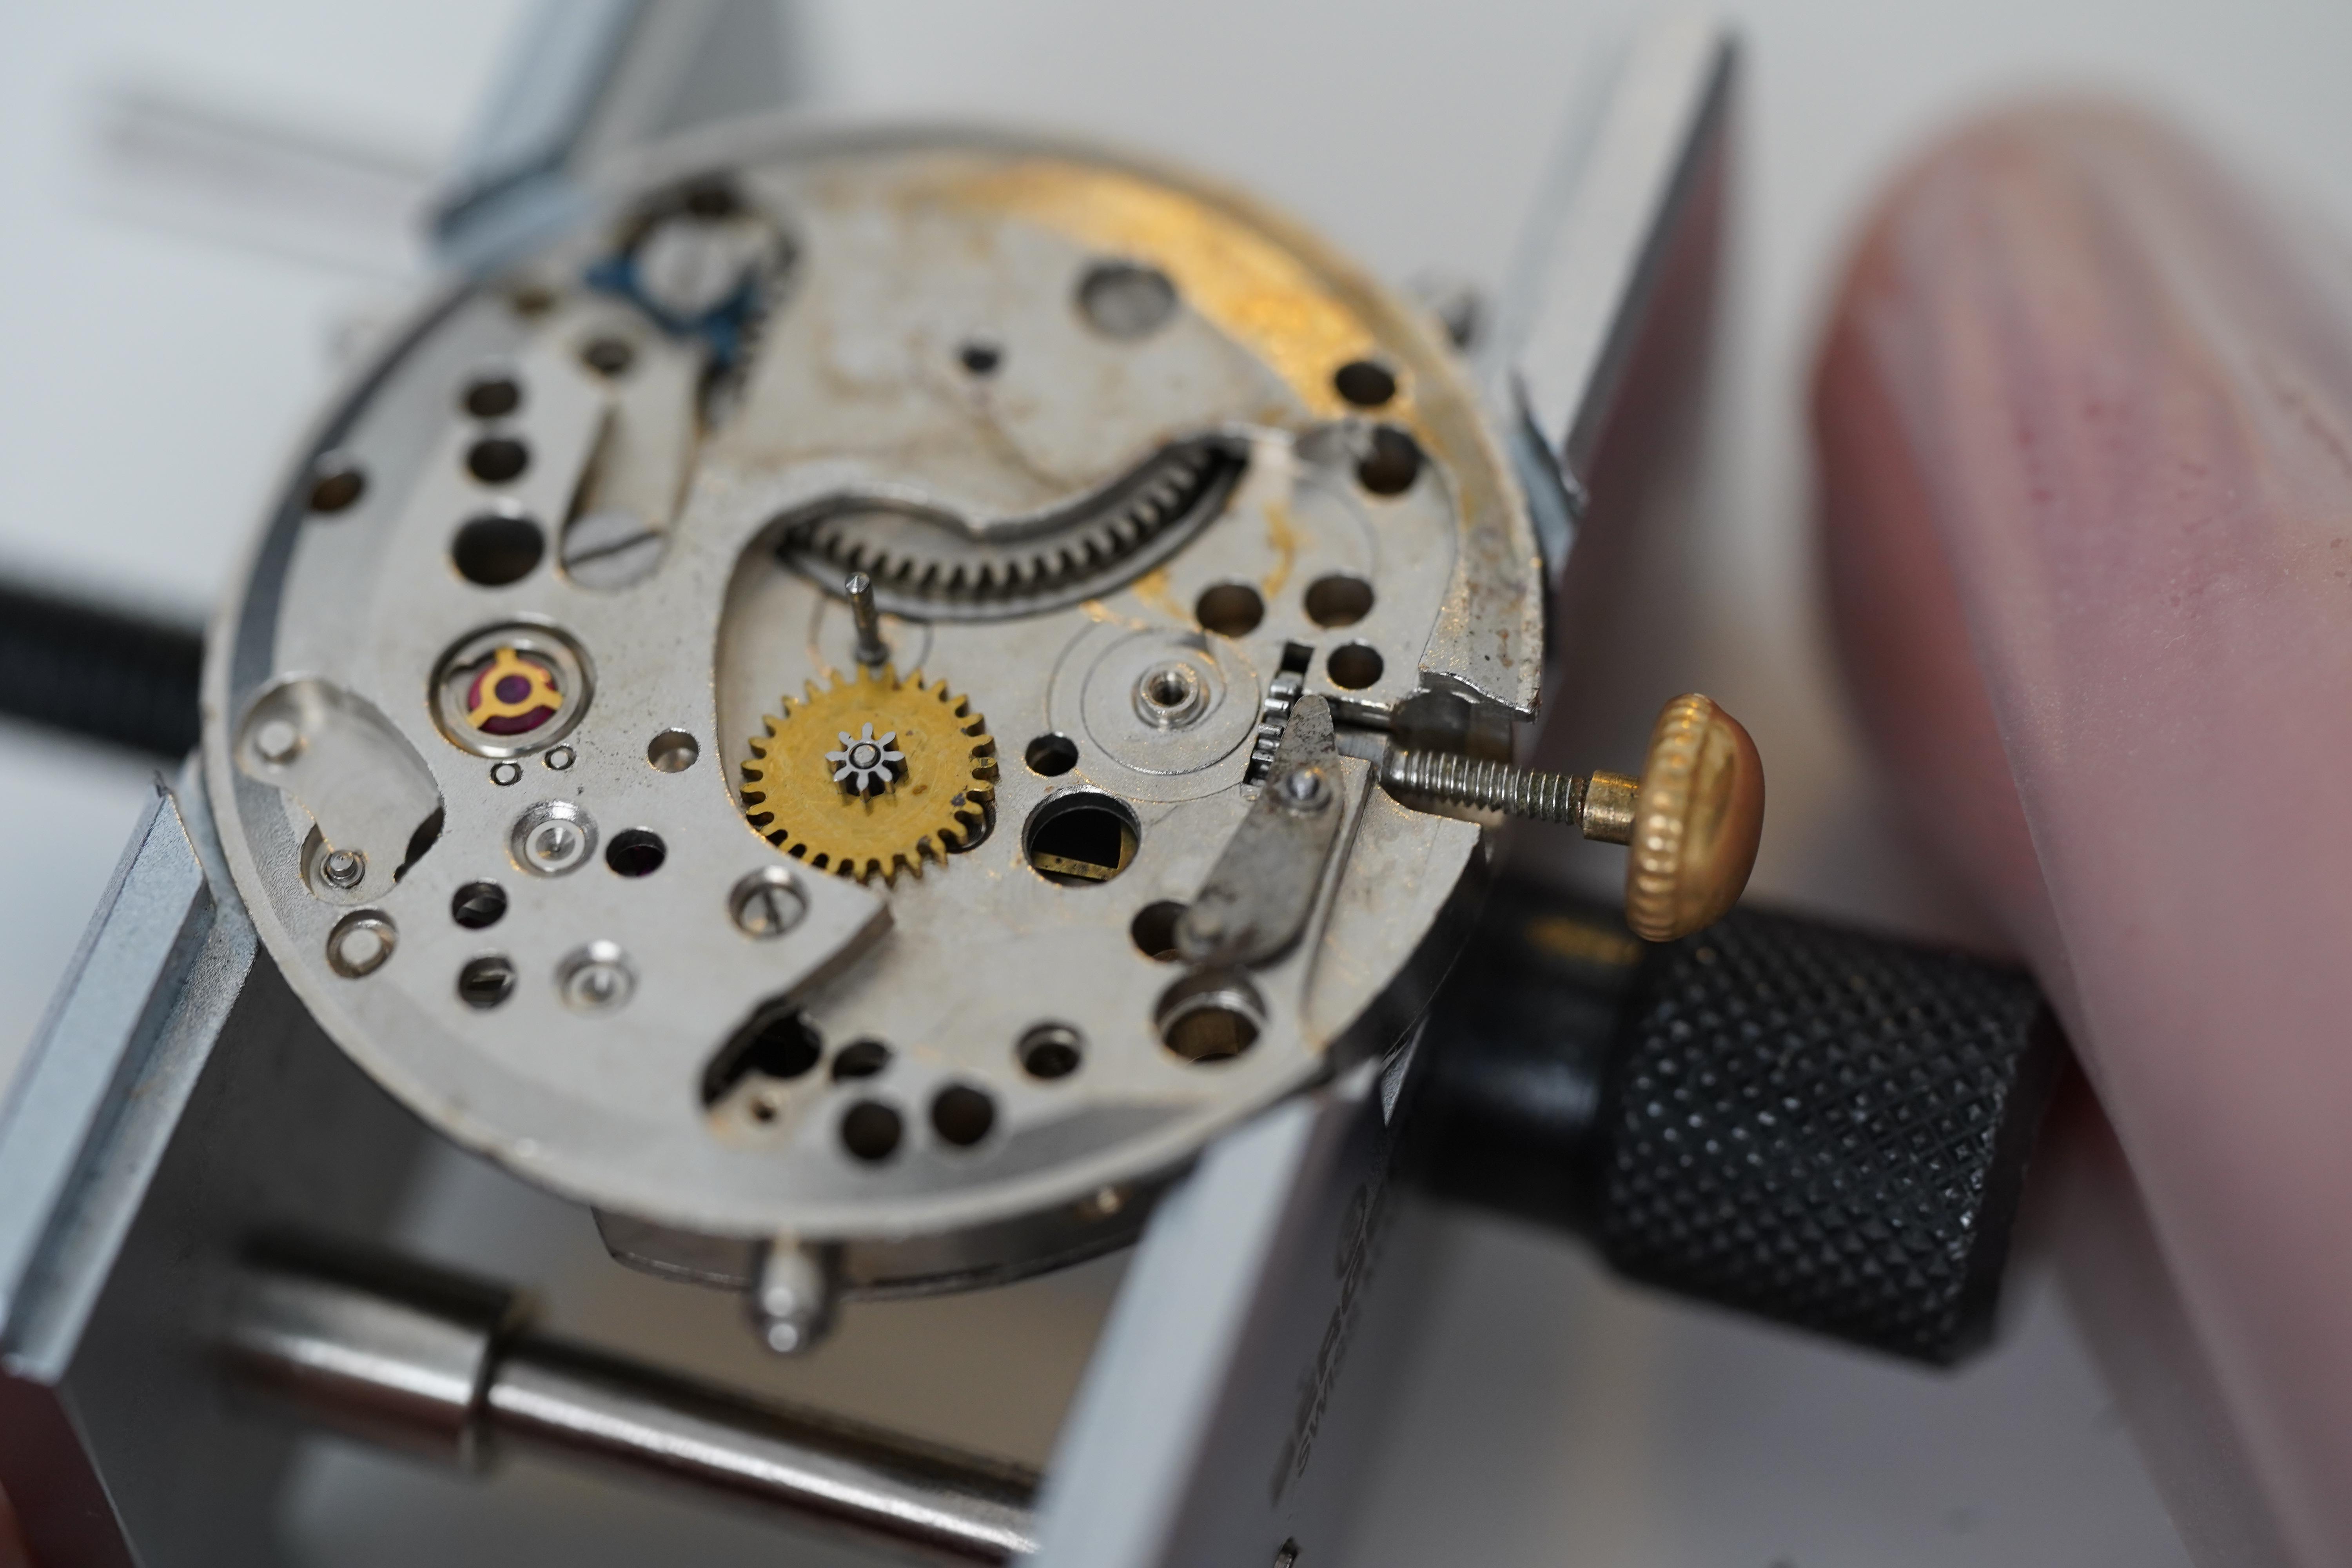
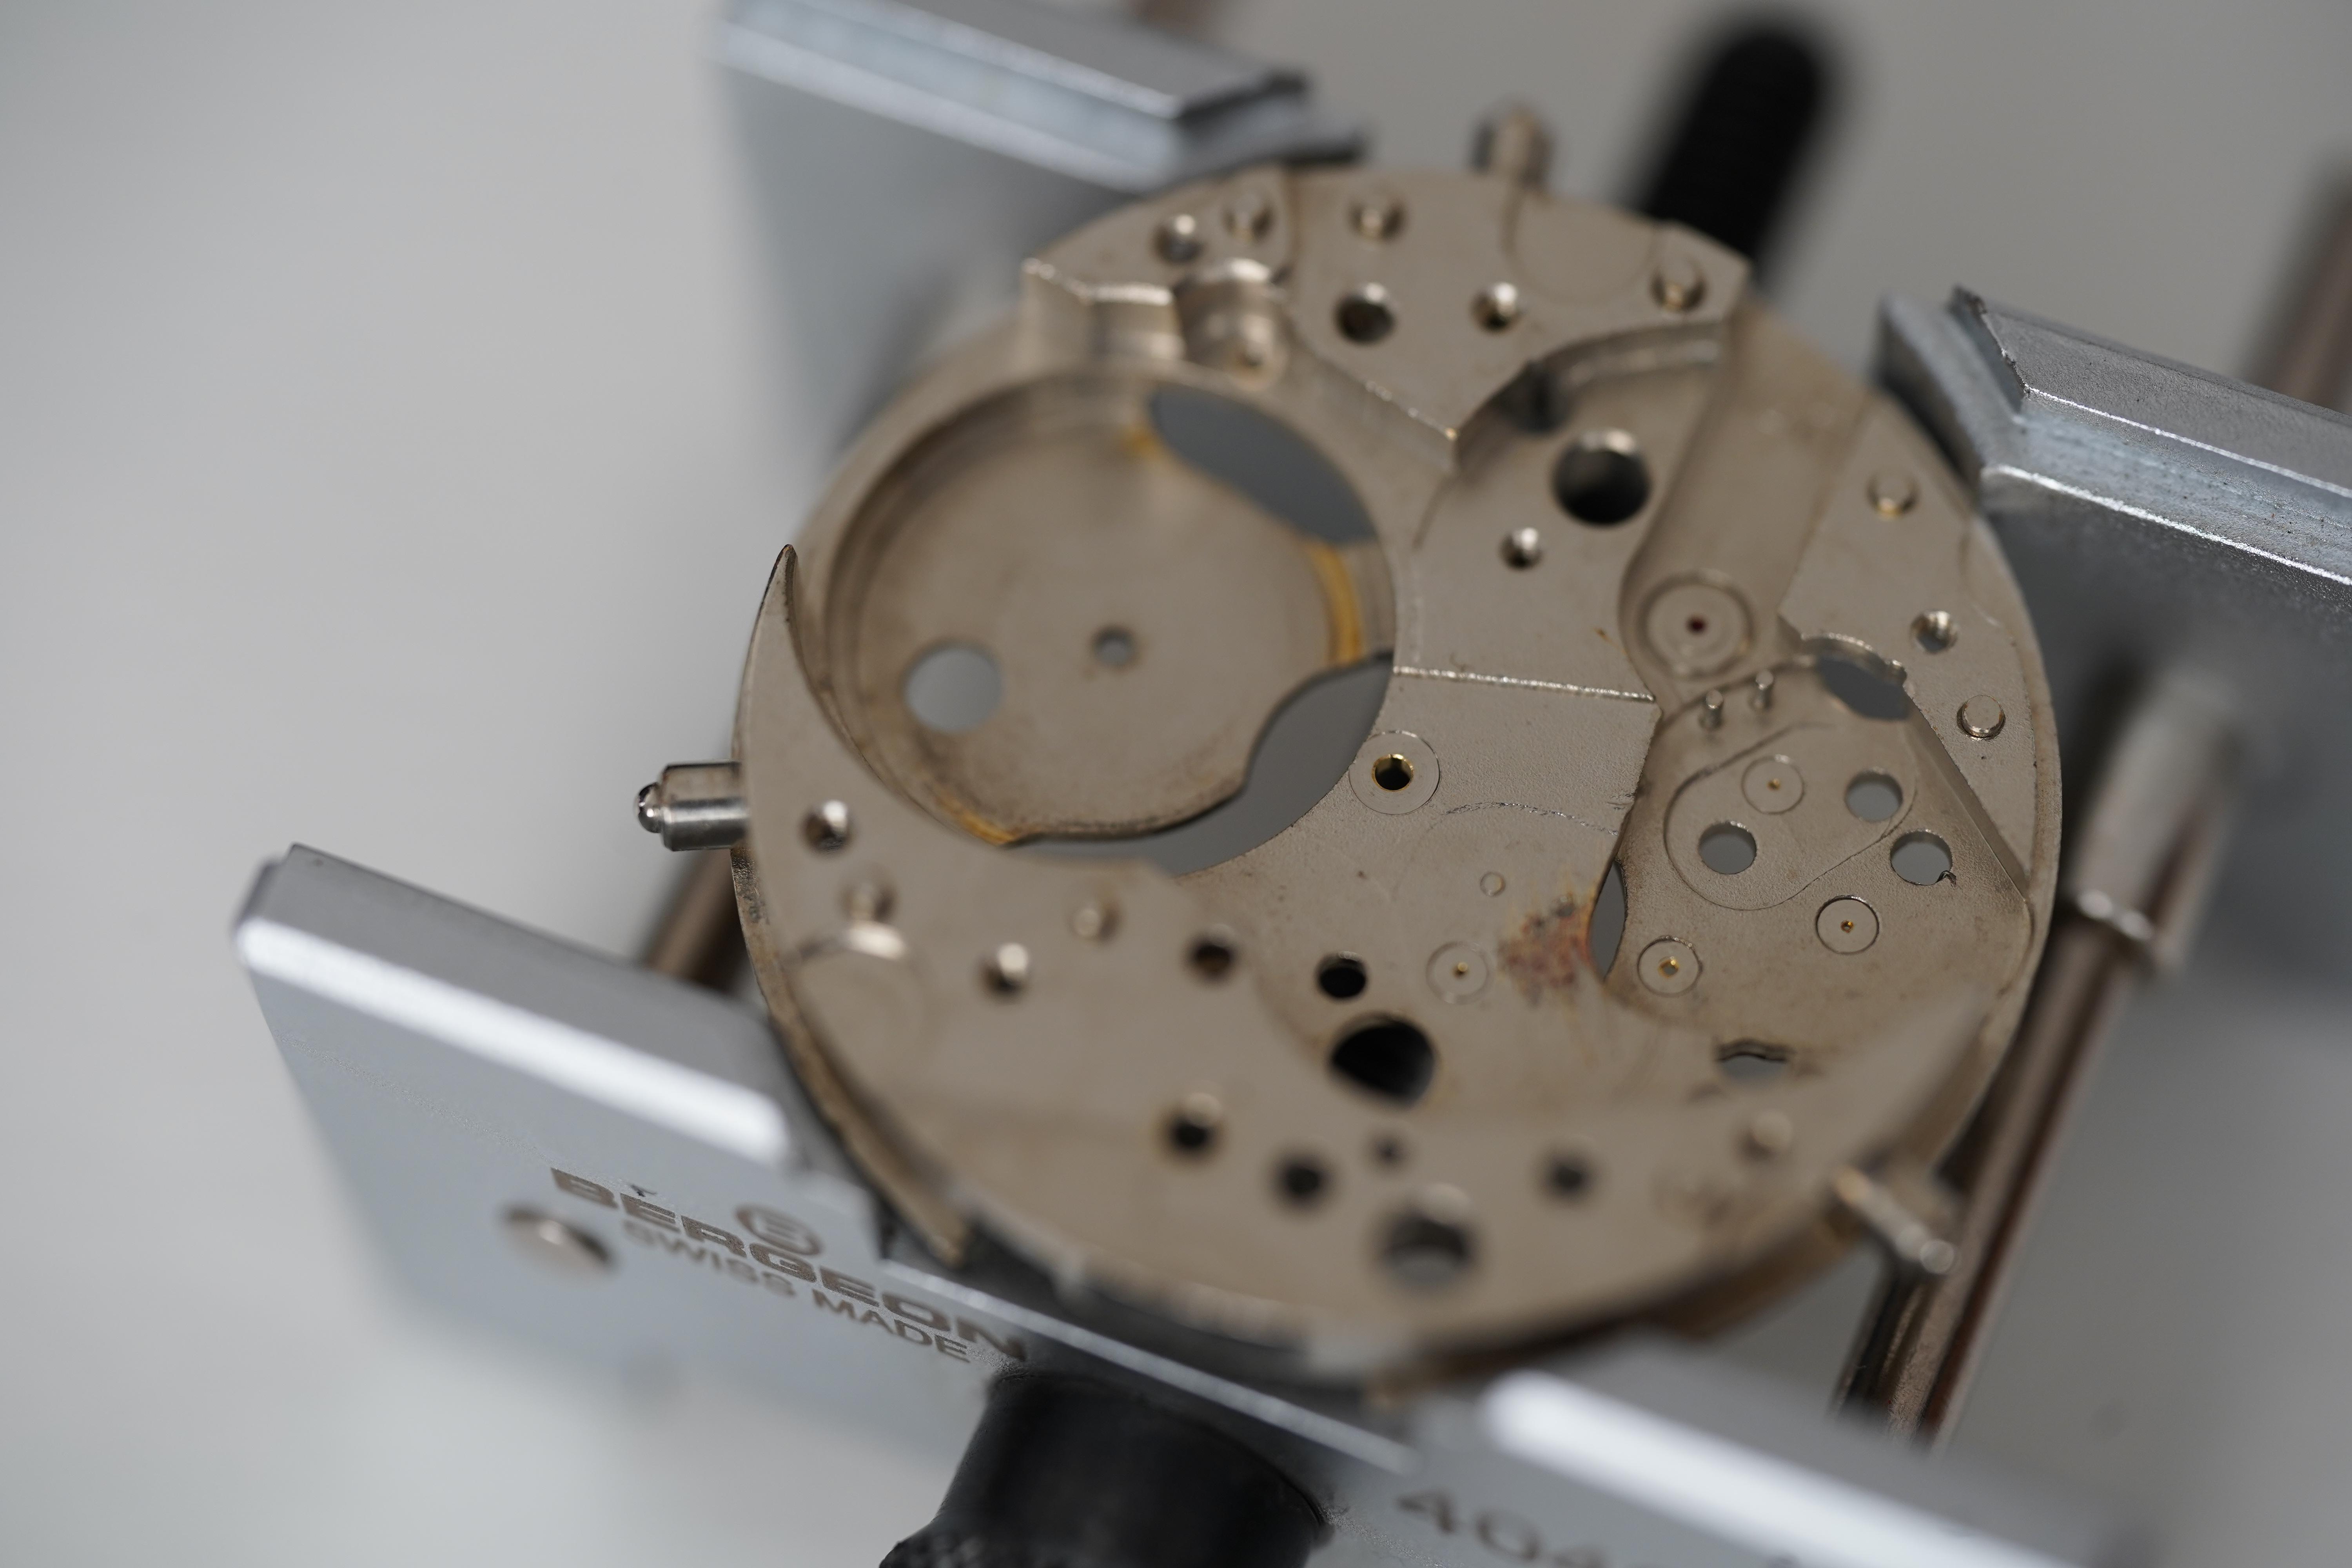
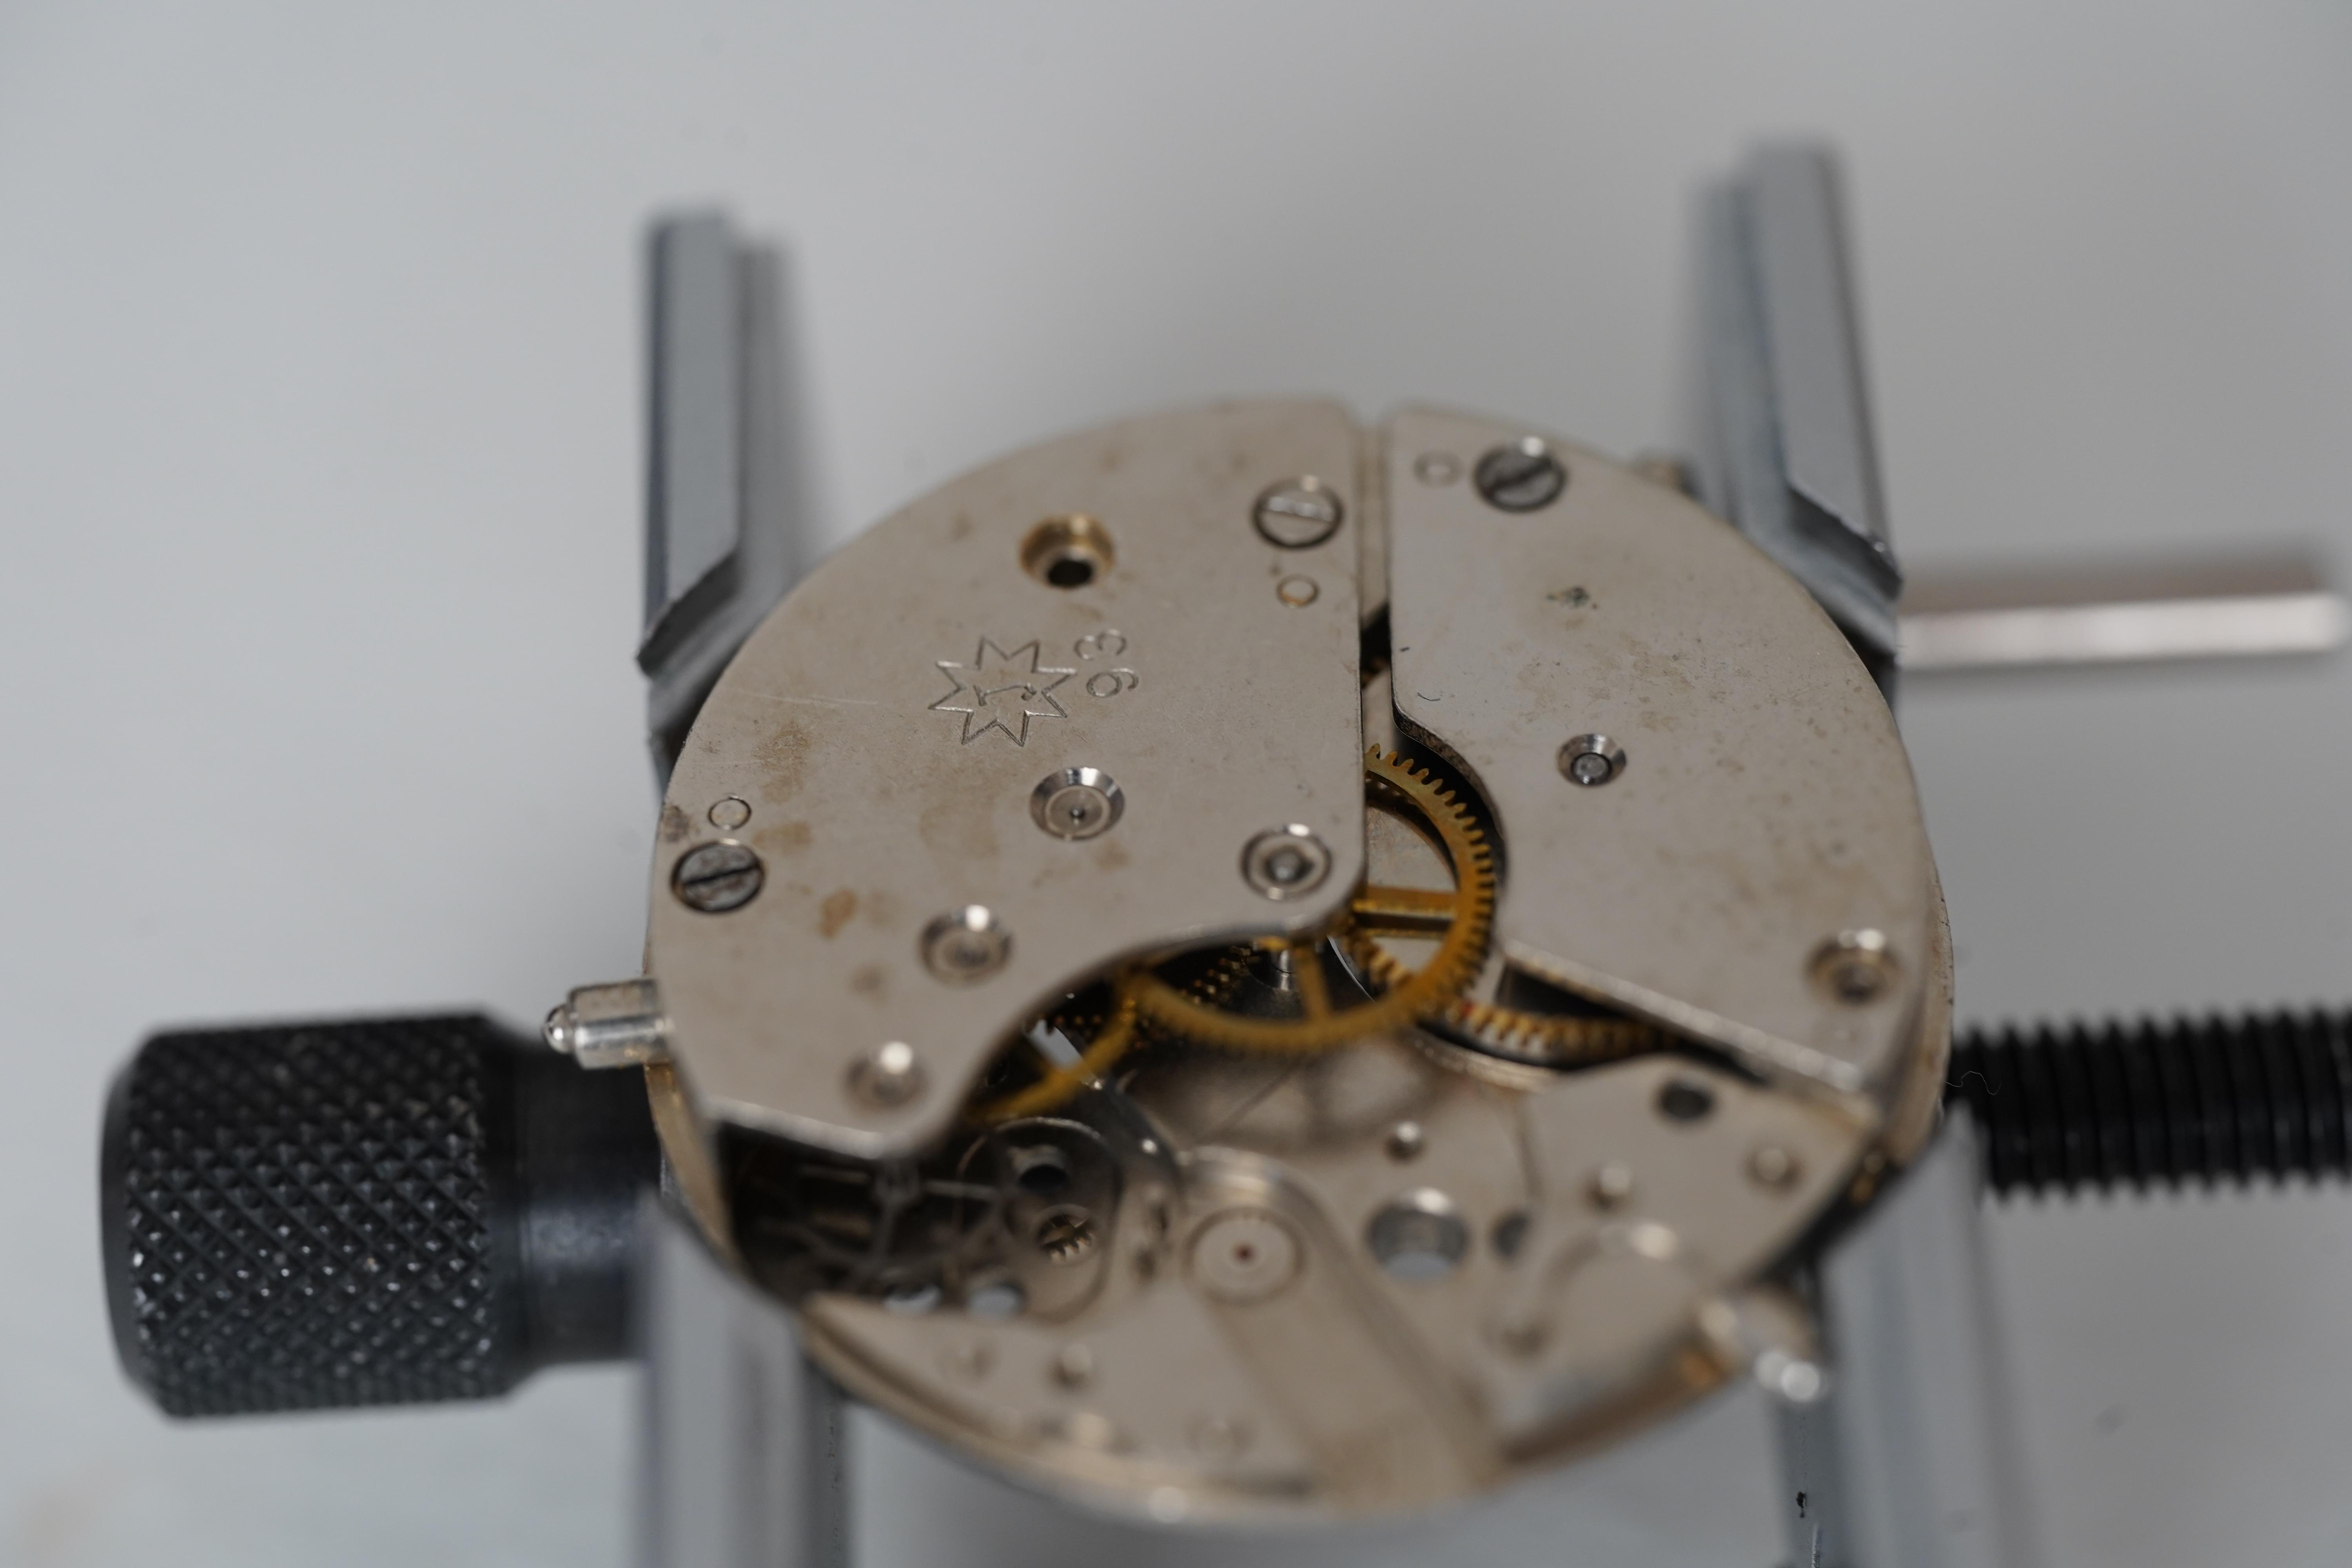
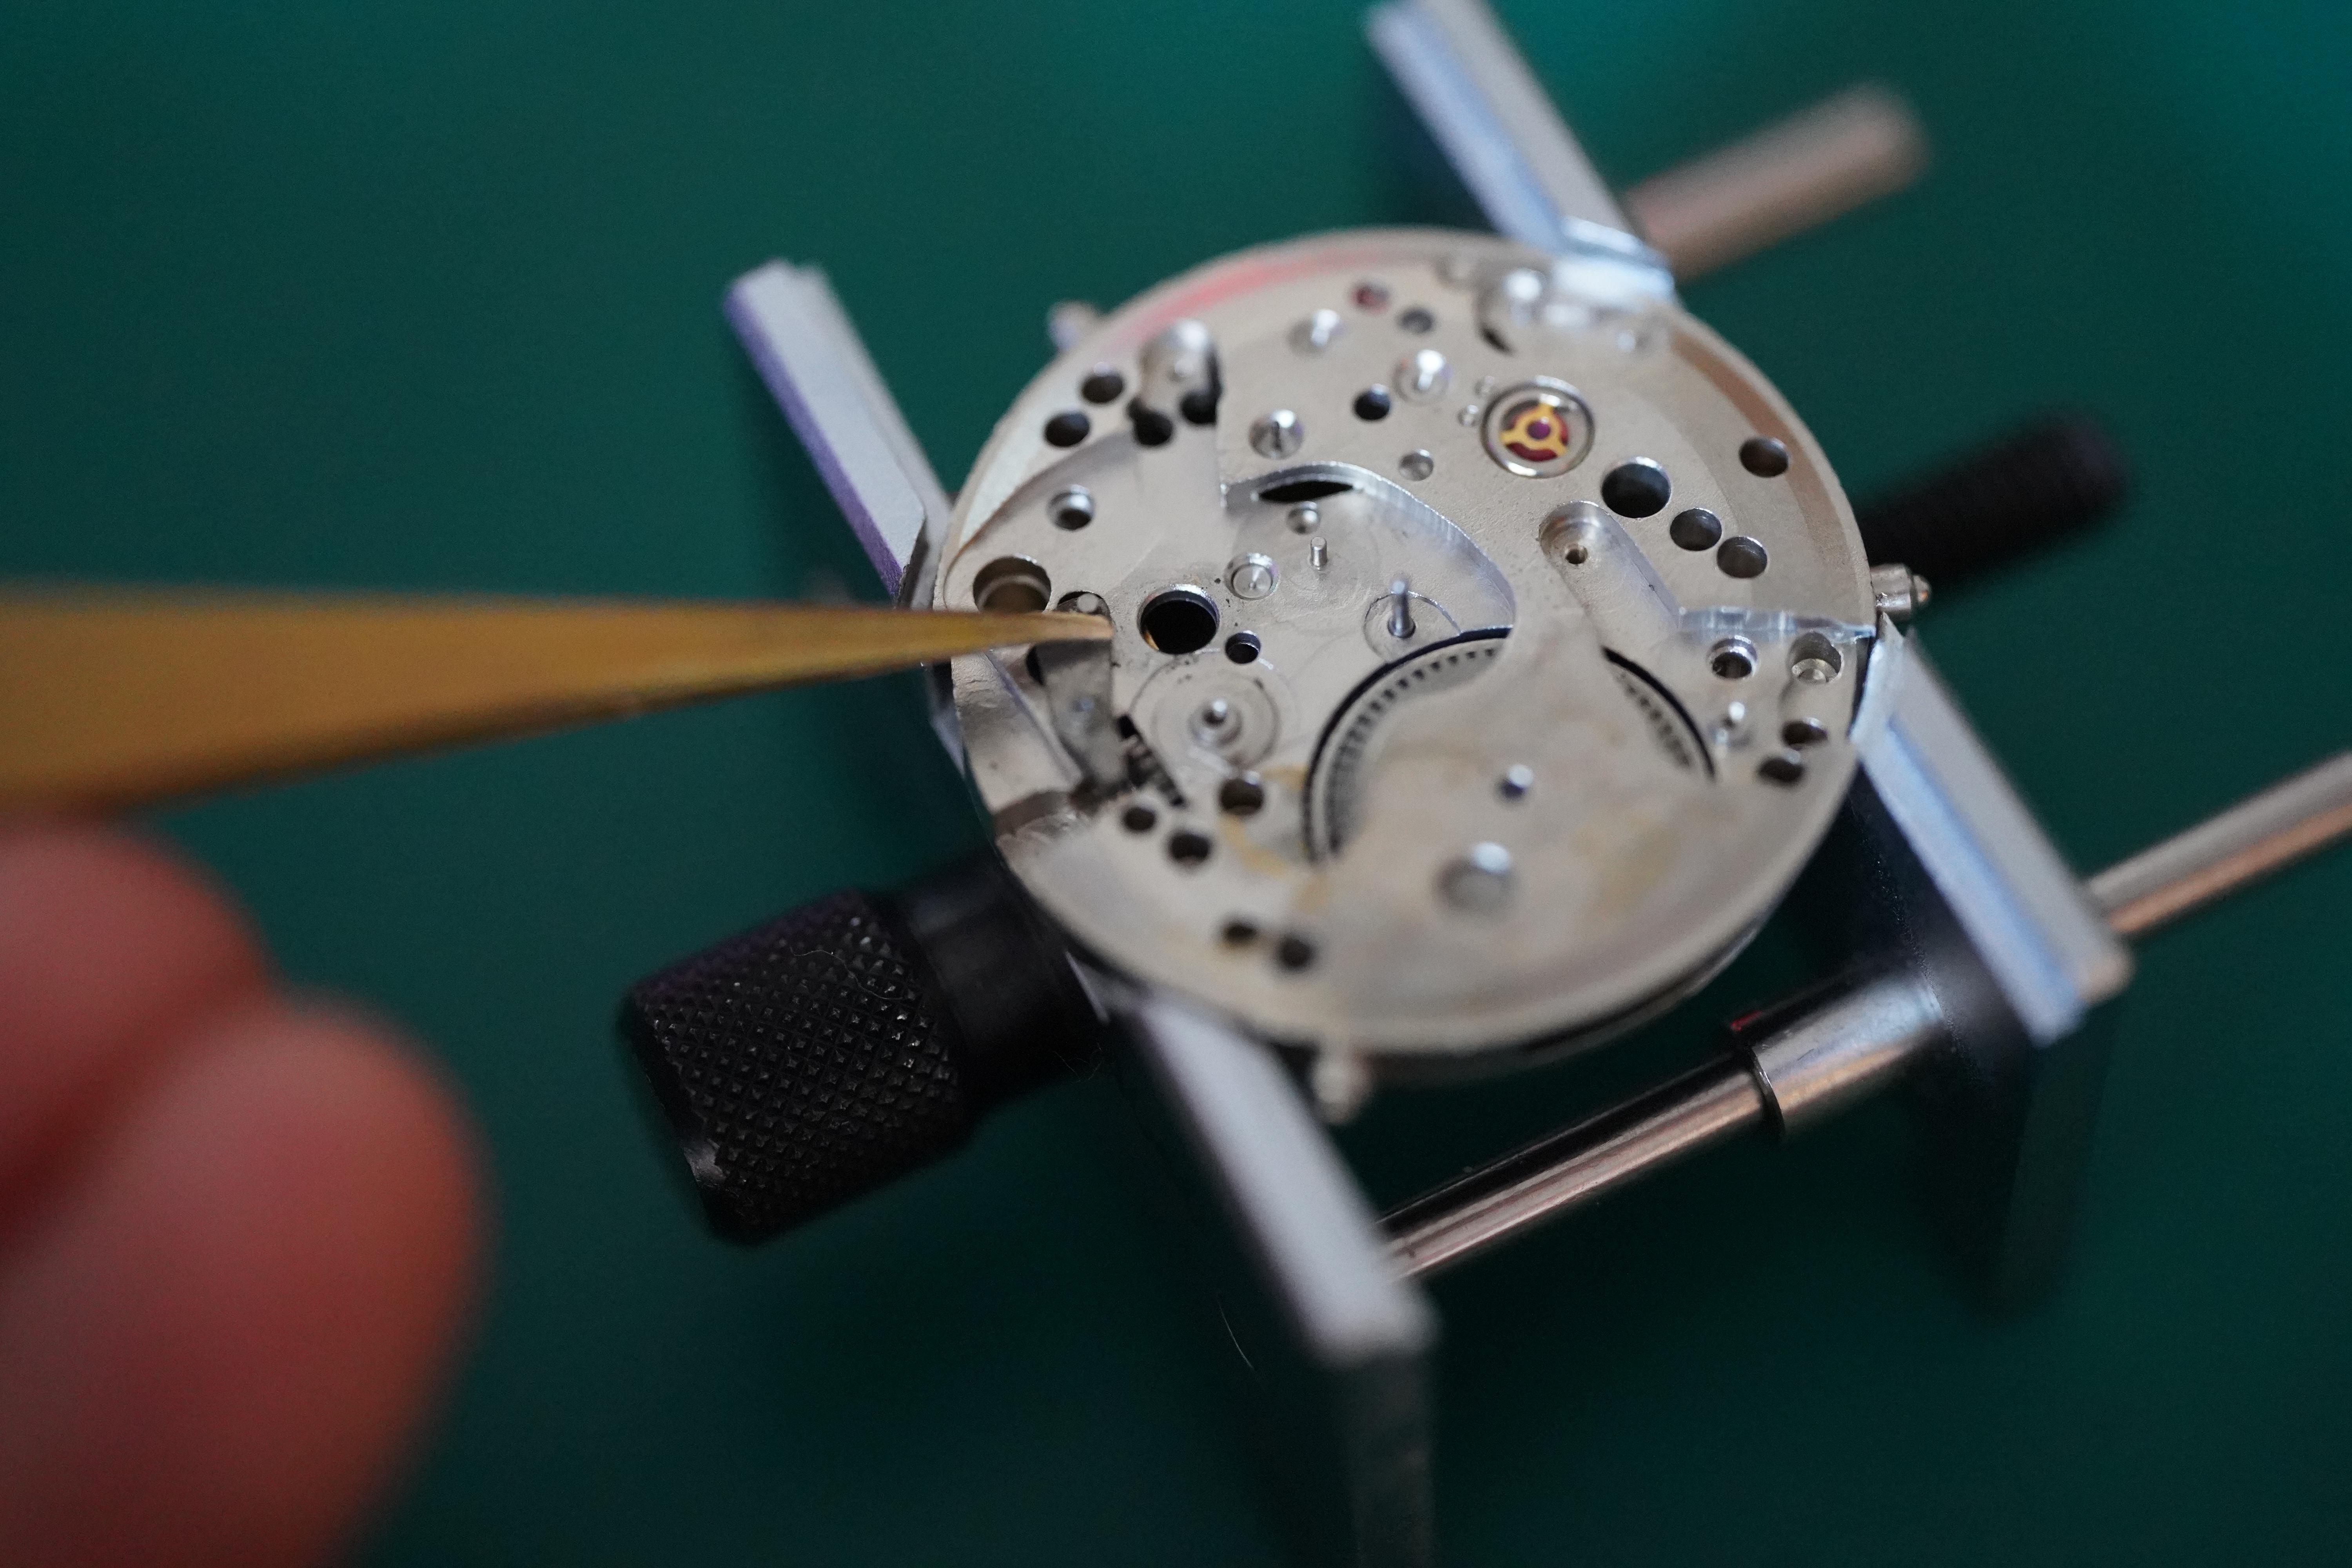
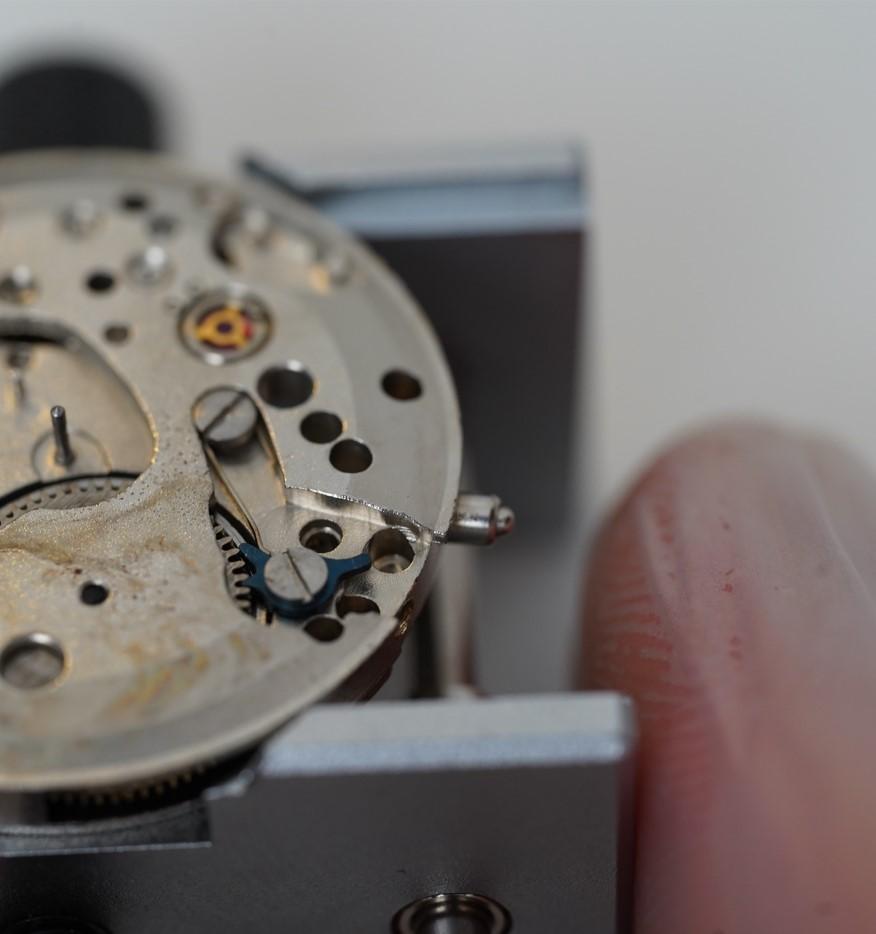
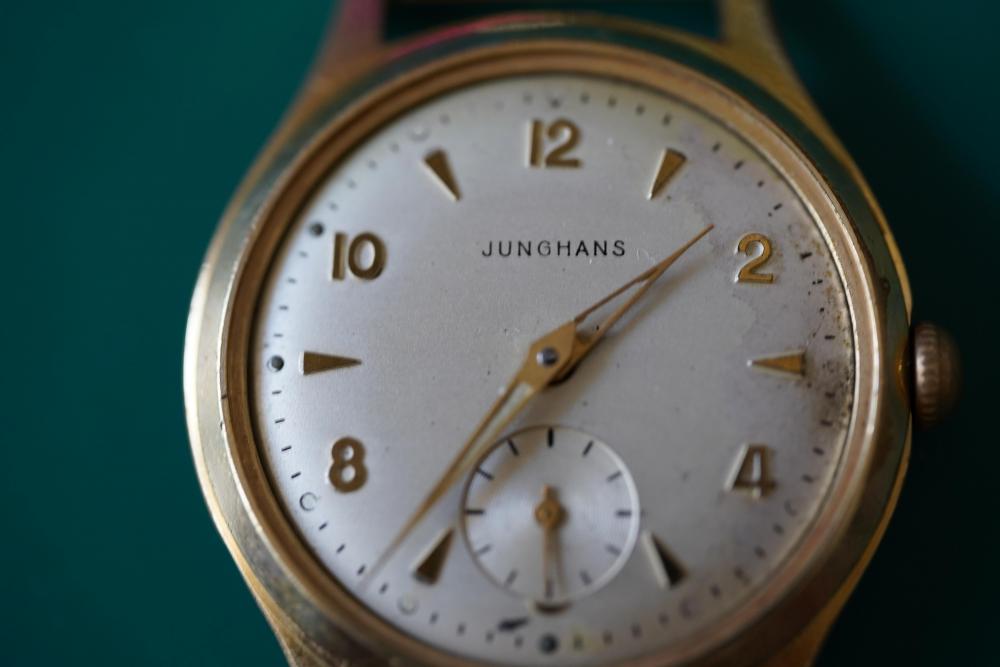
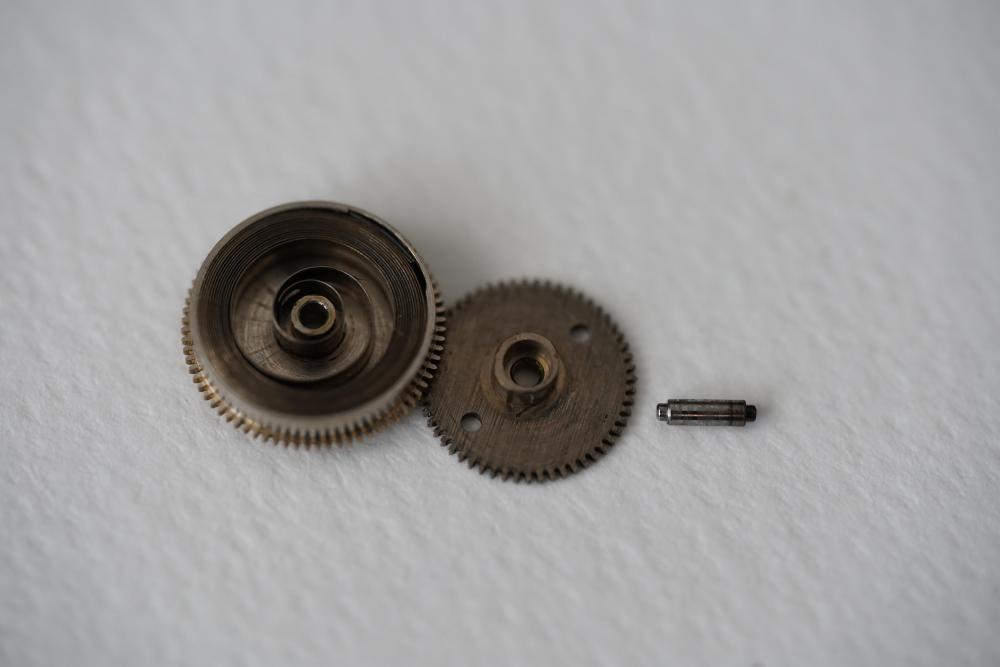
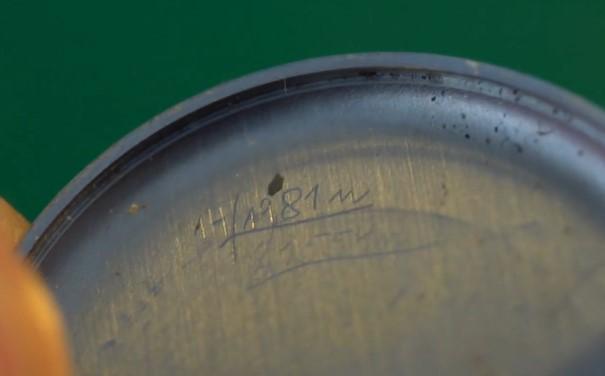
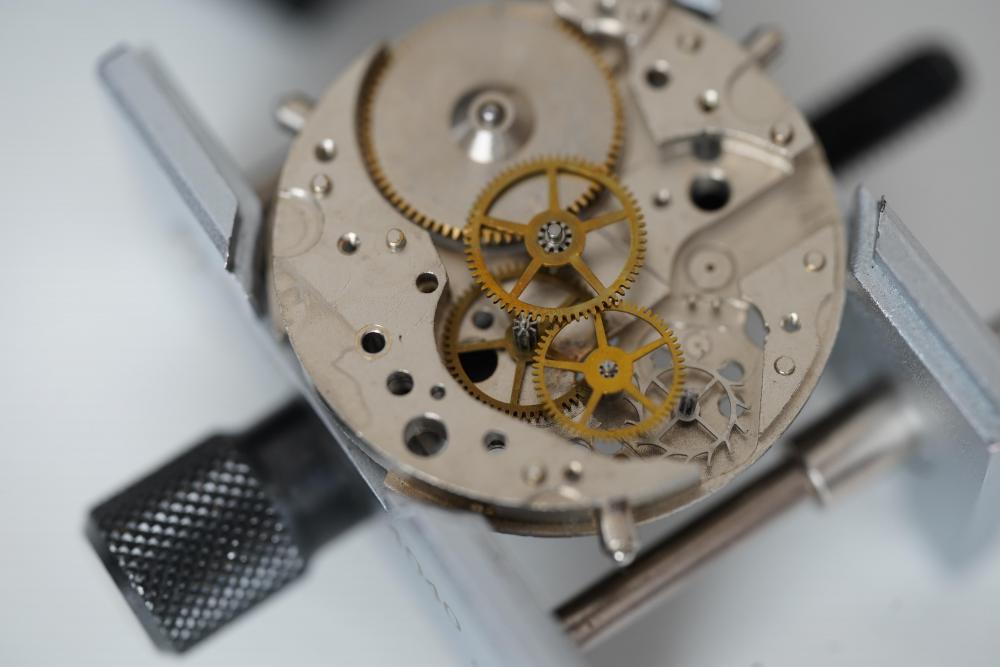
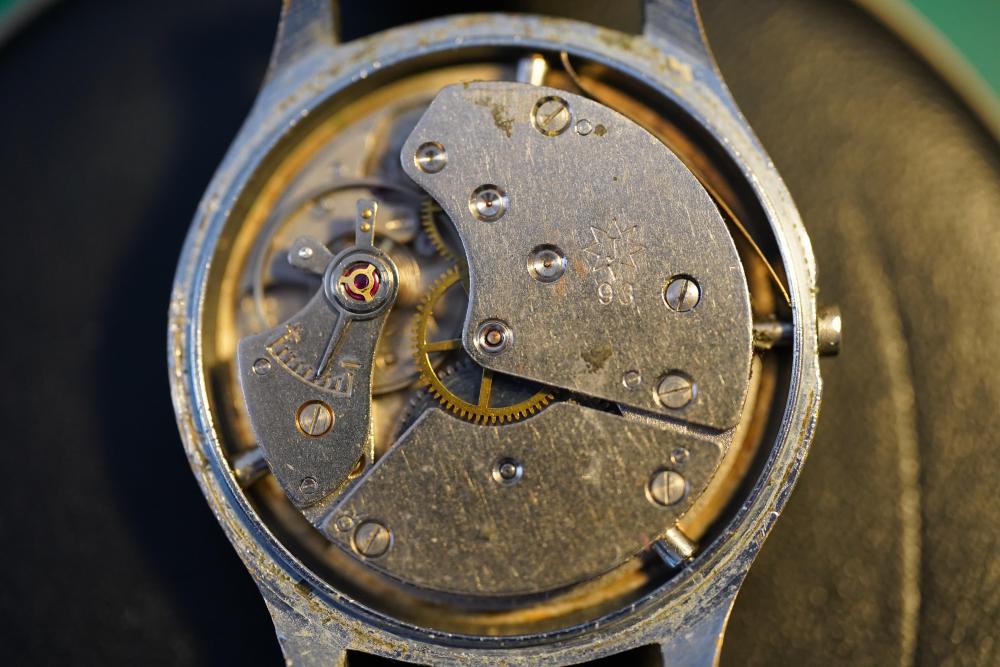
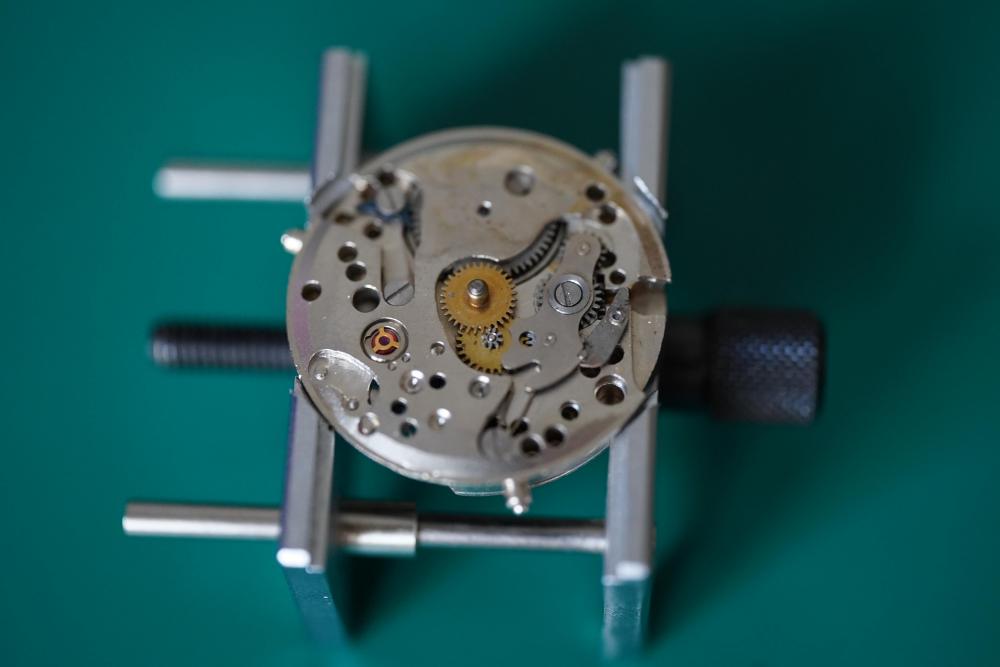
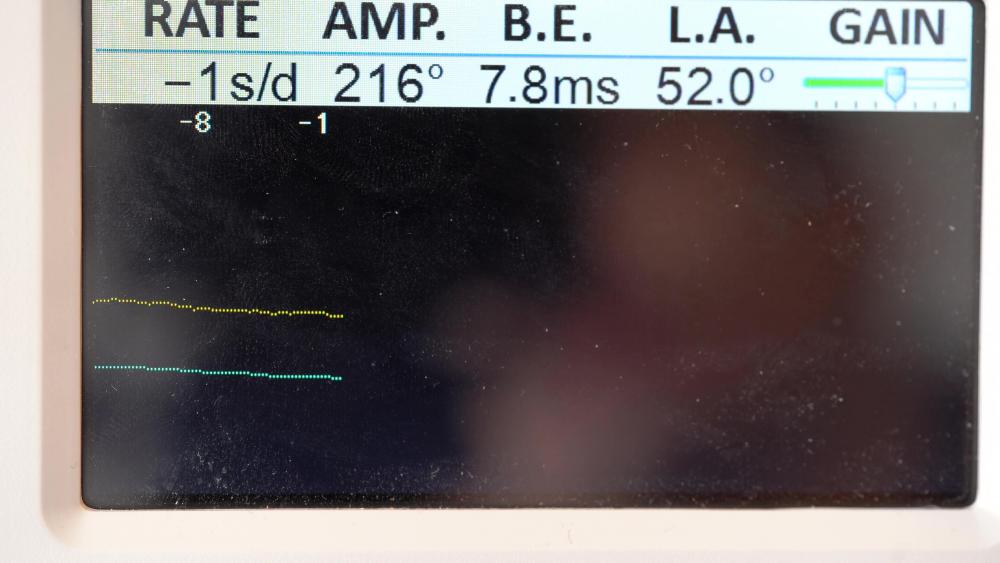
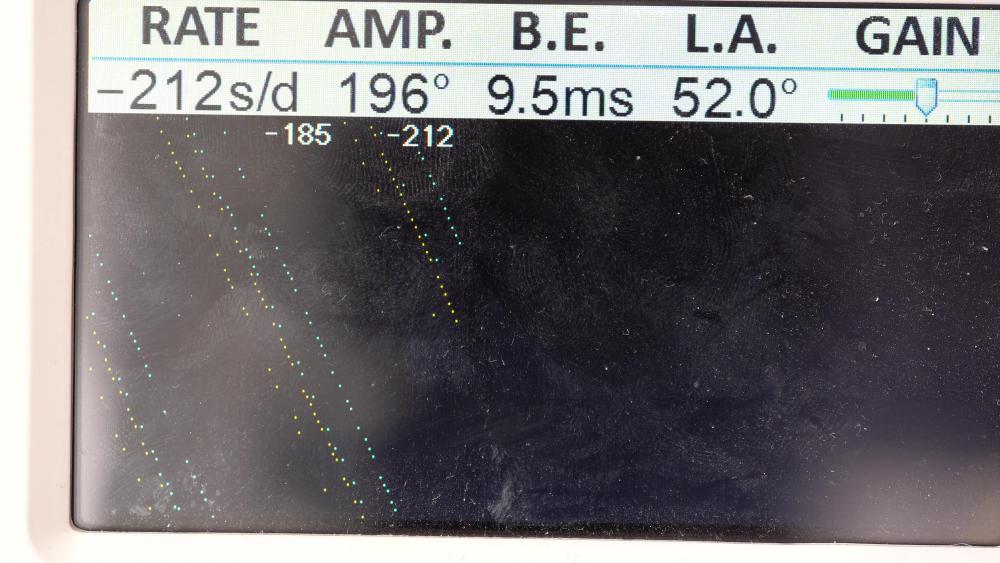
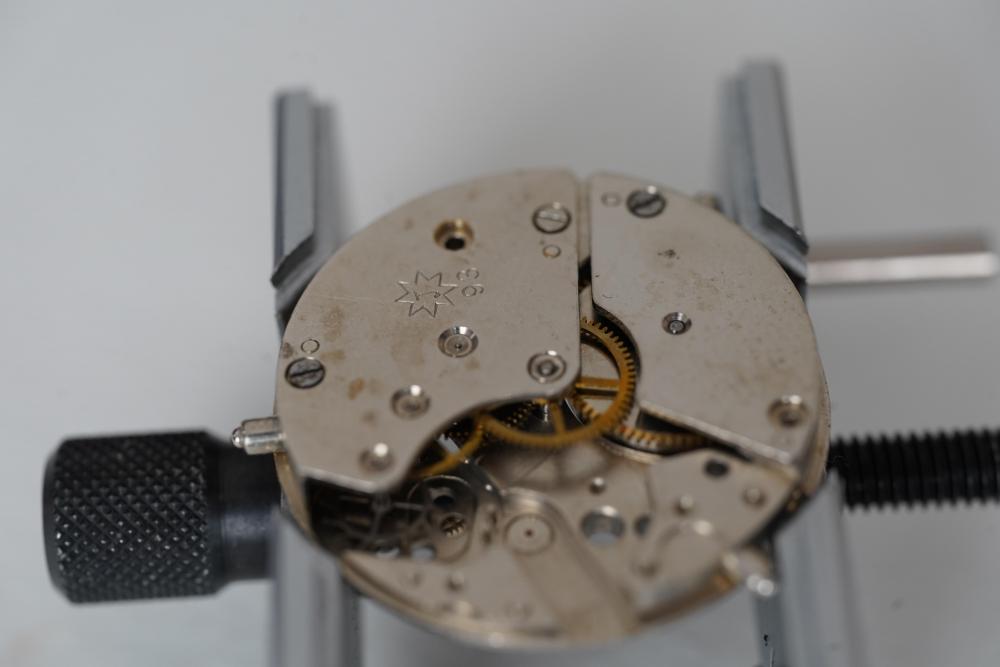
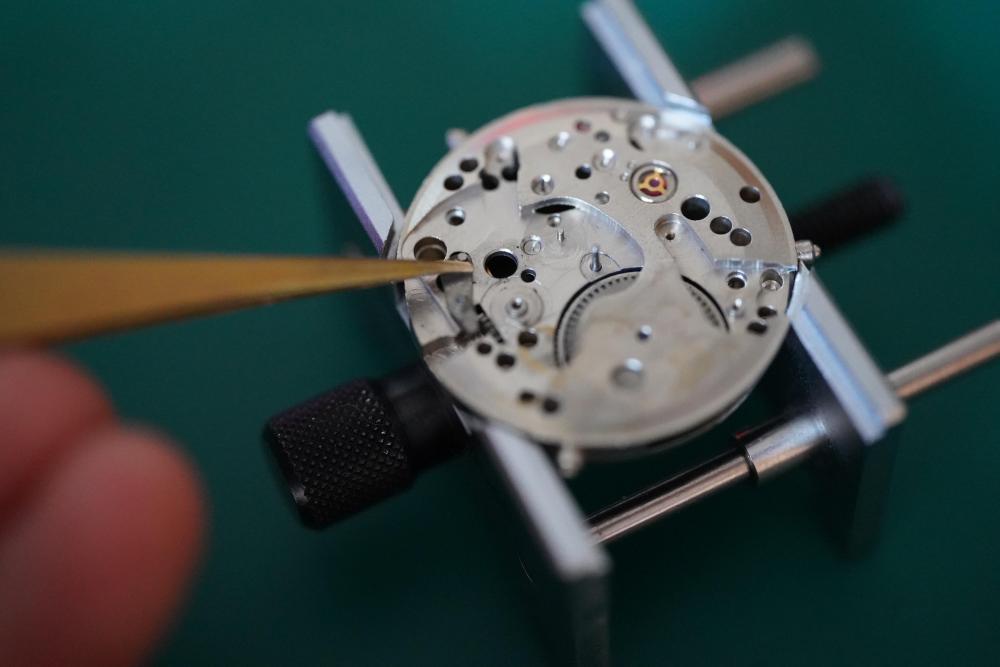
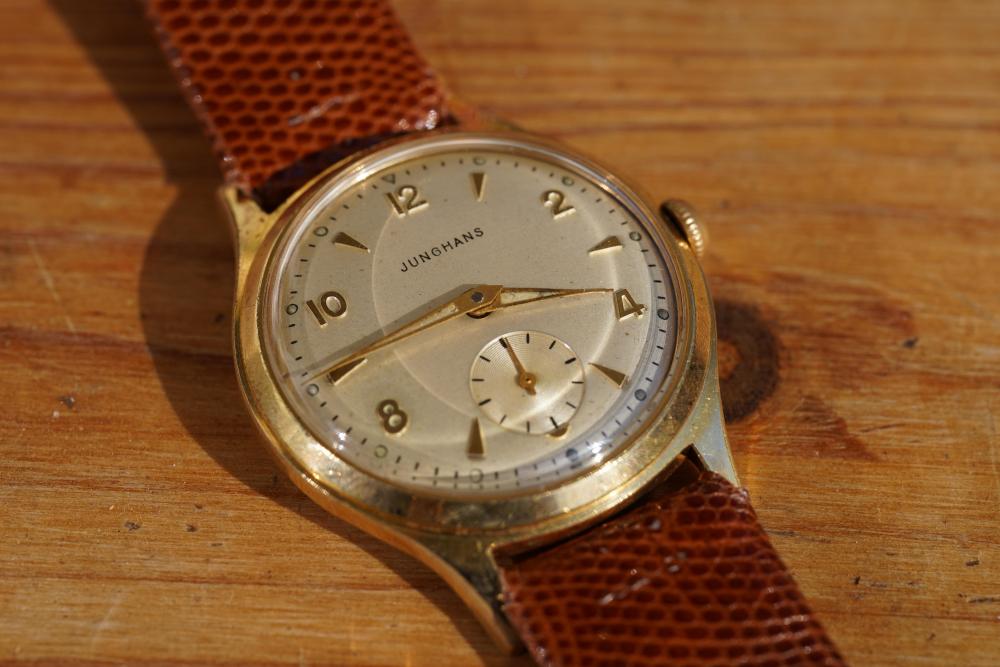
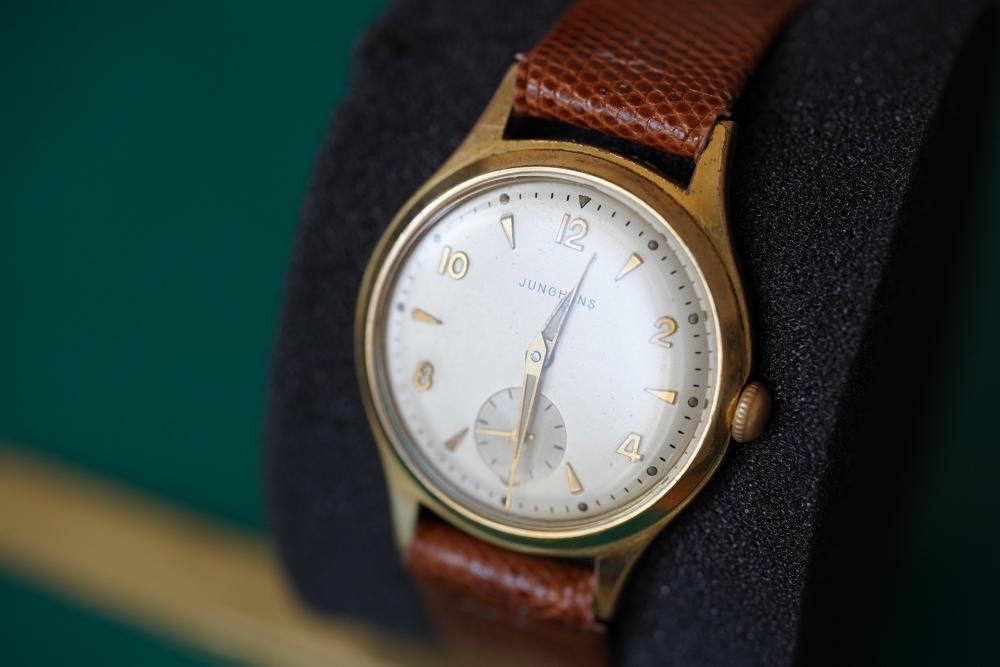
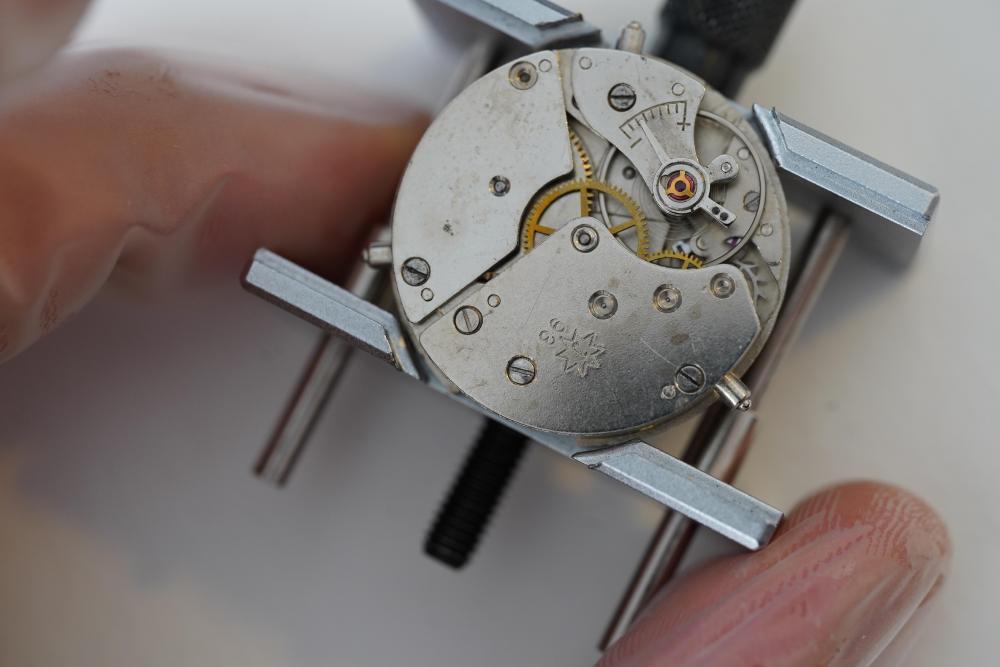
 Hi everyone! This time I'm back again with a little something which turned out to be something of a hybrid project. I had repaired and planned a video on a Junghans watch with the 93 movement caliber to give to my younger brother ( which young adult doesn't need a nice looking watch) and had it all set out, planned and executed. The only downside was that the dial was slightly discolored on the right side due to bad cleaning on my part. Here you can see what I mean by that: But I happened to be at a local fleamarket on the day when I wanted to finalize the video and surprisingly found the exact same model! Even though the crystal was pretty scratched up, I was confident that the dial was in a good condition so I bought it for 10 Euros. And yeah, it looks like I hit the jackpot: So.. I got lucky and changed the dials in the end. But enough rambling around and here is the actual process of working on the watch movement: 1. Removing the movement from the case. This movement was from the “trilastic” model line of junghans and it got its name from the tri-legged support beams which held the movement inside the case. Just pop those up and remove the movement. Fun fact: While checking the inside of the caseback for marking I found one from 1981, thats so coooool! : 2. Remove the hands and and then the dial by unscrewing the dial feet clamps ( Forgot to take Pictures sorryyy) 3. Strap the movement into the holder and unwind the watch if needed. Then I removed the broken watch stem. 4. Remove the blued ratchet and the click spring 5. Remove the hour wheel, minute wheel, canon pinion and the very interesting looking yoke and its spring. 6. Then remove the clutch and flip the movement. The leftover lever will be released from the backside later on. 7. Remove the balance wheel and the pallet fork system. 8. Then remove the two screws holding down the mainplate and lift that. You can go ahead and unscrew the screw in between as well since that will release the left over lever on the front side. Do the same for the mainspring cover. 9. Remove the gear train and the mainspring And that's about it with the disassembly! Now moving on to the whole cleaning, lubrication and servicing part! Mainspring service: This Mainspring was something new to me since it had a very interesting arbor! Instead of the traditional small arbor inside the barrel, it extended outwards and acted as a lid and a wheel at the same time. While this is definitely cool, it also brings some negatives such as faster exposure to dirt and etc with it im sure. It looked fine so I just recleaned, lubricated and reinserted the whole thing: Lubrication: Here is a list of lubrications I used Moebius 9010 - All jewels Moebius 8200 - Mainspring and barrel lubrication Moebius HP 1300 slower moving parts such as canon pinion Moebius 9415 - Pallet Fork hooking jewels Molykote DX - Gearless works and high contact/friction zones (Front side only really) Oh and of course don't forget to clean and lubricate the balance shock jewels! Reassembly: Just reverse the disassembly steps or watch (no pun intended) the video for a step by step walkthrough. Timegrapher Test: Before Regulation After Regulation: Now i'm very happy that the rate is so much better. The amplitude can definitely be better however I would blame the old mainspring for that. The one thing that puzzles me really is the Bear Error. I've tried virtually every combination on the balance but the beat error does not improve. Maybe something is wrong with the hairspring? Final Result: After attaching the more aesthetic dial and recasing the watch and adding the straps, these are the final result pics: I must say I'm very happy with the whole process! Of course there were some up and down moments like when I destroyed the balance ( don't even ask) and had to get a replacement and such things but it all worked out in the end did it not? I was not sure how the beat error and the lower amplitude were going to show themselves while wearing the watch so I did a test wear for a week and the time only deviated by a second or two so I'm relieved! Now I apologize for the lack of pictures for a smooth documentation, I forgot and yeah, the rest is history. However, I have uploaded another fully commentated video so If you want explanations, more information or just a smoother experience go check it out: https://youtu.be/ZDXKiNnrmMk Any criticism, questions, comments and tips are always welcome and i'm happy to talk to you all! Hope you enjoyed it and until next time! Stay Healthy!
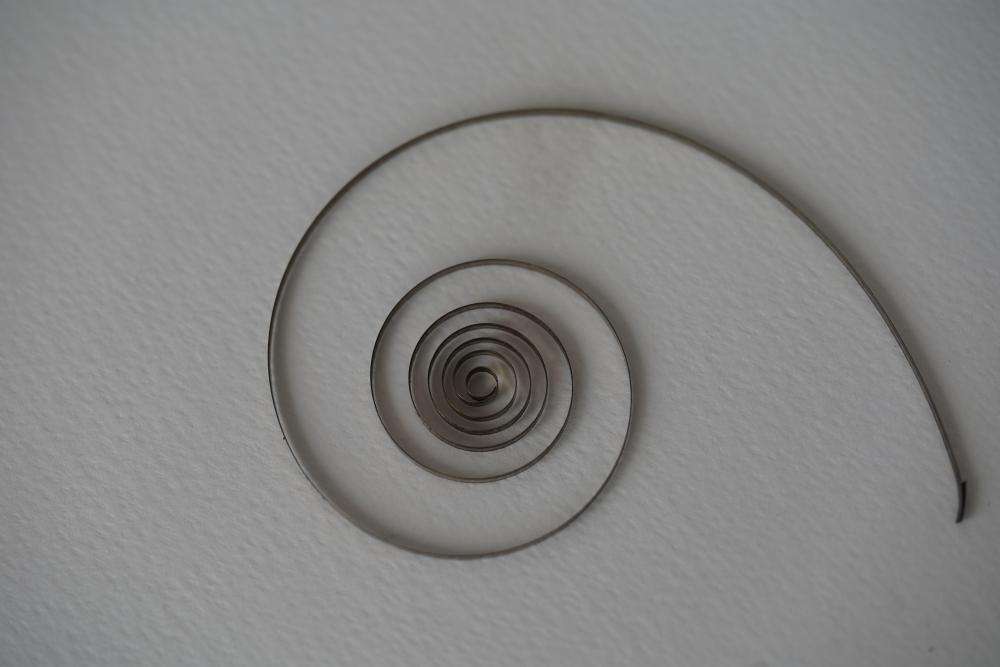


- 4 replies
-
- 6
-

-
- restoration
- walkthrough
- (and 1 more)