Search the Community
Showing results for tags 'seiko 7606'.
Found 1 result
-
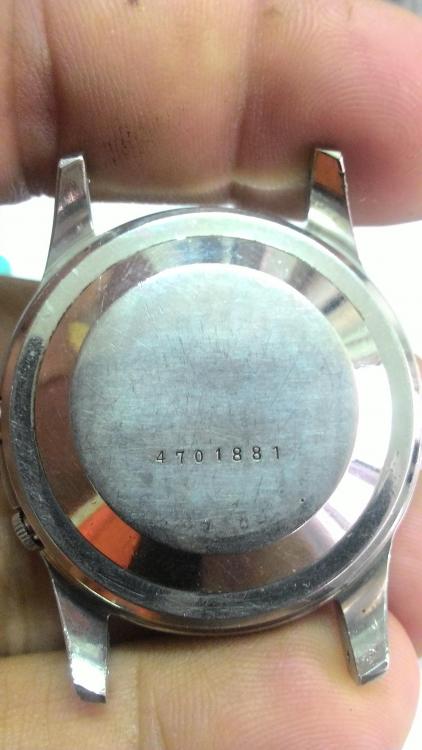
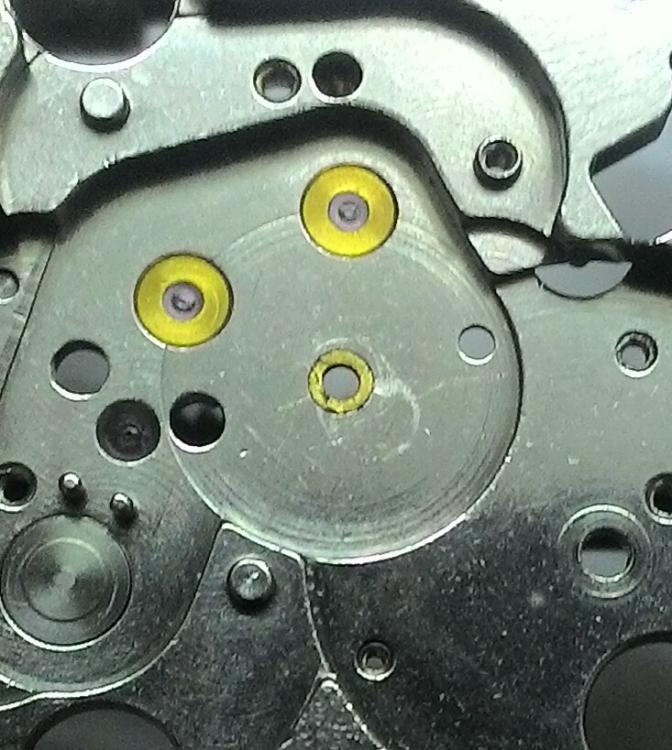
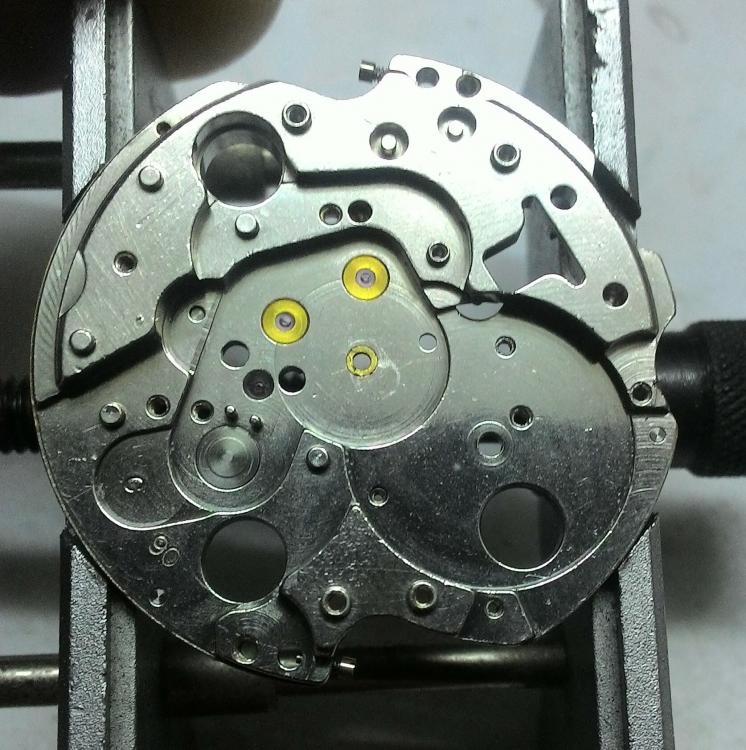
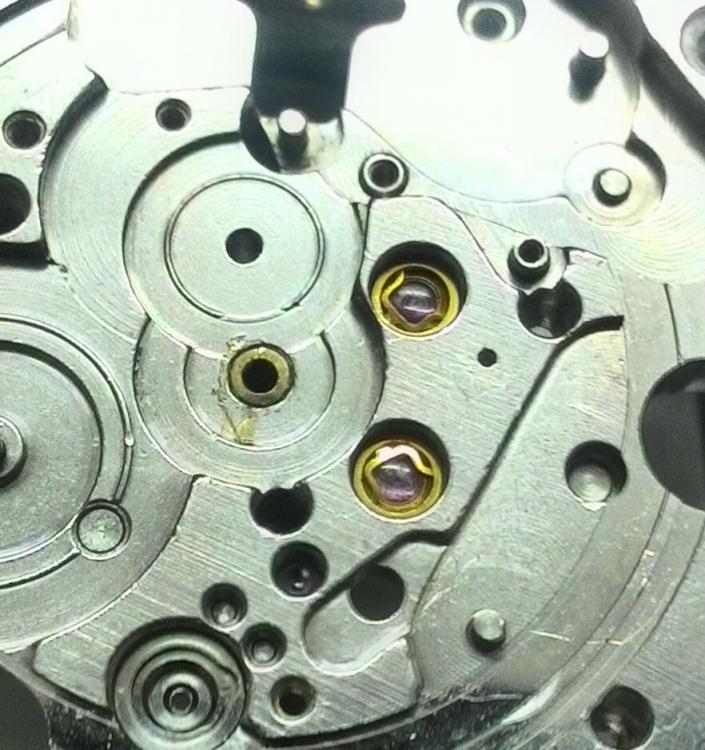
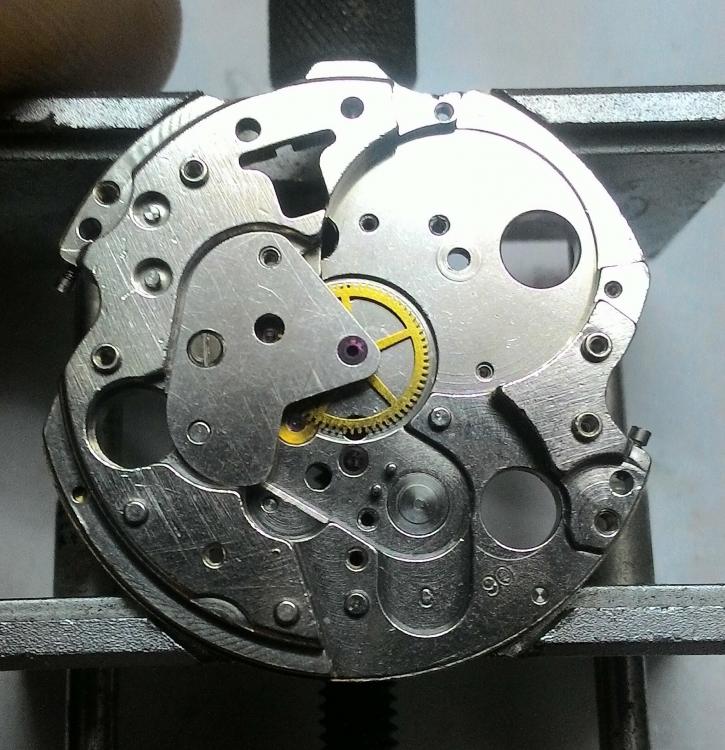
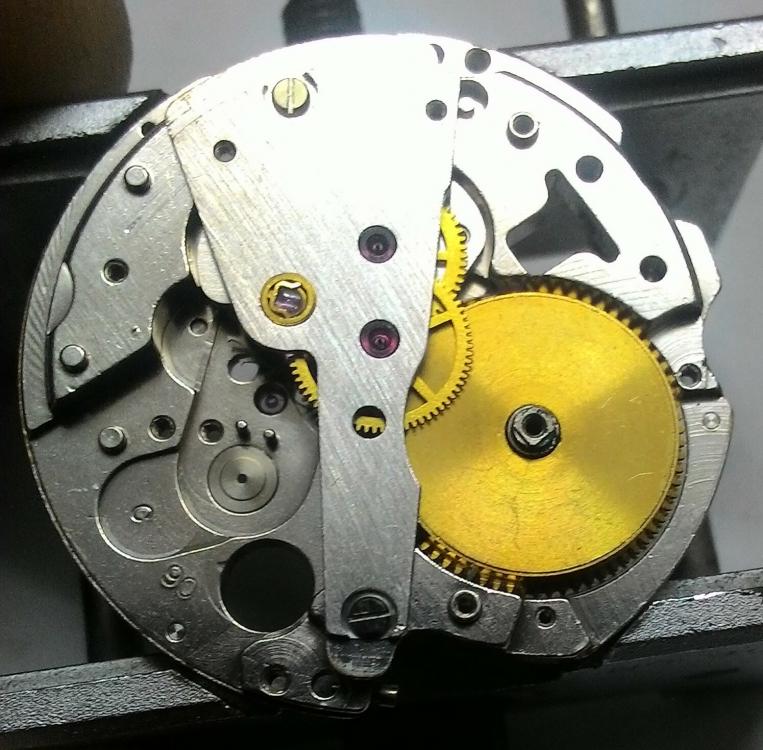
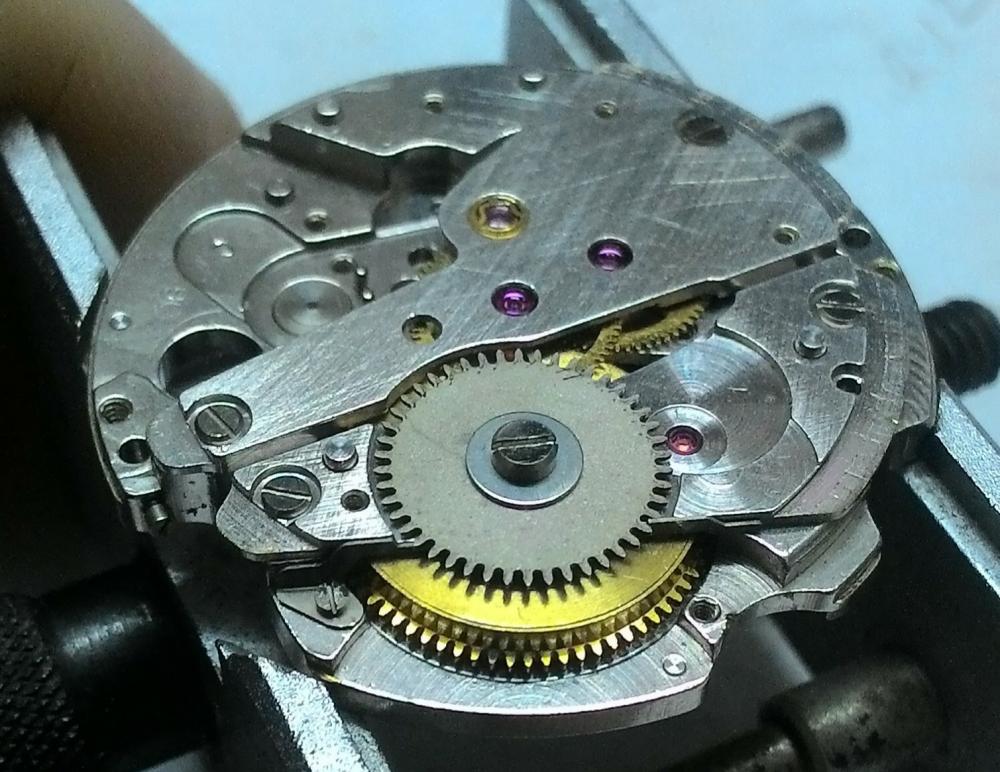
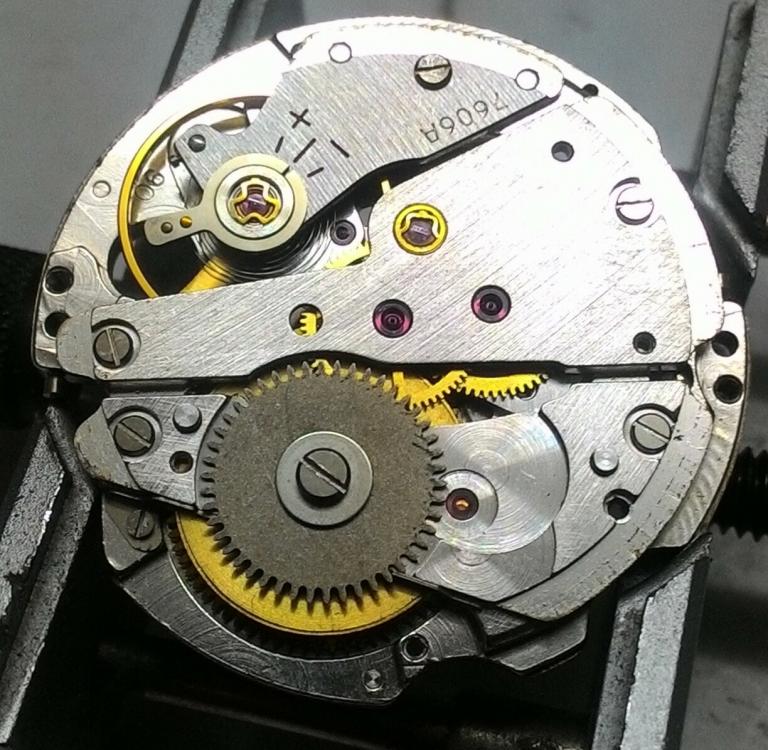
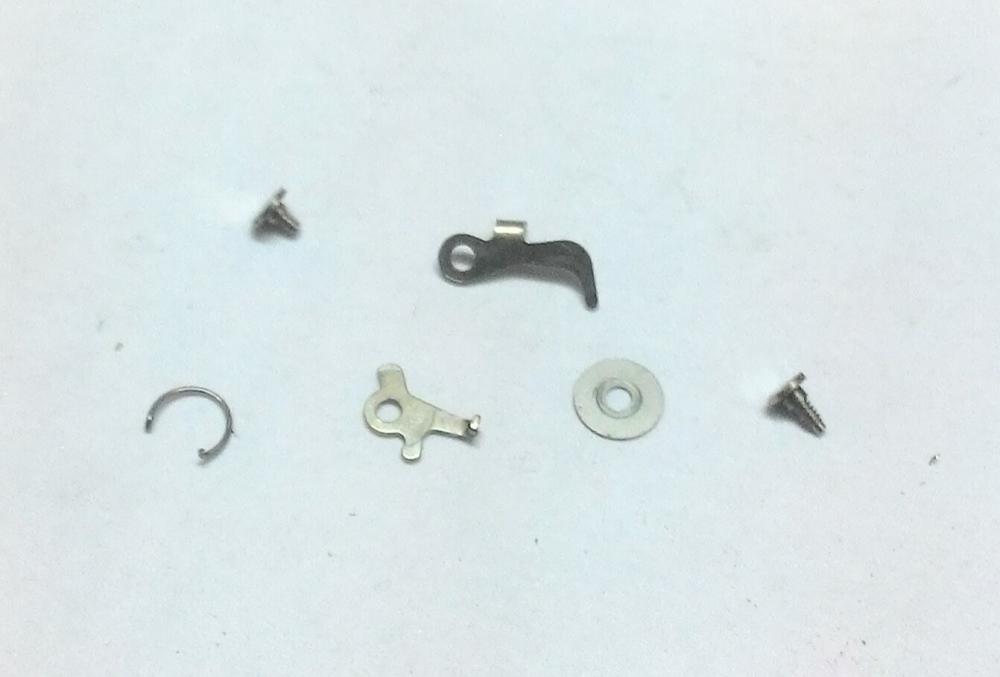
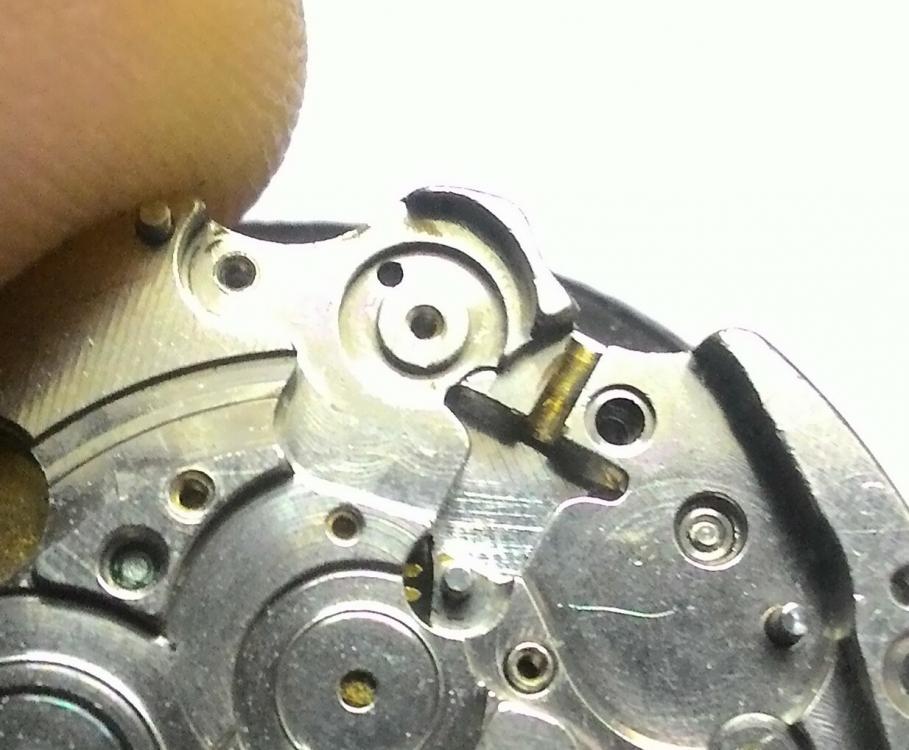
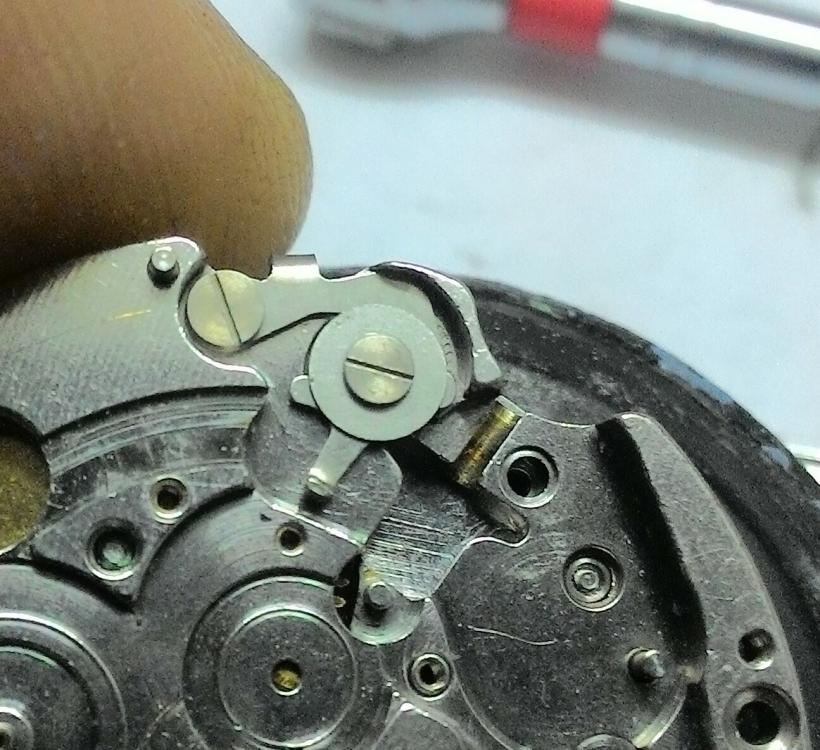
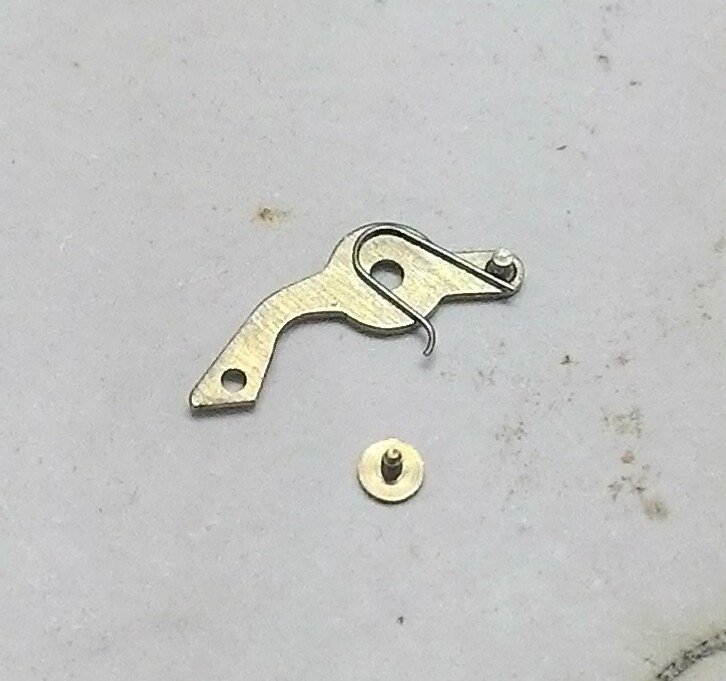
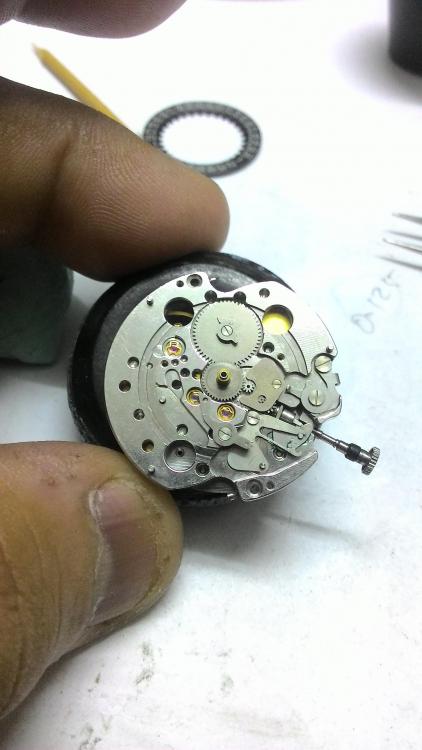
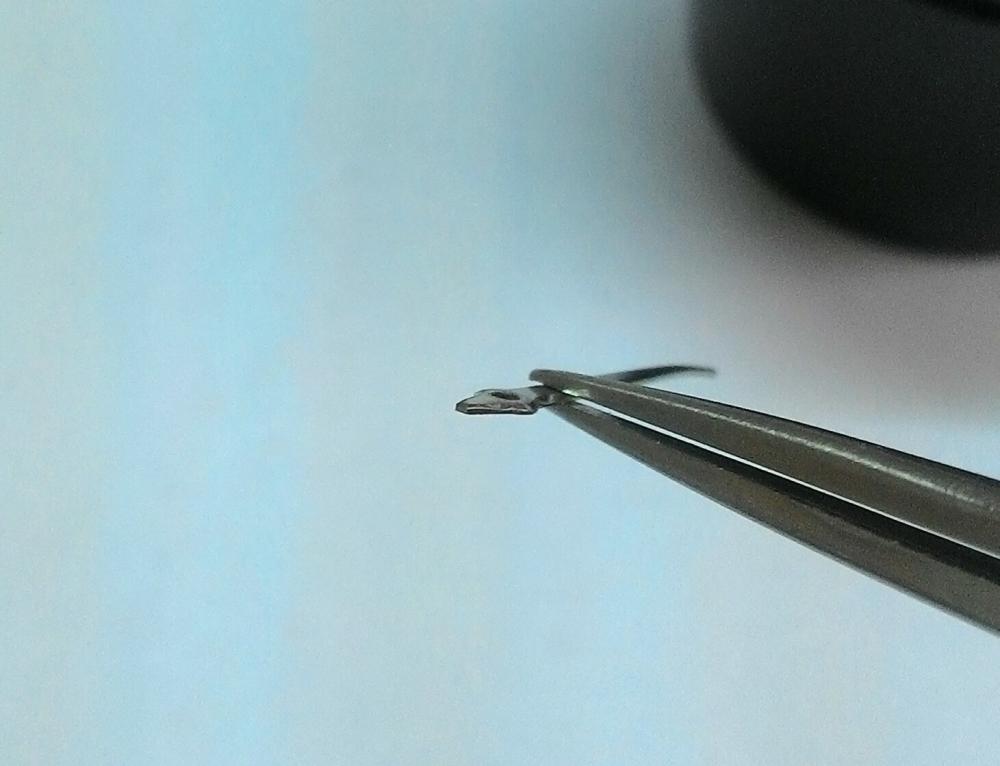
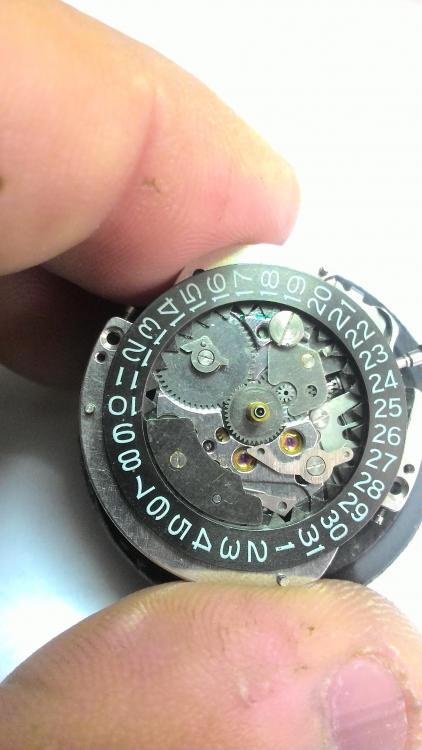
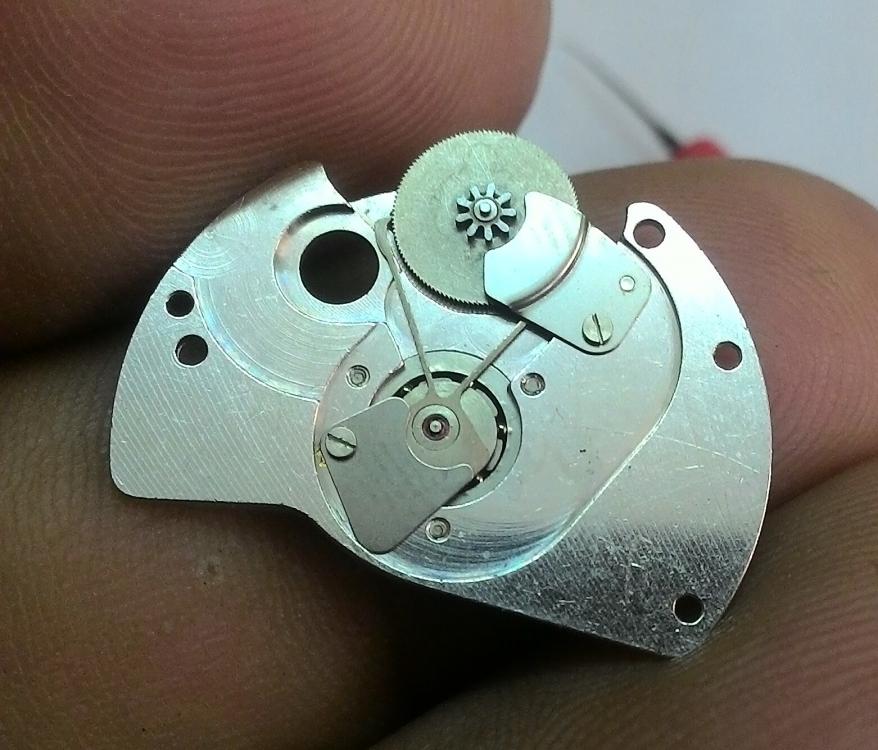
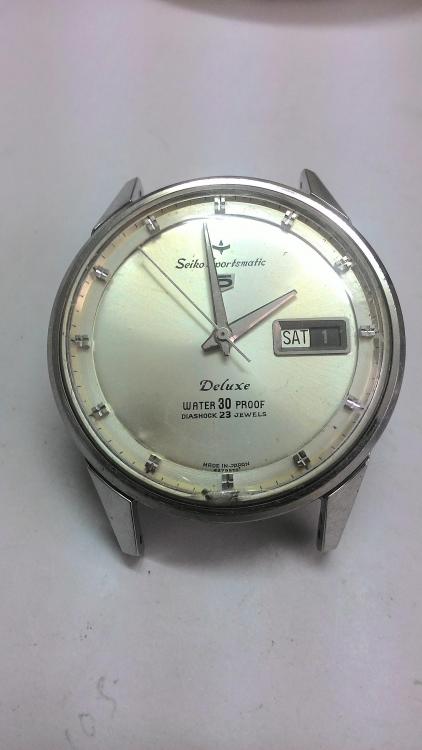
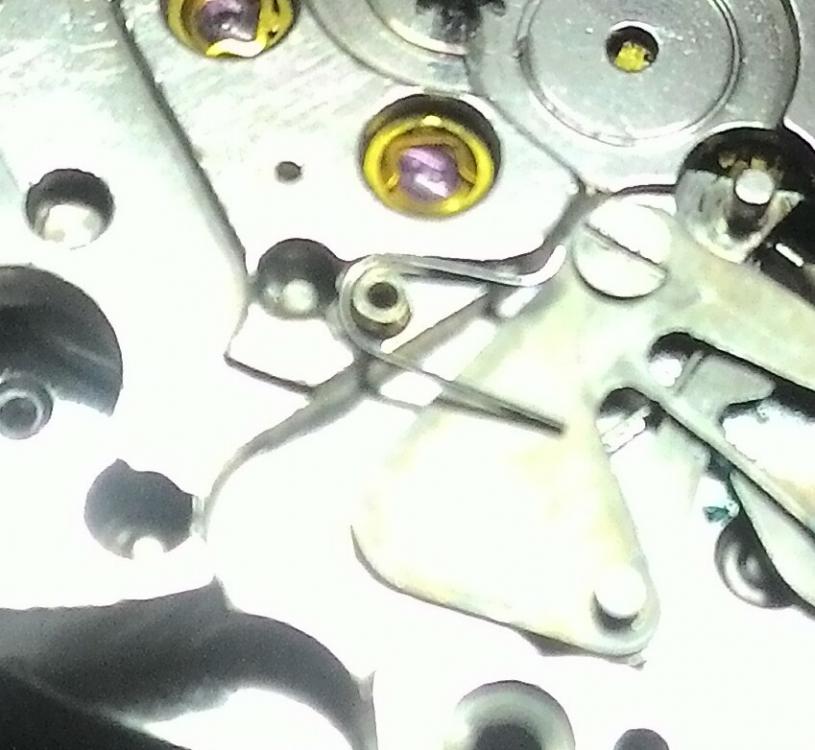
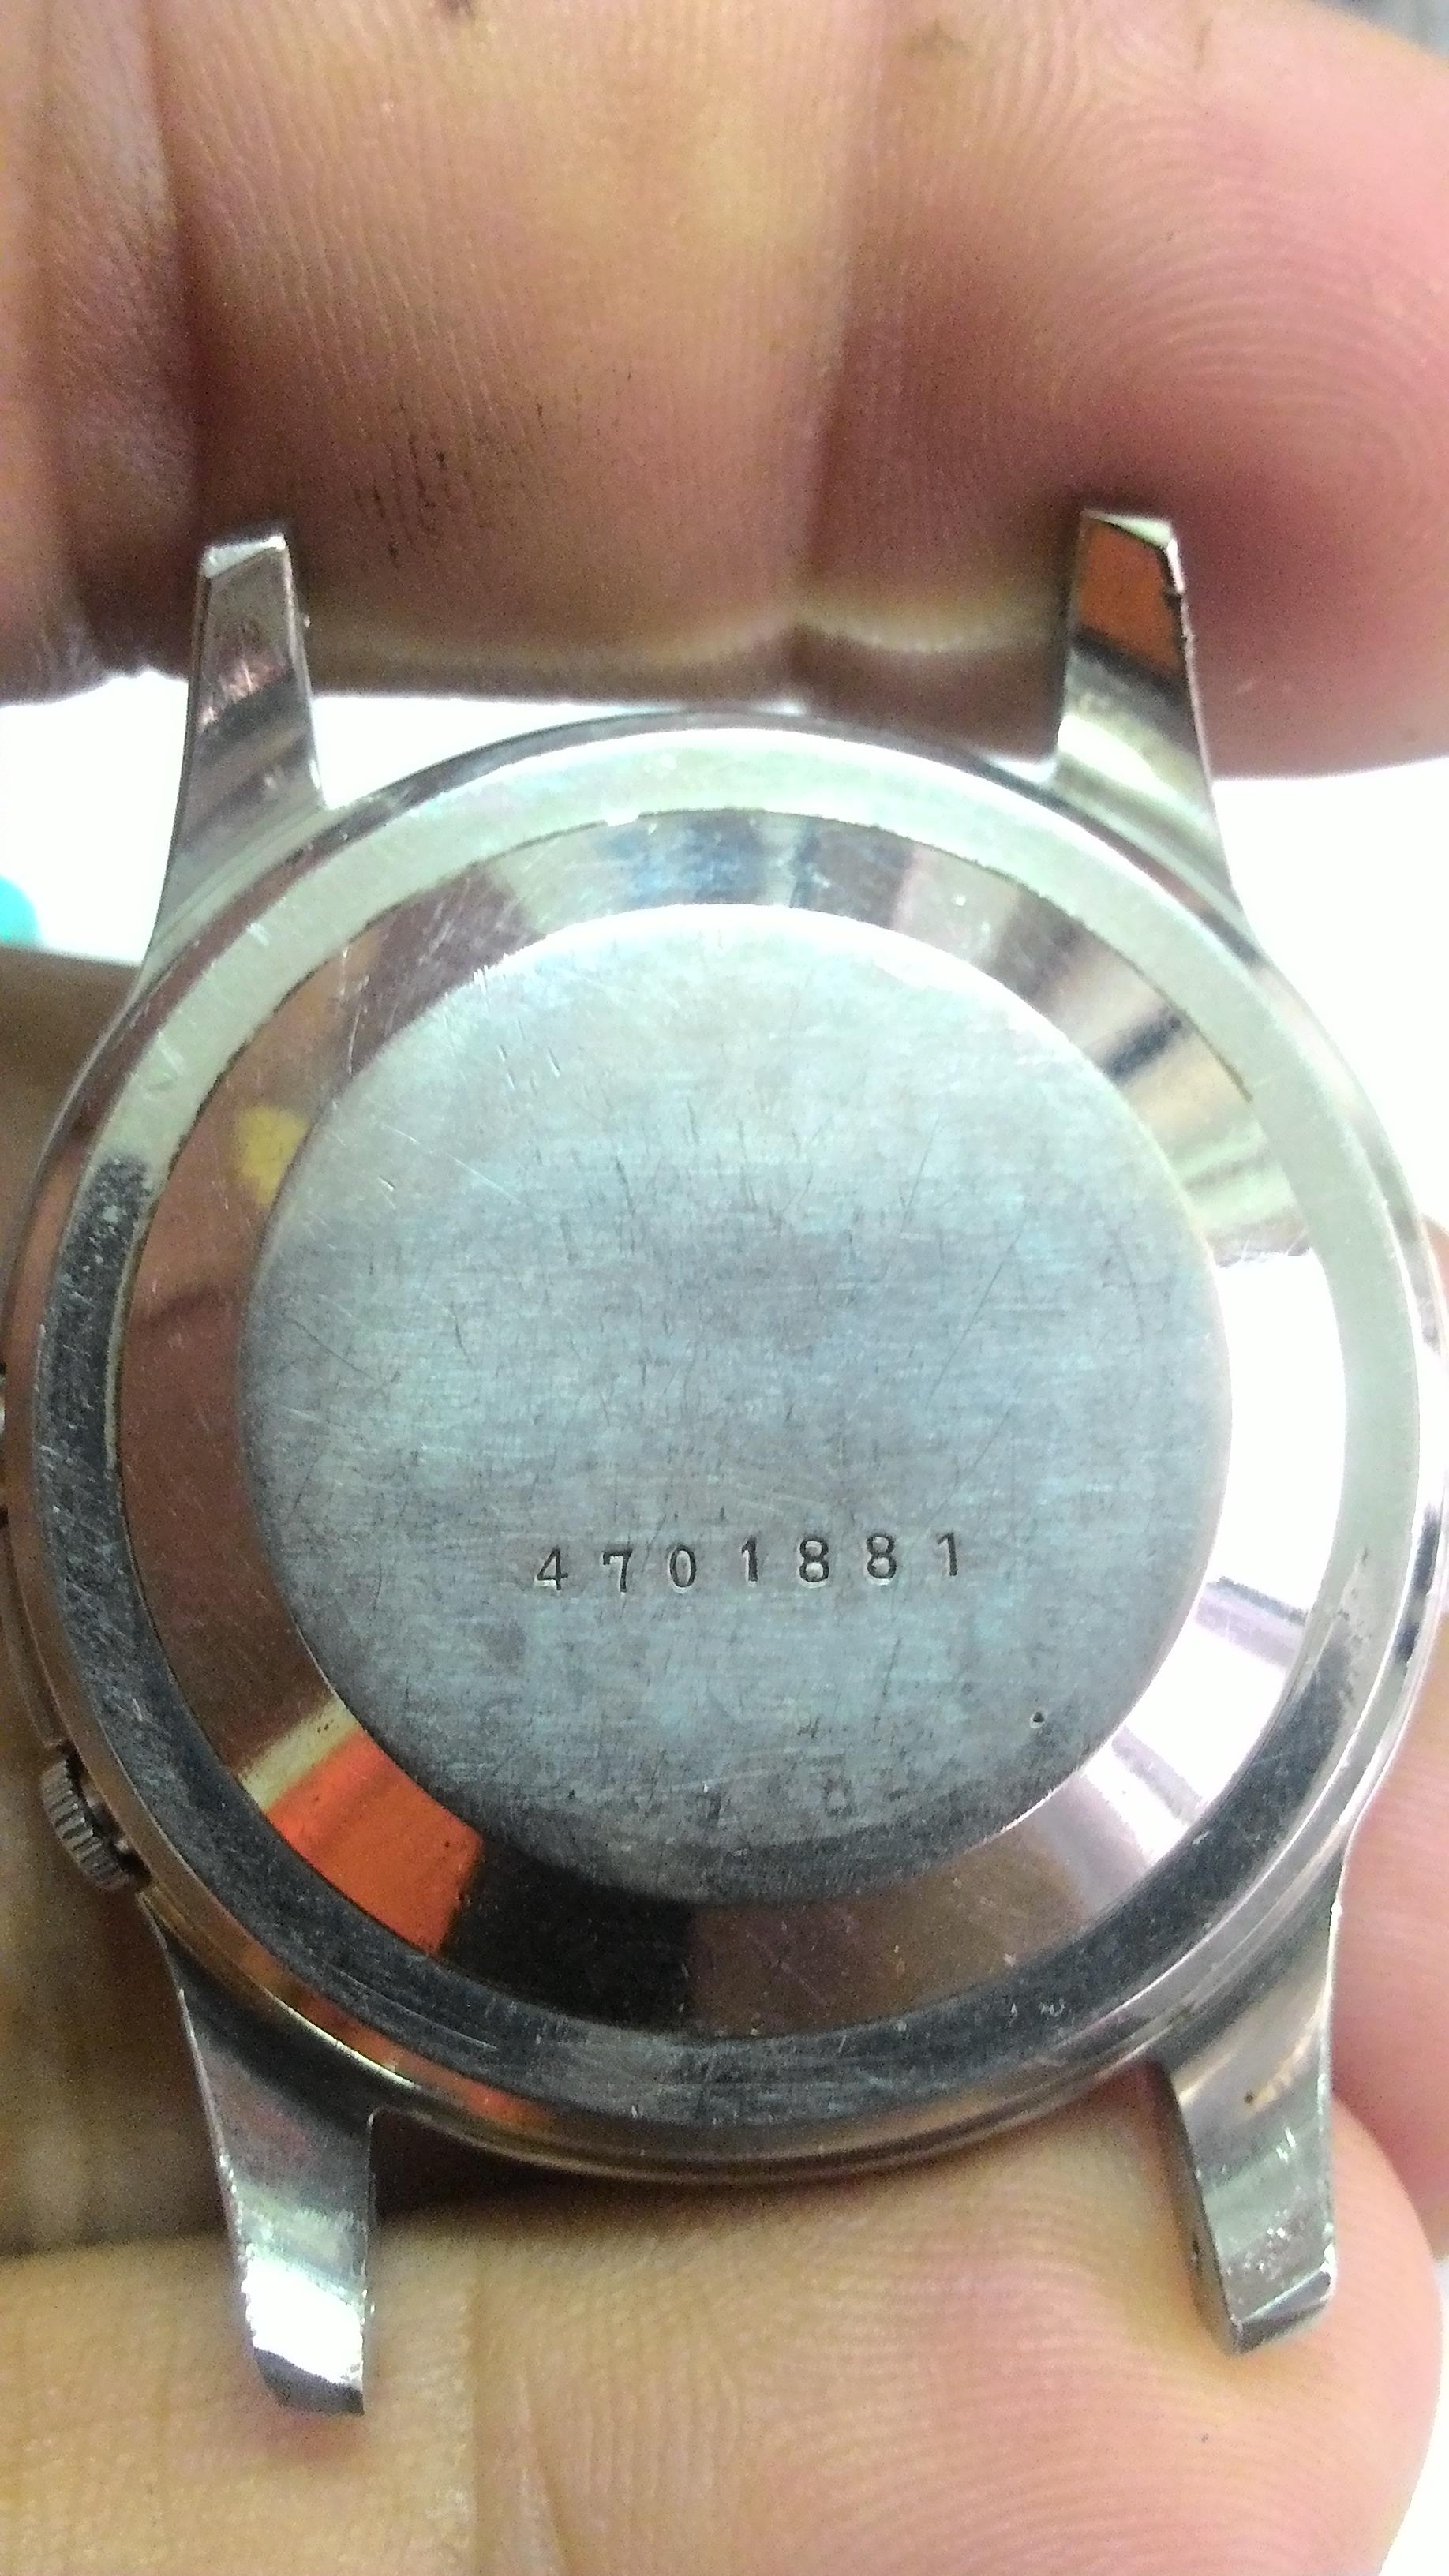
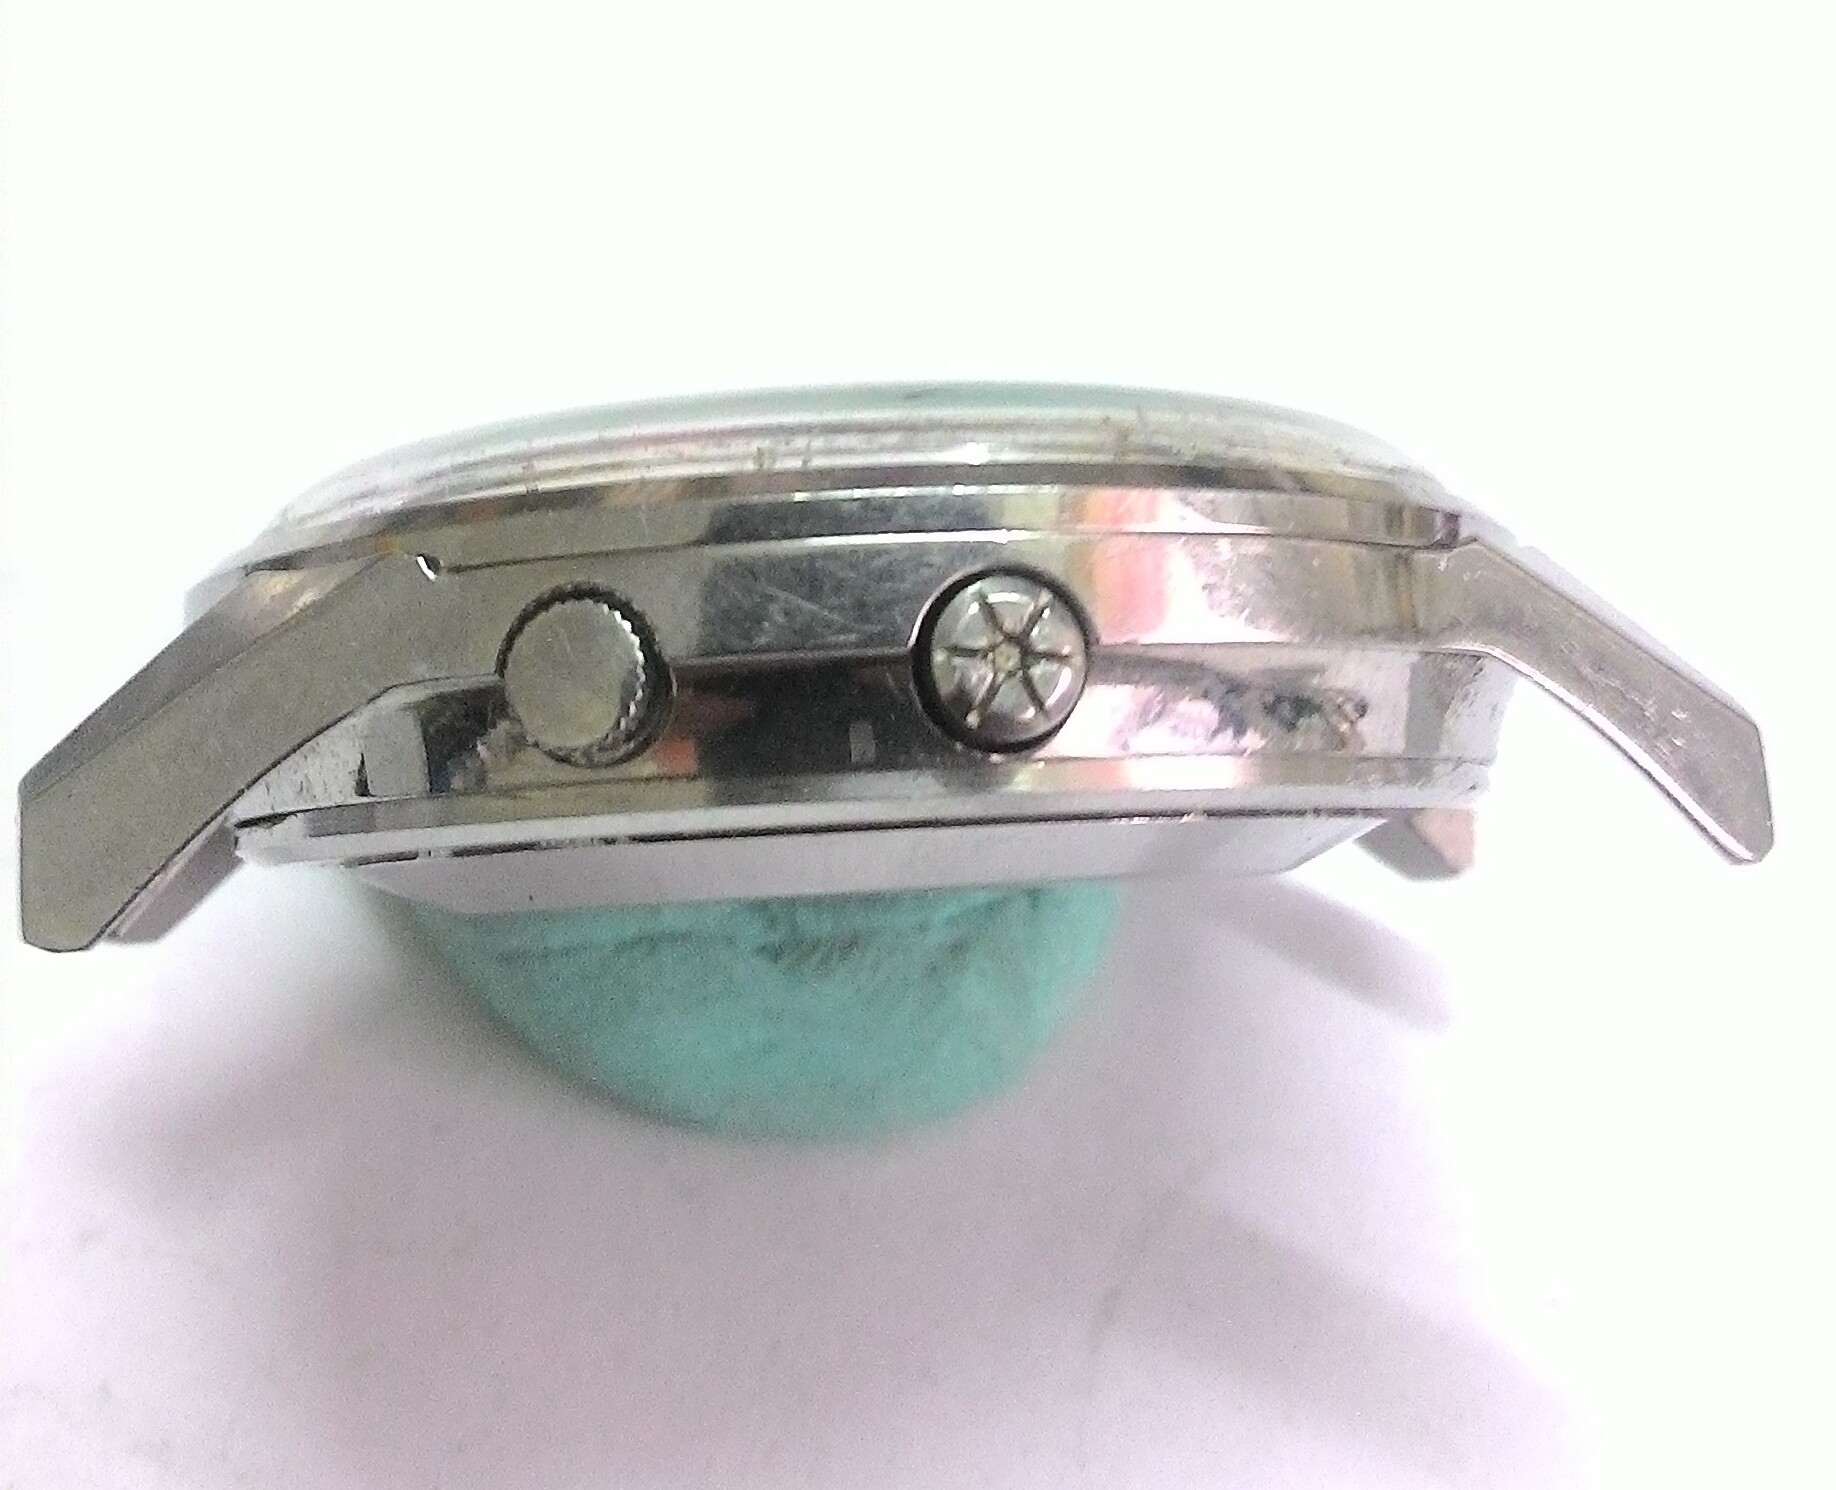
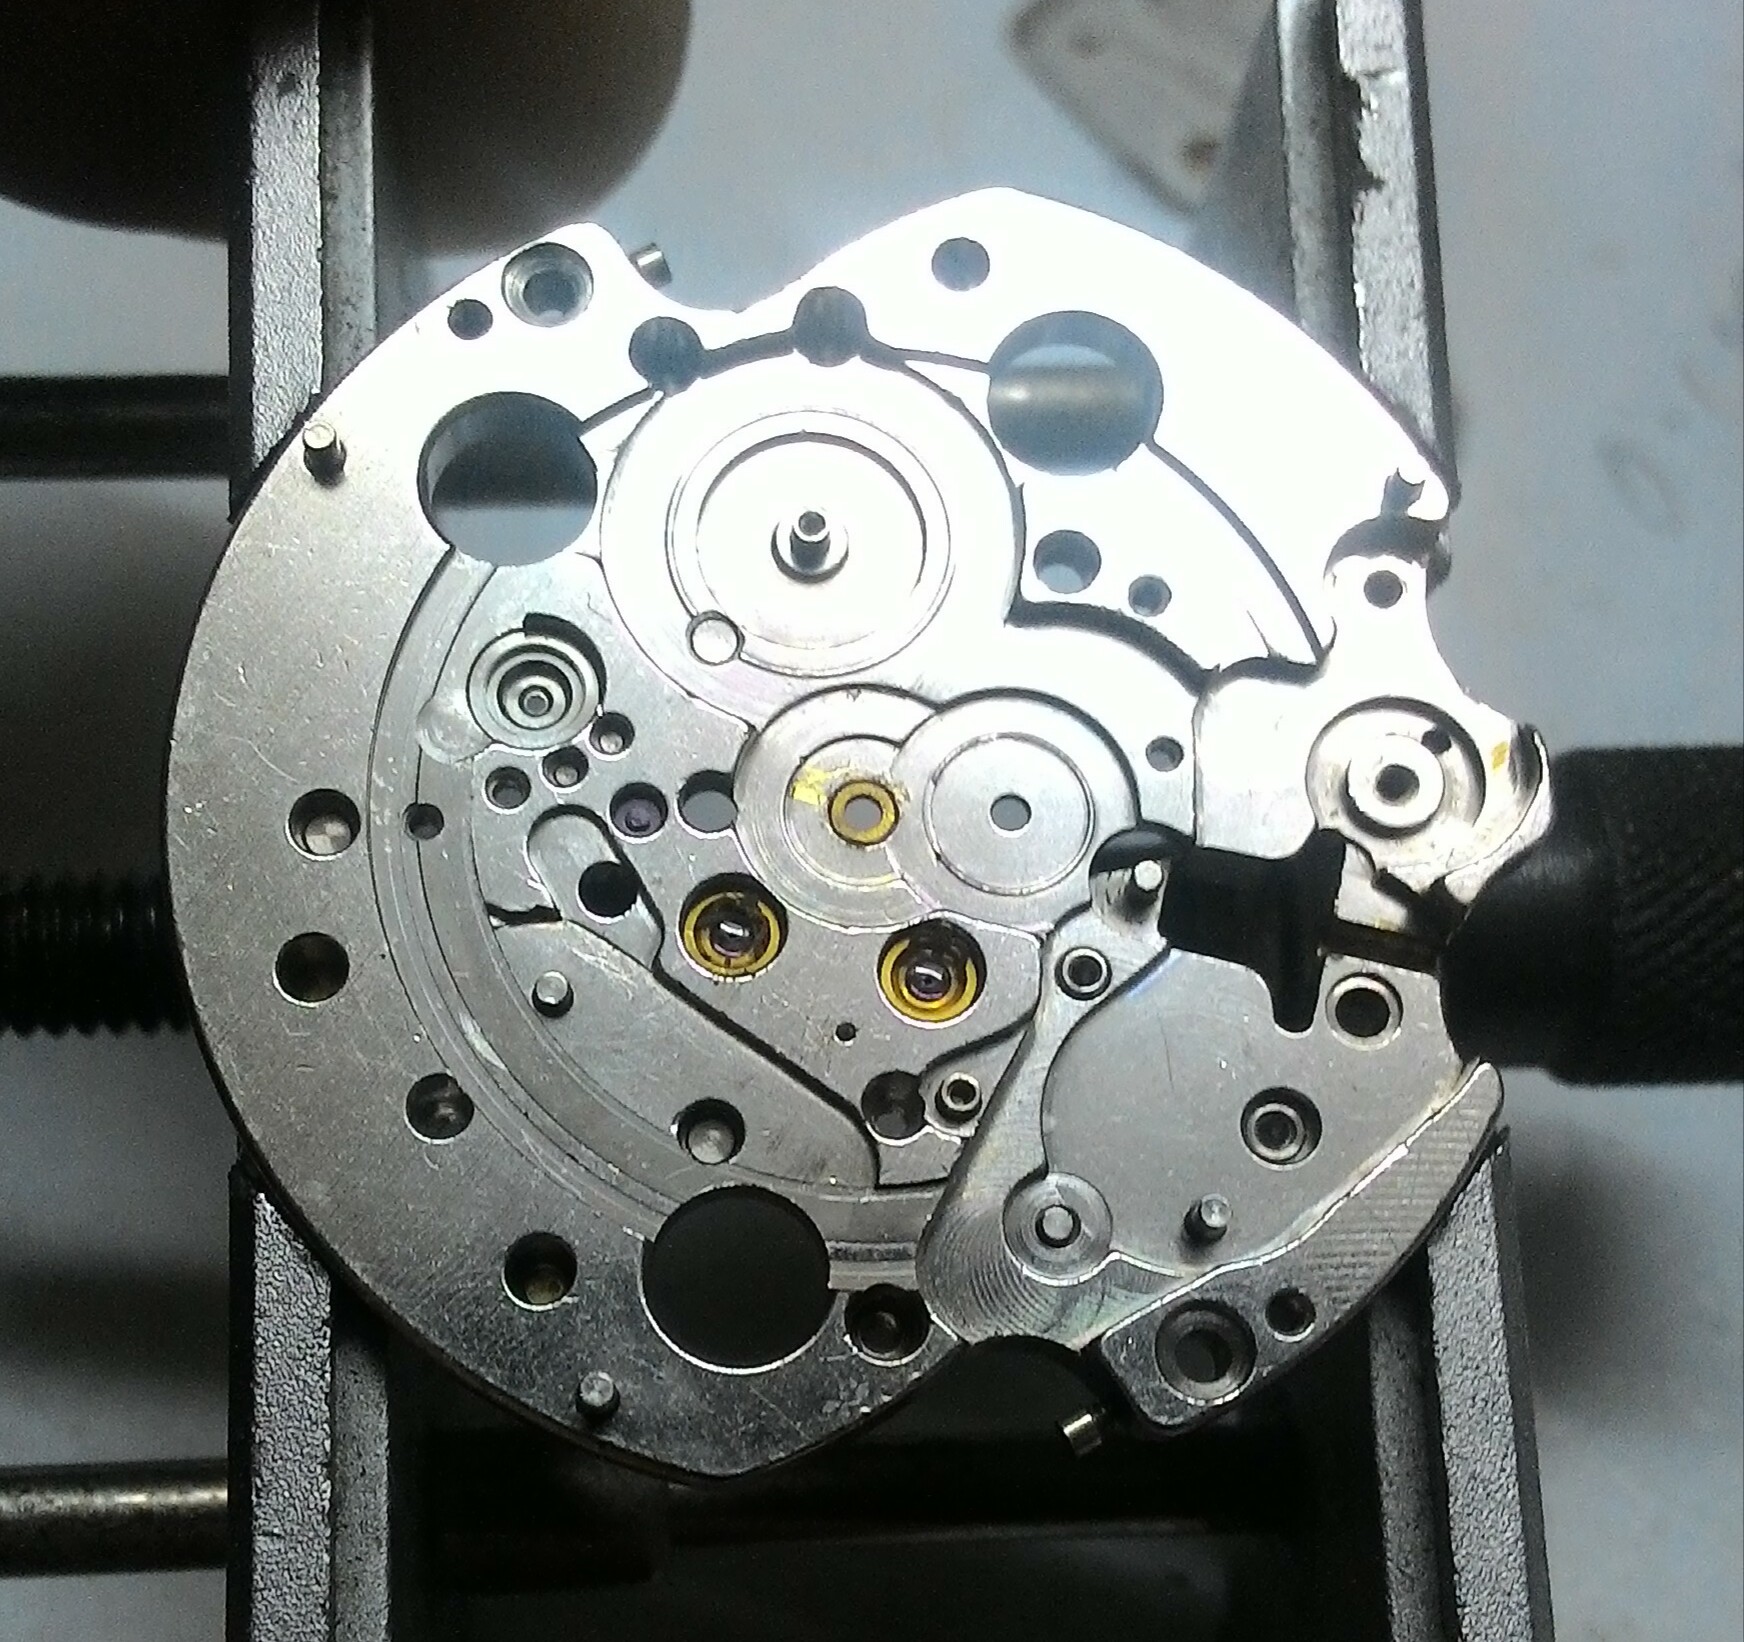
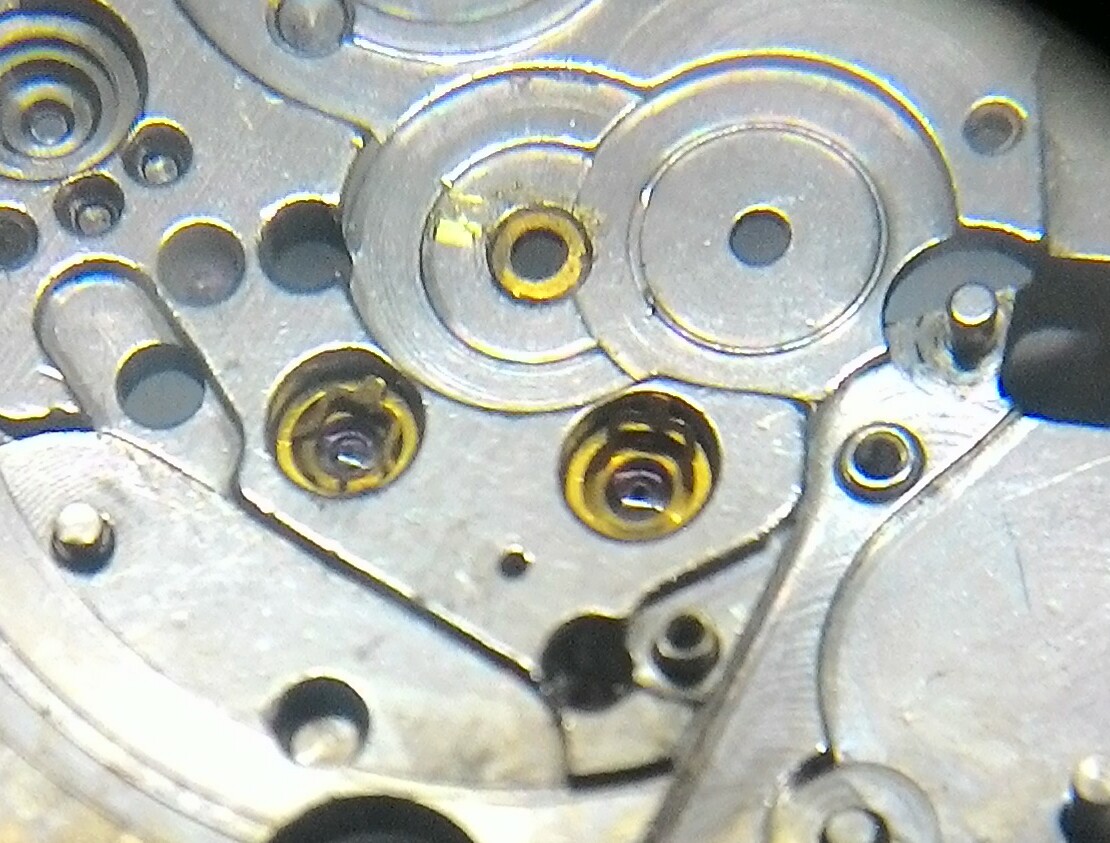
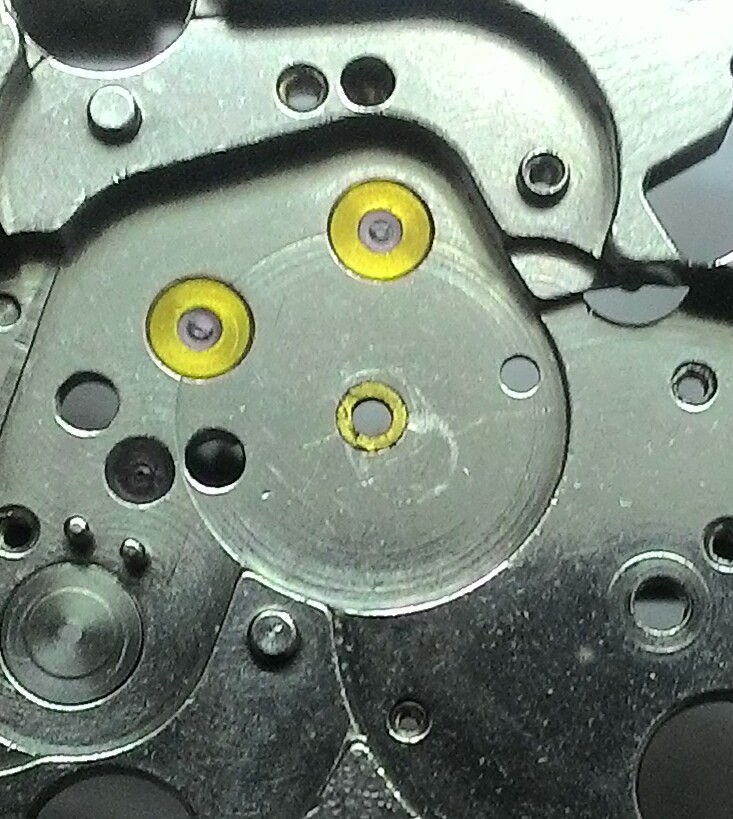
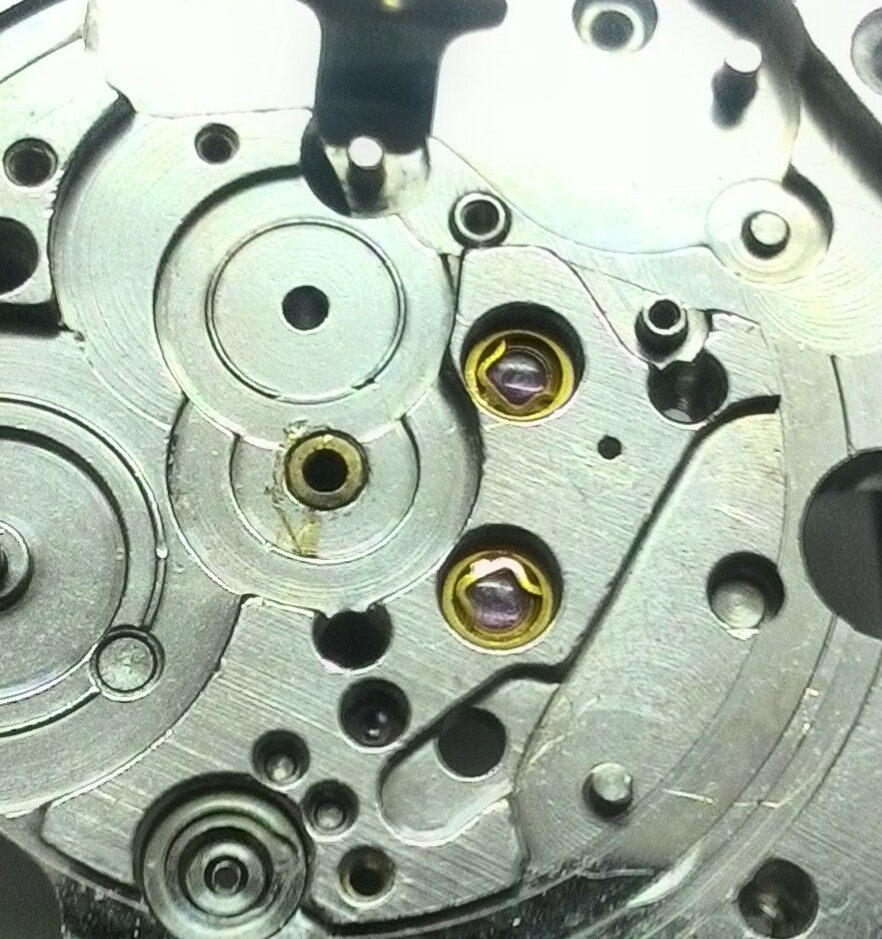
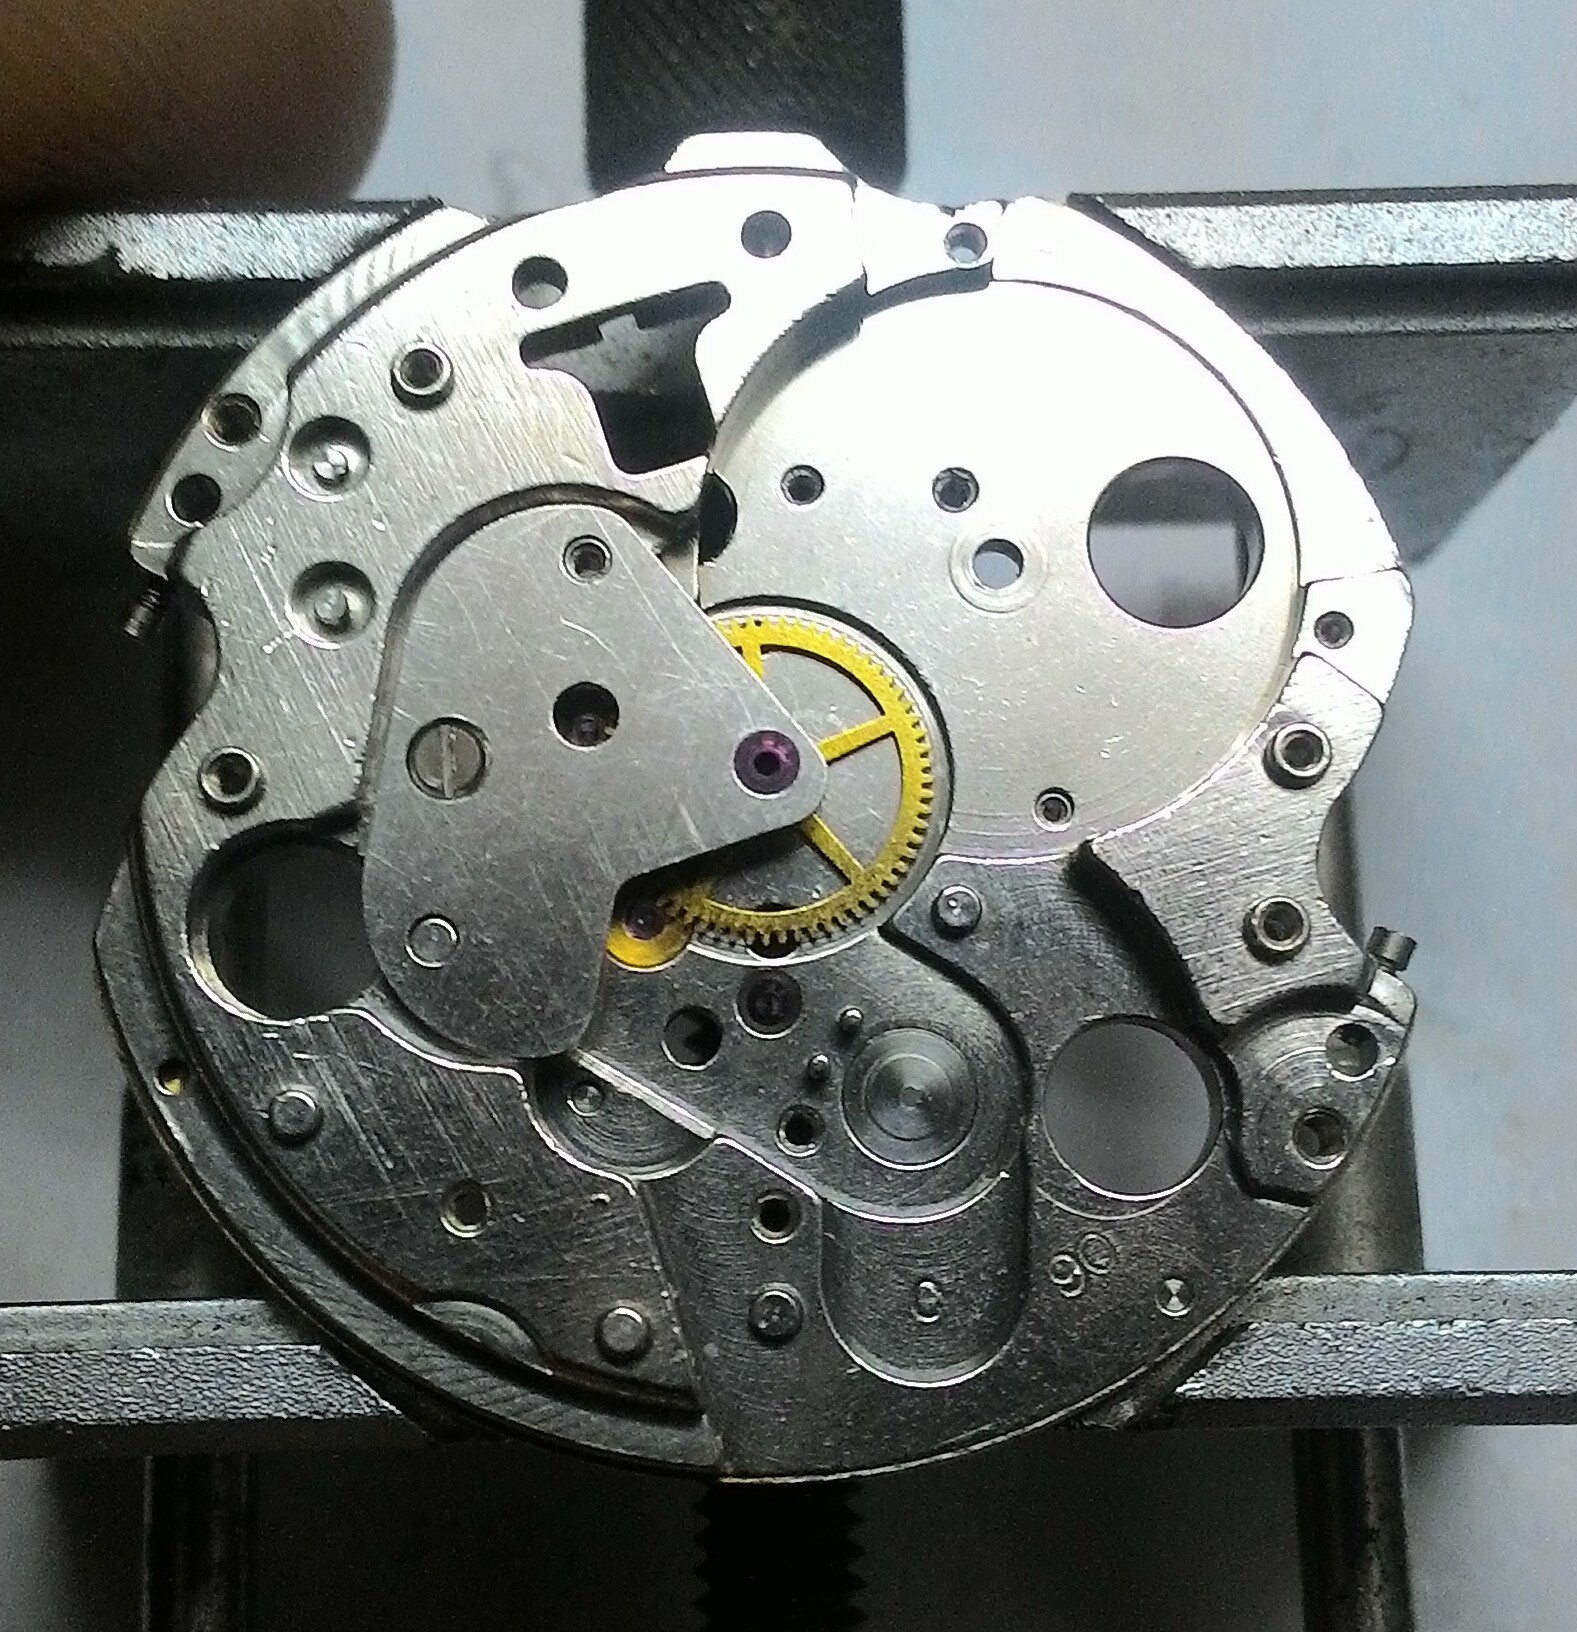
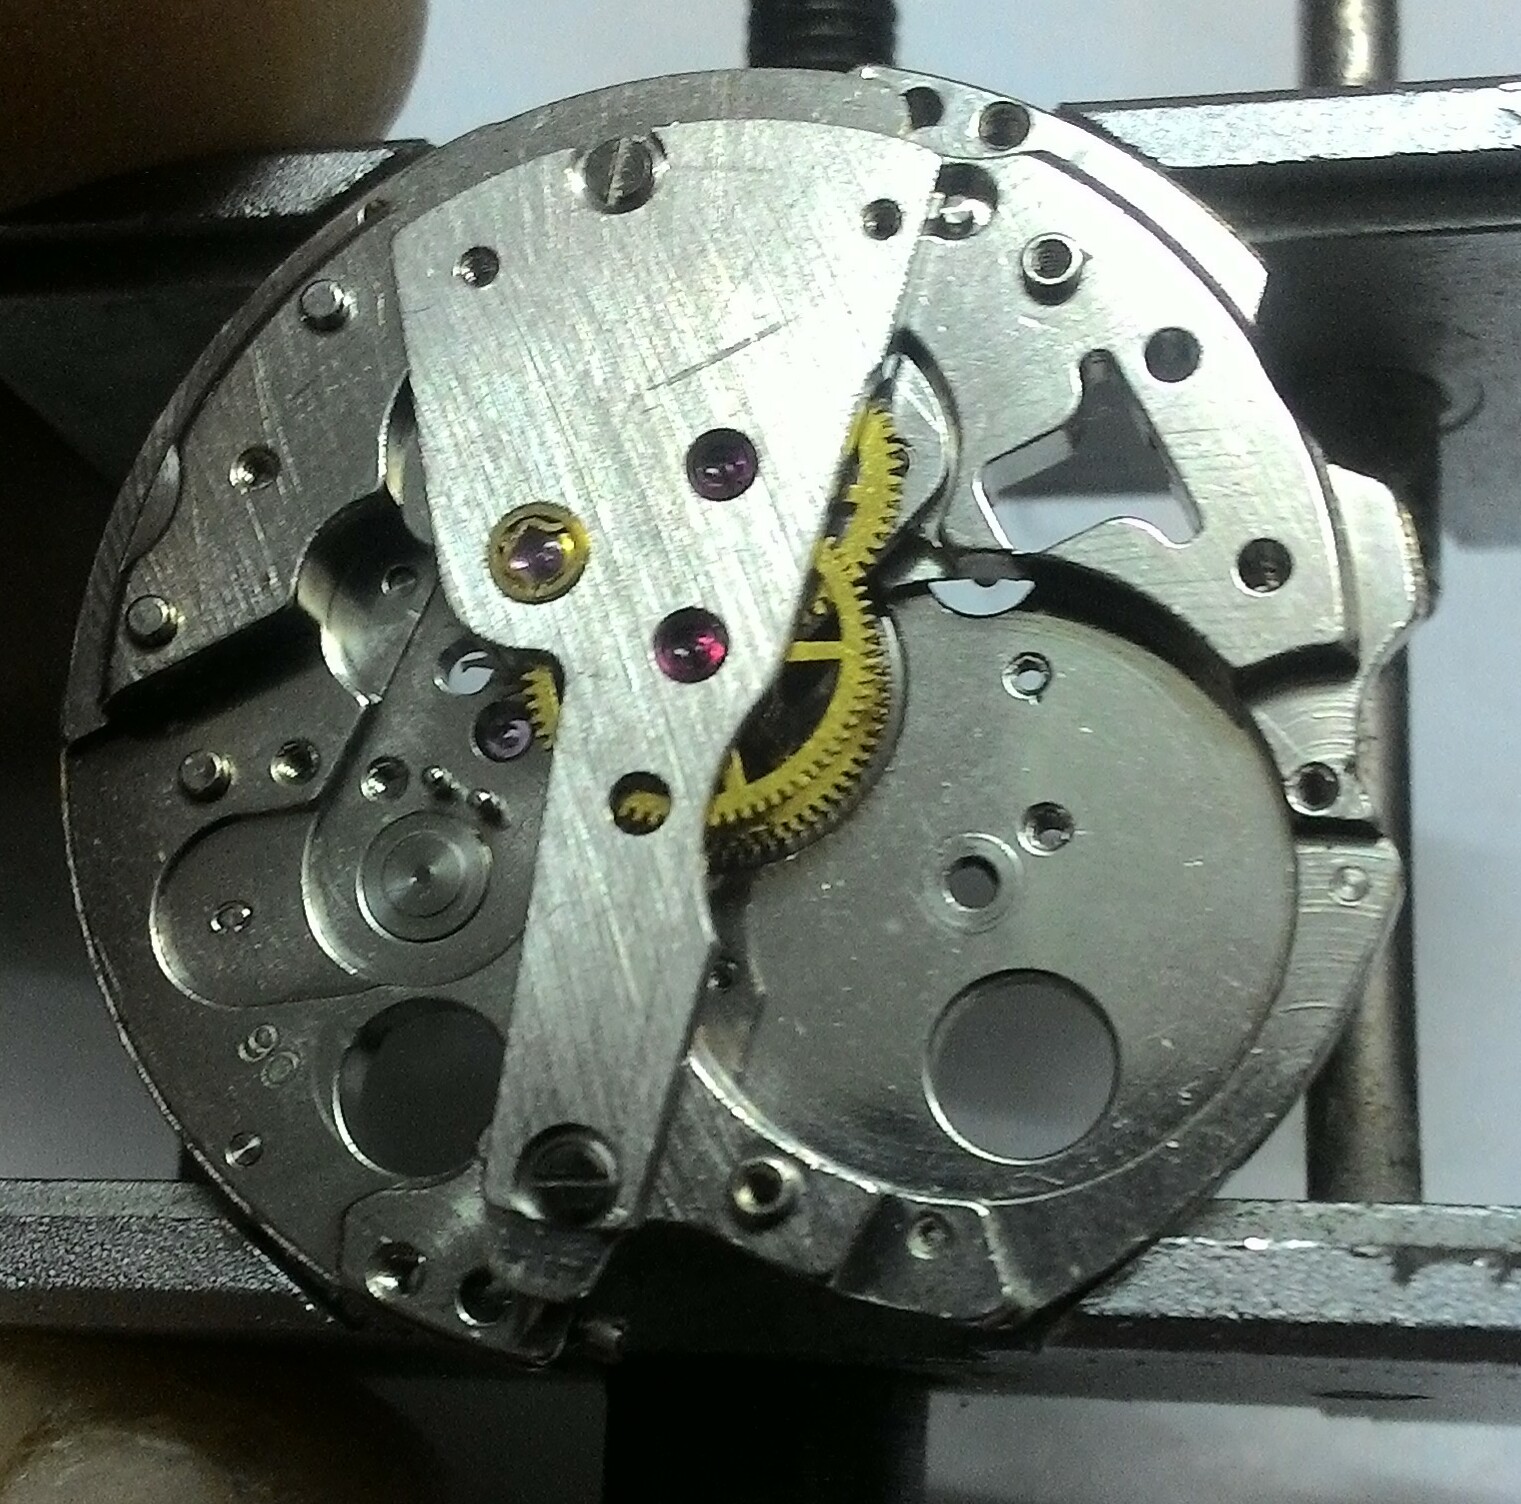
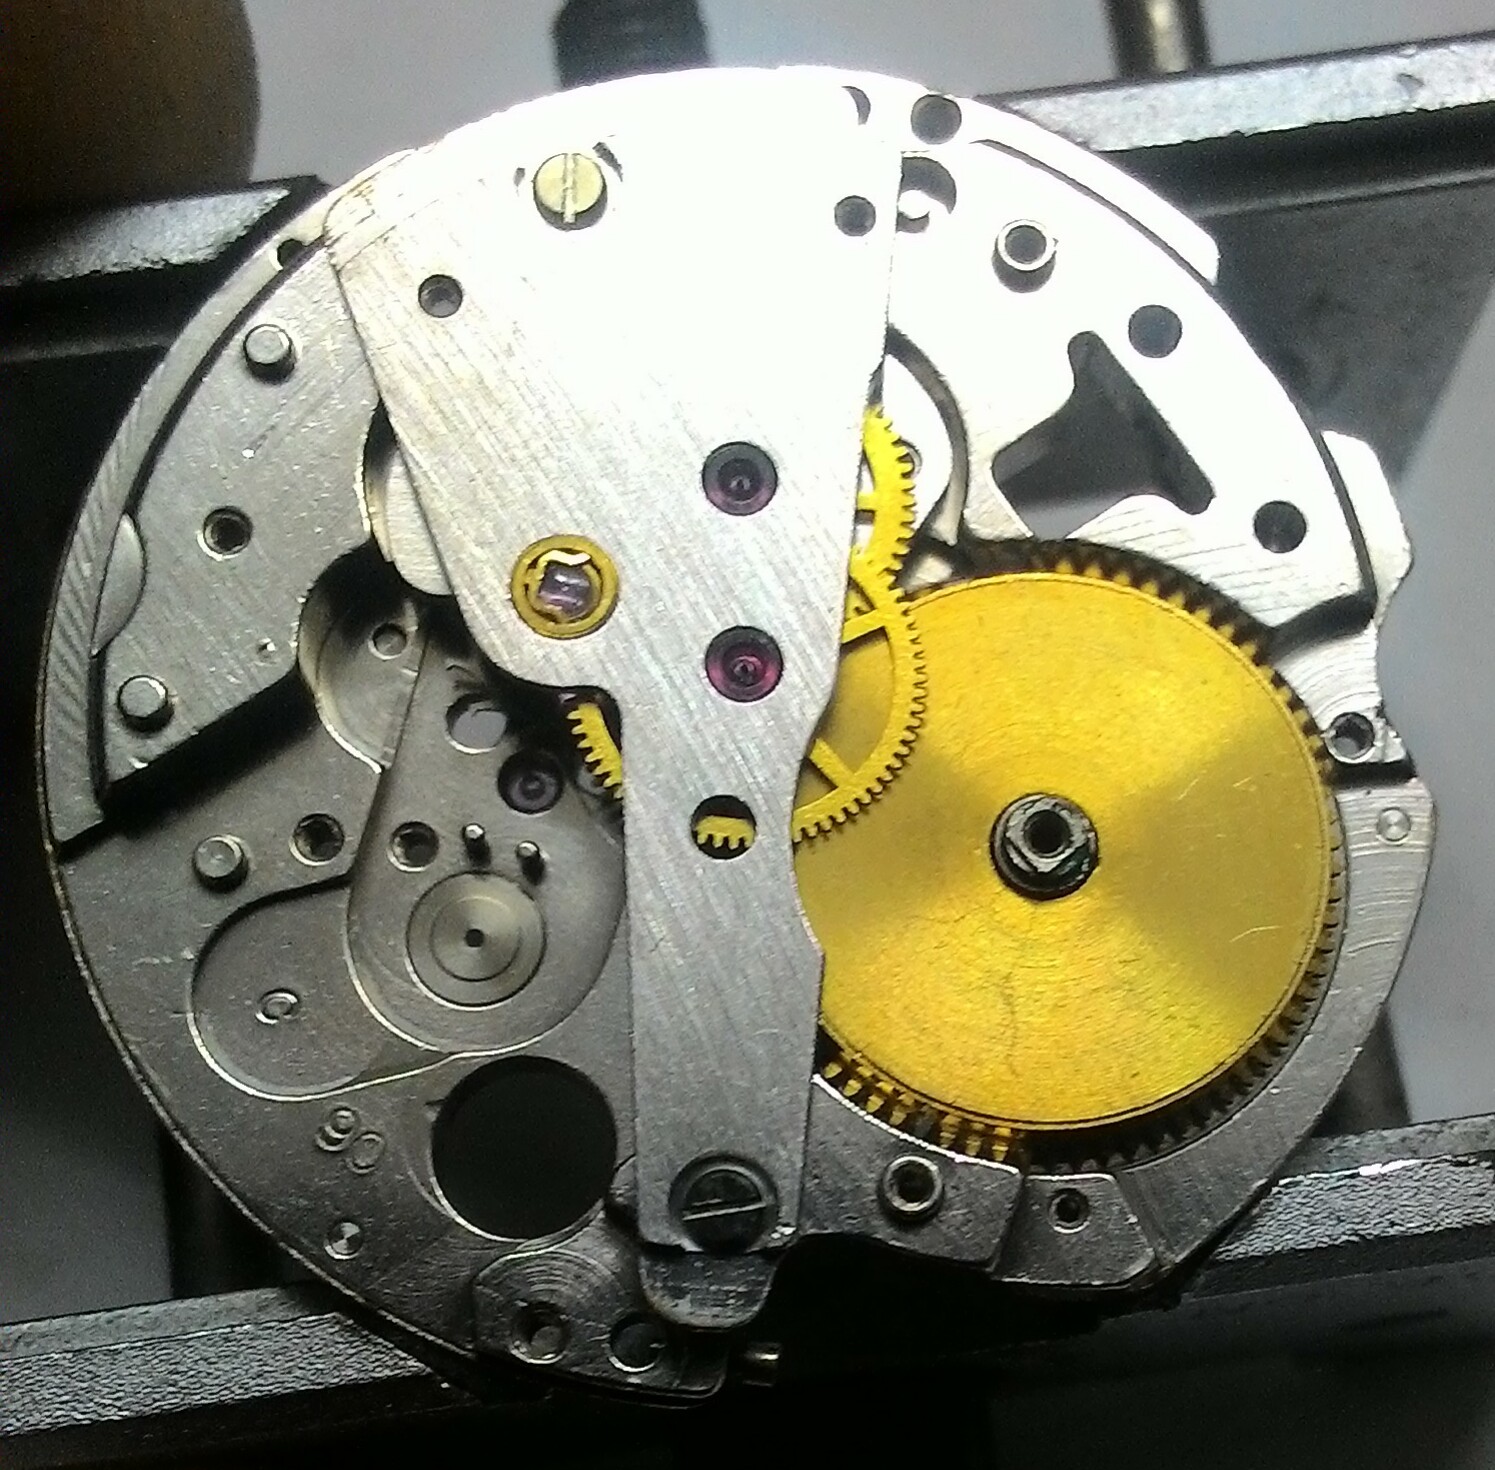
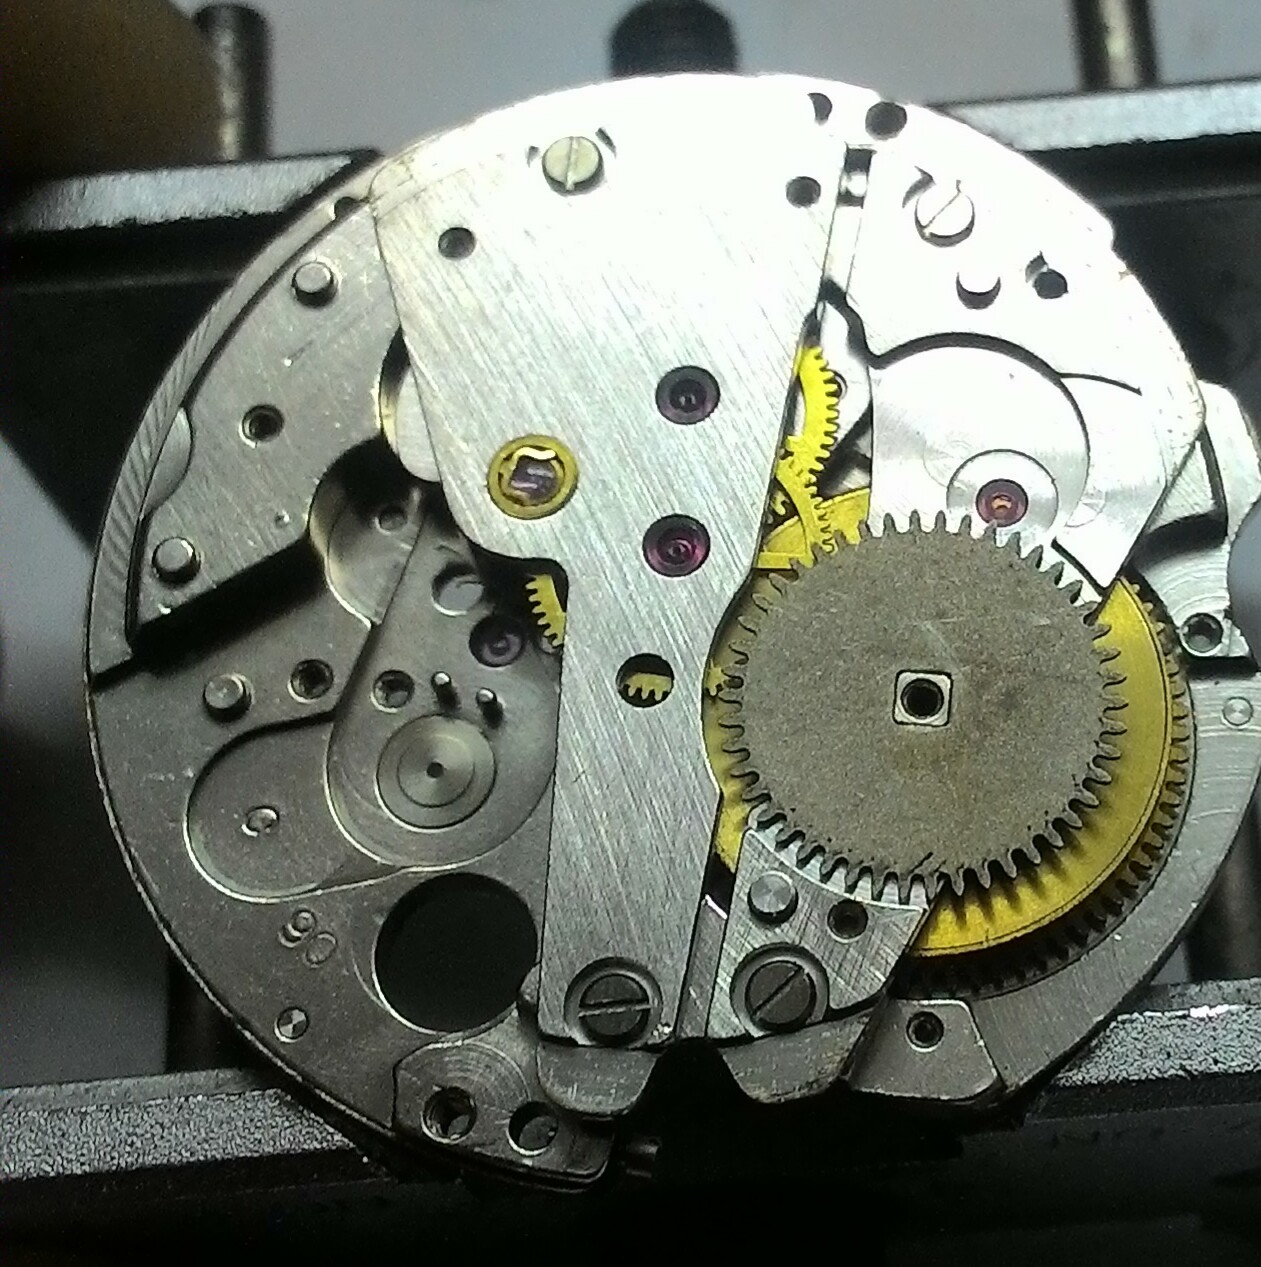
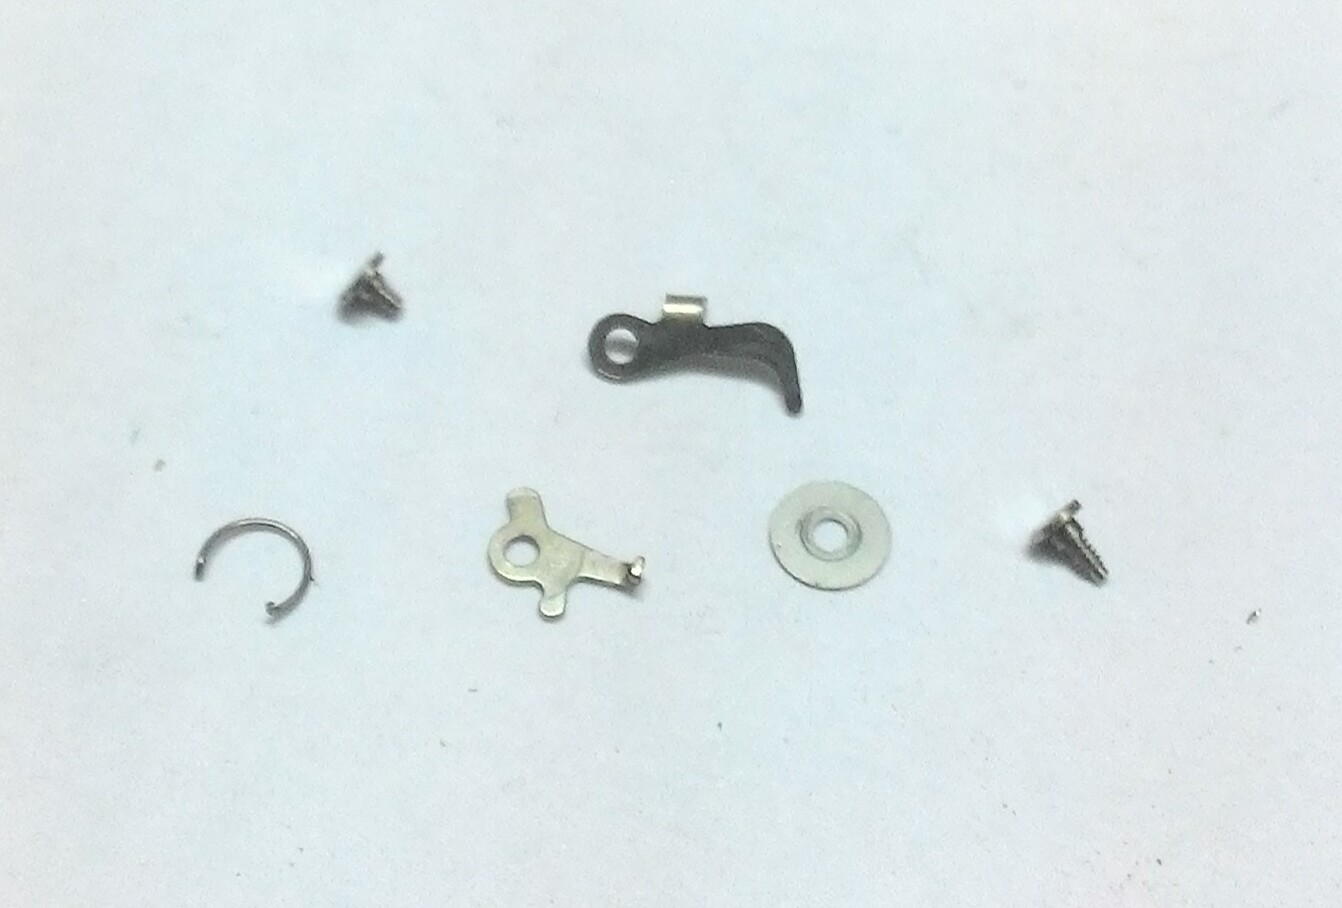
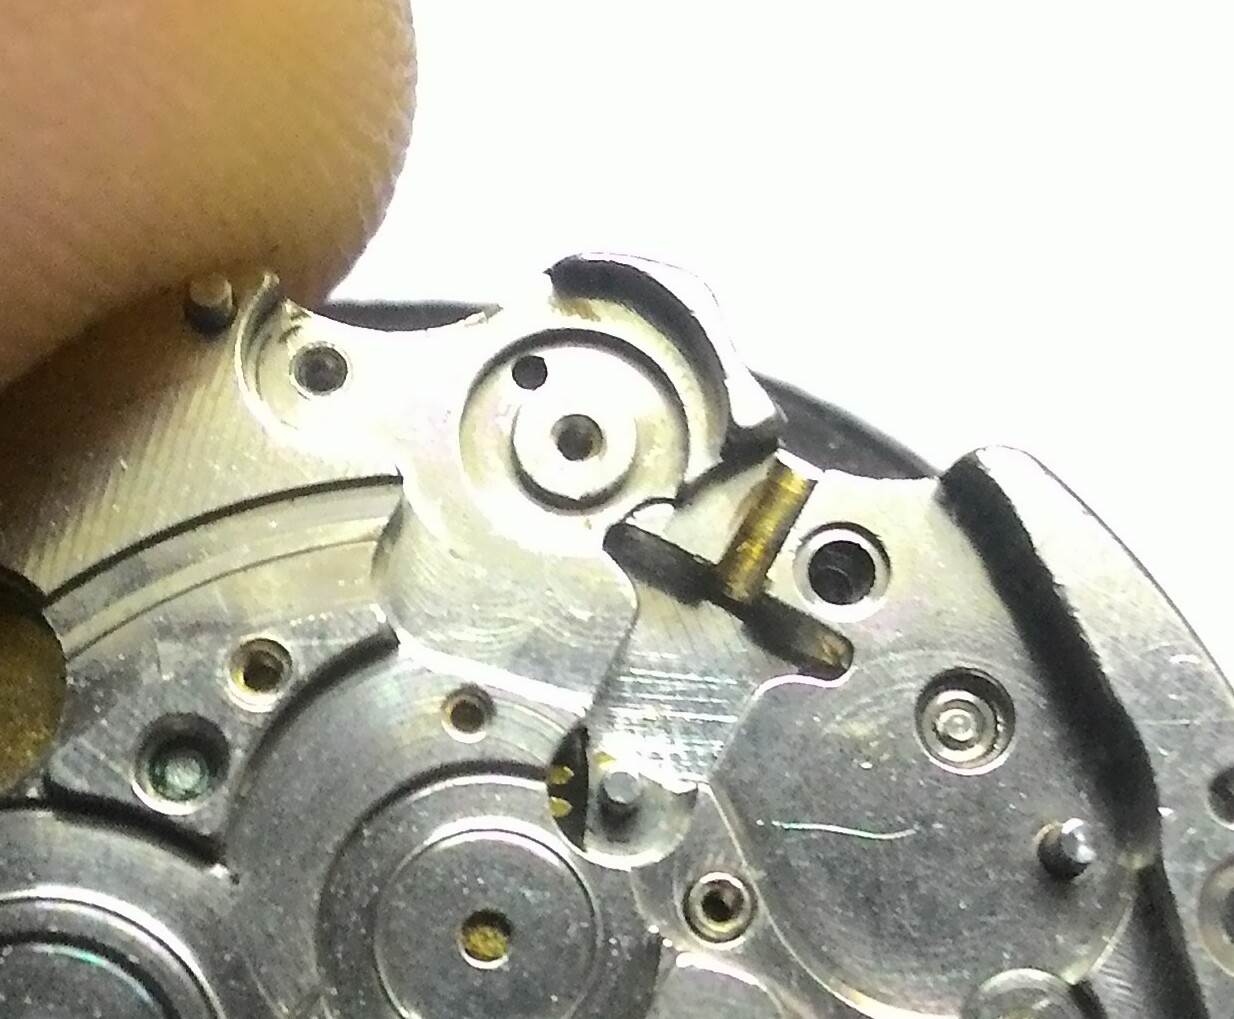
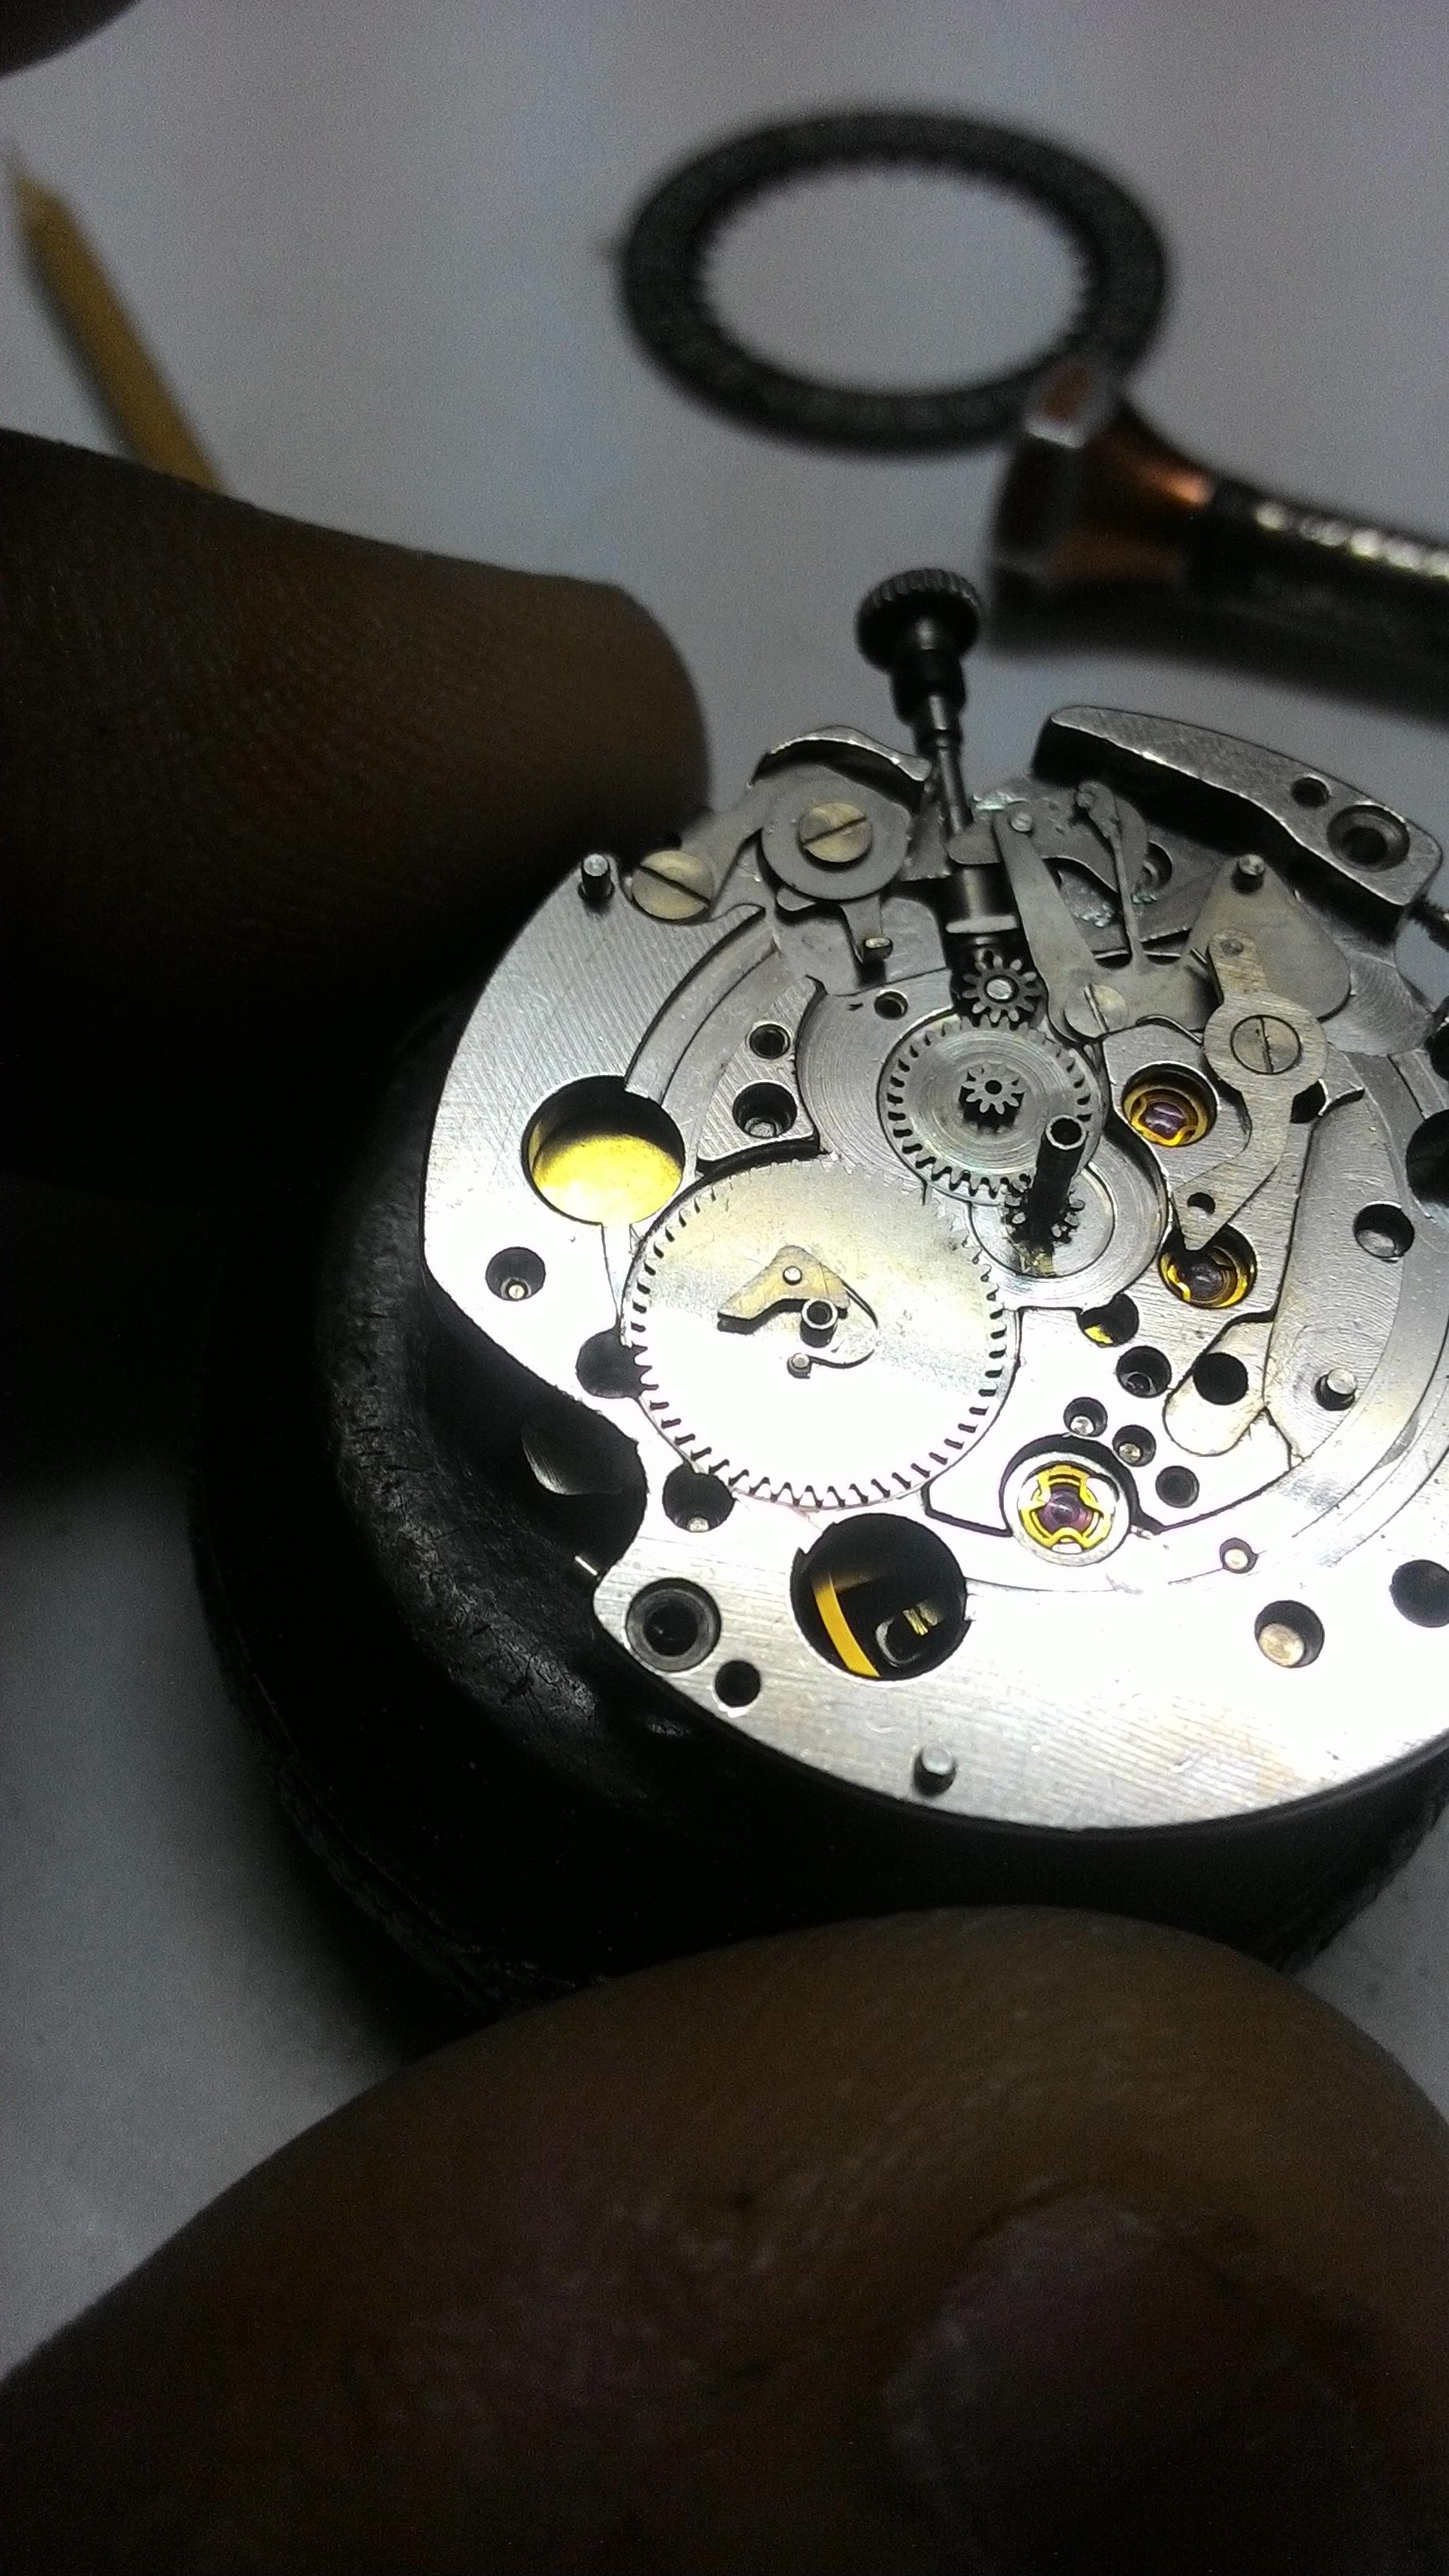
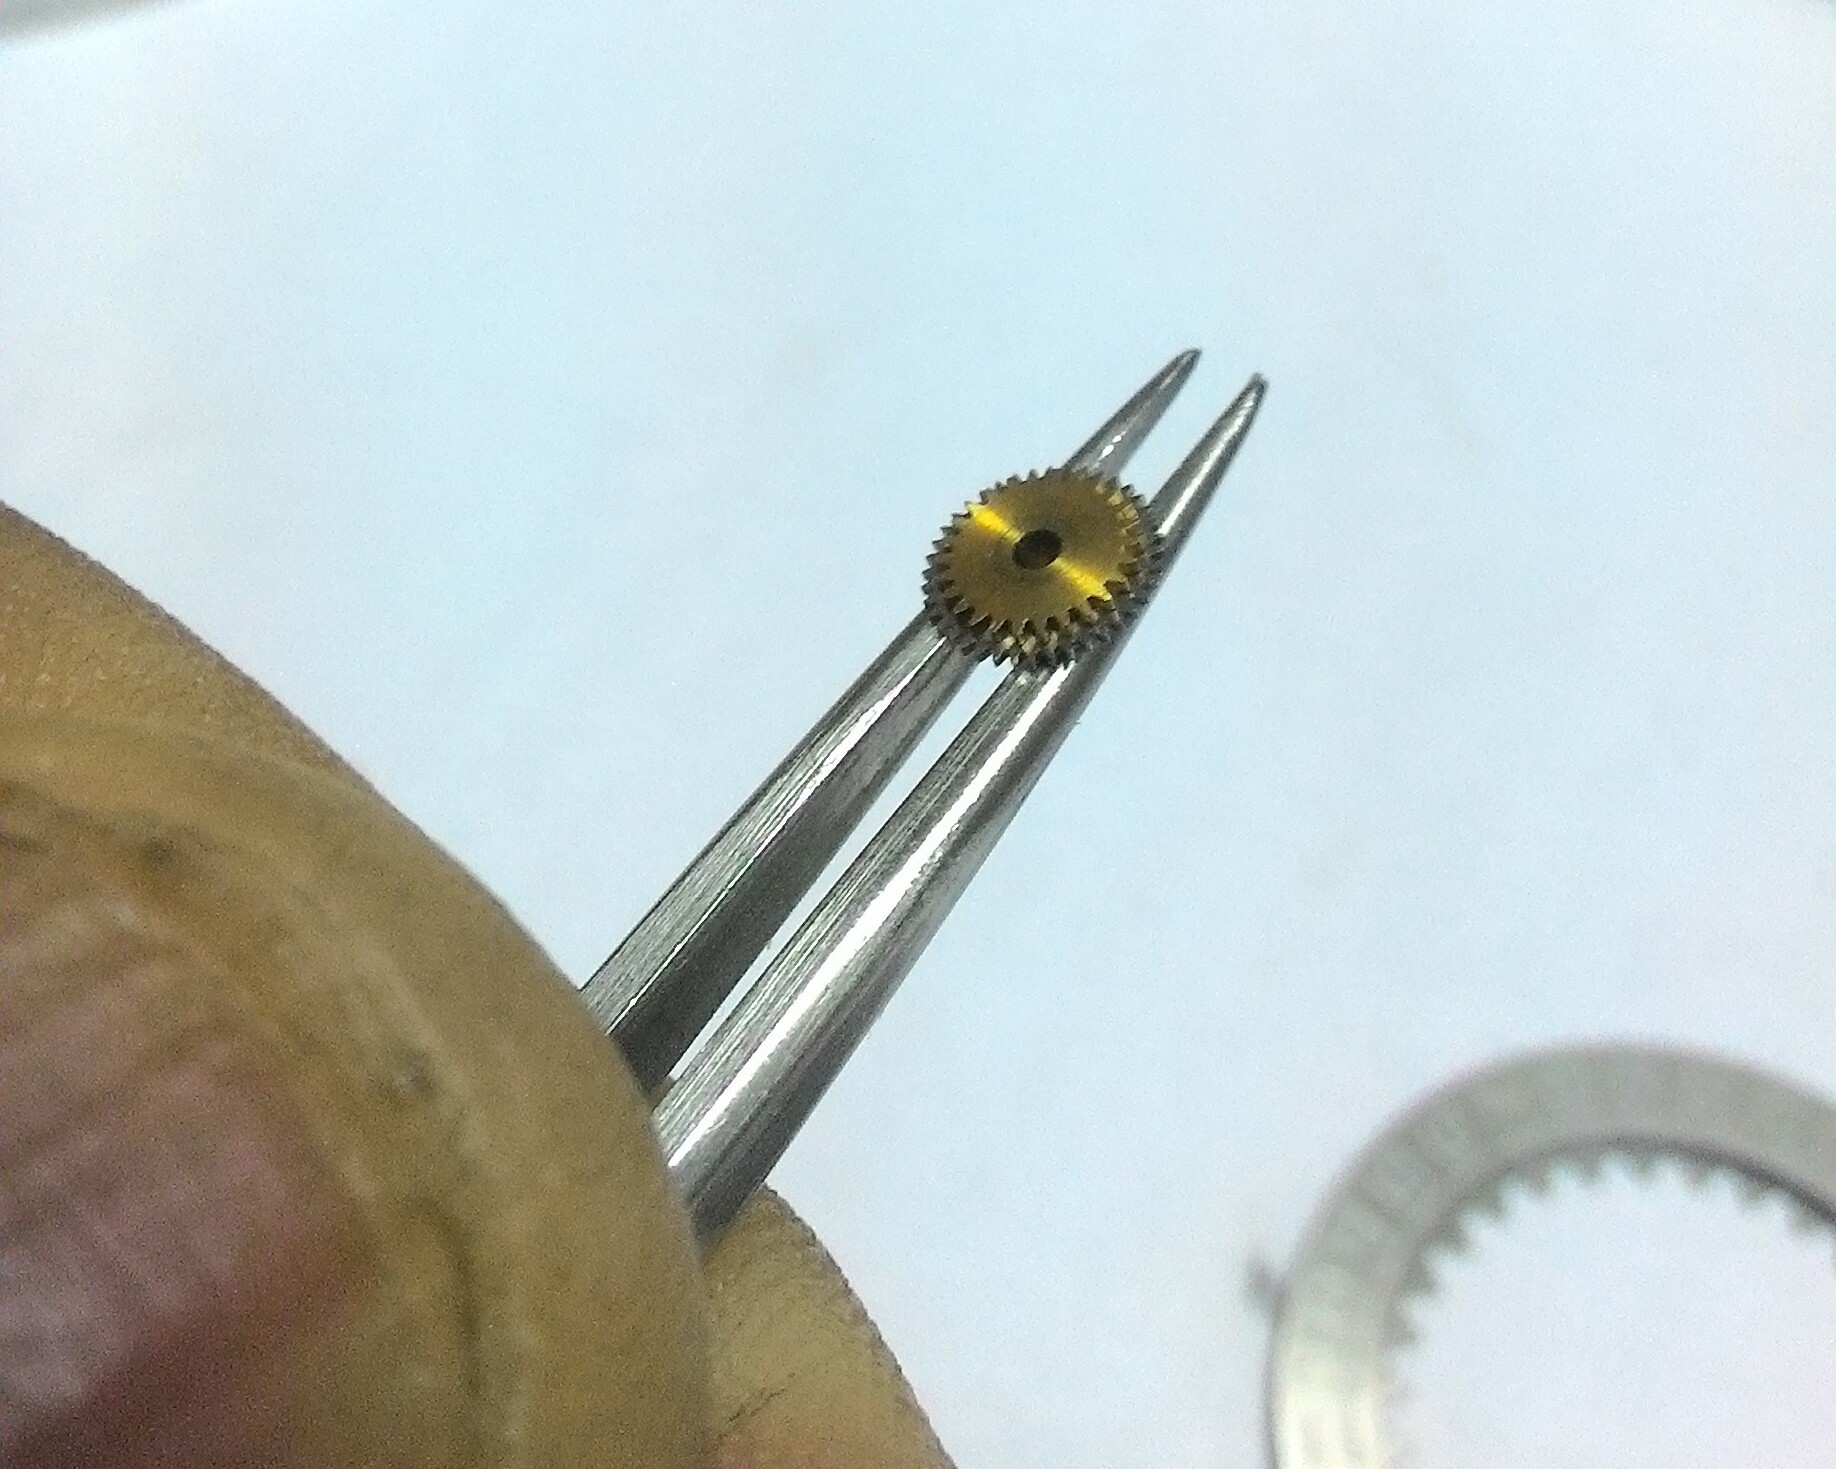
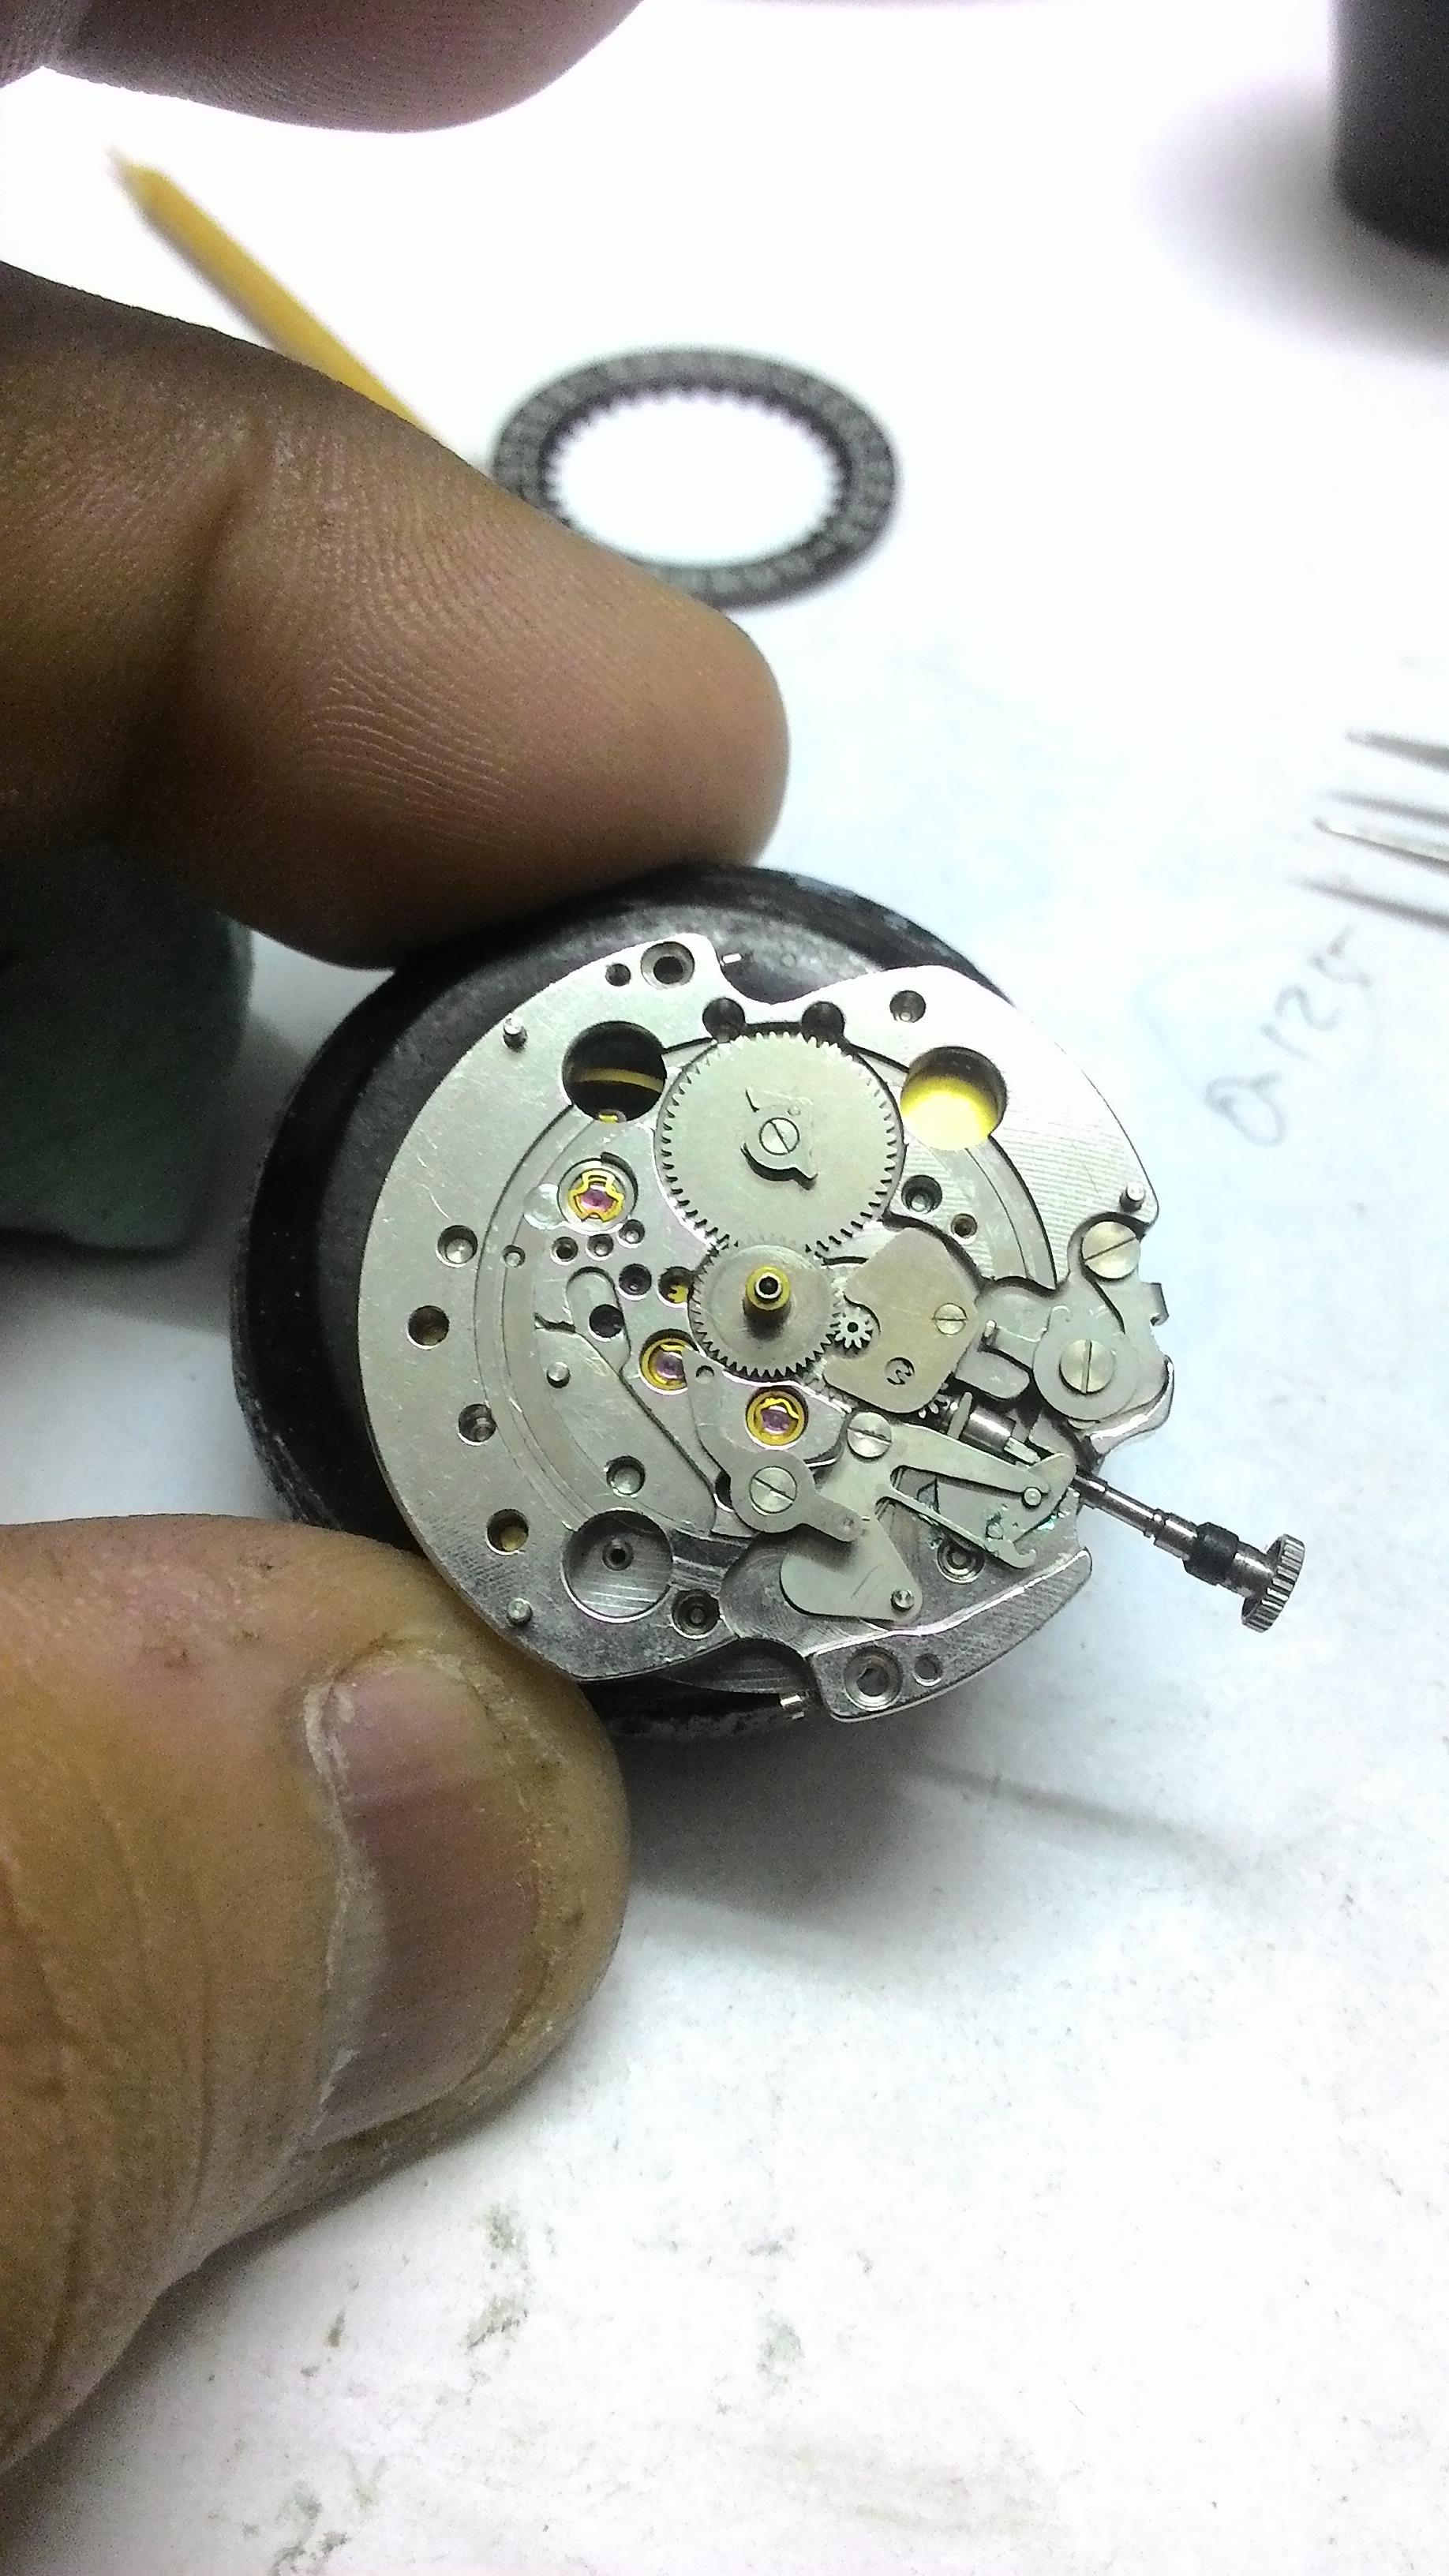
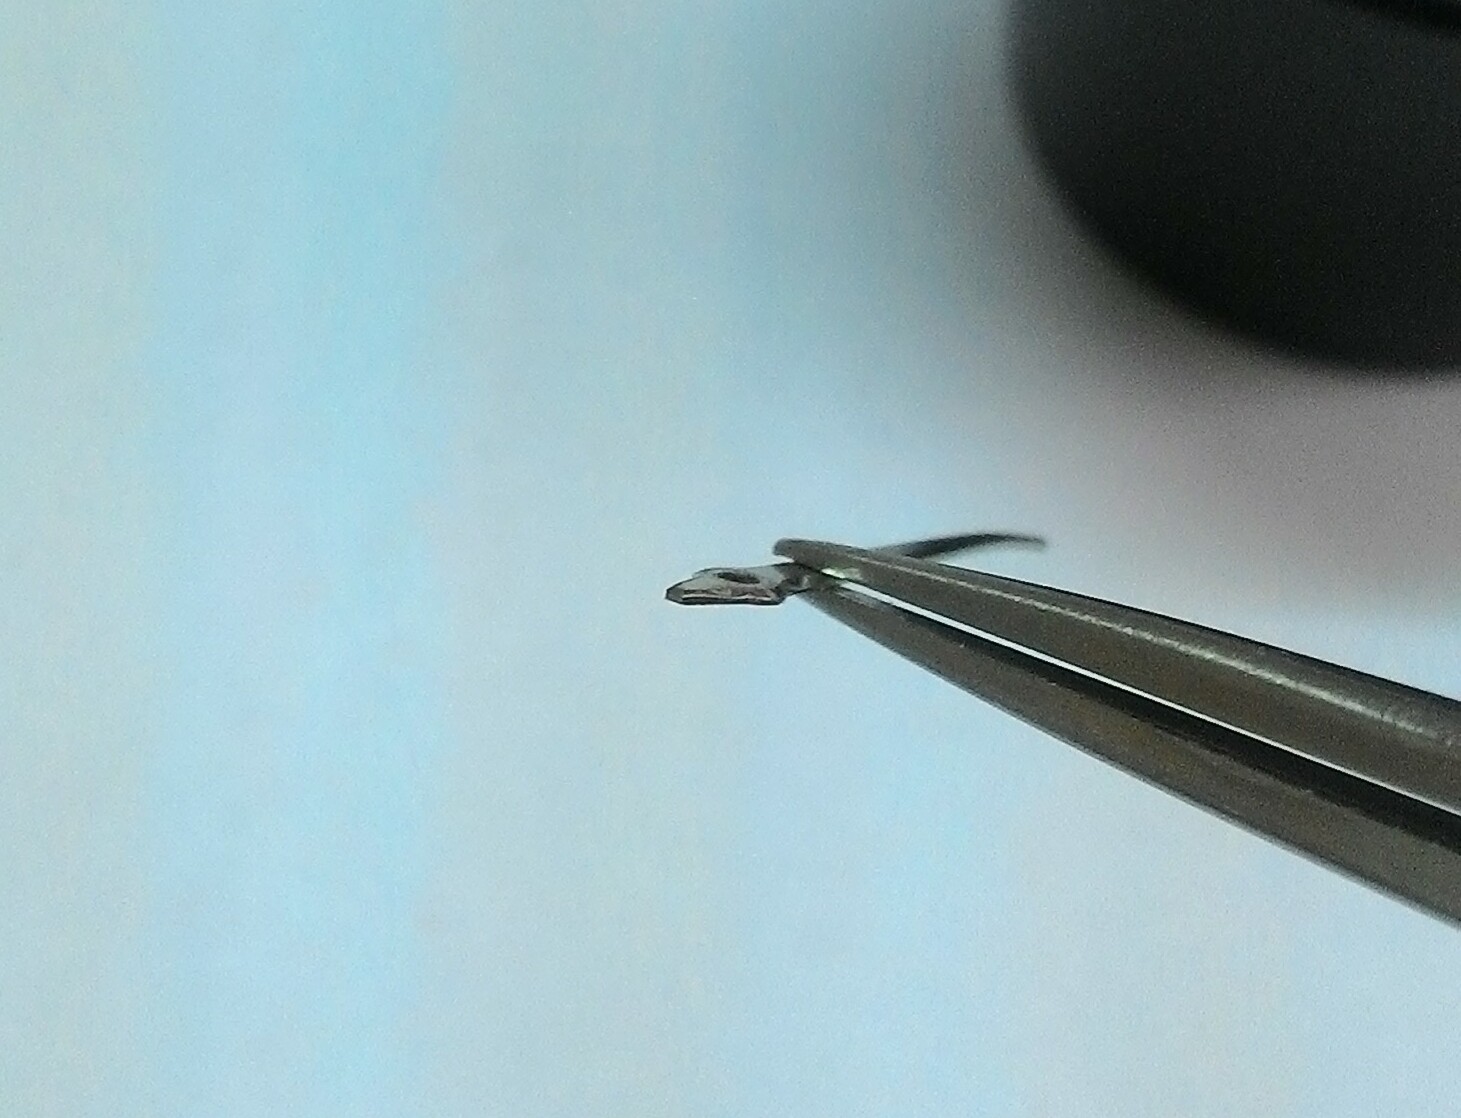
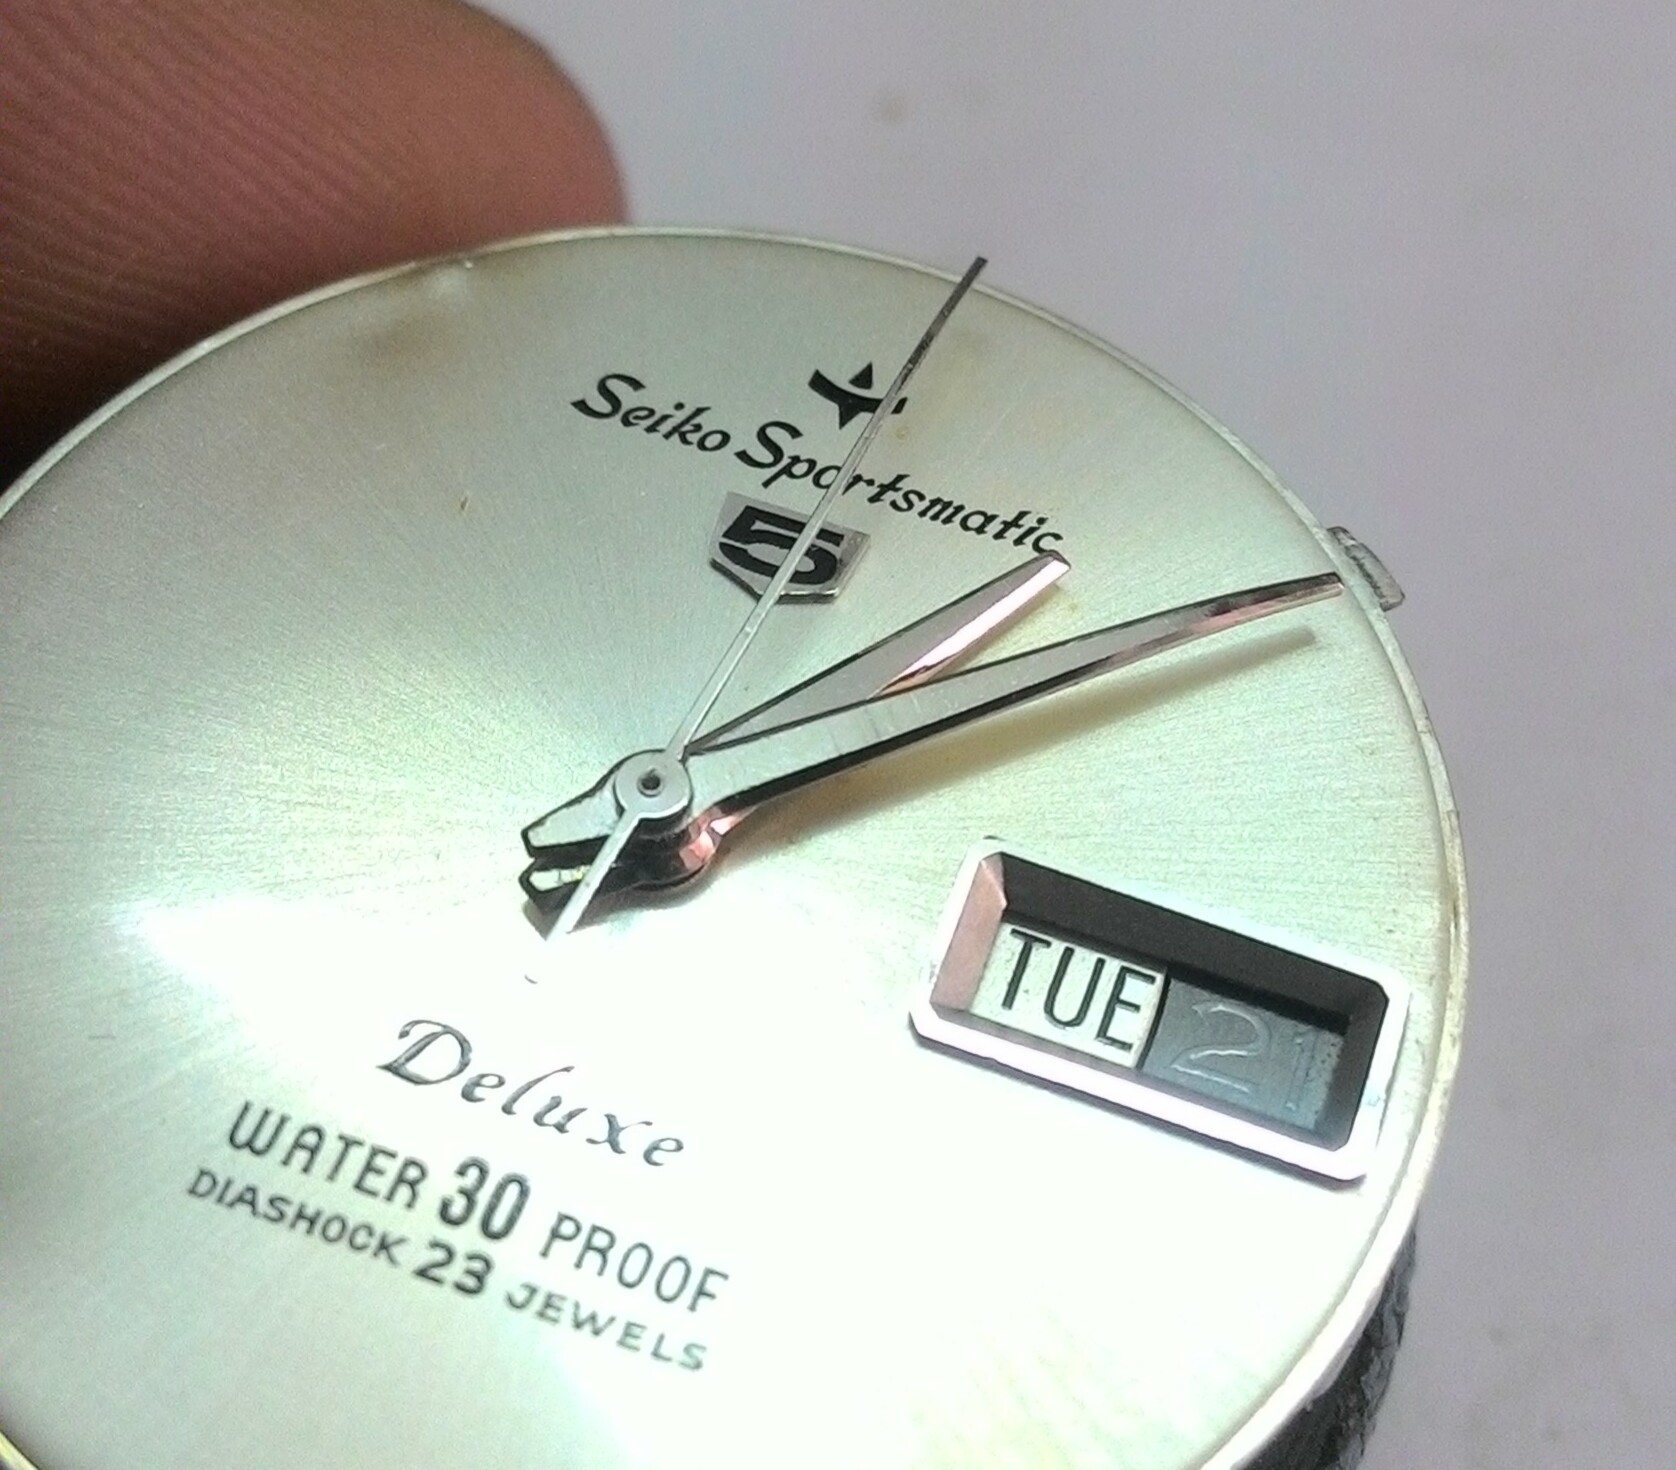
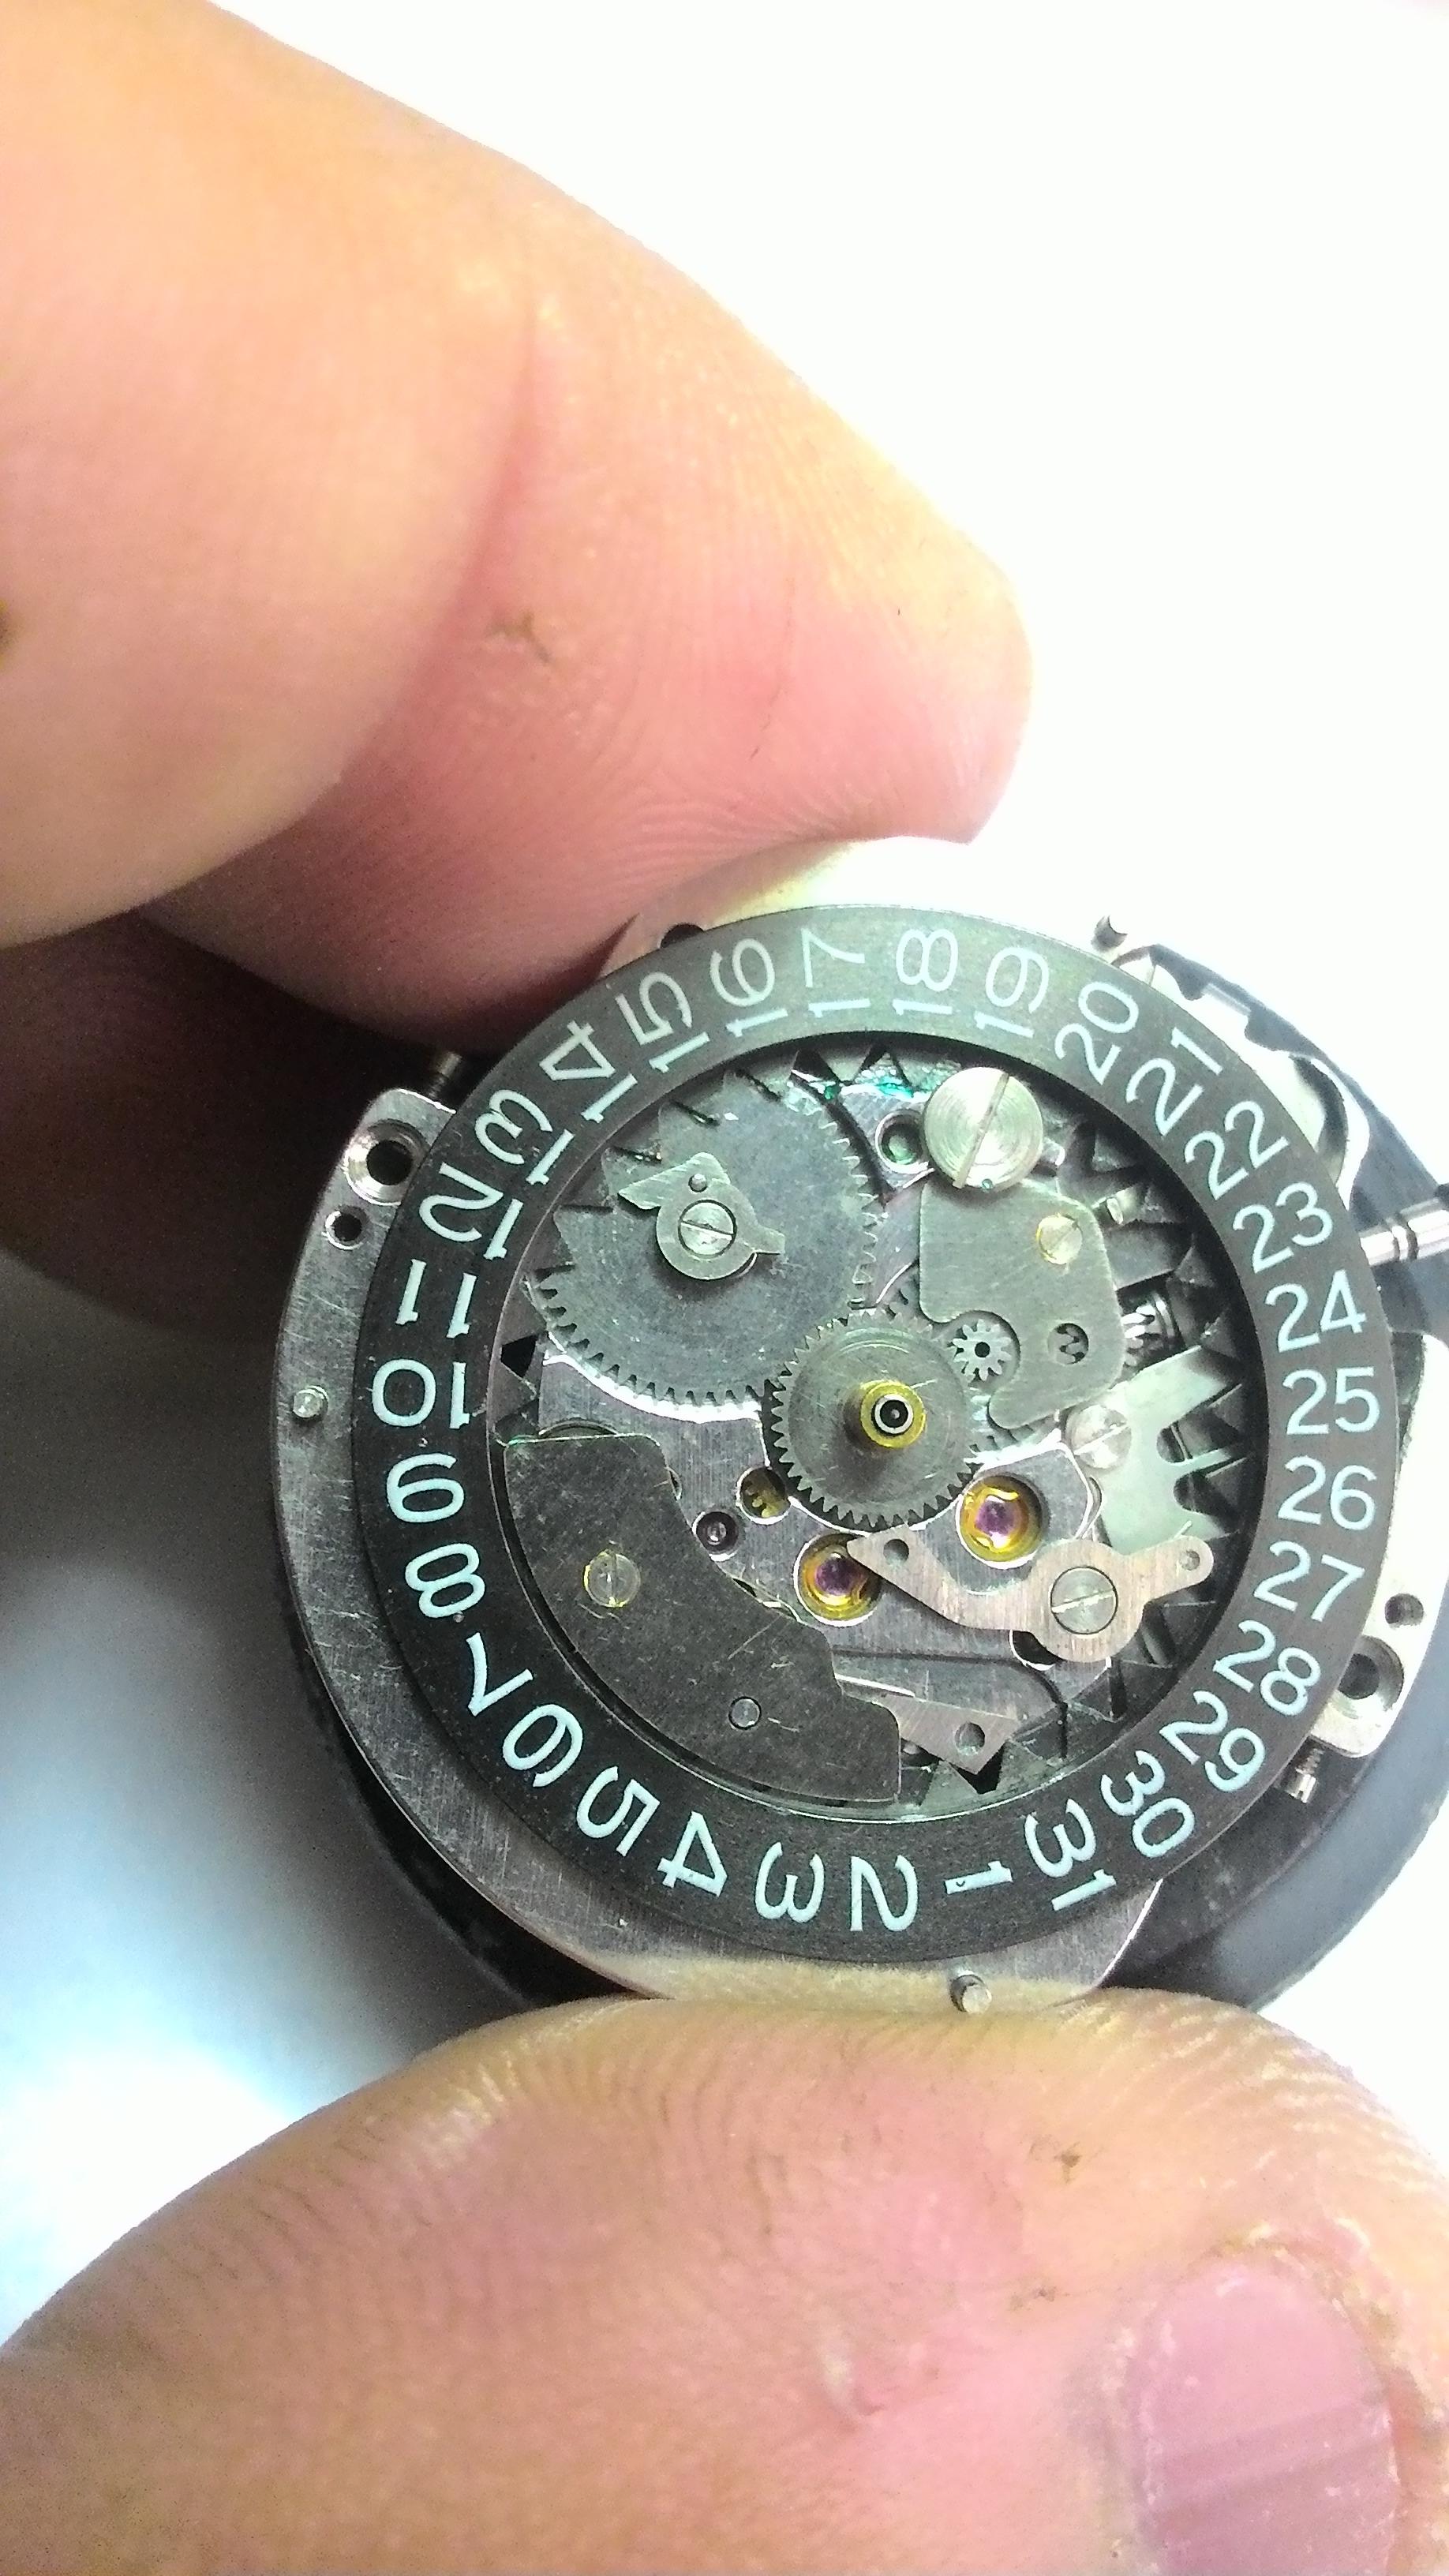
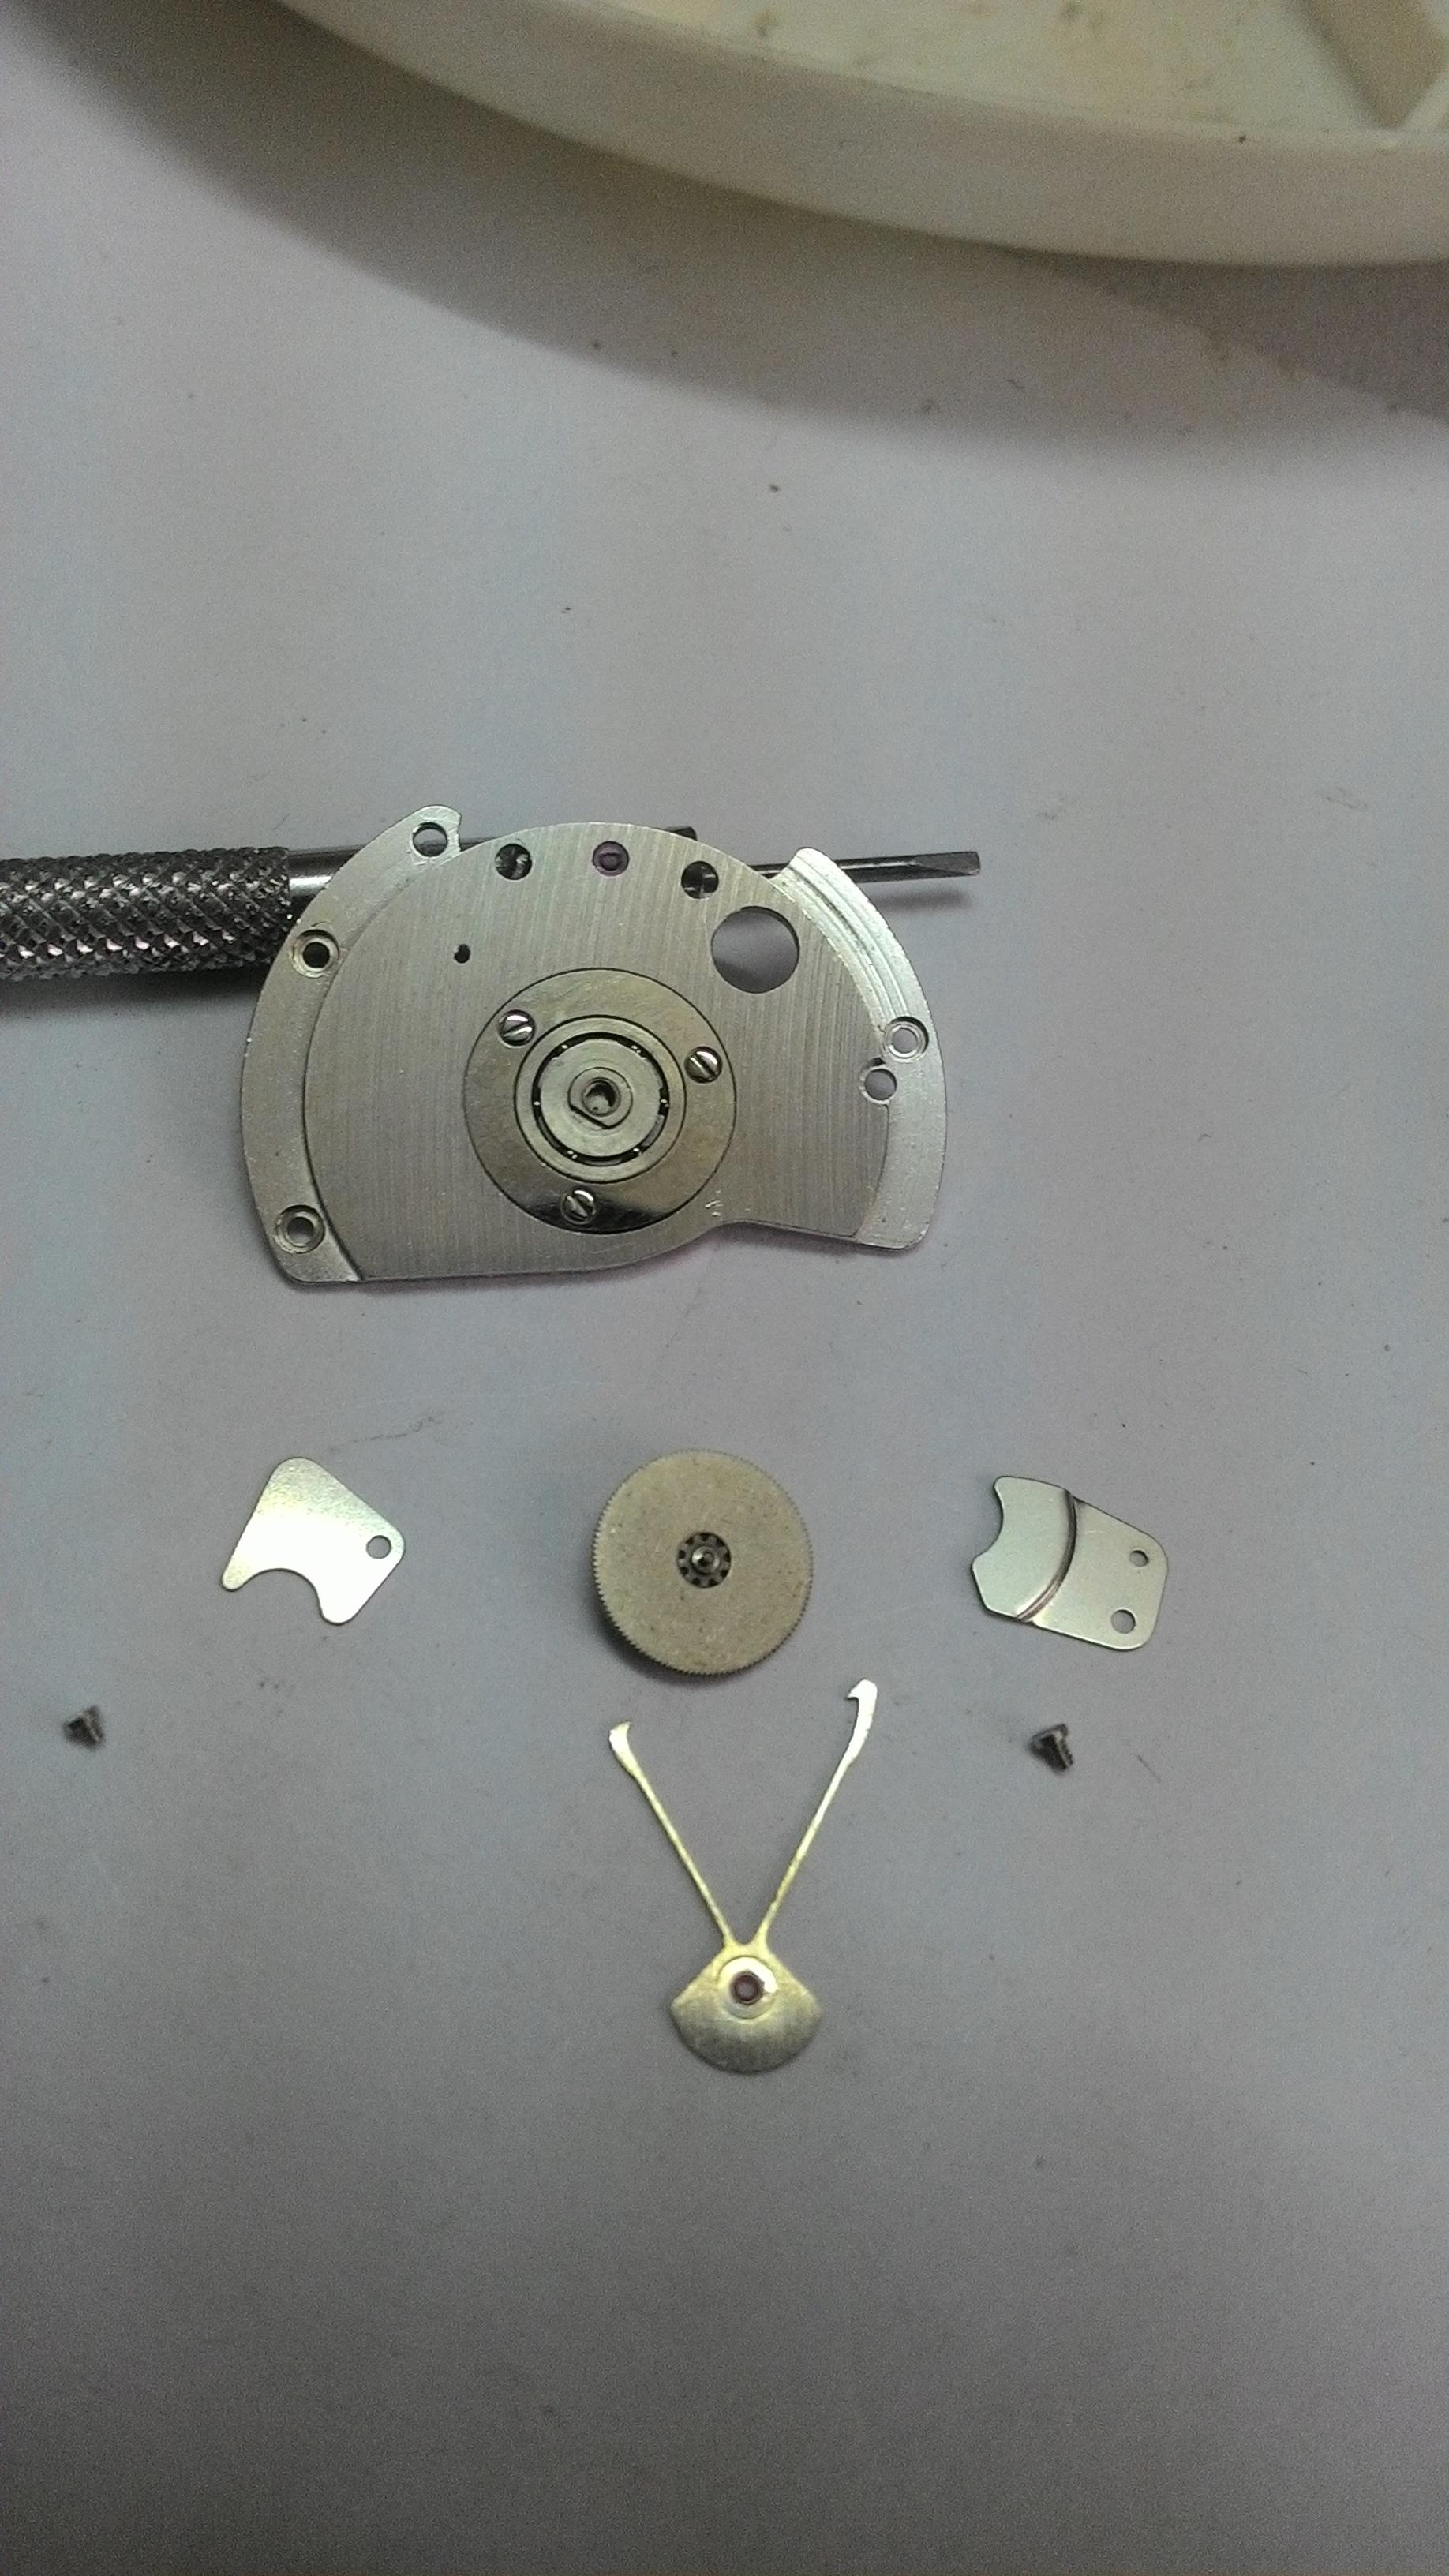
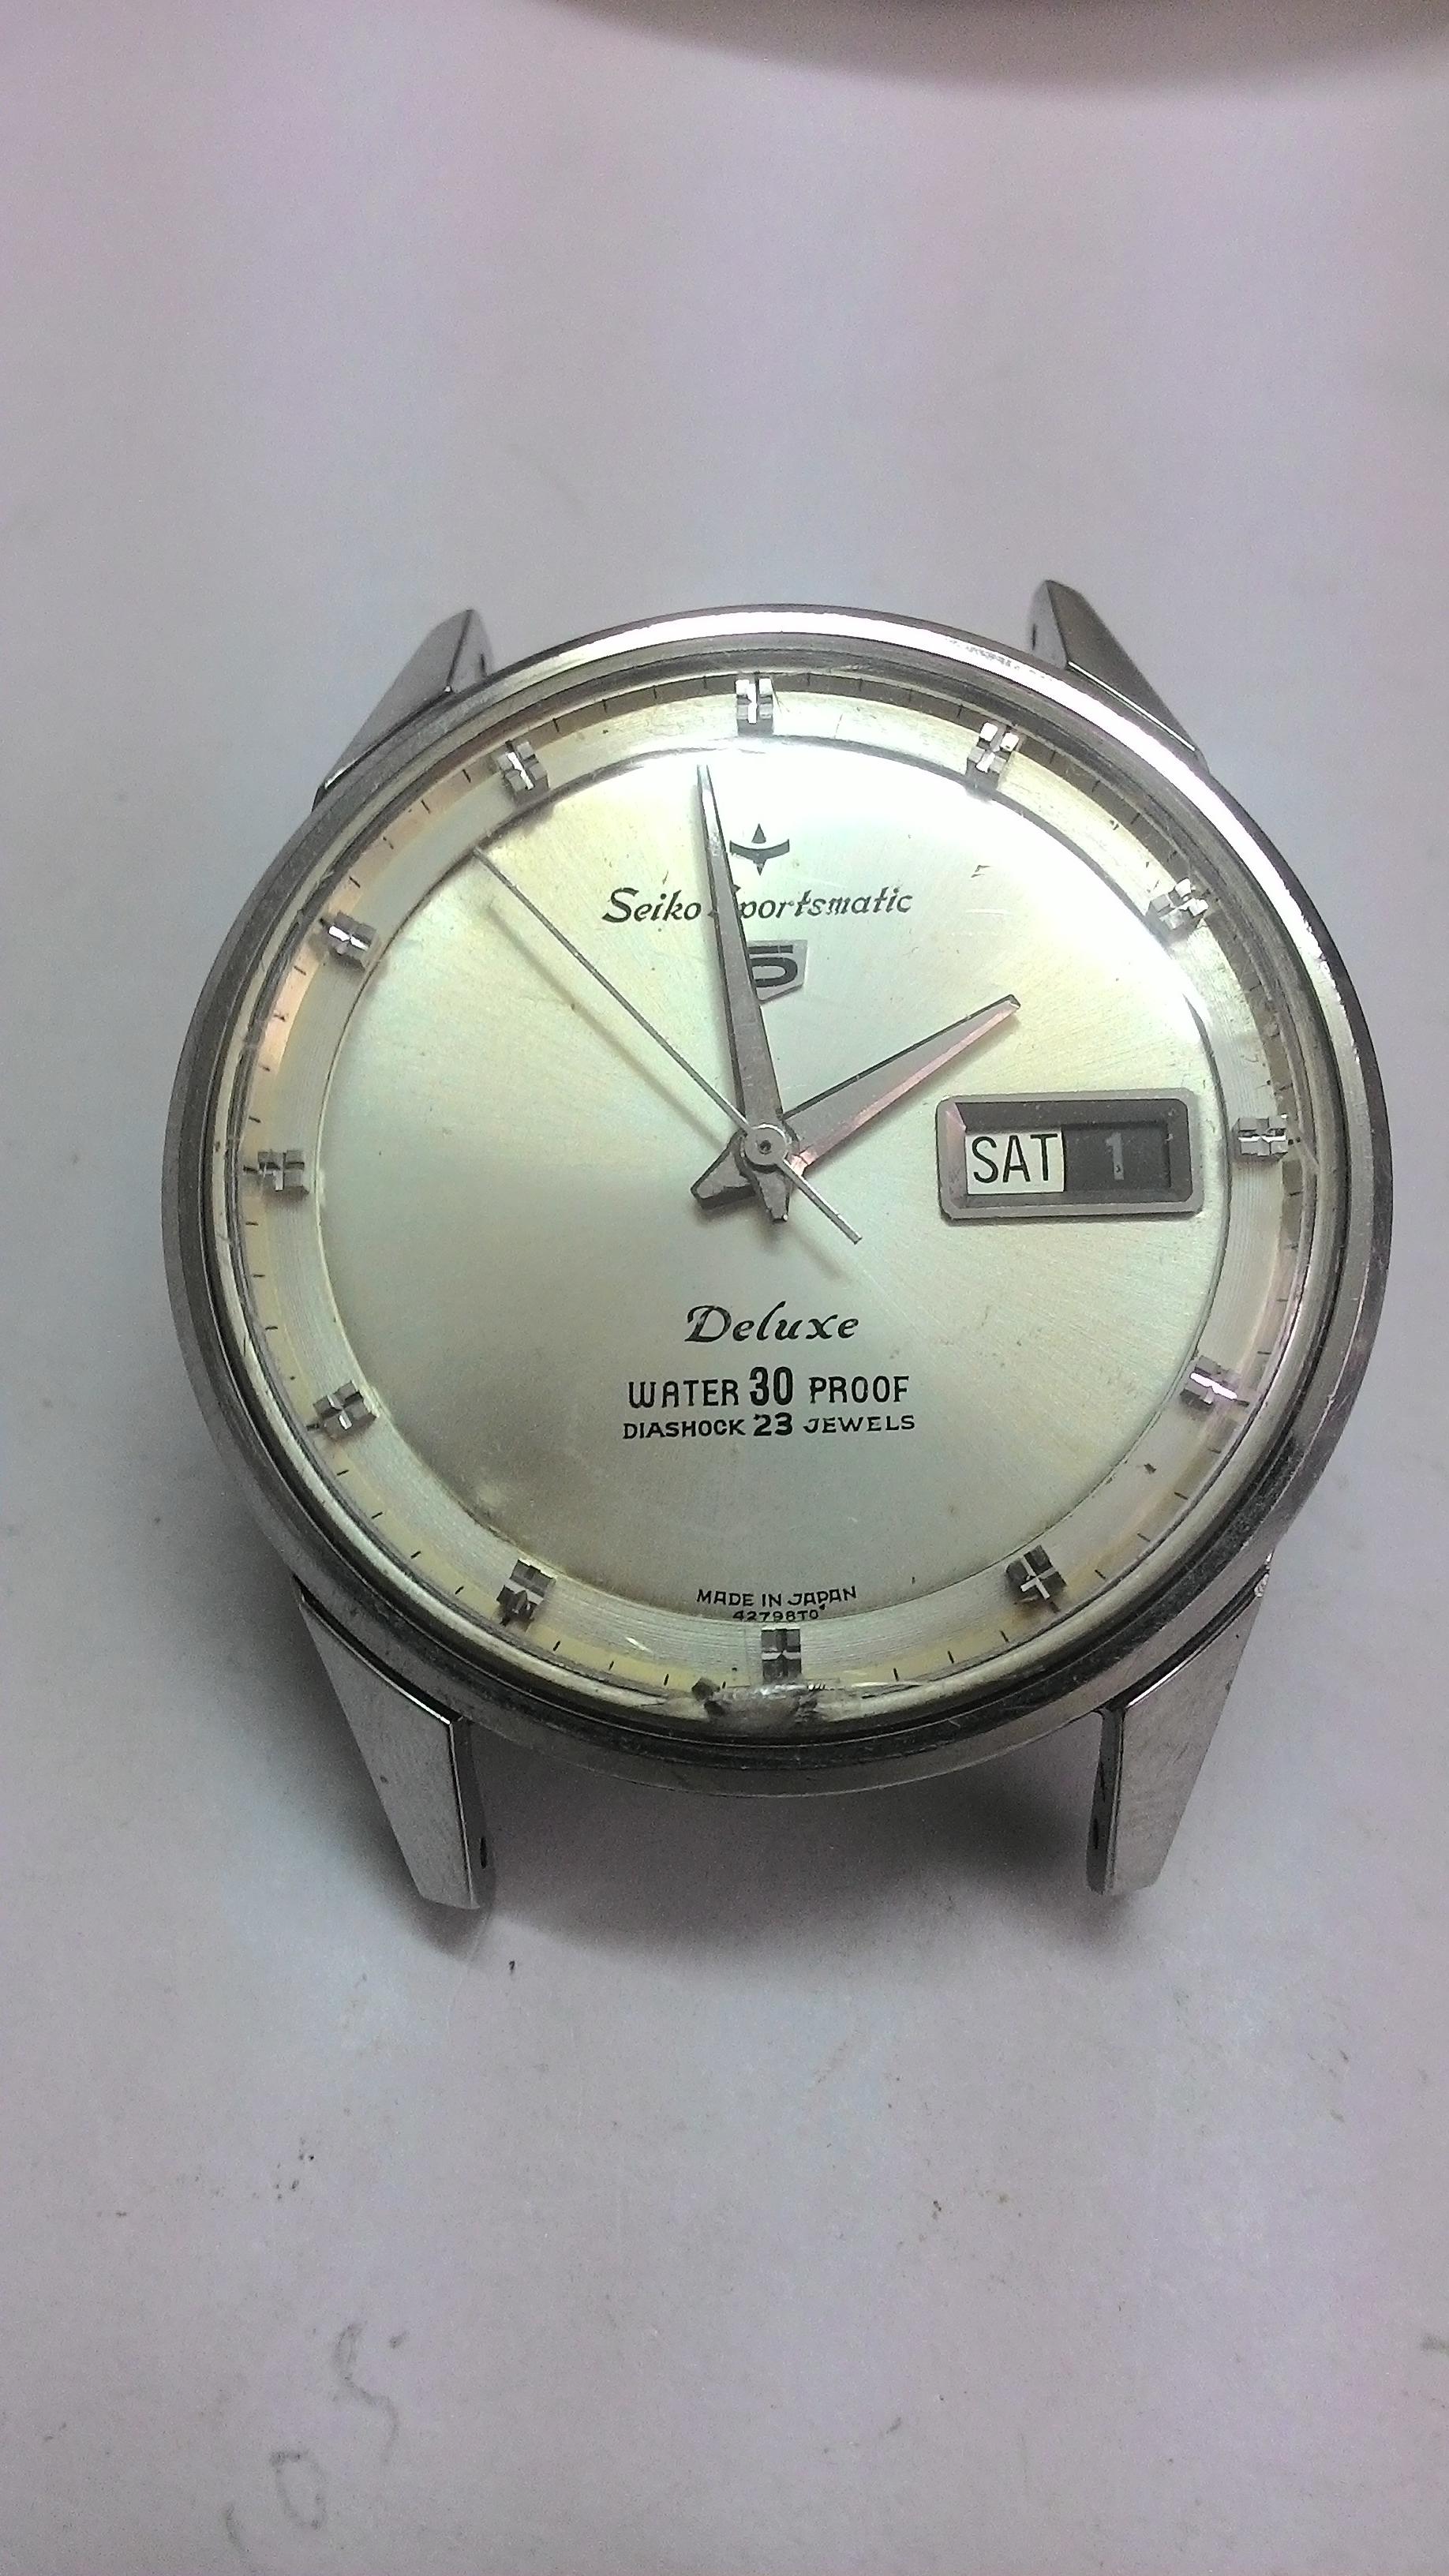
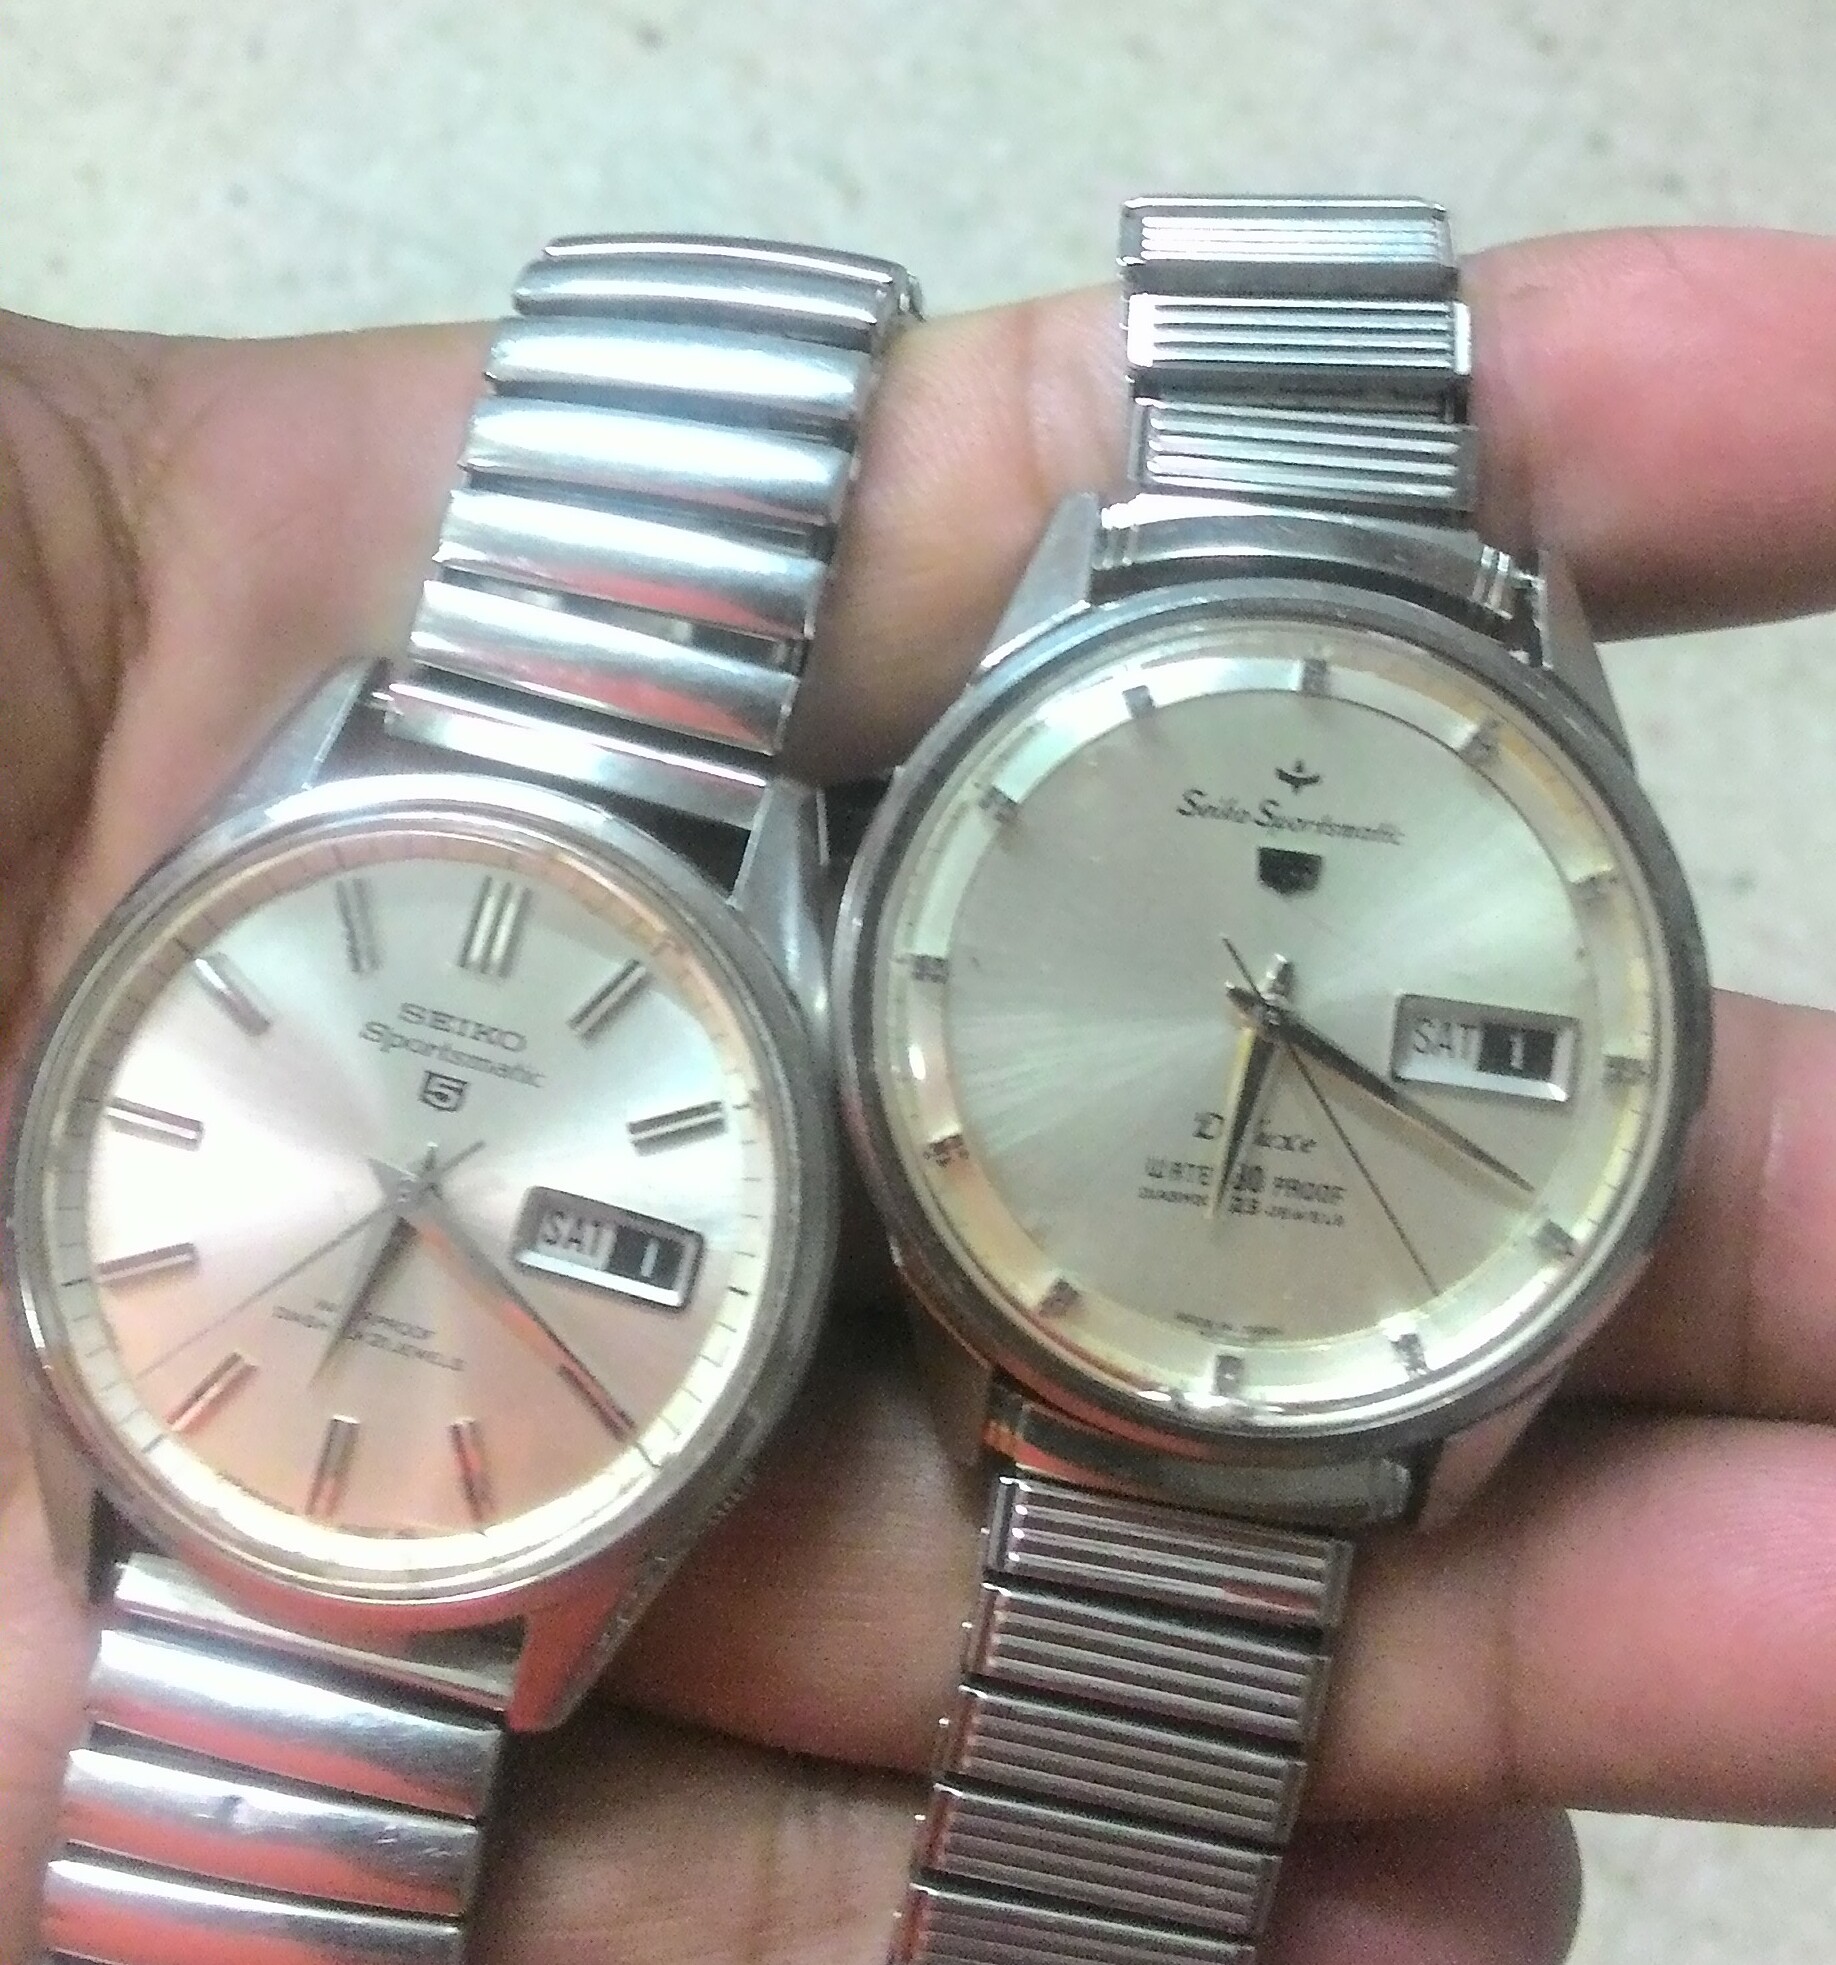
Hi guys, Here's a walkthru of a Seiko 7606, I thought I'd share these pics as they don't seem to be very popular/common. I had bought it sometime ago but as it was working fine I didn't bother to service it until now. To be honest, I thought it had a 6619 movement in it and after posting a different 6619 in the 'watch of today's thread I figured I'll pull this one apart and take some pics. Well I apologise as it's not a 6619 but actually a 7606. The separate day pusher should have alerted me but I missed it! Anyway its not a common movement and the phone was fully charged so here we go! 23 jewels...goody! Check out the cool spinner logo on top of the 'Seiko Sportsmatic'! Date advancer pusher...I don't think it's original? Works well and I don't have a spare so it'll stay. Case back was pretty worn with only the stamped serial number visible. This is common for Seikos from the 60s. This would have had a dolphin on it originally. Pic of the main plate...uh-oh, the scars around the centre hole is not good. Someone has replace the centre jewel with bushing. Not exactly good news but this is not a fast moving part and the fit is good so it will stay. In this pic the diafix springs have been unlocked and the cap jewels removed. Close up of the diafix settings in the locked position with cap jewels in place. Assembly of the train wheels. As the barrel has its own bridge, I assembled the train first..it easier than with the barrel installed but to be honest I didn't expect any problem as the cap jewels meant the under if the jewel is dished and the pivots would find their way home without much problems. Then the barrel..It's finished in a gold colour which looks nice. Barrel bridge on and ratchet wheel in place. The ratchet wheel is secured by a screw AND washer.. Not common but understandable as this screw is one of the few that often break on other movements. The click spring is also installed here. The click spring securing screw is fiddly and I usually place the screw in the spring first and lower it to the movement as I find it easier. And here the balance is installed and its ticking! It doesn't look like a Seiko, in fact it looks more like a Swiss movement. Now we head on to the dial side... first to go in are these bits. They fit here. And this is how they look installed...It's the date quickset activated by the pusher. Next are these bits.. This is the day jumper. The spring goes in this way. This is easier than the date quickest as its installed without tension. In the picture below the set lever and setting wheels have been installed. The day/date corrector as well. Pretty simple but complex compared to what Seiko came up with later! Here's the hour wheel..it is a double wheel which also turns the date/day wheel. And here it's pretty much complete except for the daywheel. The big screw at the (19 date) is what keeps the datewheel level. Note the dial retaining screws, common to swiss watches. Dial and hands on.. Seiko used some nice solid hands here On the final stretch...the automatic winding mechanism. Here are the components. And here they are assembled. And installed.. Complete with its recently serviced 6619 cousin (7606 on the right). All in all a nice movement but the dial side was more complex than usual. The date jumper spring was reluctant to stay in place so I place it close to where it should go, installed the cover, and persuaded the spring into position with a fine oiler. Hope you enjoyed the pictures.! Anilv