Search the Community
Showing results for tags '2540'.
Found 1 result
-
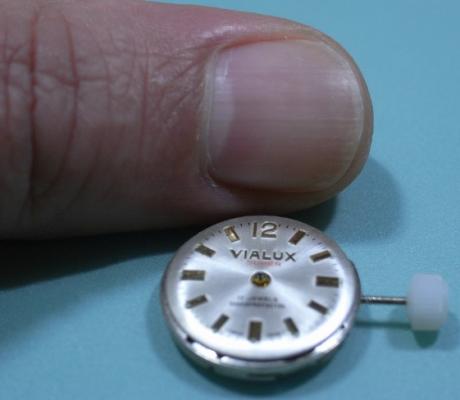
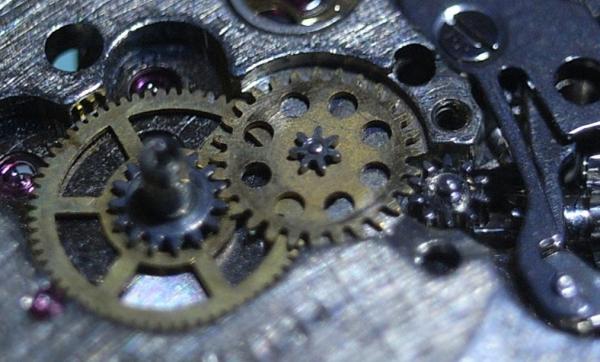
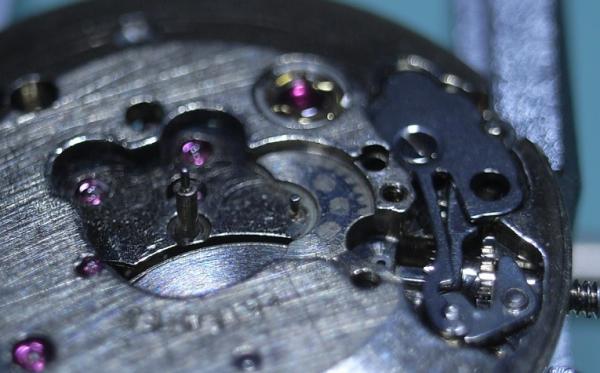
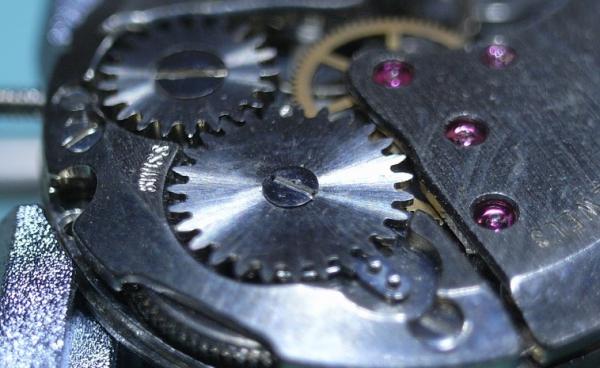
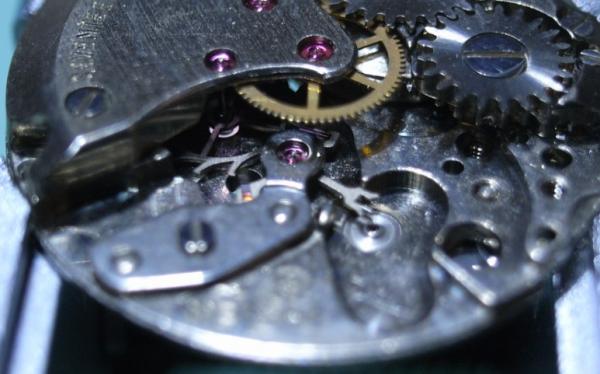
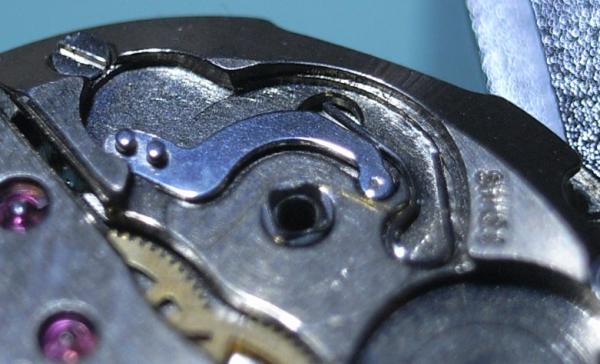
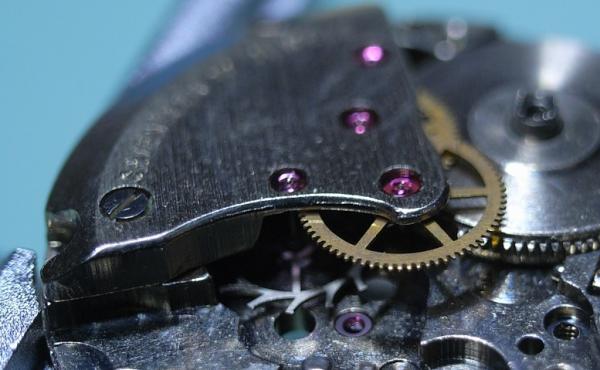
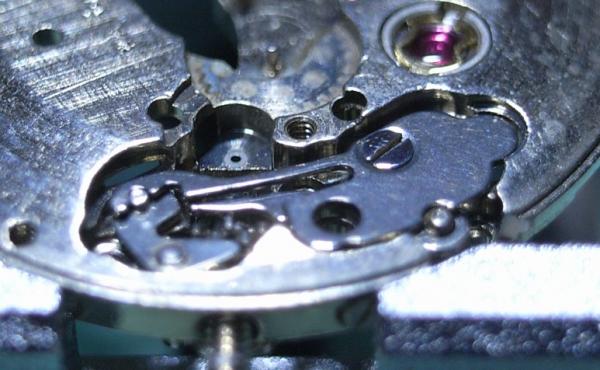
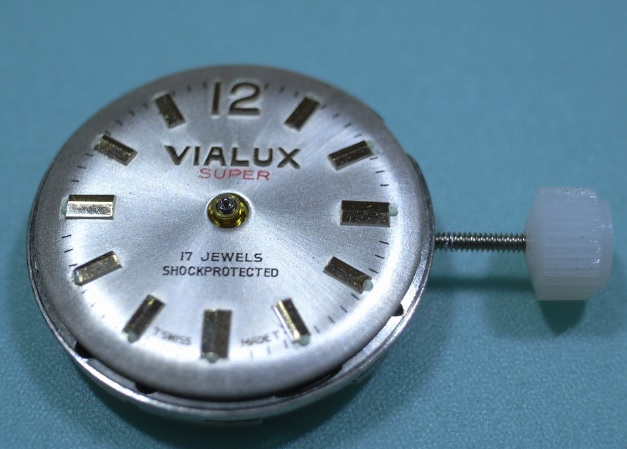
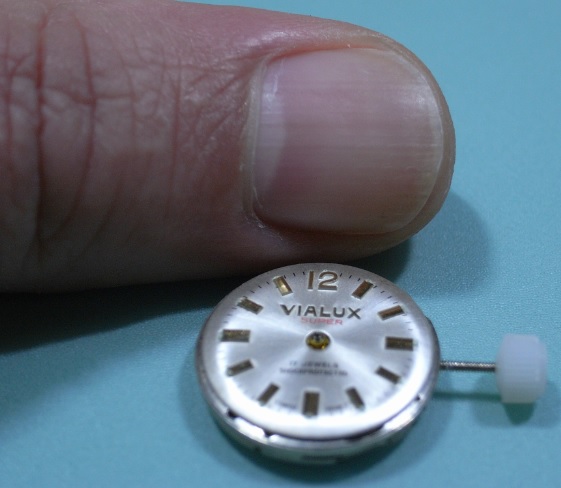
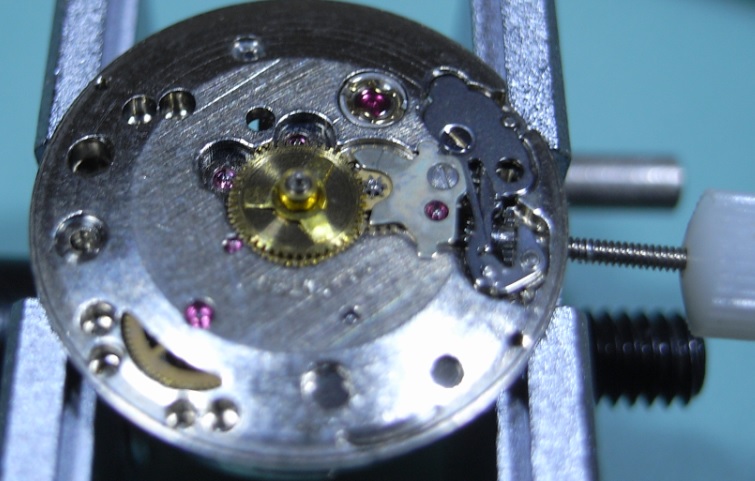
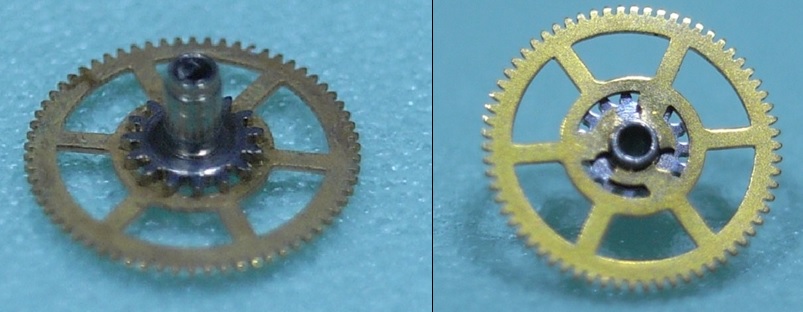
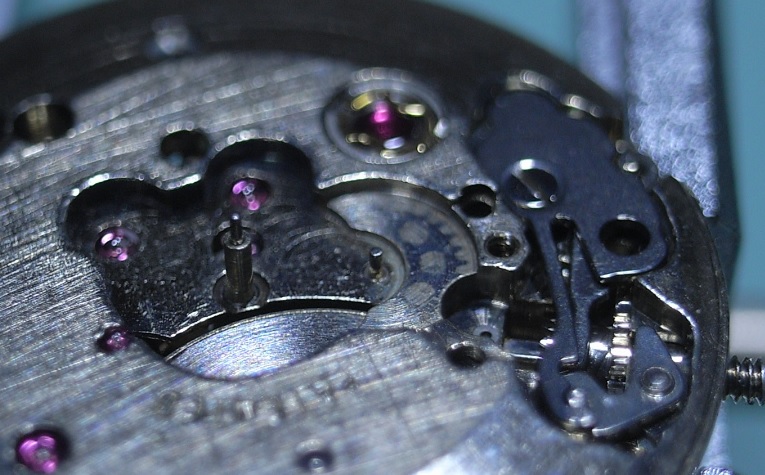
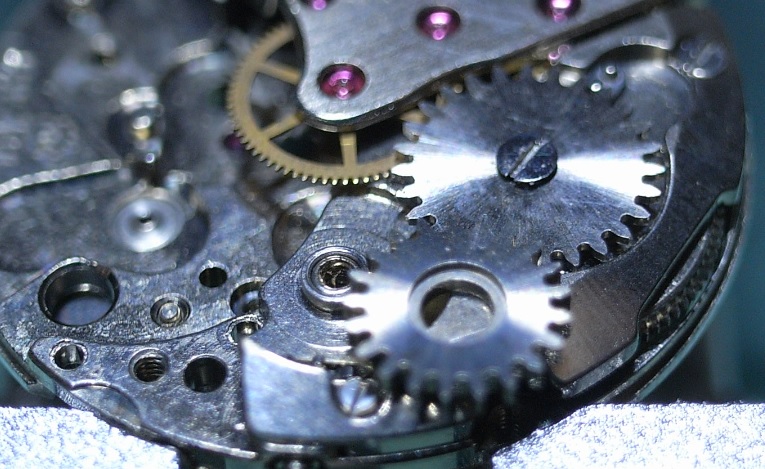
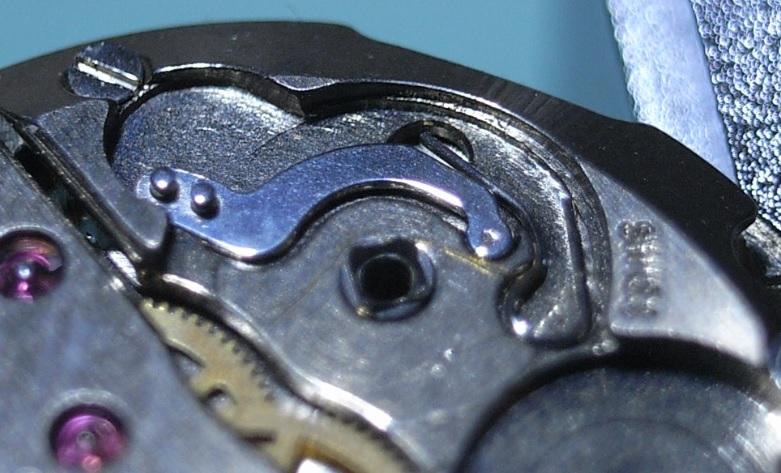
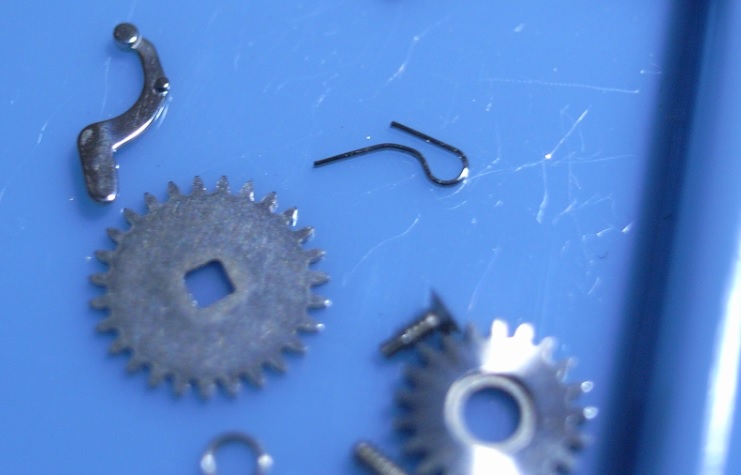
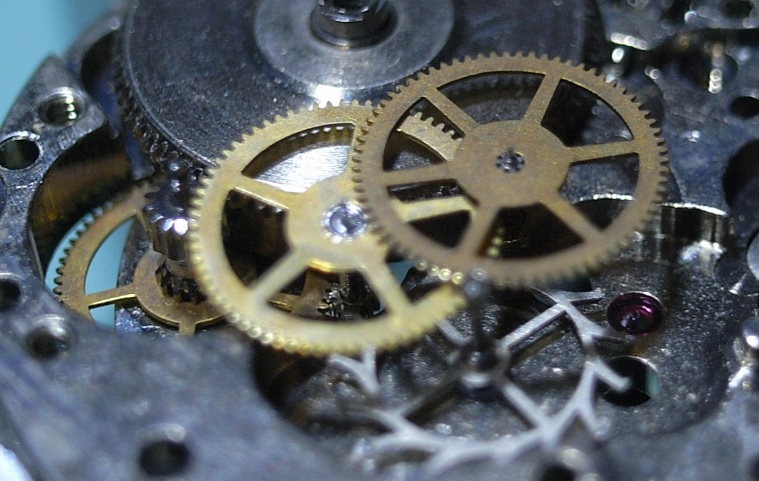
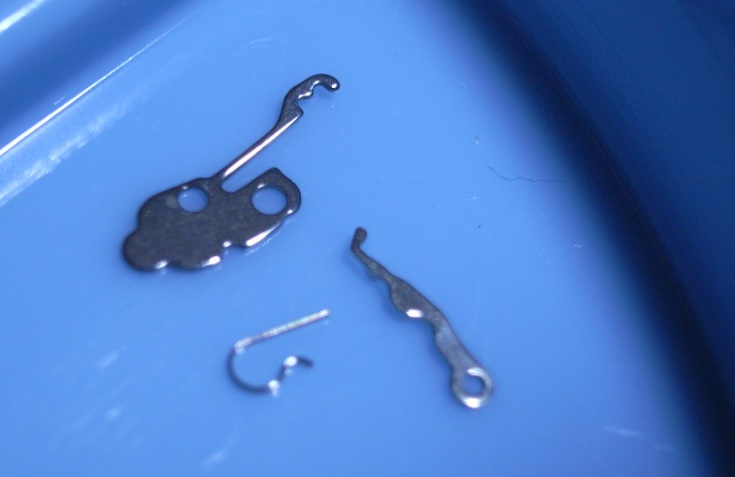
 ETA Caliber 2540 Complete Service Walkthrough Looking for more movements that would expand my training scope. I found this one on the Fleabay: an ETA 2540. It's a "New Old Stock (NOS)" replacement movement, therefore it's not cased, and came with no hands. As there are many ladies watches, especially vintage ones, that are very small, this was my next obvious choice of movement to work on. As you can see next to my thumb nail, it's quite a small and compact movement indeed. Disassembly First remove the Hour Wheel, and leave the tension spring in place. Remove the Minute Wheel, Canon Pinion with Drive Wheel, and the Winding Pinion. The Canon Pinion on this movement isn't the standard fiction fit, it is a "Circlip" type fitting with the Driving Wheel. Therefore no pinion puller is required on this movement. Below is a reference photo. The motion work is now removed, so it's time to turn the movement over. With the Movement turned over, release all tension from the Mainspring. Remove the Balance. Remove the Pallet Cock and Fork. Remove the Crown Wheel and Ratchet. Remove the Click and Click Spring, then the Barrel Bridge. Here is a reference Photo of the Click Spring. Remove the Train Bridge. Remove the Second Wheel, Third Wheel, Intermediate Wheel, Escape Wheel and lastly the Barrel. Finally turn the movement back over, and complete the disassembly by removing the Keyless Work. Remove the Setting Lever Spring. Remove the Yoke Spring and then the Yoke. Then remove the flip the movement over and unscrew the Setting Lever Screw. Pull the Stem out and the Clutch Wheel and Winding Pinion will fall out. Here is a reference photo of the Yoke Spring. Disassembly is now complete.