Search the Community
Showing results for tags 'berlintime'.
-
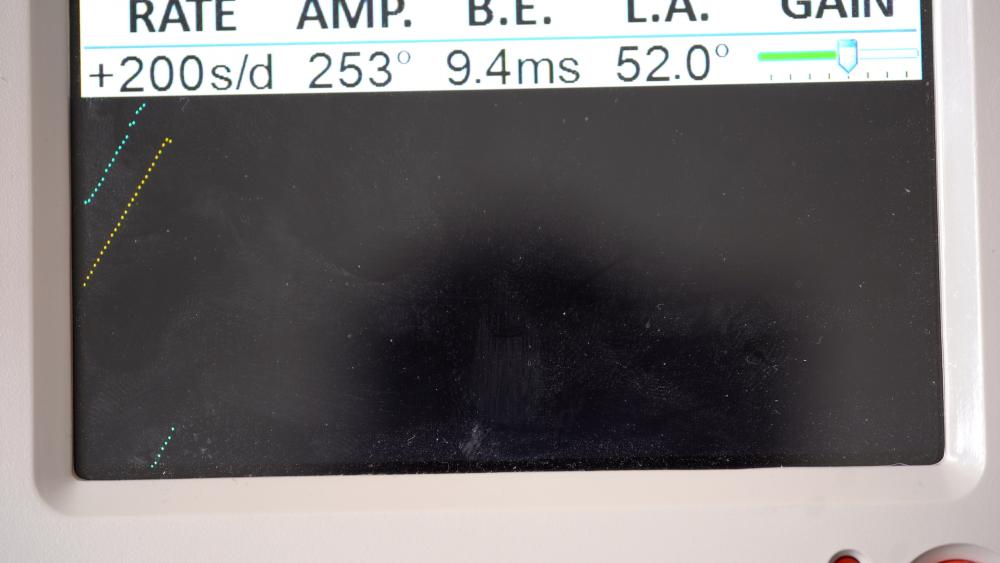
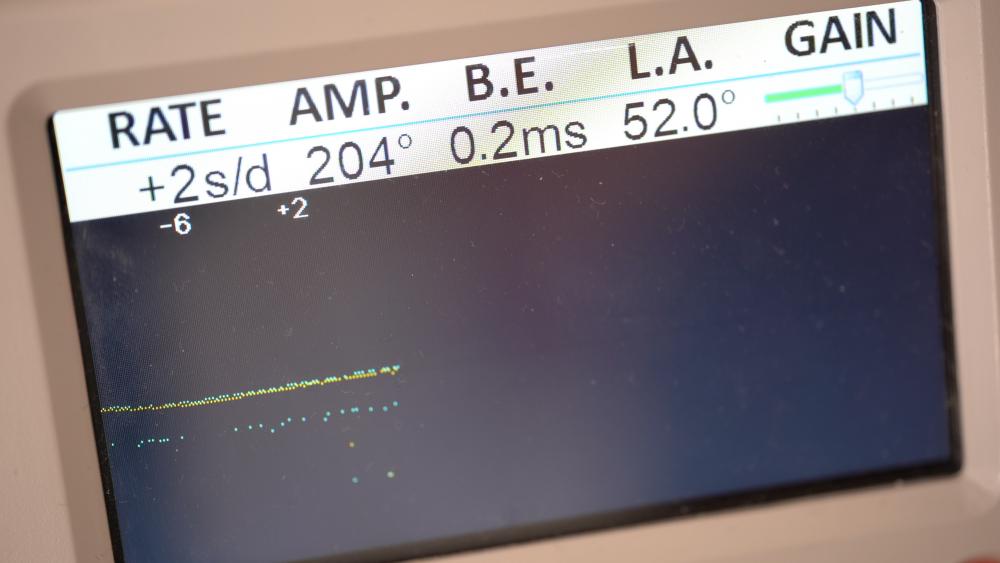
Hello watch bangers! Its been a while because I have decided to change my project schedule a bit but nevertheless, I bring you my most recent watch! This Report will be focusing on my work on an old Citizen watch with a Miyota 8200 movement! Next to the usual service features such as crystal replacement, lubrication and cleaning, I will also be talking a little about dial feet repairs since this watch needed one! Nevertheless, for you lazy people out there, here is the 4k fully commented video on Youtube: Overwise enjoy the read! Arrival status: Here is the watch when it first arrived on my work table Here is a list of what is wrong with this poor old watch: - Missing front crystal and dirty case back crystal - Detached hands - Misaligned dial - Non-Running movement So as you can see this is quite alot of work, but we will be covering all of this and the result definitely are worth it! Disassembly: 1.Removed the detached hands to protect them and screwed open the case back. 2.Removed the case, the dial spacer and the dial ( which had no dial feet attached anymore) and strapped the movement into the holder. 3.Took off the golden day wheel clip and the day wheel. 4.Unscrewed and removed the date cover to reveal all the setting subsystems. 5.Removed the date wheel by releasing tension on its little spring. 6.Took off the date spring and the two quick date and day levers. 7.Off with the canon pinion and the minute and whole wheel. 8.Removed the stem setting system ( Yoke and setting lever) as well as the translation to the canon pinion ( the two translation wheel and their cover). 9.Finally removed the clutch to complete the front side disassembly, well except for the balance jewel! 10.Flip the movement and remove the Rotor. I was really lucky and had a green gilden rotor on this miyota 8200! Loved the look of it! 11.Removed the complete balance. Loved the cool contrast of the round balance shape to the square jewel cap! 12. Undid the pallet fork bridge and lifted both of them away. Pallet fork jewels looked good under x20 magnification. 13. Unscrewed the brutalistically designed main bridge and took it off to be able to dig into the inner gear works. Took off all the gear leading from the escapement to the mainspring and moved on the to the ratchet system. 14.Removed the ratchet system and moved on to the Mainspring barrel and winding wheel which where both removed. 15.Here,I came to the final sub bridge where I removed the sweeping second pinion . 16. Lastly, I removed the final bridge and the underlying wheel which went through the mainplate. With this 99% of the disassembly was done! You can see all the parts (Around 75 I think) assorted in my sorting box! Mainspring As always, I did not have a spare mainspring at hand not did I plan on getting a new one so we once again go to servicing the mainspring! Unwound it out of the barrel and it came out pretty decent, maybe a few small nicks and unevenness but nothing major! After a manual rub down in lighter fluid and alcohol and the following lubrication of its whole length and the barrel insides, carefully wound it back inside to get this result: Cleaning Since I have decided to just keep going with the manual cleaning method, It is the usual process! A good soak in lighter fluid followed by a rinse in isopropanol alcohol. I of course did not include the balance or the pallet fork into this methodology since the alcohol could dissolve the shellac used in the jewel adhesion. I just gave them a good lighter fluid bath! Lubrication All the lubrication I used: Moebius 9010 - Basically All jewel bearing Moebius 8200 - Mainspring lubrication and barrel bottom and under the barrel lid. Moebius 8217 - Mainspring barrel grease Moebius 9415 - A miniscule amount on the palletfork jewel tips Moebius HP 1300 - Slower moving contact points such as: Metal barrel bearing, canon pinion and hour pinion sides Molycote DX - Heavy contact points mainly in the gearless setting system. Reassembly: Just follow the disassembly steps and you should be good! Dont forget to clean and lubricate the balance shock jewels. I haven't really taken any pictures of that process but they will be coming in the following reports! Here is one right after I did the whole process: Dial feet Repair: Now dial feet repair was quite a big issue for me since I always buy used watches and their parts online. And very often I would be super enthusiastic about a lovely looking dial that I snagged just to get it and realize that the dial feet are snapped off. And since I dont like glueing dial and not even mentioning the fact that glueing dials on watches withd ay/date complication being basically impossible anyways, I had to find another way. After some research, I decided to go into the field of resoldering the dial feet onto the dials. Now this has alot of variables which decide if it works out without ruining the dial ( dial material, print, cover, thickness etc..). I went onto my balcony and used a little tools holder, solder, copper wire, safety goggles, soldering paste to solder the copper wire used as a replacement to the dials again. Here are a few pictures of the balcony: And here of the “fixed” dial, even though the back does look absolutely demolished. You dont see that side though hehe. I wont write down the whole process here but I probably will do a more in depth one on a separate post in the proper forum. Timegrapher Test: After everything came back together, it was time to test my work on the good old timegrapher! Here is the result right after reassembly without any regulation: And here it the watch post-regulation: The low Amplitude is probably a mixture of the mainspring not being replaced and not being wound fully! Im also not very satisfied with the slight background noise with is visible on the graph ( just because I like my lines neat and straight haha). Oh and I regulate the watches to their best performance in two position. So once dial up and once dial down. Everything else really is outside of my skill, ressource and patience level xD Final Results So here are the final results of the restored watch! I did end up buying a fitting original citizen stainless steel bracelet but I did not have the chance to use my works camera to capture pictures. Anyhow, the pictures of the watch still look great to enjoy the view! Conclusion So in conclusion, working on this watch was a nice experience! It was cool to show you guys the movement since this was the last movement of a 6 watch lot which I finished off! I loved the brutalistic but kind of aesthetic design on the parts so shout out to the people at Miyota. Im writing this up last minute since im going on holidays tomorrow and I havent done anything in terms of packing or cleaning so i'm sorry for the shallow and short finish! Hope you guys enjoyed the write up and hopefully the video! Criticism, comments, tipps and anything else really can be put into the comments below! Enjoy the next weeks and see you watchbangers for the next watch!
- 1 reply
-
- 3
-

-
- citizen
- automatic watch
- (and 5 more)


