Search the Community
Showing results for tags 'F05111'.
Found 1 result
-
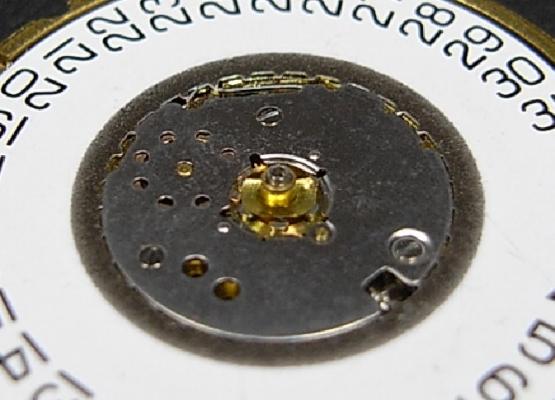
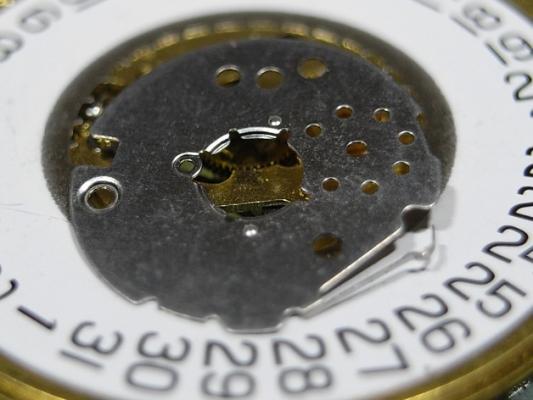
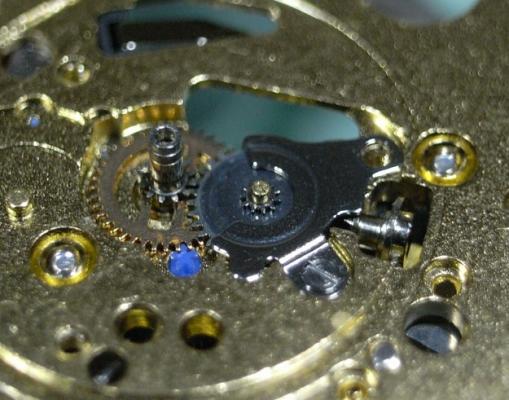
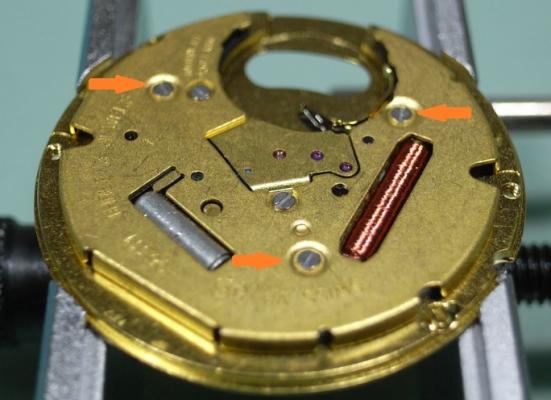
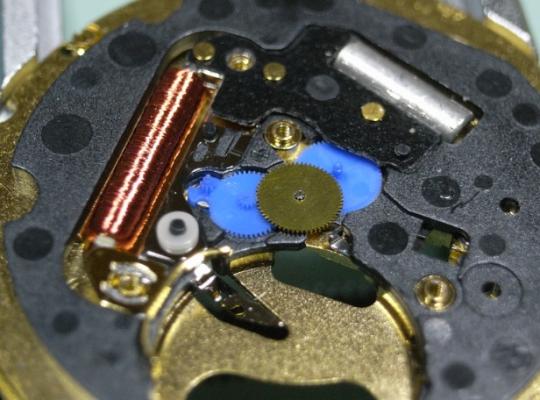
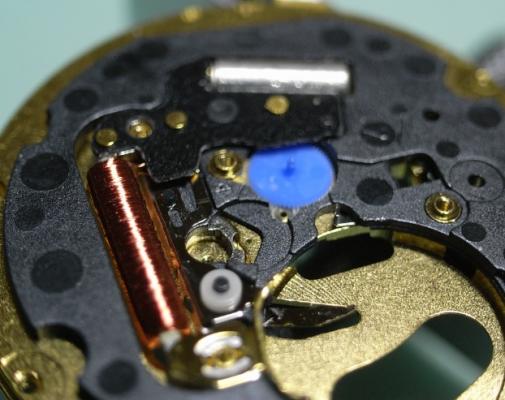
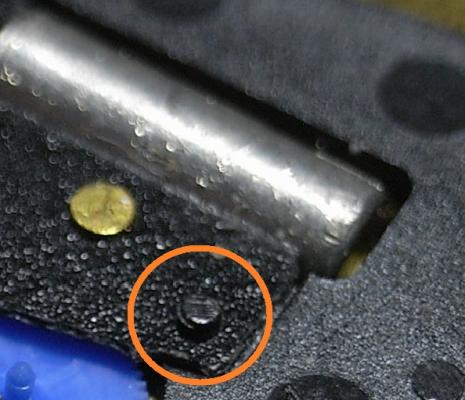
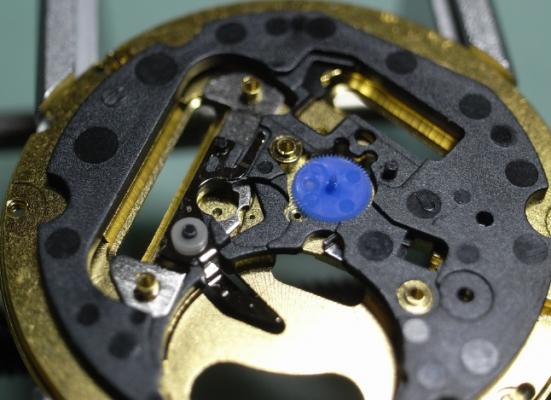
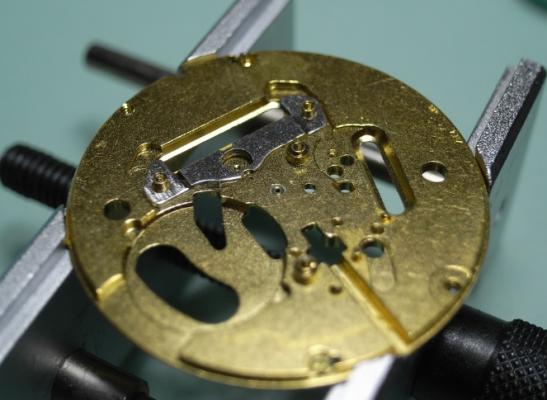
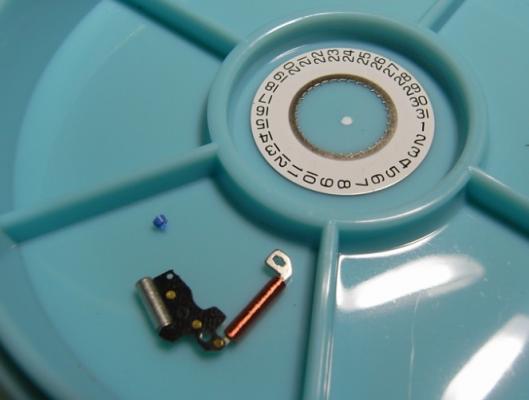
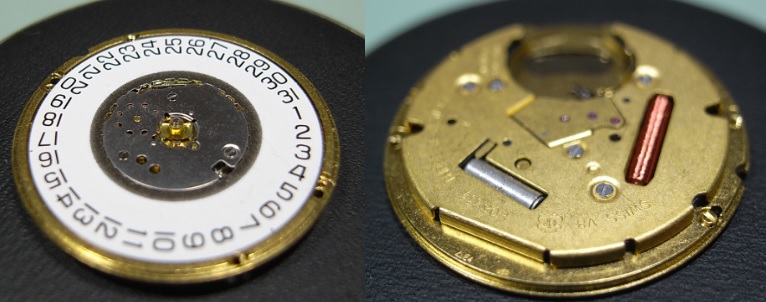
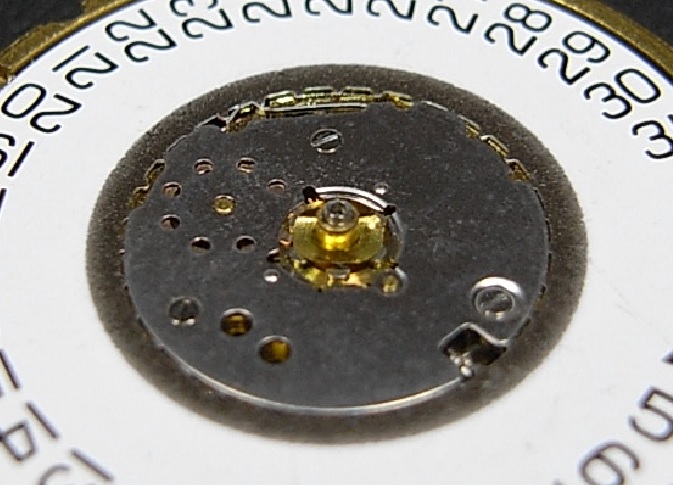
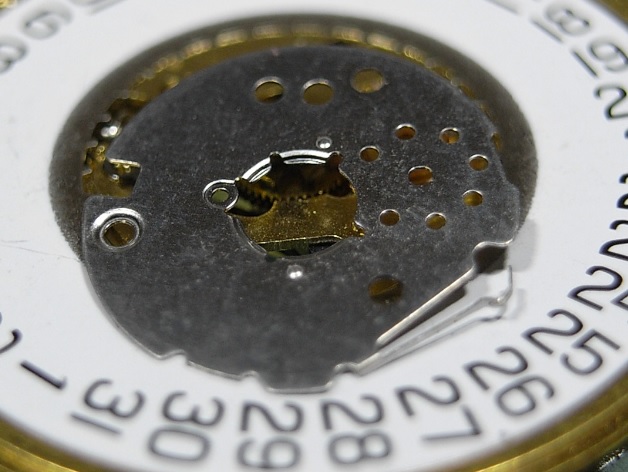
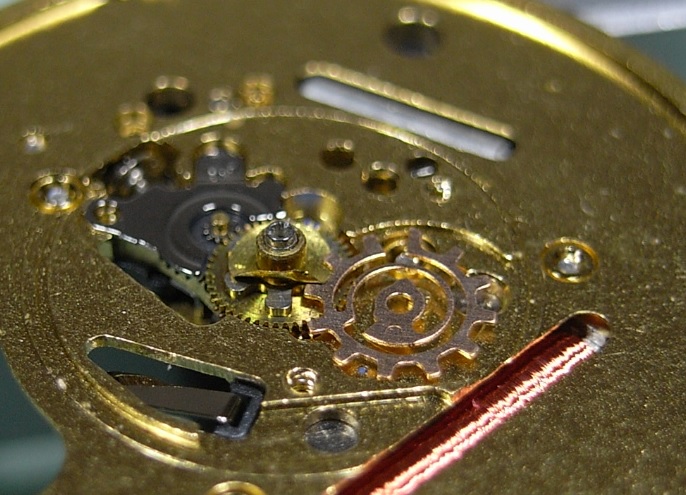
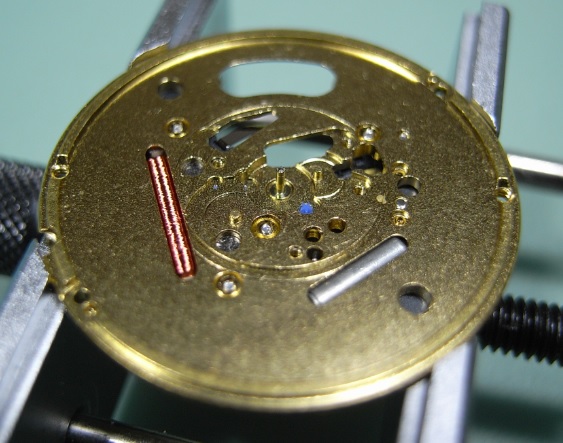
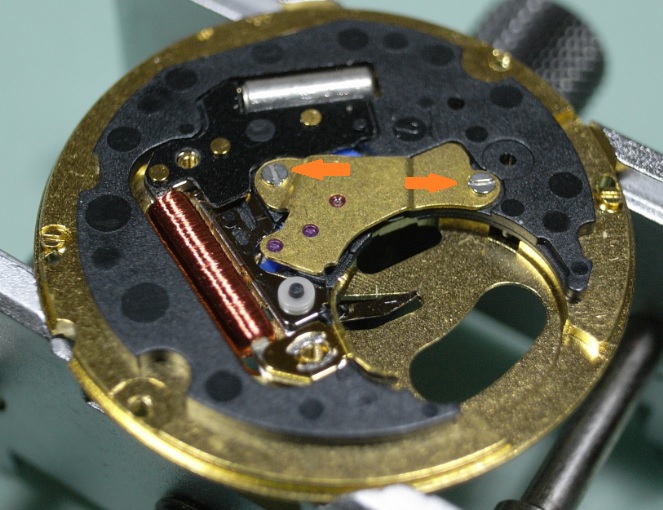
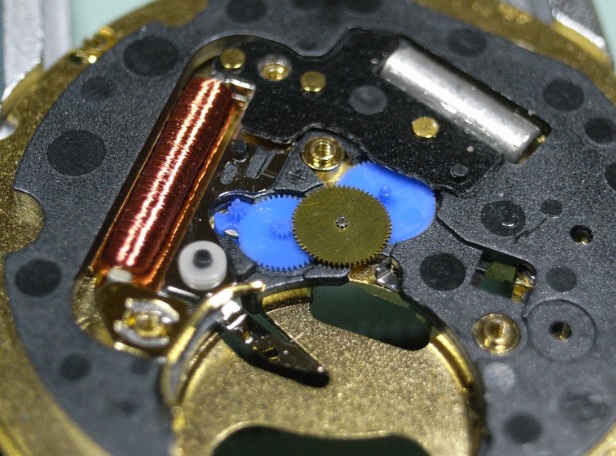
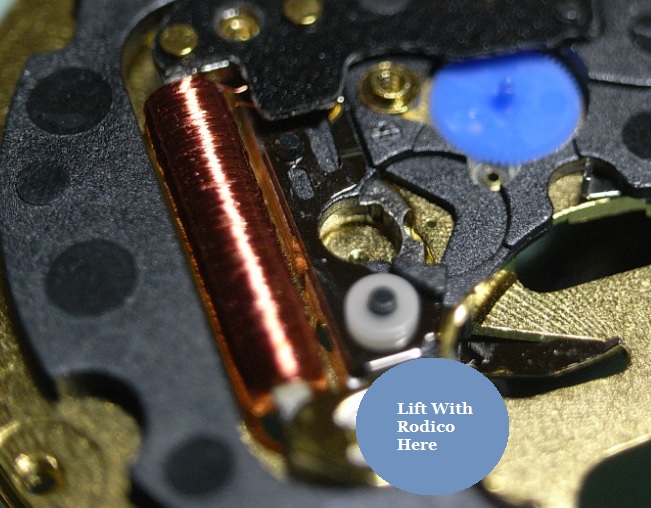
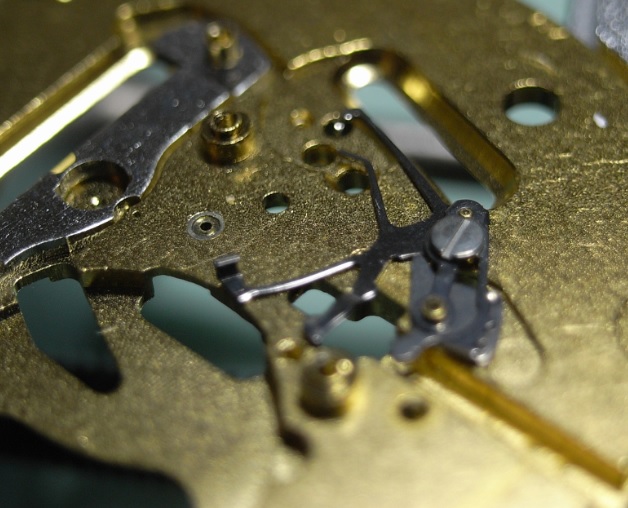
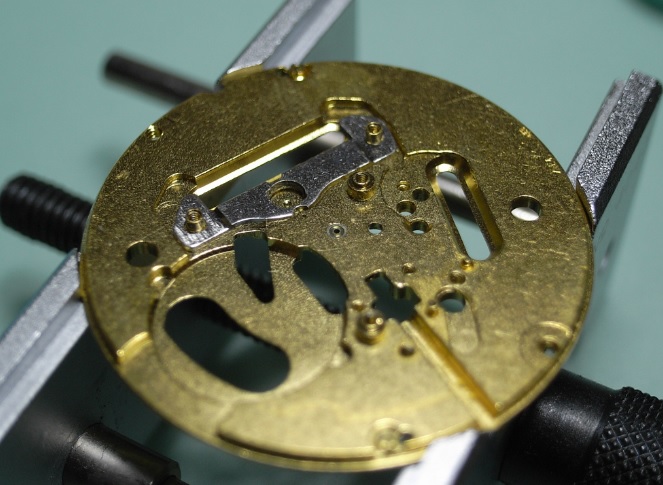
 ETA F05-111 Service Walkthrough "The Workhorse Of Midrange Quartz" Moving on from the ETA 955.412 service, another common quartz movement, this time found in mid-range quartz watches, is the F05 111. It doesn't have the build quality of the 955/6 model; but it's still a very robust movement, and able to be serviced. In saying that, this movement is rarely serviced by a professional watchmaker due to the low cost of a replacement movement. Personally, I think it's sad we live in such a throw-away society, and are slowly loosing the skills and confidence to performance maintenance at home. So if you've got the tools and confidence to service this movement at home, do it, and save yourself $$$. Service Manual for the F05 111 Movement ETAF05.111.pdf We will first start with the Motion Work and Calendar Work. Remove the three screws holding the Cover Plate. You will see that this also has the Date Jumper Spring incorporated into it. Next remove the Hour Wheel, and the Date Indicator Driving Wheel. Note too that there is no quick date change on this movement. Remove the Minute Train Bridge, Minute Wheel, Canon Pinion and the Sliding Pinion And that's it for this basic movement on the dial side. Flip the movement over and we'll begin on the drive side Remove the three screws marked below and lift out the Electronic Module Cover. Next remove the two remaining screws that hold the Gear Train Bridge. As you can see with plastic wheels, this is not up to the same quality and finish as the 955/6 movement. Remove the Second Wheel, Intermediate Wheel, and the Rotor I would not recommend removing the Third Wheel at this time as the IC Board circuits are directly above it, and there is no point risking damage to it. To remove the IC Board, gentle lever up the where the location pin goes through the board just at the end of the Quartz Crystal housing. This pin is often firmly pegged to the board and must be lifted up first. This will loosen the board away from the Main Plate. Then gentle lift out the IC Board by sticking a piece of Rodico to the mark position below and lifting out. This will avoid any damage to the circuit or Coil. Now that the IC Board has been removed, access for removal of the Third Wheel is risk free. You can also remove the Insulating Block at this time. This is also the time to remove the Battery Insulator, but this being just a spare movement I own, it's been used elsewhere ... sorry :unsure: The Keyless Work is now exposed, and is a very basic setup, being held only with 1 shouldered screw. The movement is now completely stripped and ready for cleaning. All the parts can go in for cleaning EXCEPT the following Date Ring Rotor IC Board PLEASE NOTE: Due to most of the wheels being plastic, be careful when you come to the heating/drying stage if you are using an Elma/Pearl Parts Cleaner. Make sure the basket is high up in the drying cylinder and ONLY RUN FOR 11 MINUTES MAXIUM ... too much heat isn't good for those little plastic wheels. I hope this has been fun and edifying to read. I'll post the assembly procedures latter tonight after dinner ... my tummy is talking to me :)