Search the Community
Showing results for tags '7733'.
Found 2 results
-
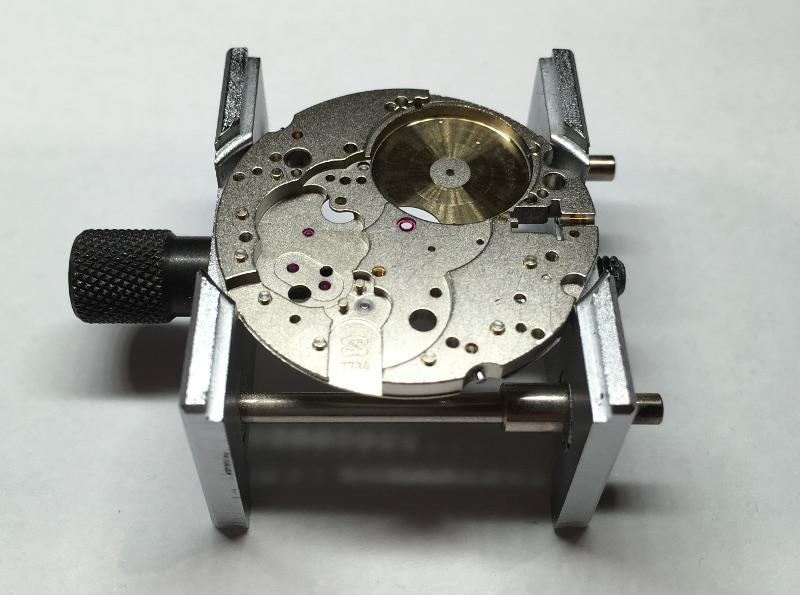
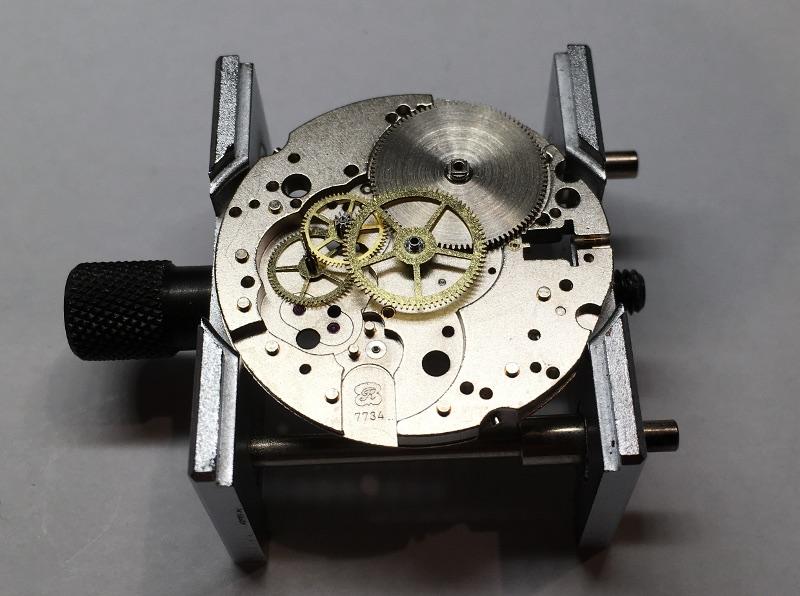
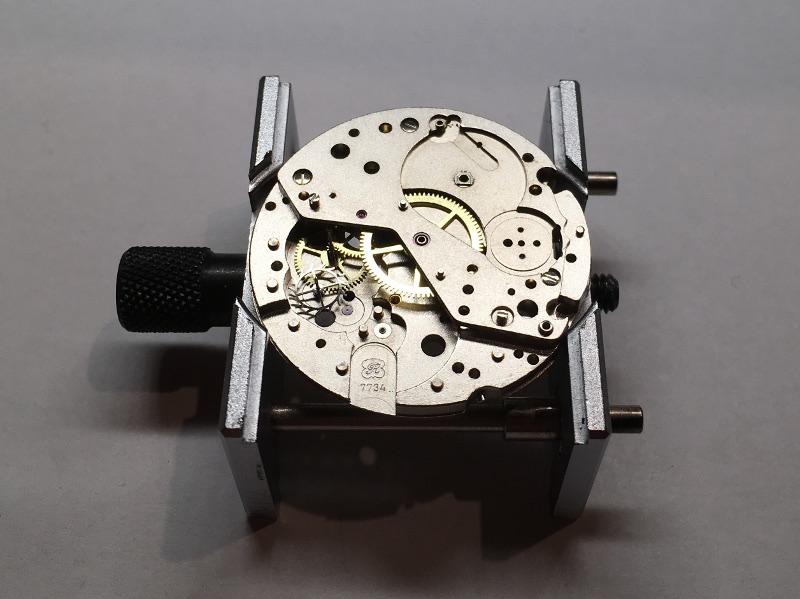
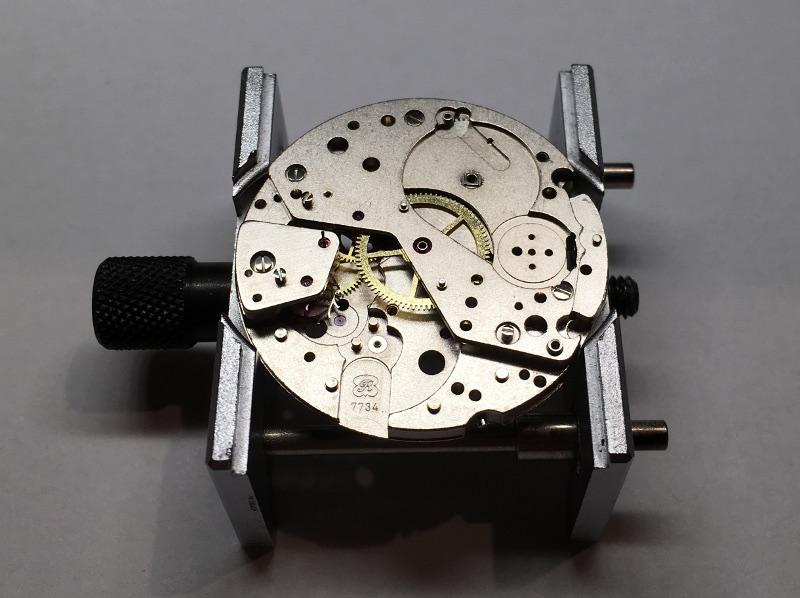
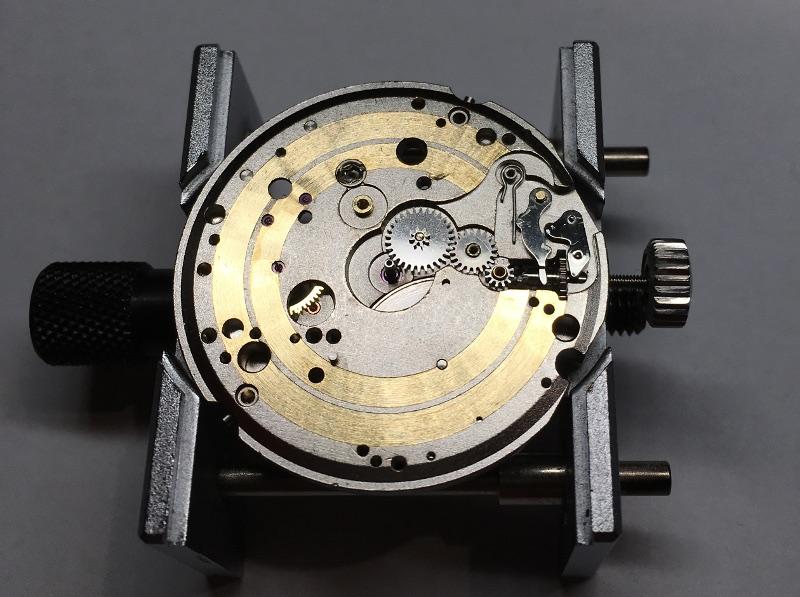
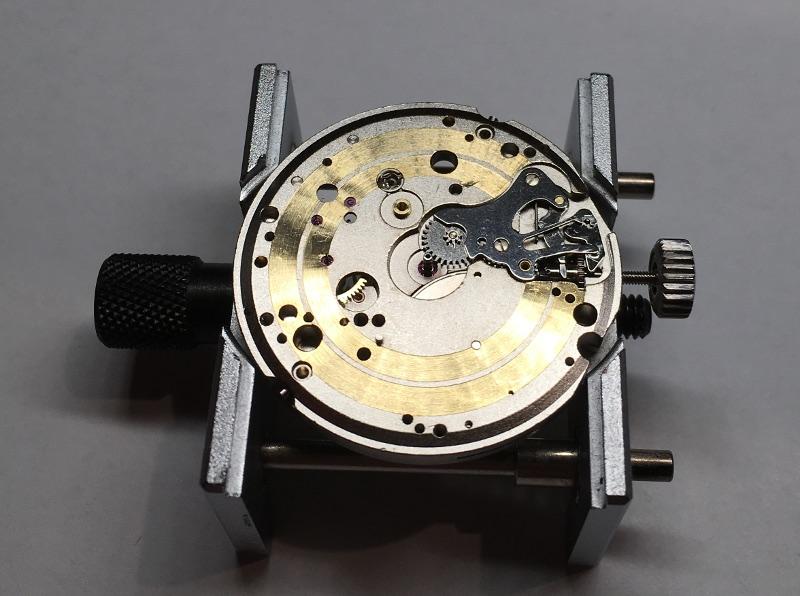
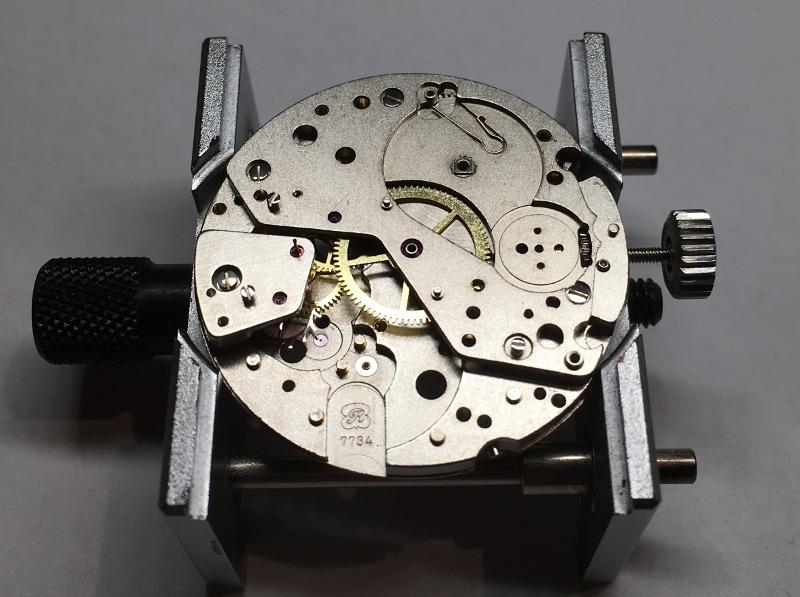
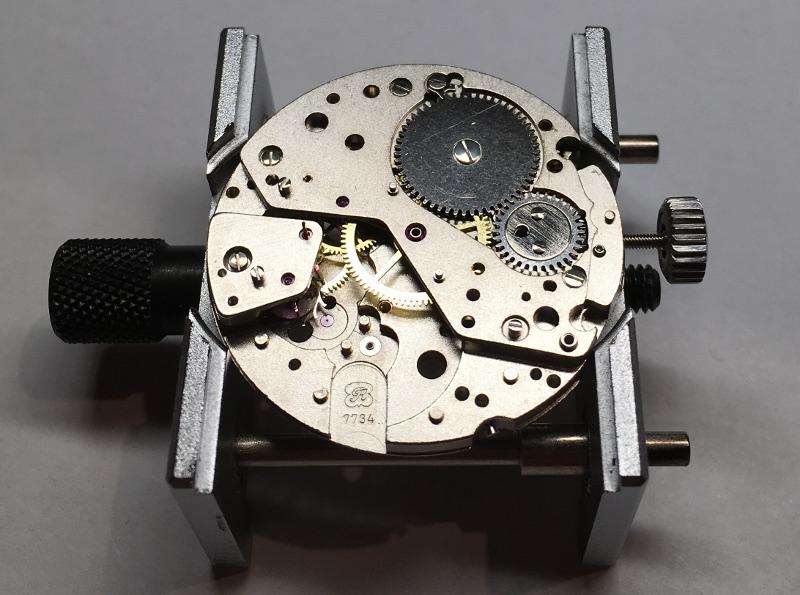
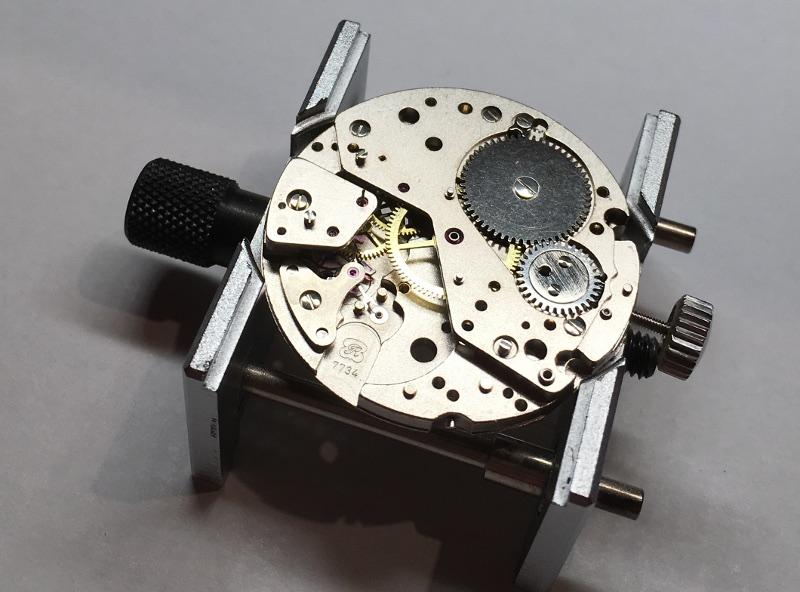
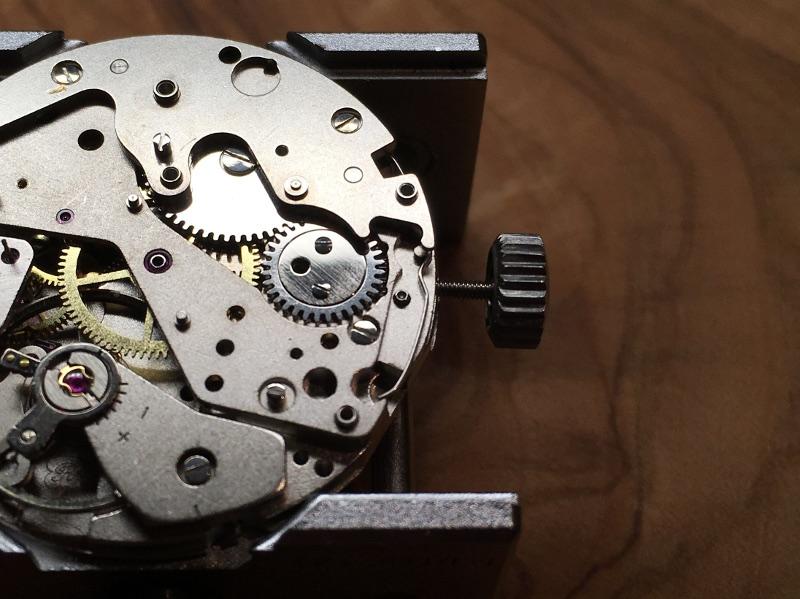
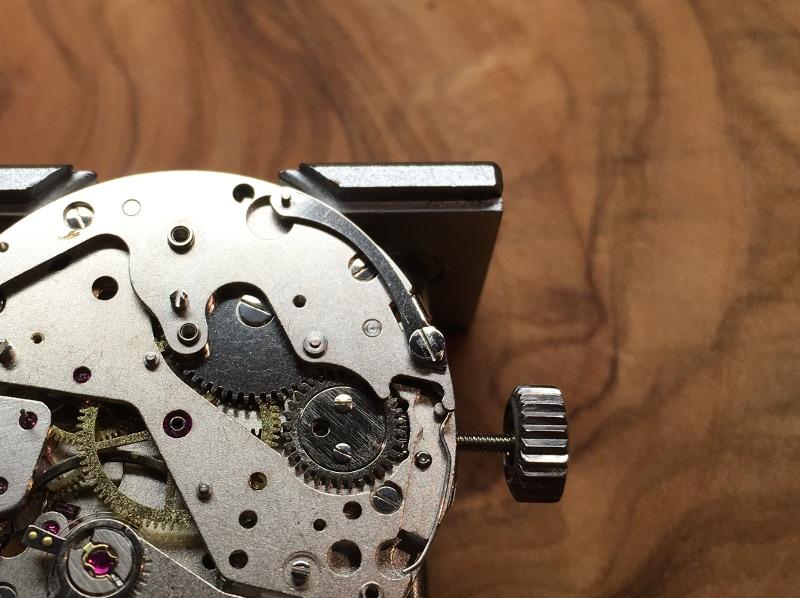
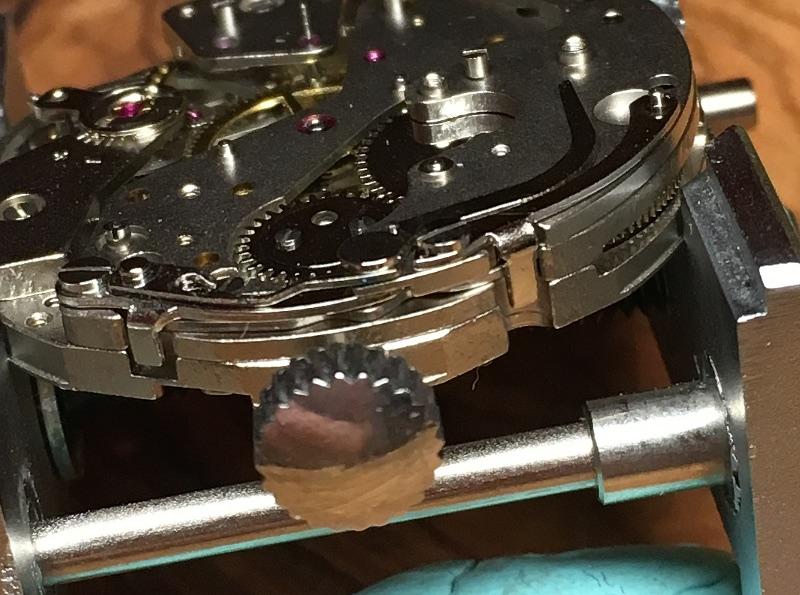
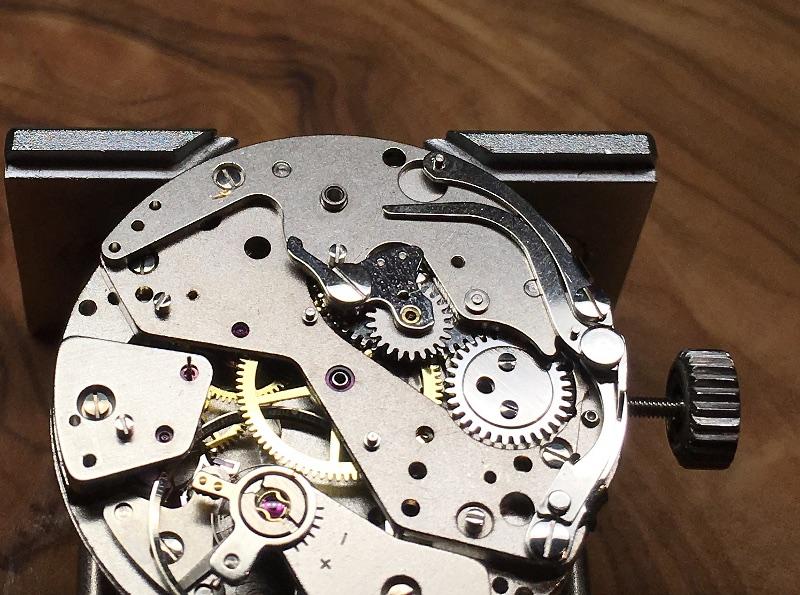
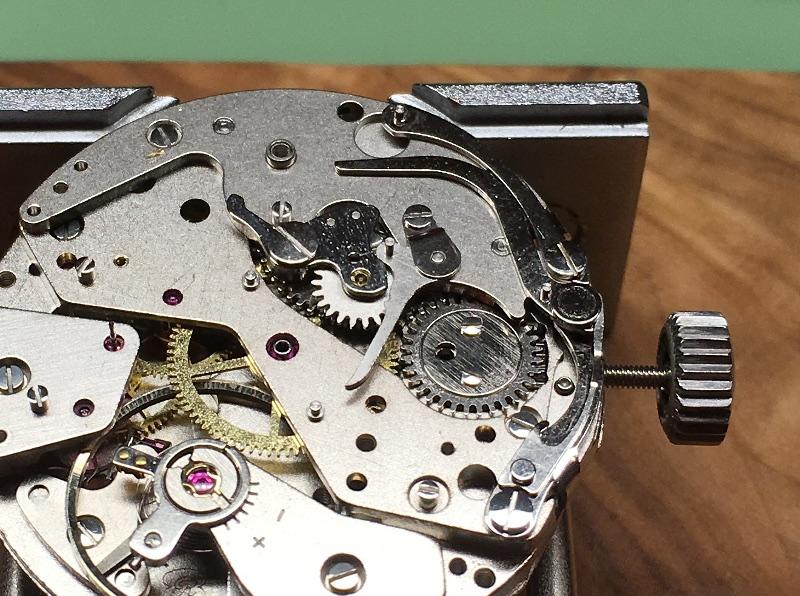
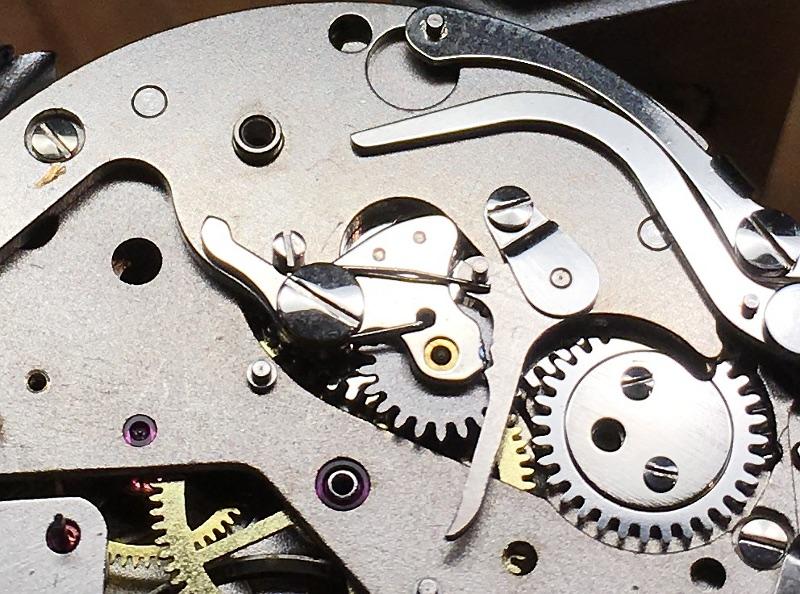
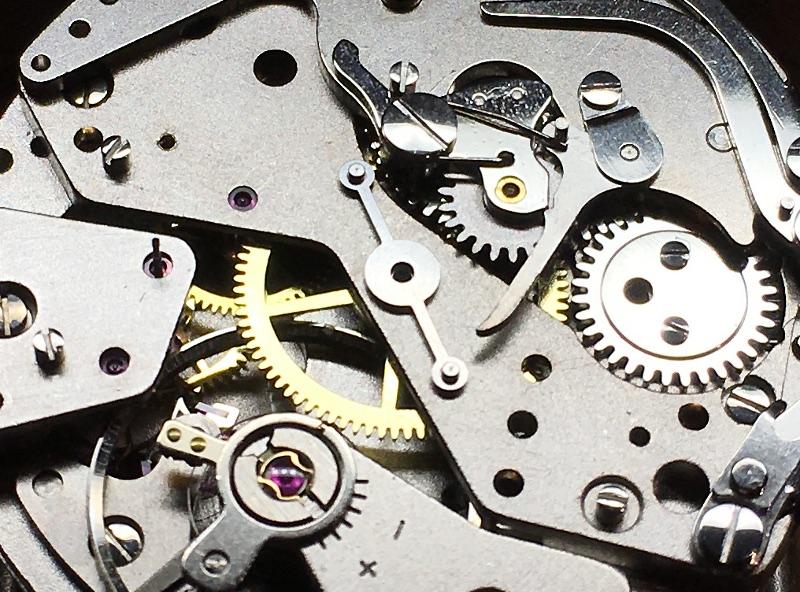
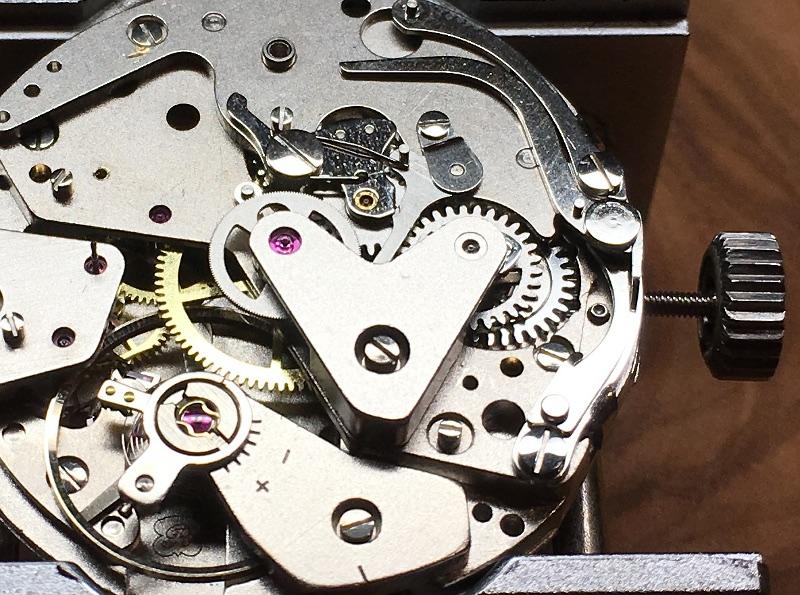
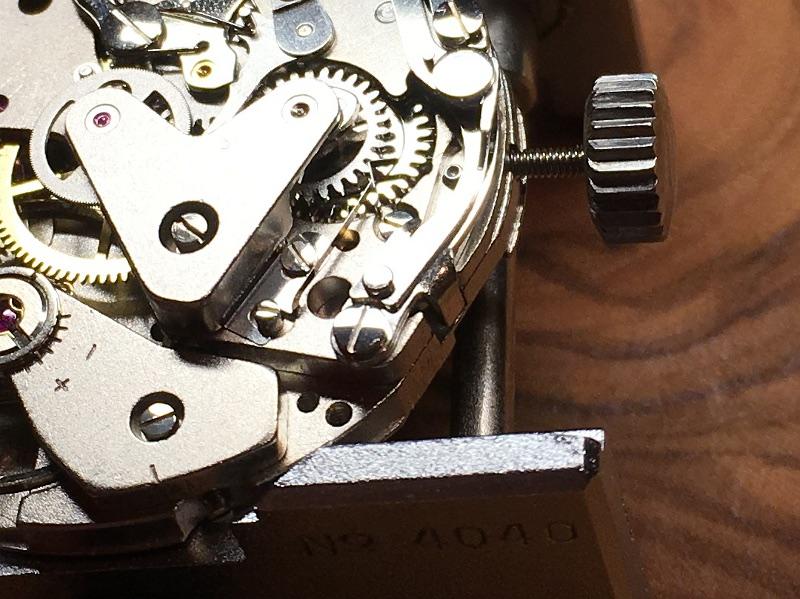
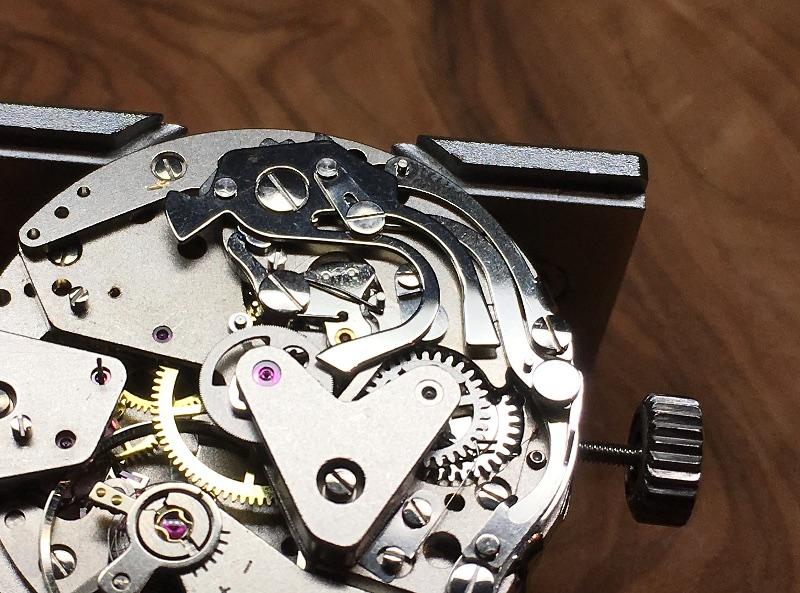
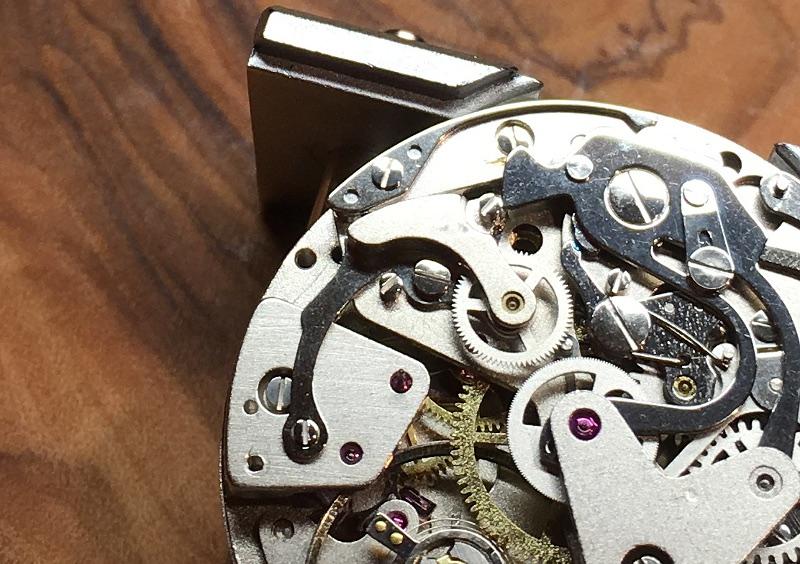
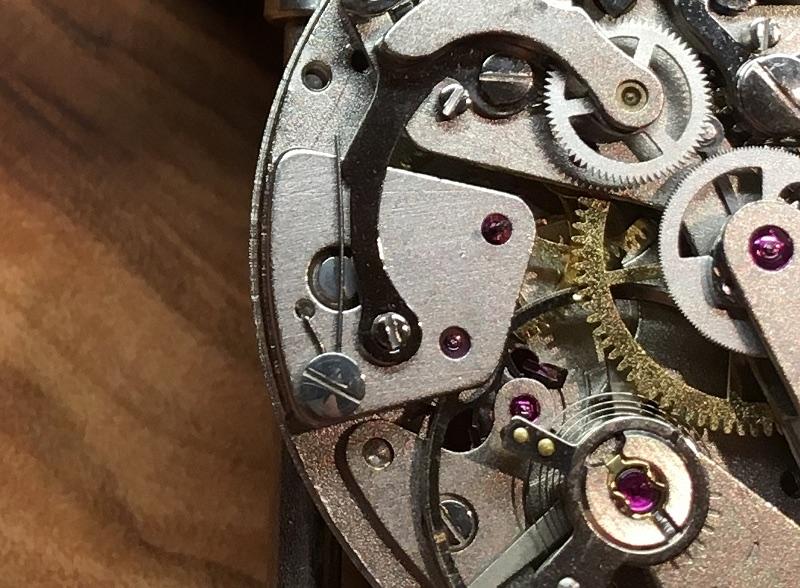
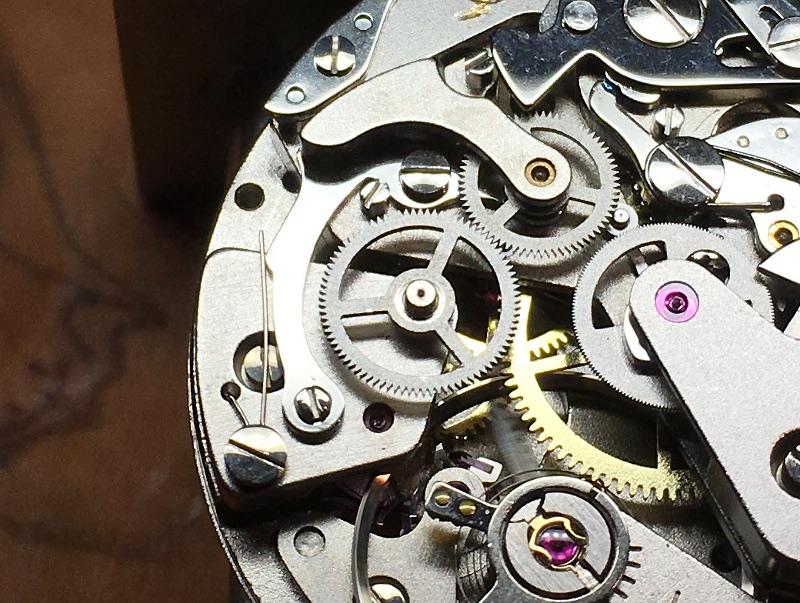
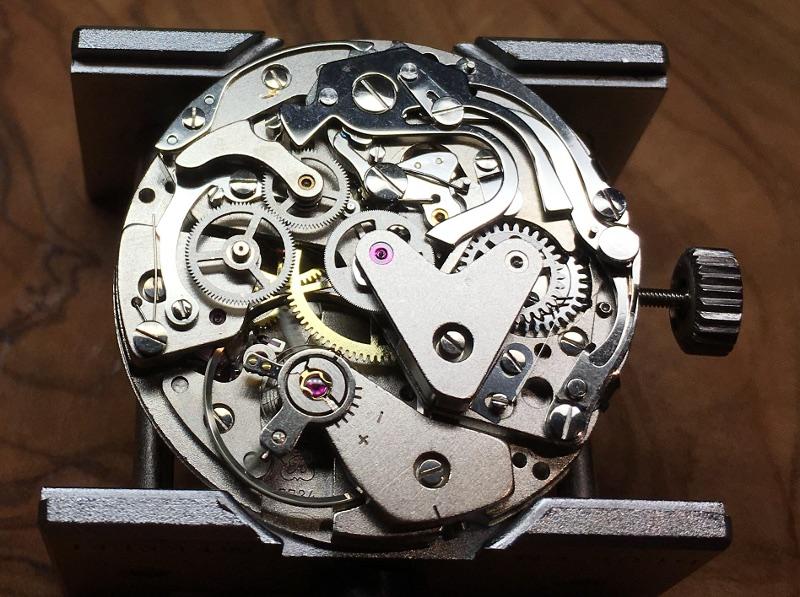
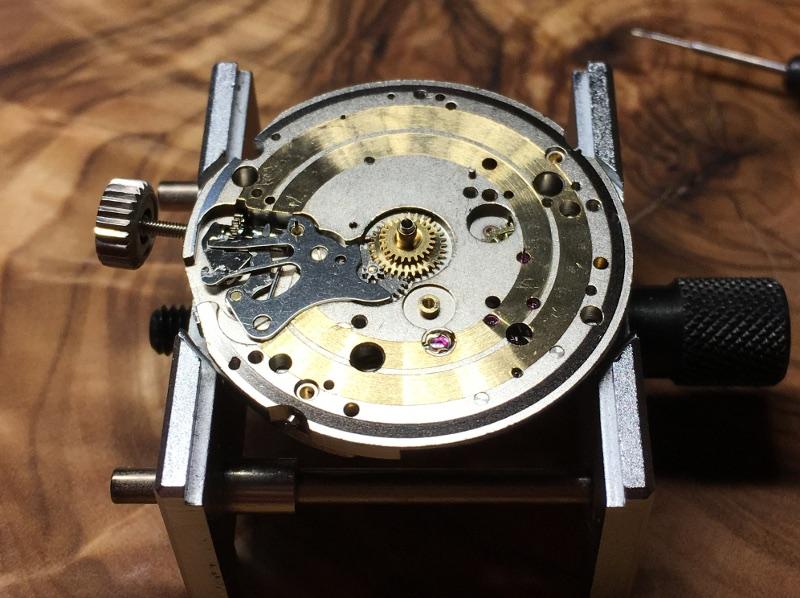
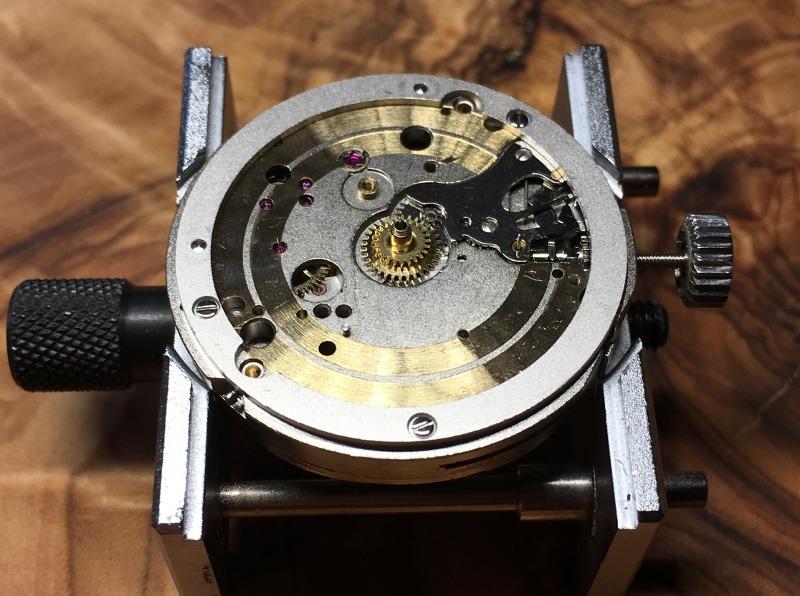
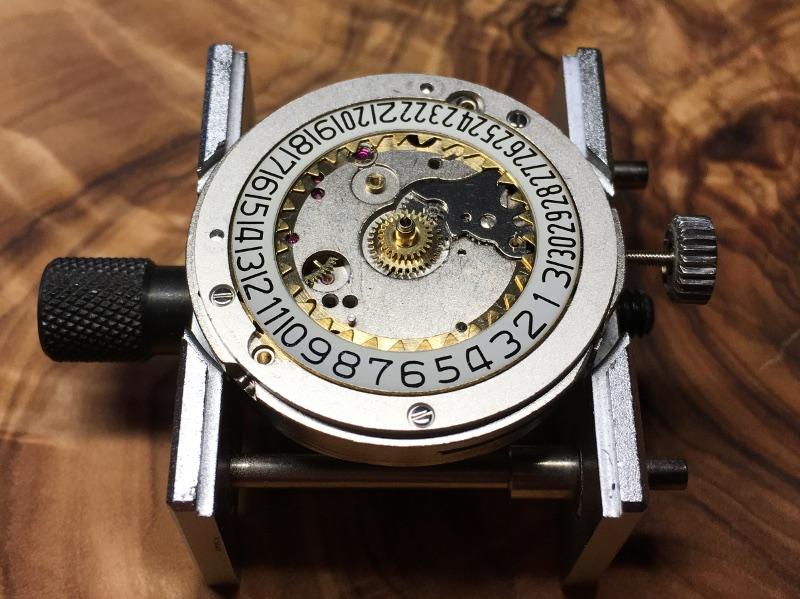
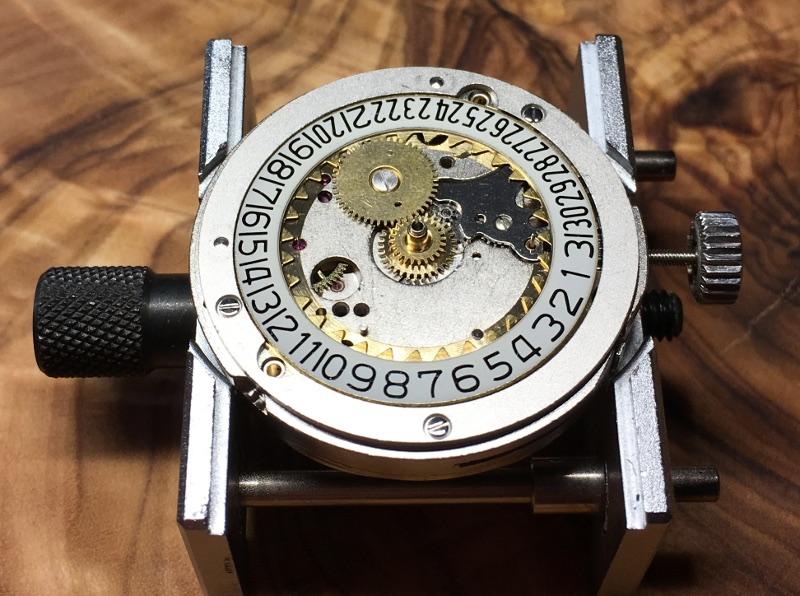
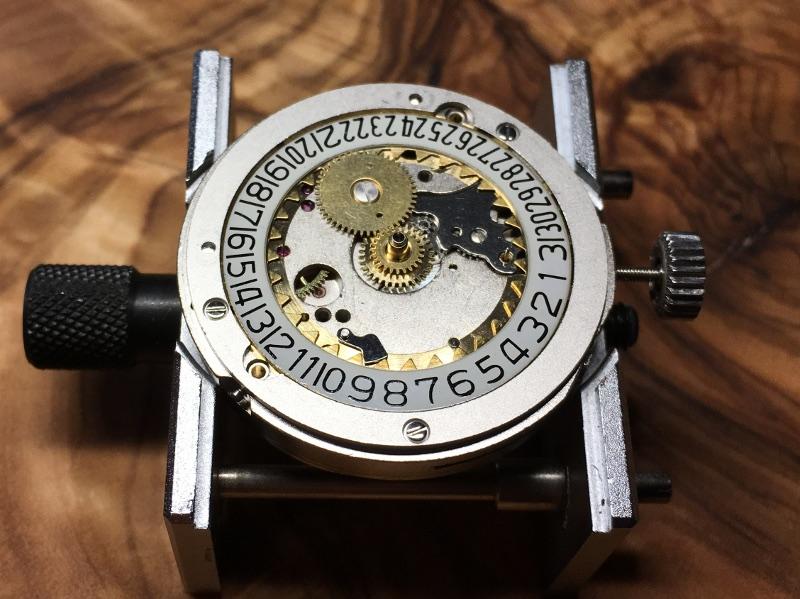
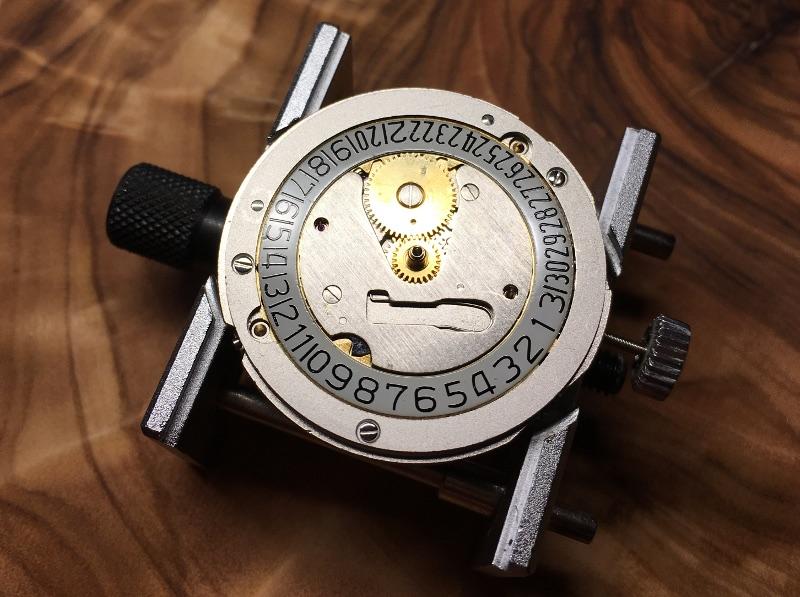
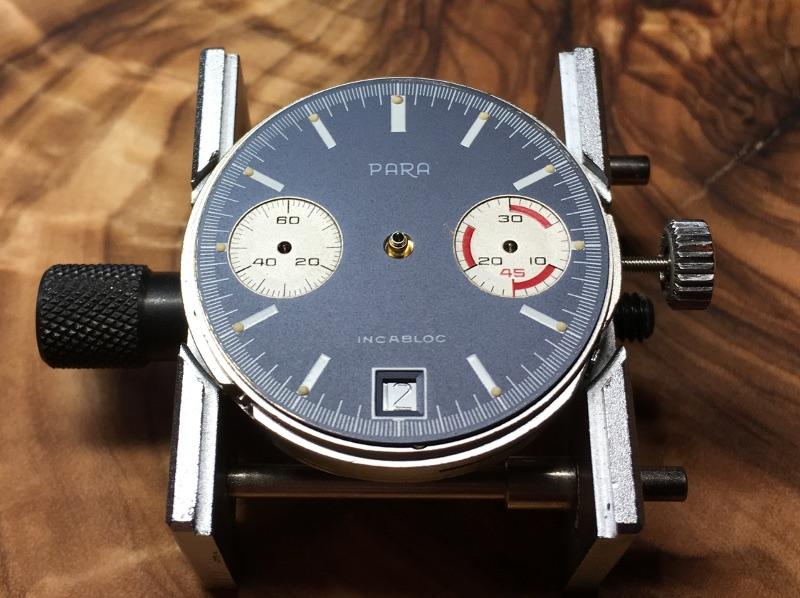
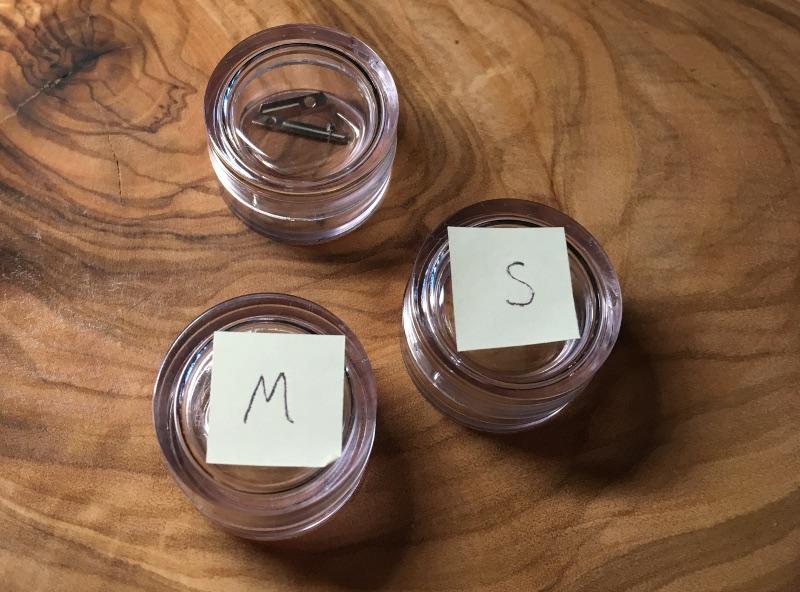
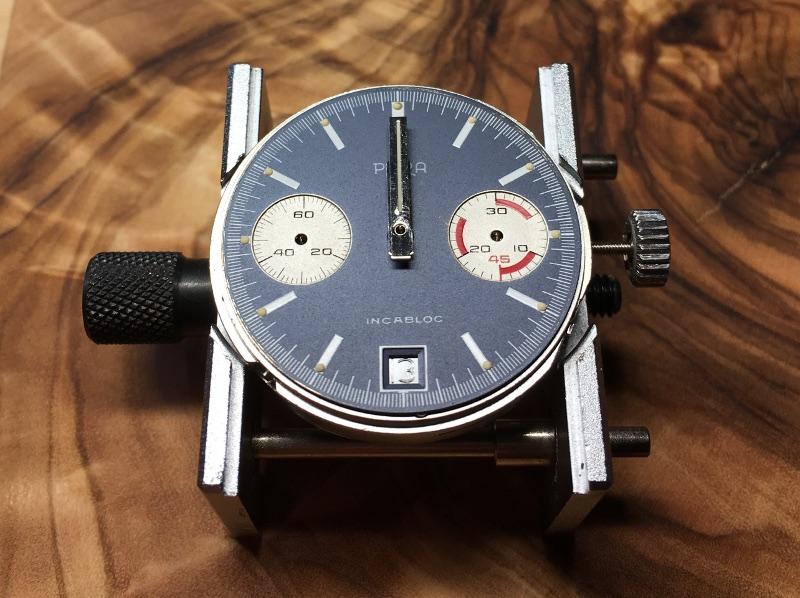
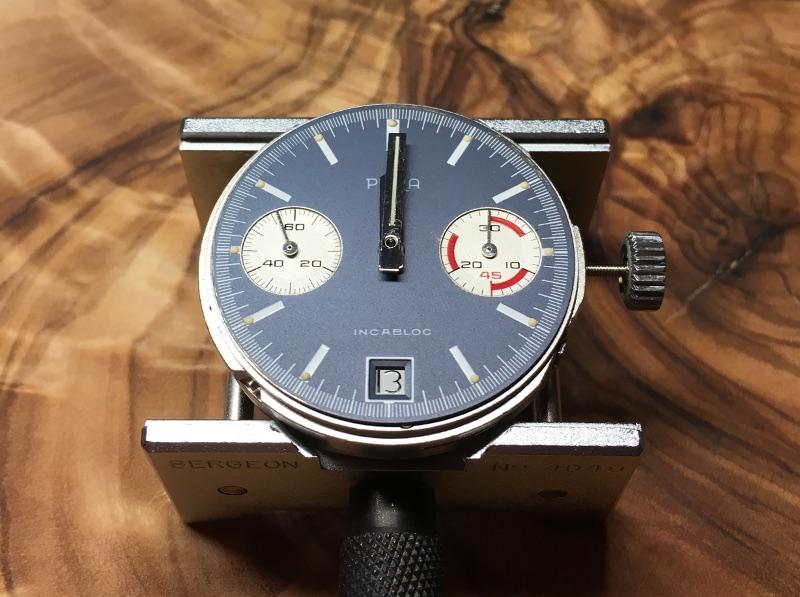
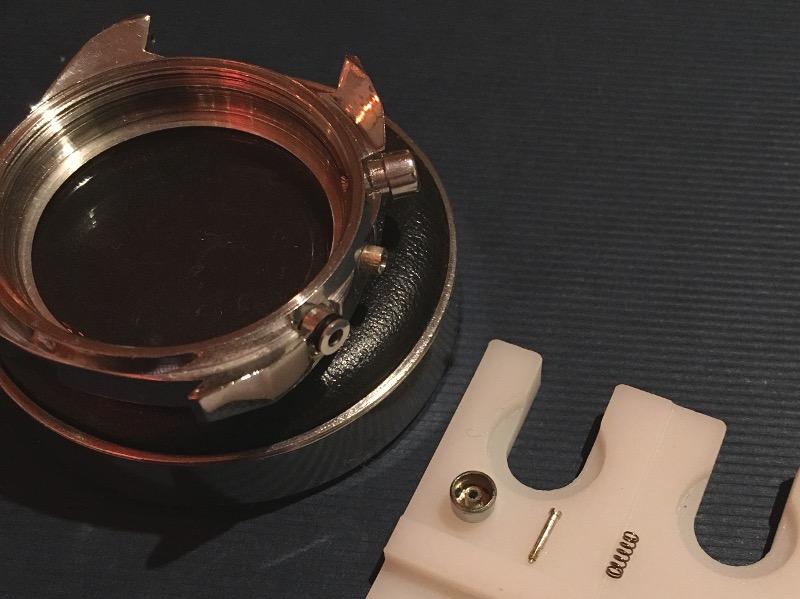
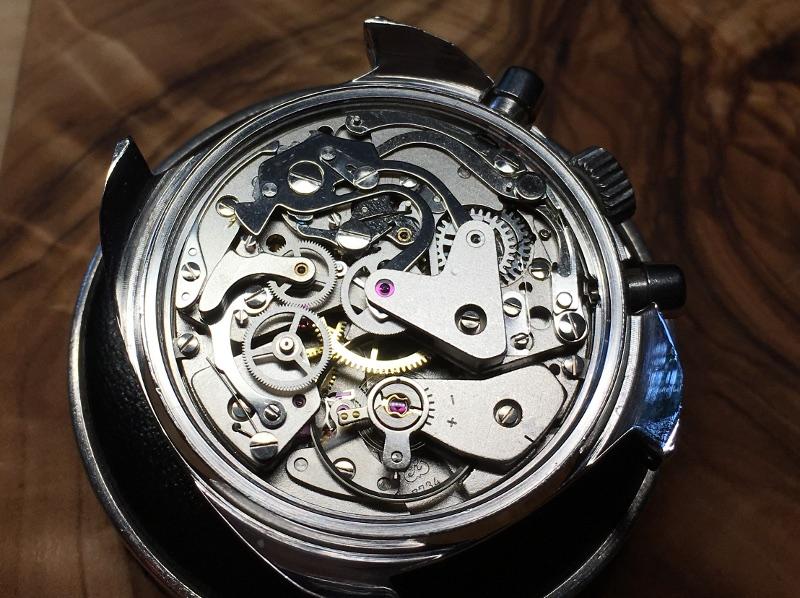
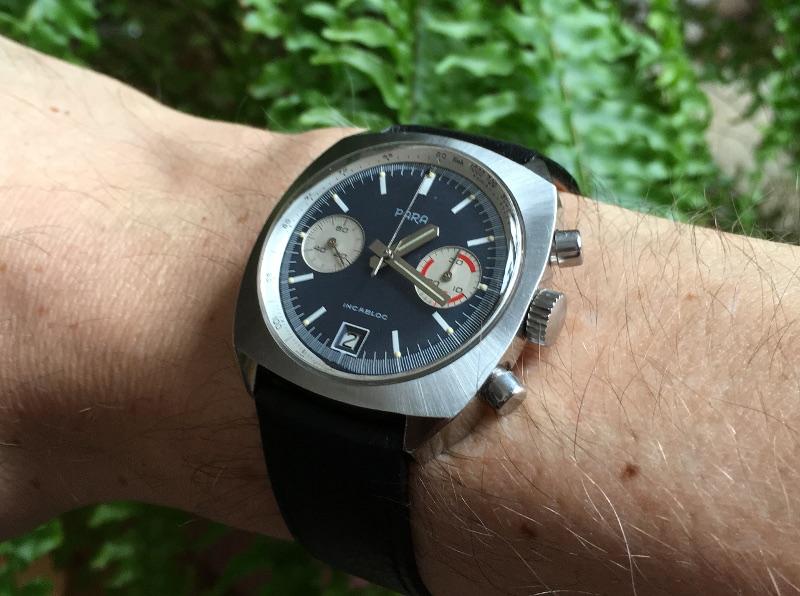
First of all my apologies for not having documented the disassembling, but the watch arrived in a terrible condition and I stripped it down right away to get rid of all that dirt. If you have worked on some watches yet and think about entering the chronograph world with a 7734 let me give you 3 advices: Do it! The 7734 is a solid construction and not too complicated. Take your time and watch all the 6 parts of Mark's Venus 175-service on youtube. Of course the Venus is a column wheel system, but the basic movement is very similar and also on the chrono layer you can learn a lot especially about lubrication: https://www.youtube.com/watch?v=EI3T-IR3AgM Download the 7734 service manual. A lot of information here: https://strela-watch.de/valjoux-7734-7733-7736-technical-documentation/ Here we go. Some 8200 for the barrel and the new mainspring goes in (got it from cousins - what I'm gonna do after Brexit? ). The complete barrel. Some D5 for the arbor. Putting in the wheels and the bridges. Lubrication: 9010 for the escape wheel and the second wheel, D5 for all others. The keyless works. 9501 for the stem and the gears. D5 for the wheels and the lever axis, 9501 for the contact points of levers and springs. The click spring. D5 for the click and the crown wheel, 9501 for the contact point of click and its spring. Finally the ratchet wheel goes in. The pallets go back in, no lubrication for the pivots. Lubricating the balance jewels with 9010. The balance back in. The escape wheel and the pallets got epilame so I let run the movement with dry pallets for some minutes. After that 941 for the pallets (work from the dial side through the window). Now I start with the chronograph. First the bridge and the spring for the levers go in. Fly back lever goes in with some D5. Operating lever, again D5 for the axis. A little bit tricky, you must upline the integrated spring with the upper lever first (9501 for the contact area). The second pictures shows the final layering. The sliding gear goes in, D5 for the lever axis, no lubrication for the wheel! At this point I forgot to put in the minute recorder runner (no lubrication). You should install it here, later its going to be more difficult. The blocking lever (D5) returns. Some 9501 for the contact area to the sliding gear. The blocking lever spring. Be very careful, this one isn't just a flyer, its a damned Lockheed SR-71 Blackbird. The friction spring (gets a drop of 9010). The chronograph runner and its bridge (9010 for the long pivot and the jewel in the bridge). The minute recorder jumper, no lubrication. The hammer. D5 for the axis, 9010 for the lever ends that hit the hearts, 9501 for the contact areas to the sliding gear, fly back lever, operating lever, jumper. The hammer cam jumper. Before installing the clutch give 9010 to the pivots of the coupling wheel. D5 to the lever axis. The spring. 9501 for the contact point. Finally line up the driving wheel with the coupling wheel and the chrono layer is complete again! The dial side. Some 9501 and the cannon pinion goes in. Hour wheel with D5. The dial rest with its 3 screws. The date indicator. The date indicator driving wheel with some D5. The jumper with D5 to its axis. As there was no lubrication described in the manual between disc/jumper or disc/wheel and the parts looked well polished I didn’t lubricate. It works - let’s see how long. The guard with 2 screws. Finally the spring. The dial comes back and is secured with its 2 screws from the side. While disassembling I put the little hands into seperate trays to prevent mixing them up. Now I turned the crown in the setting position exactly to the point when the date switches and put on the hour hand to 12. Positioning the chrono-hand exactly on zero was that tricky that I forgot to take a pic. New springs and gaskets for the pushers. Unfortunatly I’m not good in restoring cases. So just refreshing the brushing a bit and some cape cod work. The movement back in the case and secured with 2 screws. A new gasket for the caseback and here we are. Thank you for watching.


-
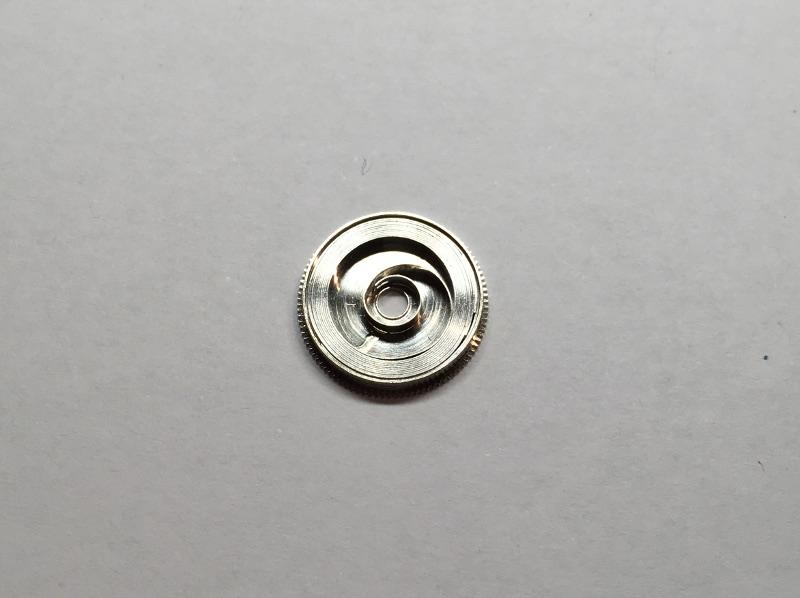
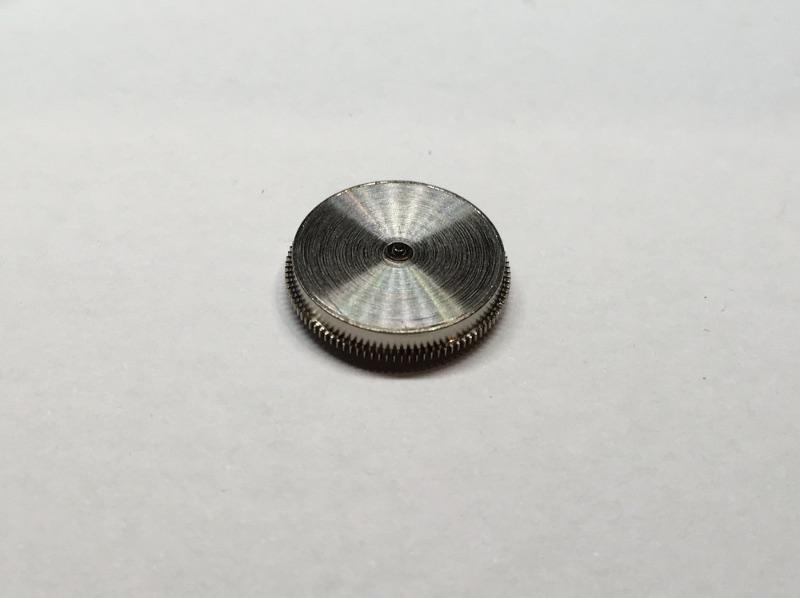
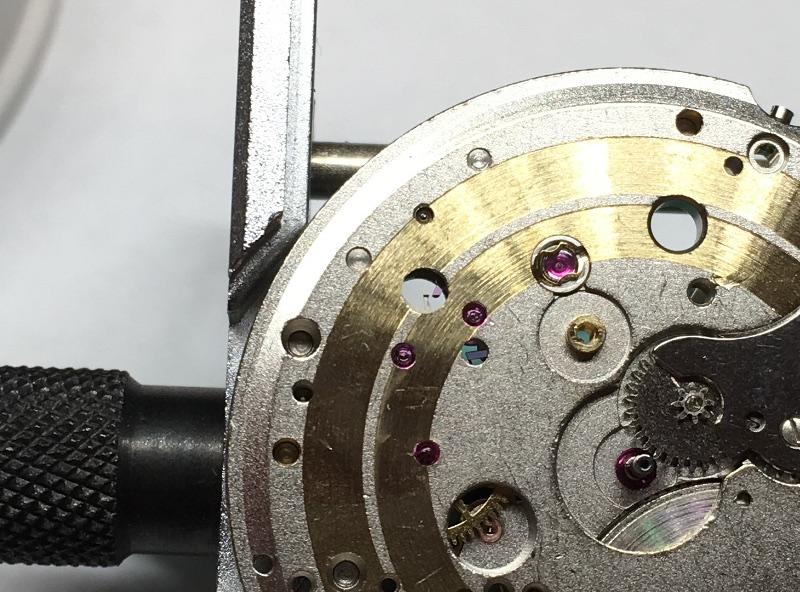
As per the title, I was checking why my Gigandet Valjoux 7733- based chrono was not working today, and noticed that the hair spring got loose from the small insert that connects it to the balance cock (what's its name again?) Taking a closer look, it appeared to have been fixed with schellac, but I am not sure. Would this be normal, if so? So now I need to find a way to reinstall the hair spring inside the stud. Heating it gently could be the way, but I am afraid I will only riun the hair spring if not careful enough... Ideas? Comments?