Search the Community
Showing results for tags '3d printing'.
Found 7 results
-
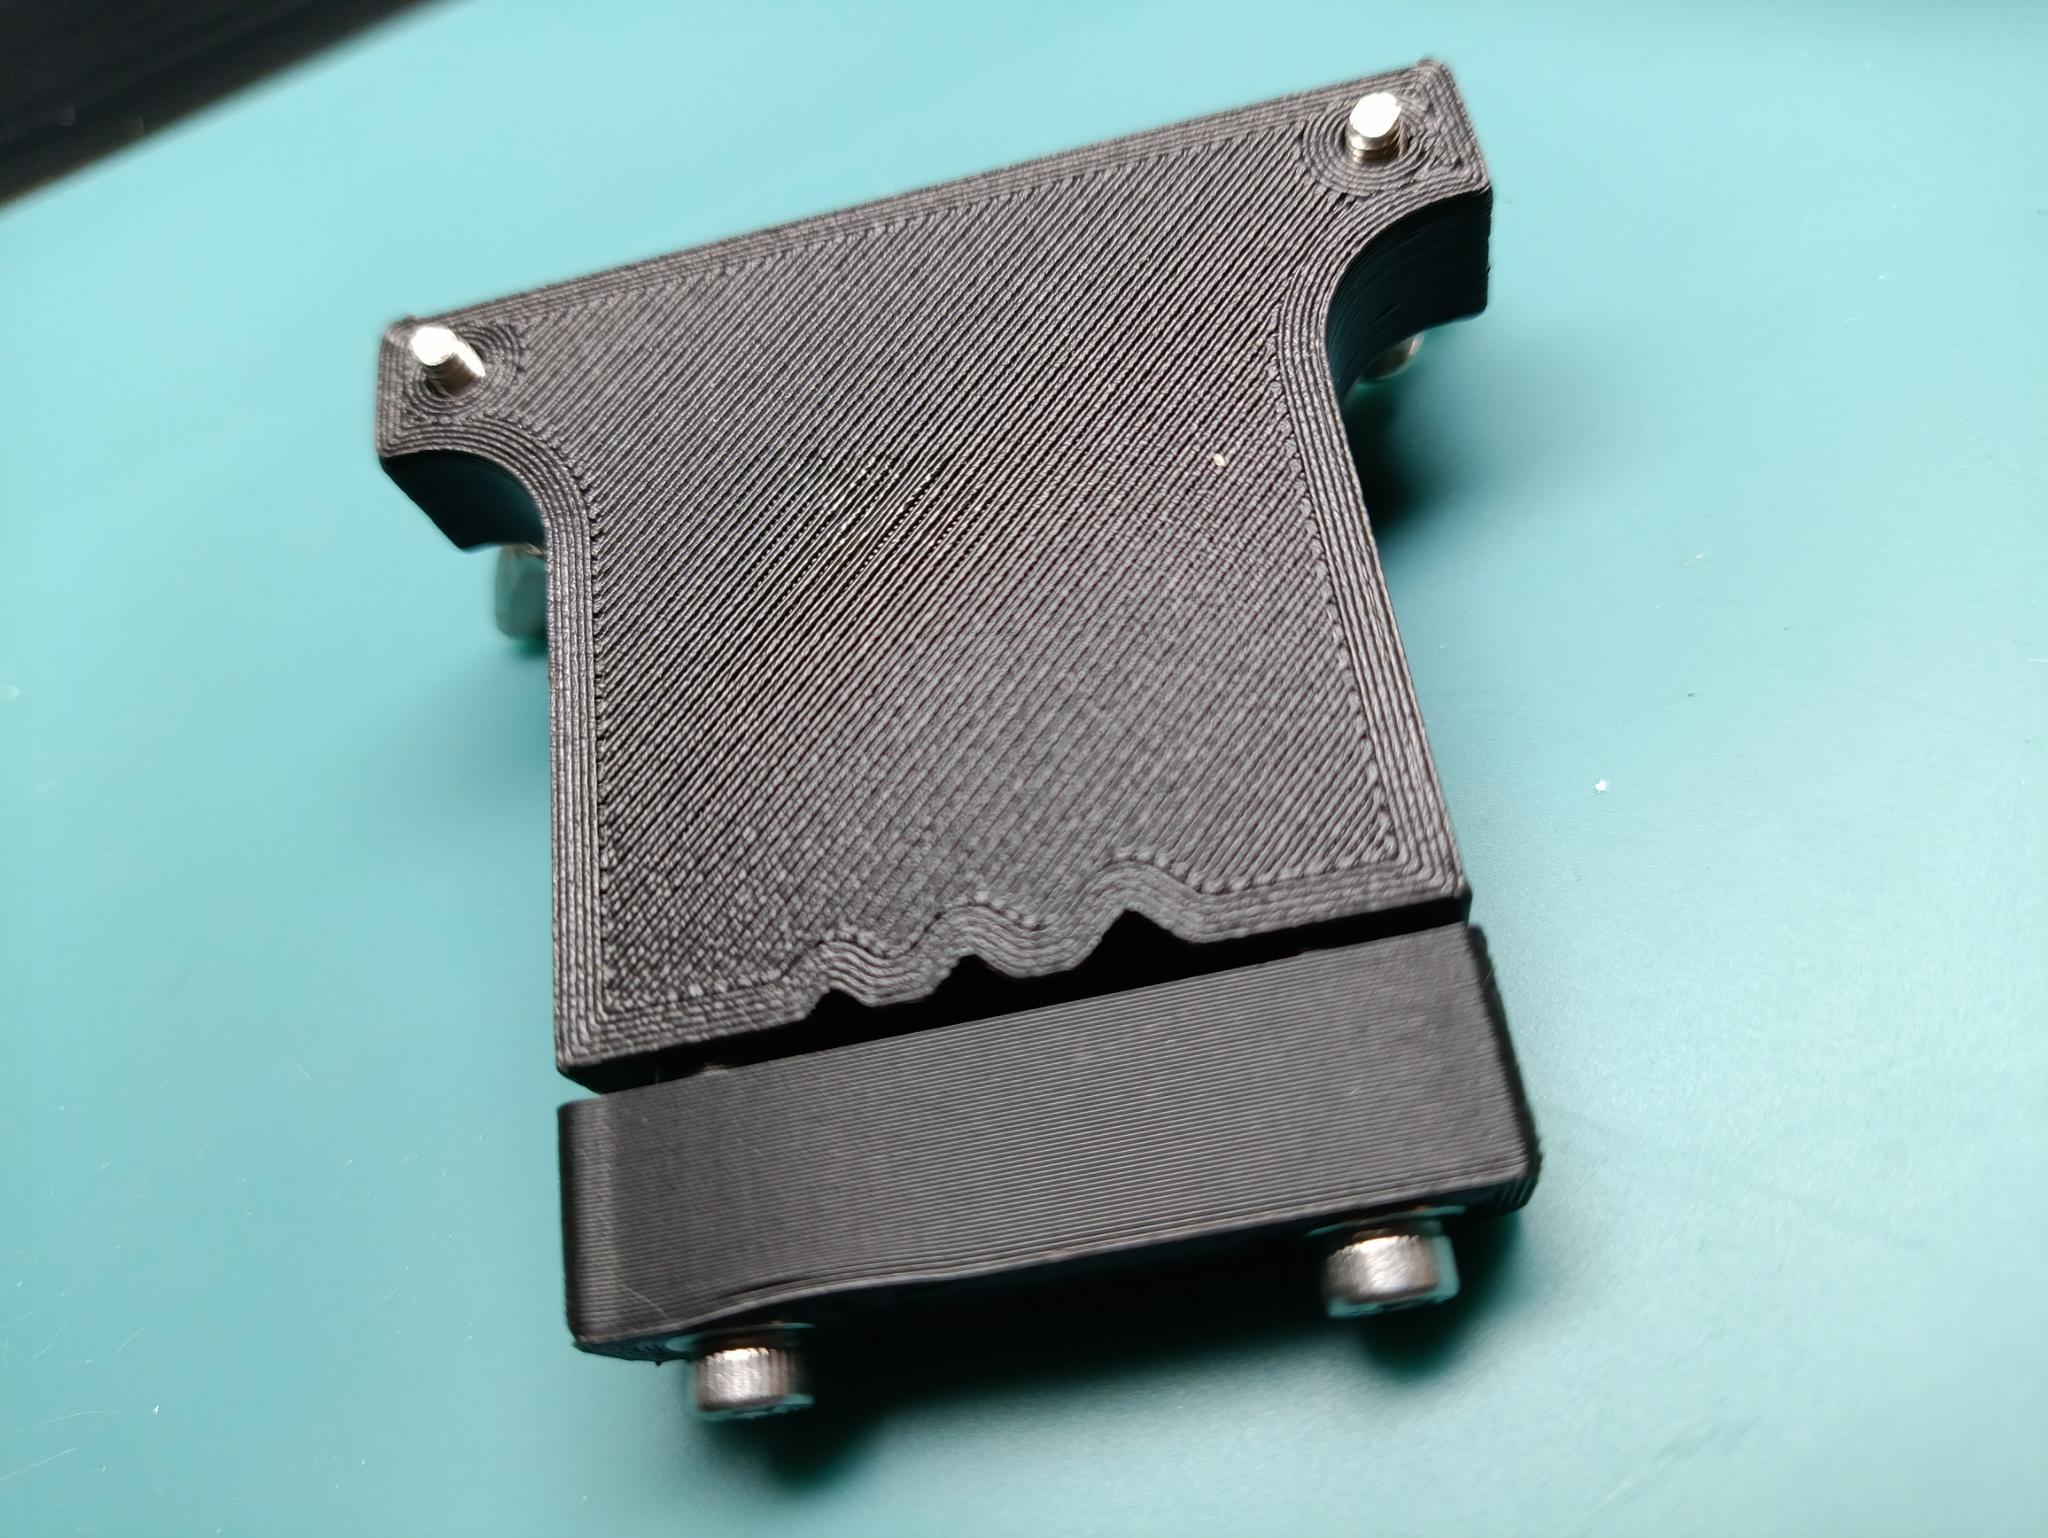
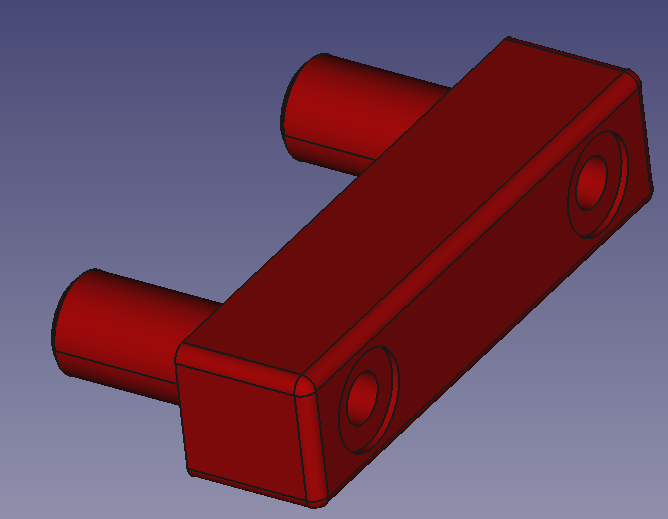
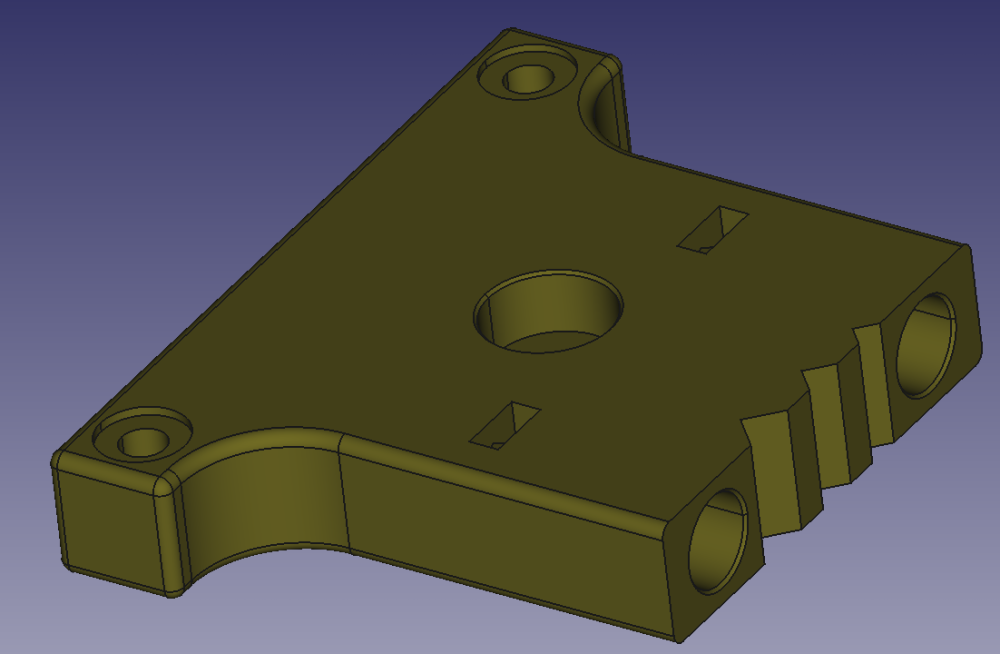
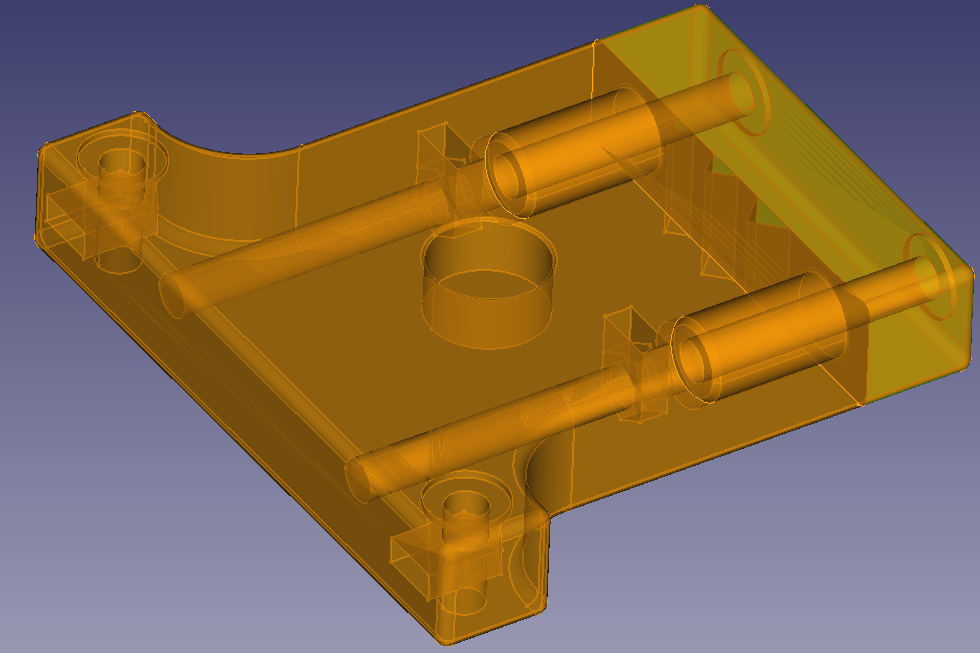
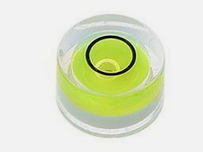
 I recently watched a YouTube video (see below) on screw polishing and in the more information section there were instructions on how to build a screw polisher, I decided to make a 3D printed version of this tool based upon these instructions (pdf instructions of brass tool attached - credit or original author): Here is the version I created based upon the brass tool instructions and instruction from the video - I had to change some of the design aspects based upon the different requirements needed for 3D printing, but the essence of the design and key features are kept: Here is the top of the tool (prototype): Here is the underside: I have used M3 bolts throughout (see parts list below) and reinforced the areas under the bolt heads with a standard M3 washers, here is the FreeCAD view showing the complete assembly: Here is the "Bar" section: Here is the body "Frog", the slots in the top and back are to insert the 'trapped' M3 nuts (point down) Here is an x-ray view of the complete assembly: I used M3 wing nuts as locking nuts to prevent the bolts (legs?) backing off during use, I also included a cutout in the top to insert a bullseye level (10mm x 6mm) which hasn't arrived from Amazon yet, and so is absent from my pictures. Parts list: 2 x 40mm M3 Stainless Steel 304 Hex Socket Head Cap Screws Bolts 4 x M3 Stainless Steel 304 washers 1 x Mini Spirit Level Bullseye (10mm x 6mm) 2 x Wing Nuts M3 A2 Stainless Steel Butterfly DIN 315 4 x Hexagon flat nuts A2 Stainless Steel M3 2 x 30 mm Fully Threaded Allen Key Hex Socket Cap Screws Bolts M3 High Tensile I have uploaded the design to printibles (link here), but will include the file here also, I'll attach it as FrogV2.pdf so I can upload here, please download and replace .pdf with .zip to access. 3D printing settings: Material is PLA+, just what I had on the printer at the time, could also work with PETG etc. Fill is 75% gyroid, setting is high to ensure rigidity of the tool during use 1.6mm wall thickness, setting is high to reduce wear on faces which interact with metal parts. Here is the missing bullseye: Here is the link to the youtube: Enjoy! how-to-make-a-bolt-tool.pdf FrogV2.pdf
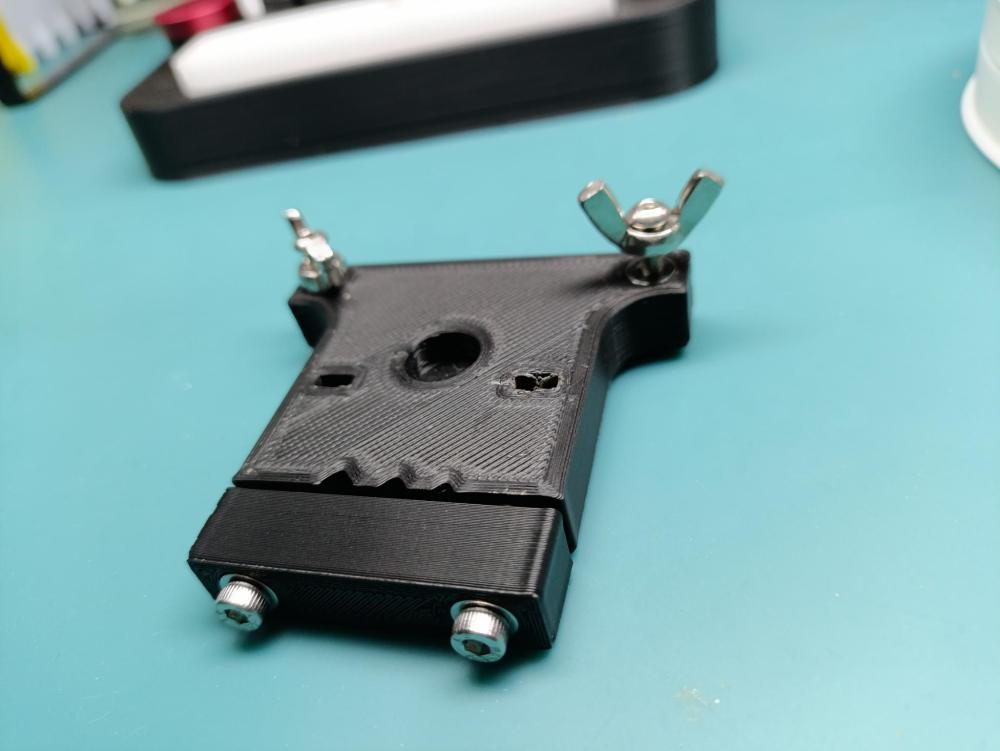


-
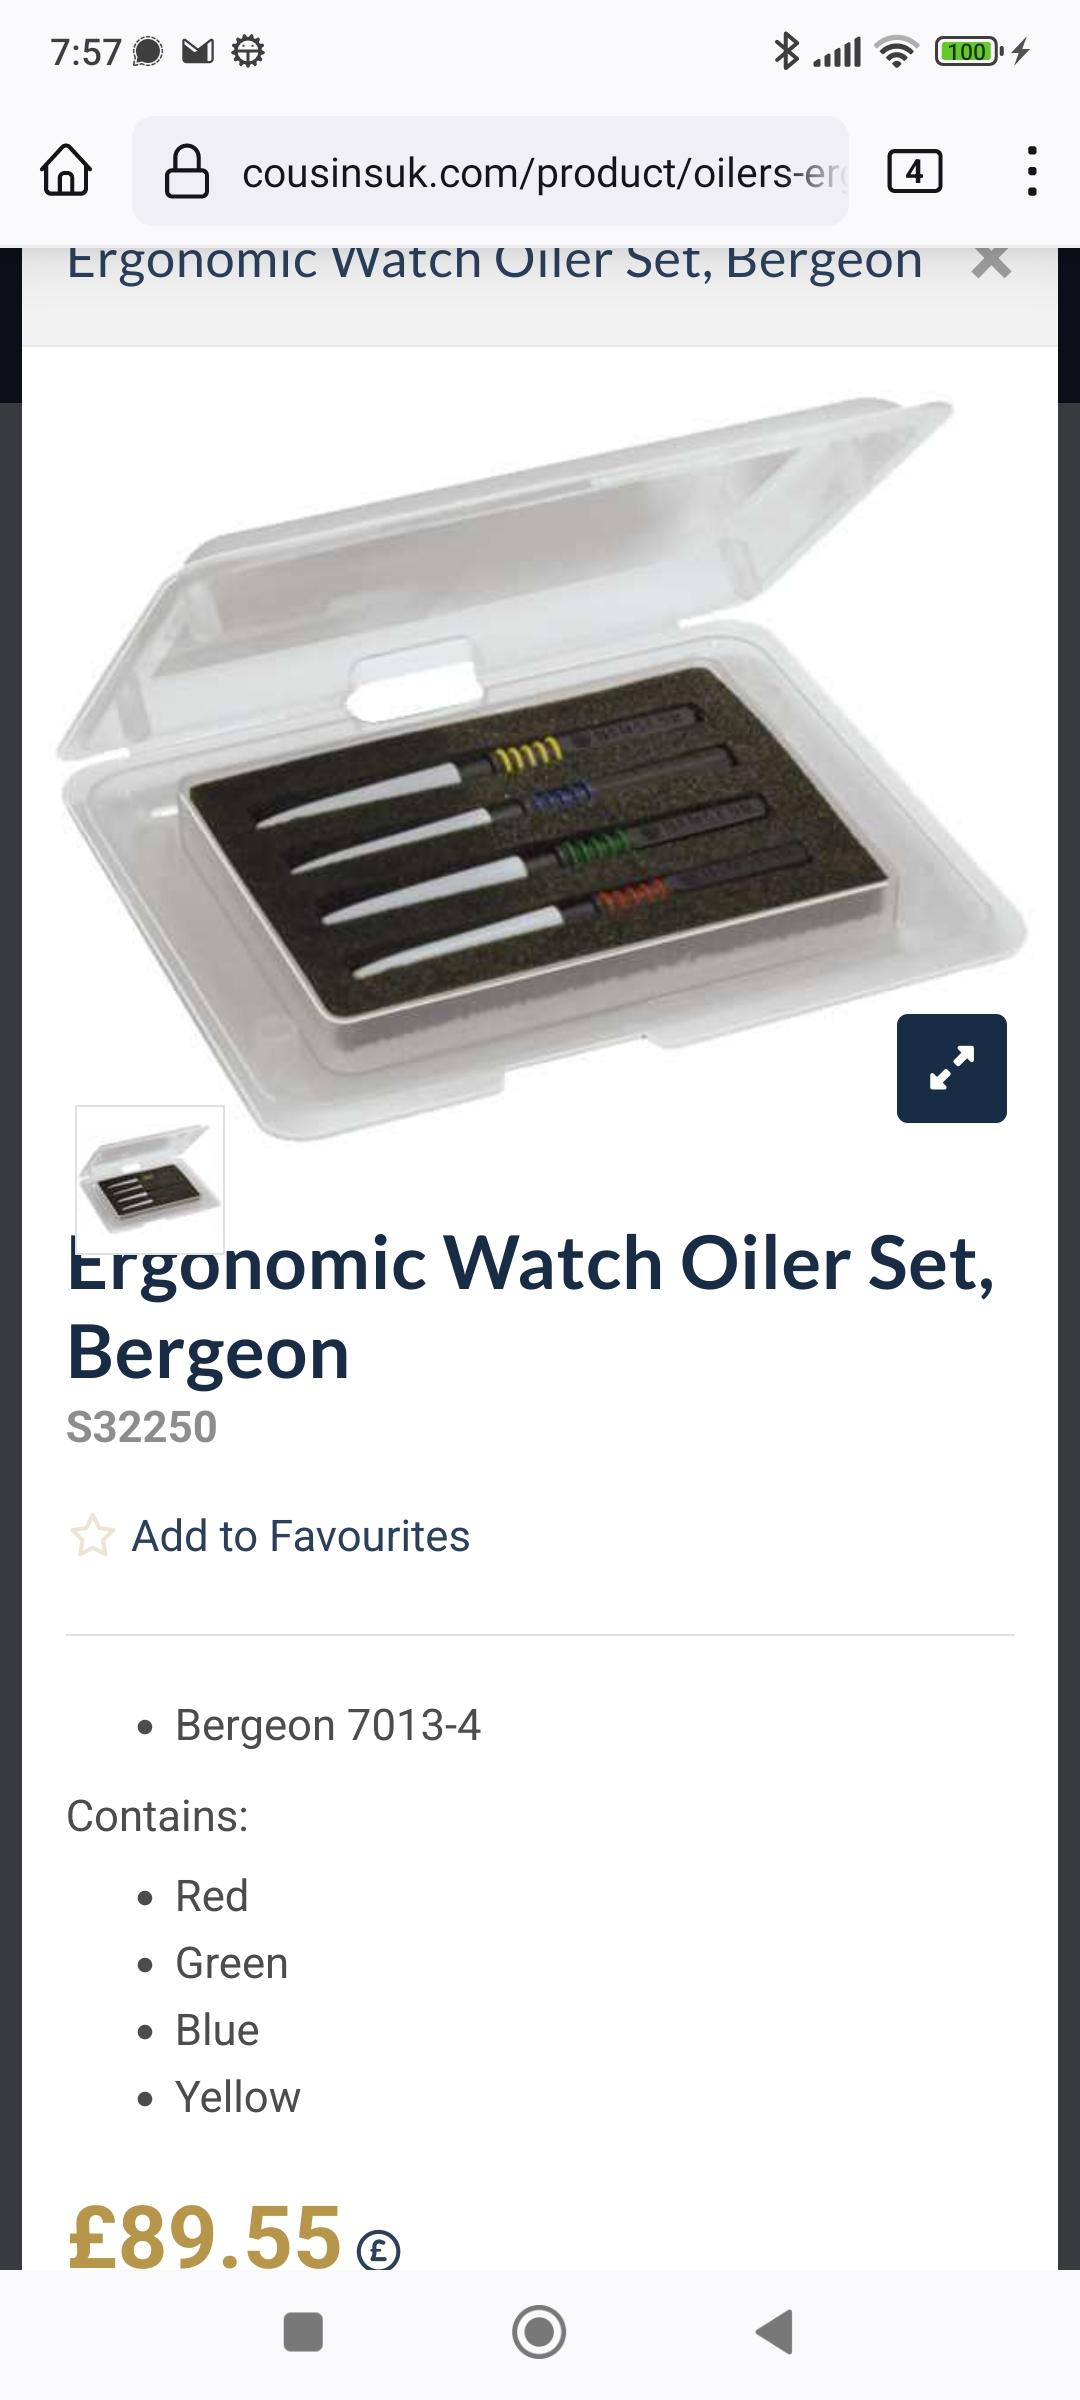
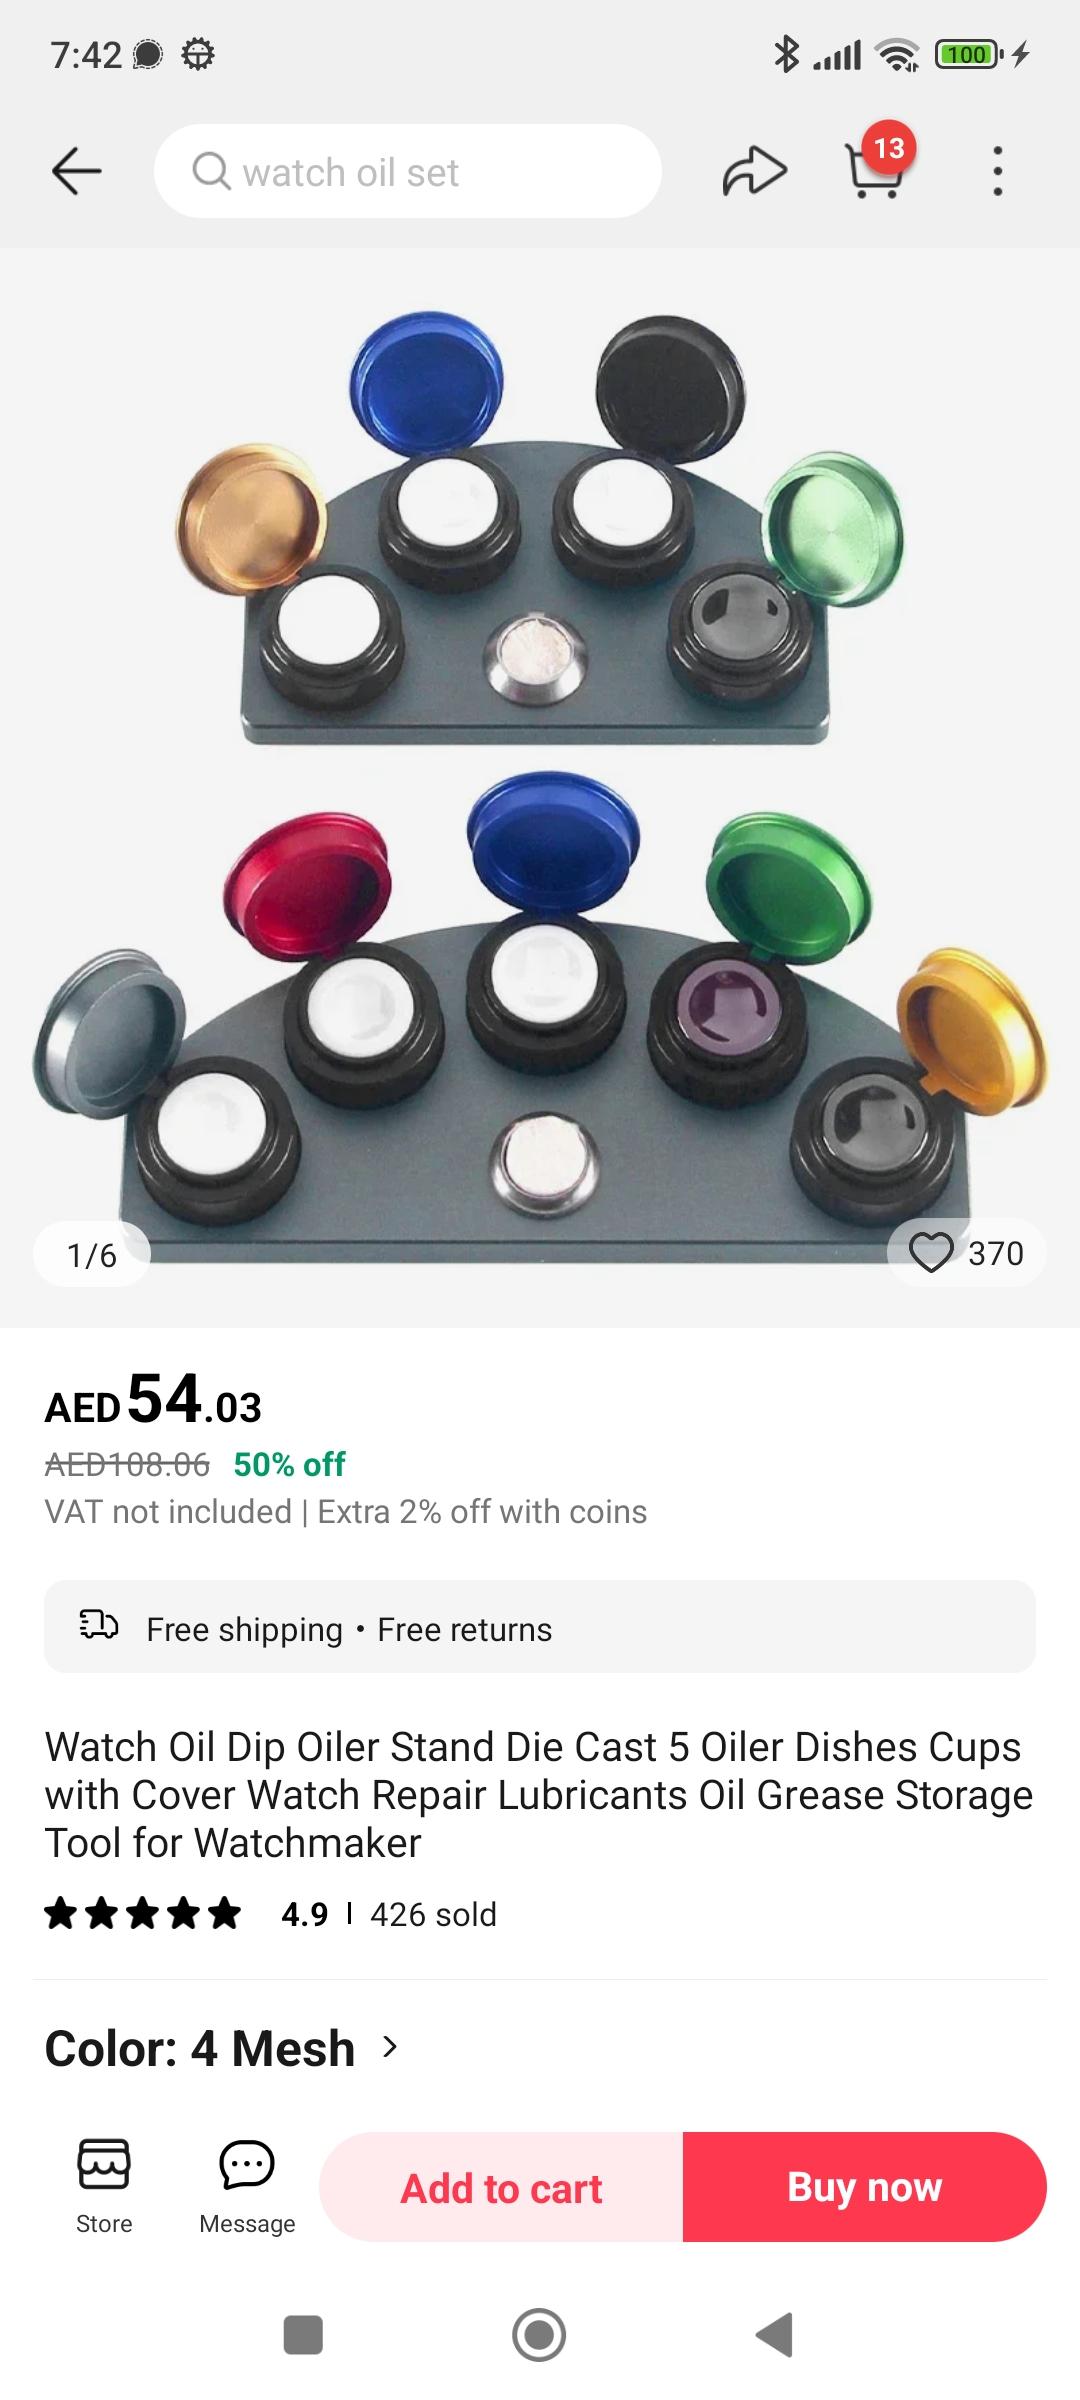
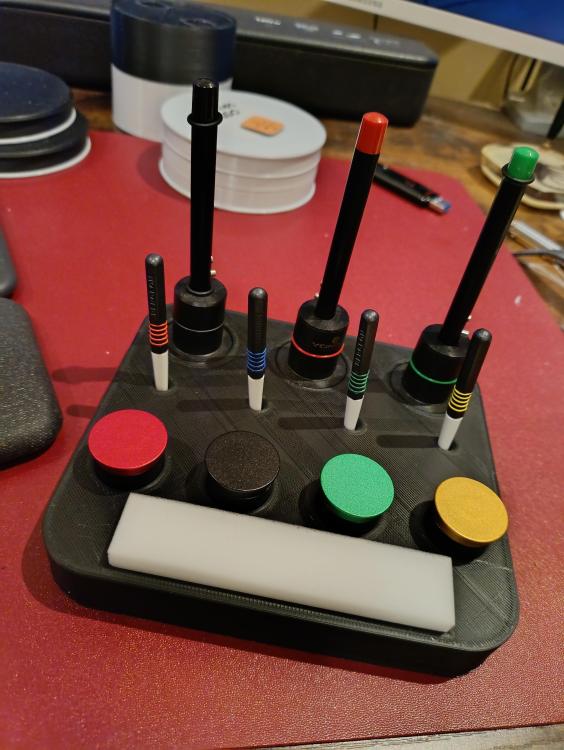
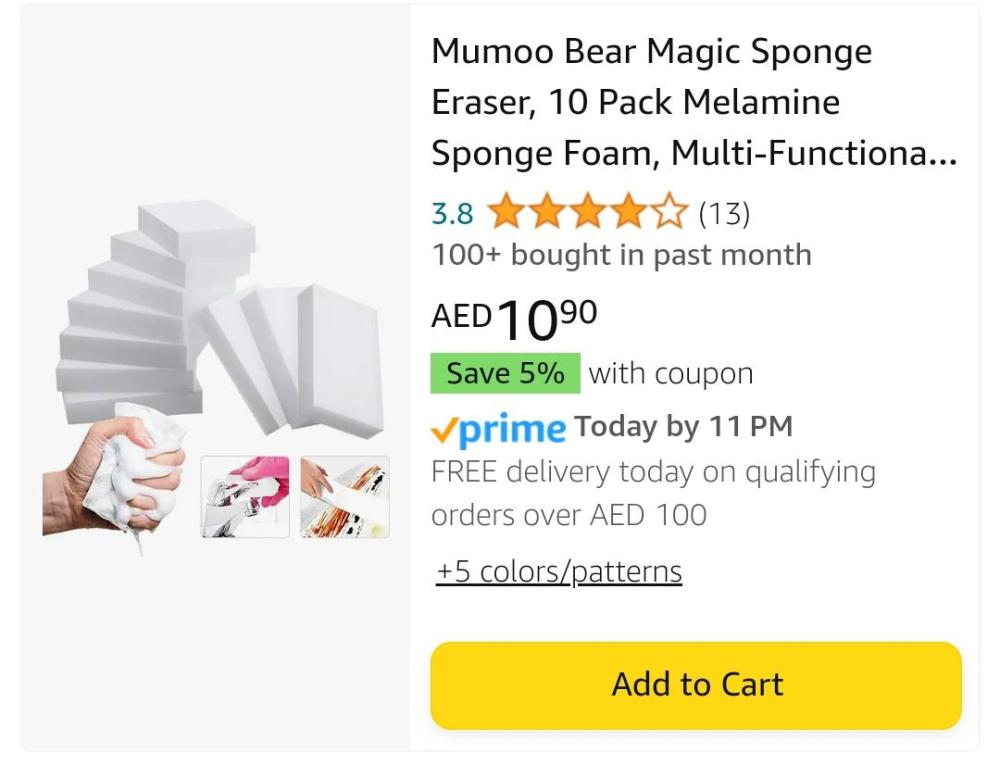
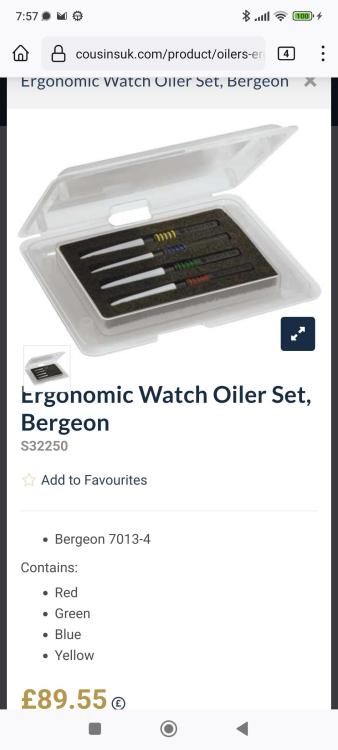
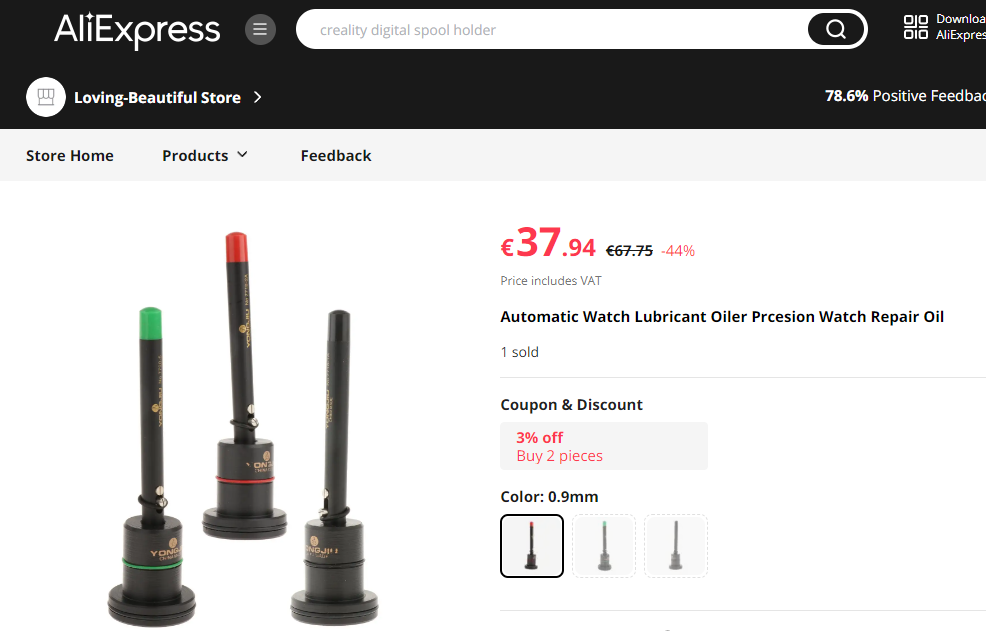
Decided to make an oiling station rather than have my oilers floating around my desk.... Link here: Here it is, the bits that went up to make it are detailed below. Here is the information for the parts: Sponge (generic like Bergeon - Amazon), cut into 1/3's: Oilers Bergeon (CousinsUK): Oil pots (4) from Ali Express - pots removed from original housing and friction fit inside my housing: Automatic Oilers (AliExpress): As a side note, for the pin type oilers (not auto-oilers), here is what I use them for, I'm not sure how I came about using them this way or if it is correct/best-practice, so I would be interested if anyone had any advice, so if anyone can let me know if I am using them the right way I would appreciate it. Red (0.18mm Tip) = Dr Tillwich 3-5 (approx. same as Moebius HP1300/D5) Blue (0.24mm Tip) = Dr Tillwich 1-3 (approx. same as Moebius 9010) Green (0.32mm Tip) = Moebius 9415 Yellow (0.45mm Tip) = Dr Tillwich B52 (approx. same as Moebius 9504/Moly DX) Thanks. PS For auto oilers I use the following Red = Dr Tillwich 3-5 (approx. same as Moebius HP1300/D5) Black = Dr Tillwich 1-3 (approx. same as Moebius 9010) - shock springs Green = Dr Tillwich 1-3 (approx. same as Moebius 9010) - jewels

-
Hi everyone, after searching I realised that there is no group on Printables to share watchmaker 3D printing related stuff, so I decided to start one. Not trying to compete with this site, I think they both serve very different purposes. Below is the link to the group in case you would like to join and contribute: https://www.printables.com/group/watchmakers-1569rjQ Thanks
-
Hmmm, kind of! But........ It shows great potential as a hobbyist alternative, with some tweaking. After a back and forth with @Andyhull on another thread it got me to thinking perhaps it's not as useless as my initial annoyance led me to think, (I broke a mainspring trying it but to be fair the spring had been previously abused and the tool wasn't ideally sized allowing the coils to jump and tangle). I had a bit of a resize with sanding stick and scalpel and tried again and it's certainly got promise, I need to tweak the file to suit specific barrels but it's a simple quick 3 part print using barely any filament. Obviously not anywhere near as good as the proper bergeon winder but definitely cheaper for the hobbyist, (even if you haven't already got a printer and had to buy one first). Here's a video of it if anyone is interested, comments and ideas are welcome.
- 2 replies
-
- 2
-

-
- mainspring
- winder
- (and 1 more)
-
3d printing SLA 3d printing for small plastic gears and parts
Spook posted a topic in Tools & Equipment
As I'm progressing in my knowledge from just being able to regulate and adjust to minimize beat error I've been looking at the 7S26 that I have with my Seiko 5 beater watch. I've heard numerous mentions of being careful that you don't break the plastic gears, particularly in vintage watches. There is a solution for that. With a bit of CAD skills you can print replacement gears and parts. The cheaper filament based printing isn't precise enough but laser based SLA can print features down to 100 microns it should be sufficient for all but the tiniest parts. More than just gears and components it can also be used for custom tools within the limits of the materials used. The Form 2 is the printer I would look at unless you want to step into commercial pricing. -
As you know, I am working on a couple of movements, a Landeron 248 and a Valjoux 7733. I use a normal brass movement holder that I bought for real cheap on the bay a couple of years ago, but apart from being a bit unstable (china made...), it has worked me well for the simple watch servicing I have made for hobby. I acquired a cleaning machine the other day, and while I was at it, I was looking for other tools to buy (I had some spare dough I could throw at it... ). I found this auction for a 3d-printed movement holder for a Valjoux 7734 movement, and was intrigued both by the price (a professional one can cost upwards of 100€ here in Germany) and the quality of it. 3D printing is just amazing, and provided you have the right printer and correct design (with correct dimensional measures) it can do wonders... I contacted the seller asking if he could make one "to order" for my 7733 and my L248, and he replied "Yes of course, I've done it already..." WOW! I was in! I looked at the other items he was selling on the bay, and wrote him another email, asking a couple of other things, to which he complied, of course. I received the package from France today.... Ladies and Gentlemen, let me present you my new 7733 and L248 3d-printed holders, and stackable 2-stories parts box: The movement holders are incredibly precise, and themovements fit in perfectly: The holders are marked with the respective movement they were made for, so no problems figuring out which is which: And you can see in the picture above the stackable parts box does come with an acrylic cover... NICE! As you can see, I already put it to use: The seller makes them to recover the costs of the 3d-printer, and each holder costs about 10€ (if he already has the dimensional data - that is, if he made one in the past) plus 6,50€ shipping costs (to Europe, to England I do not know). If you need a holder he has not done yet, you can send him a wrecked movement or the precise dimensional data, and the first prototype will cost around 25-35€ to make. He has made quite a few models up to now, so probably he already has what you need. Manufacturing time is a couple of days only. If Mark agrees, I will post here the contact details of the seller, but you can easily find it on eBay, like I did. The guy speaks english, so no problem in communication either ;) And now... back to the working bench with my new holders!
- 17 replies
-
- 2
-
-
- 3d printer
- 3d printing
- (and 3 more)
-
Here is how one guy did it: