Leaderboard


Popular Content
Showing content with the highest reputation on 05/22/22 in all areas
-
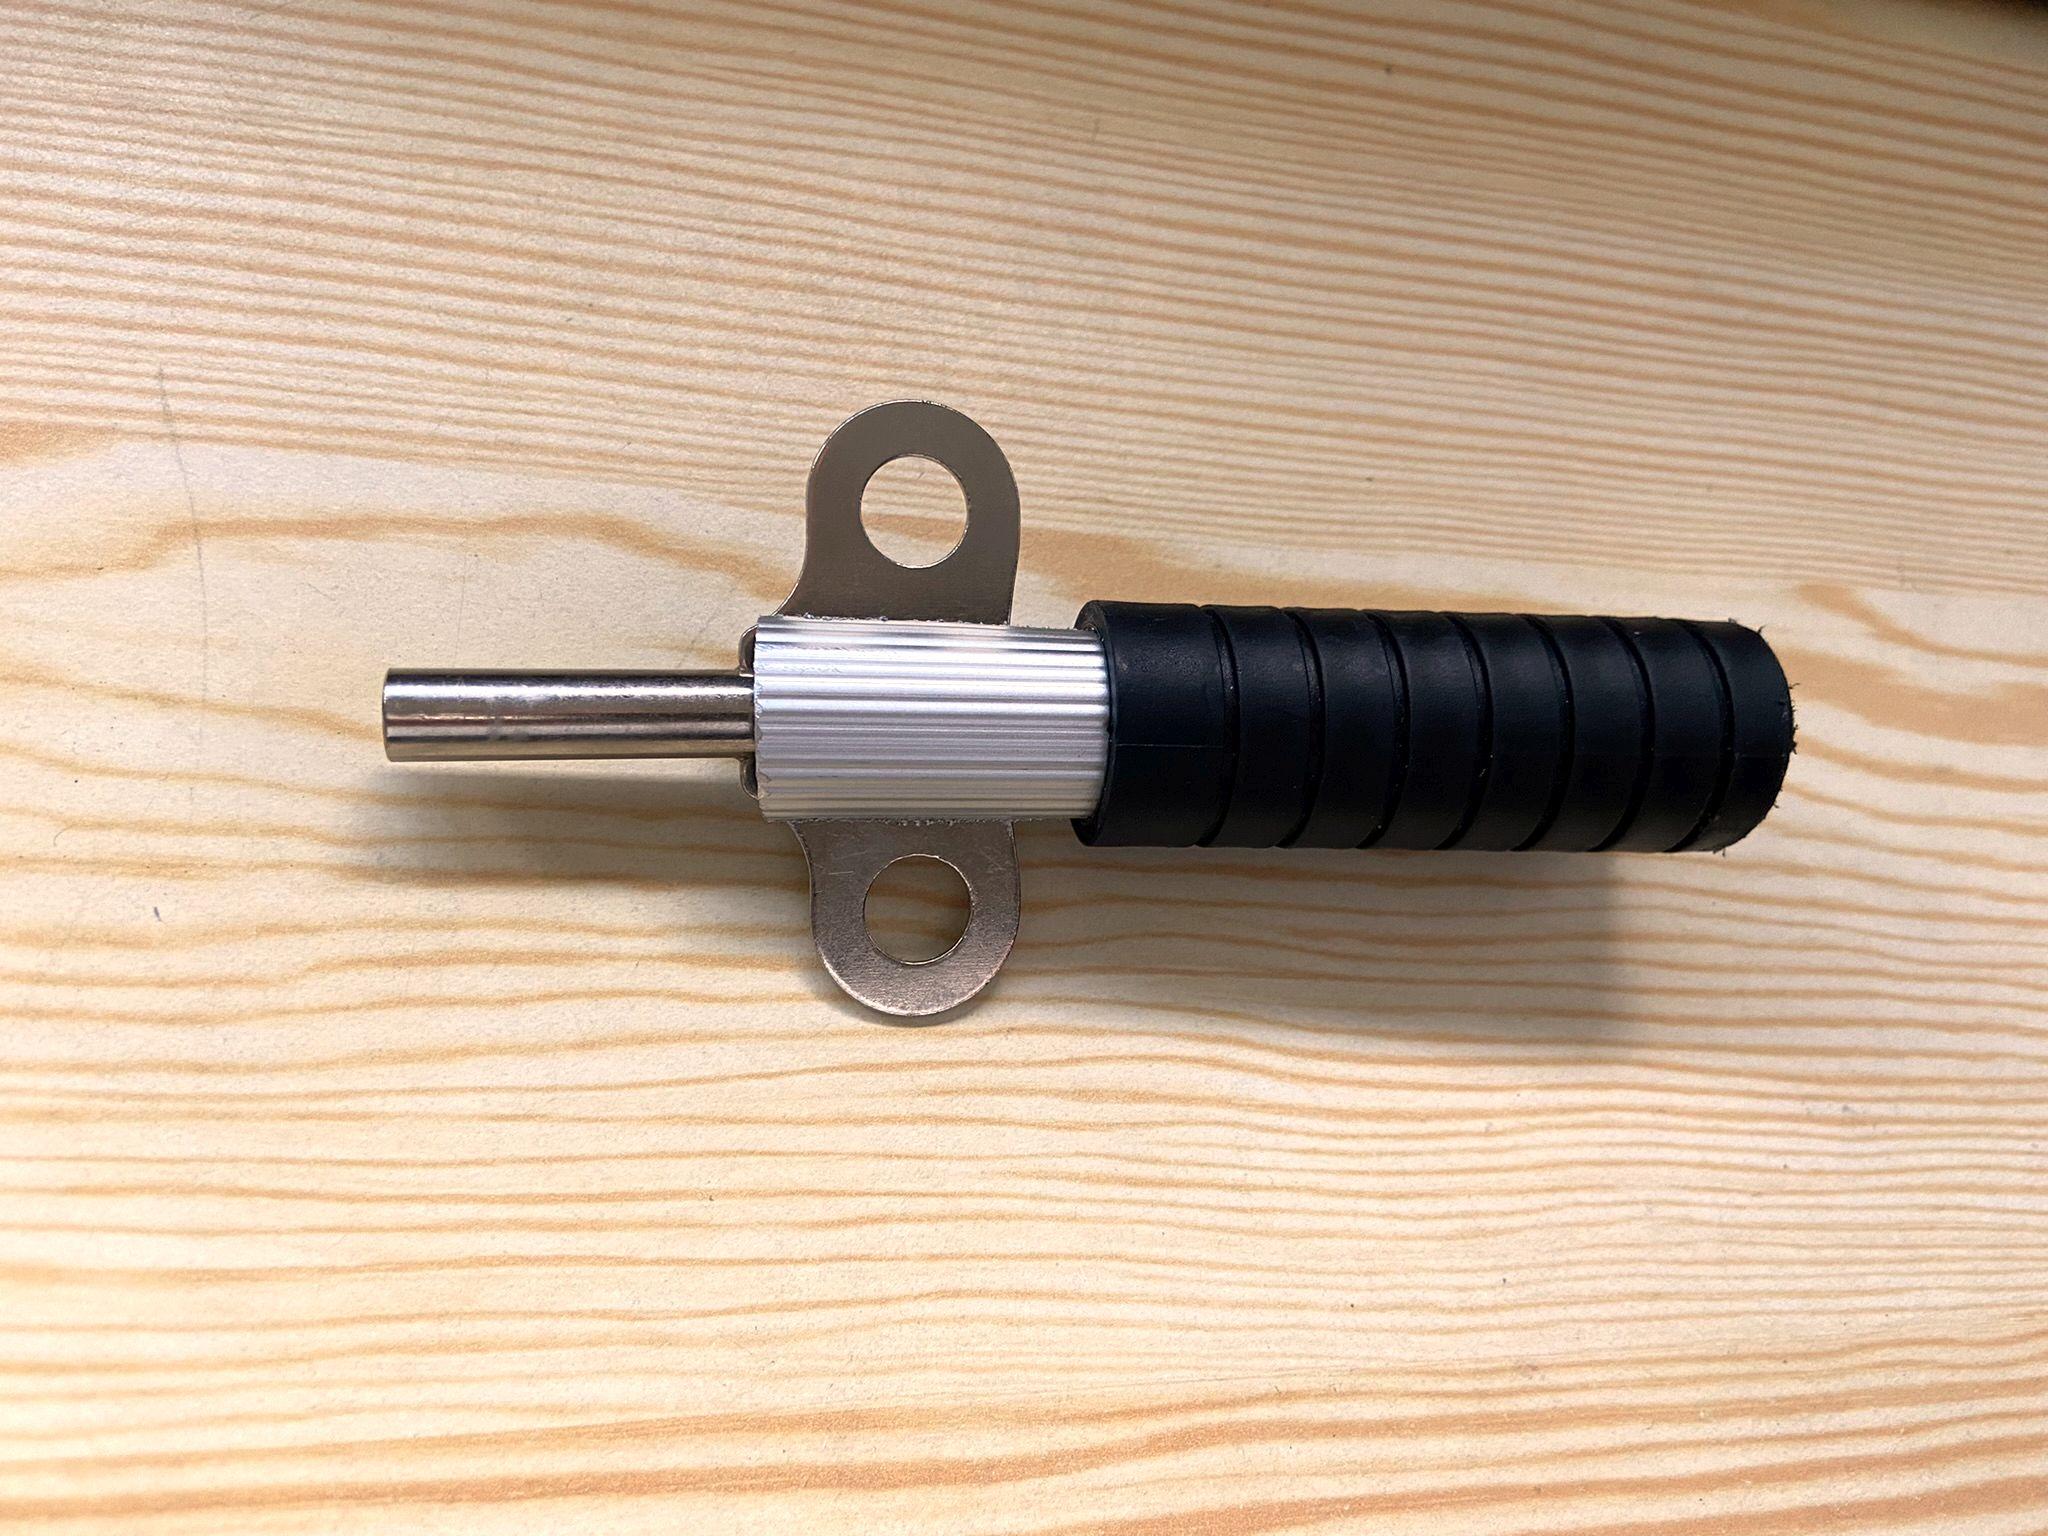
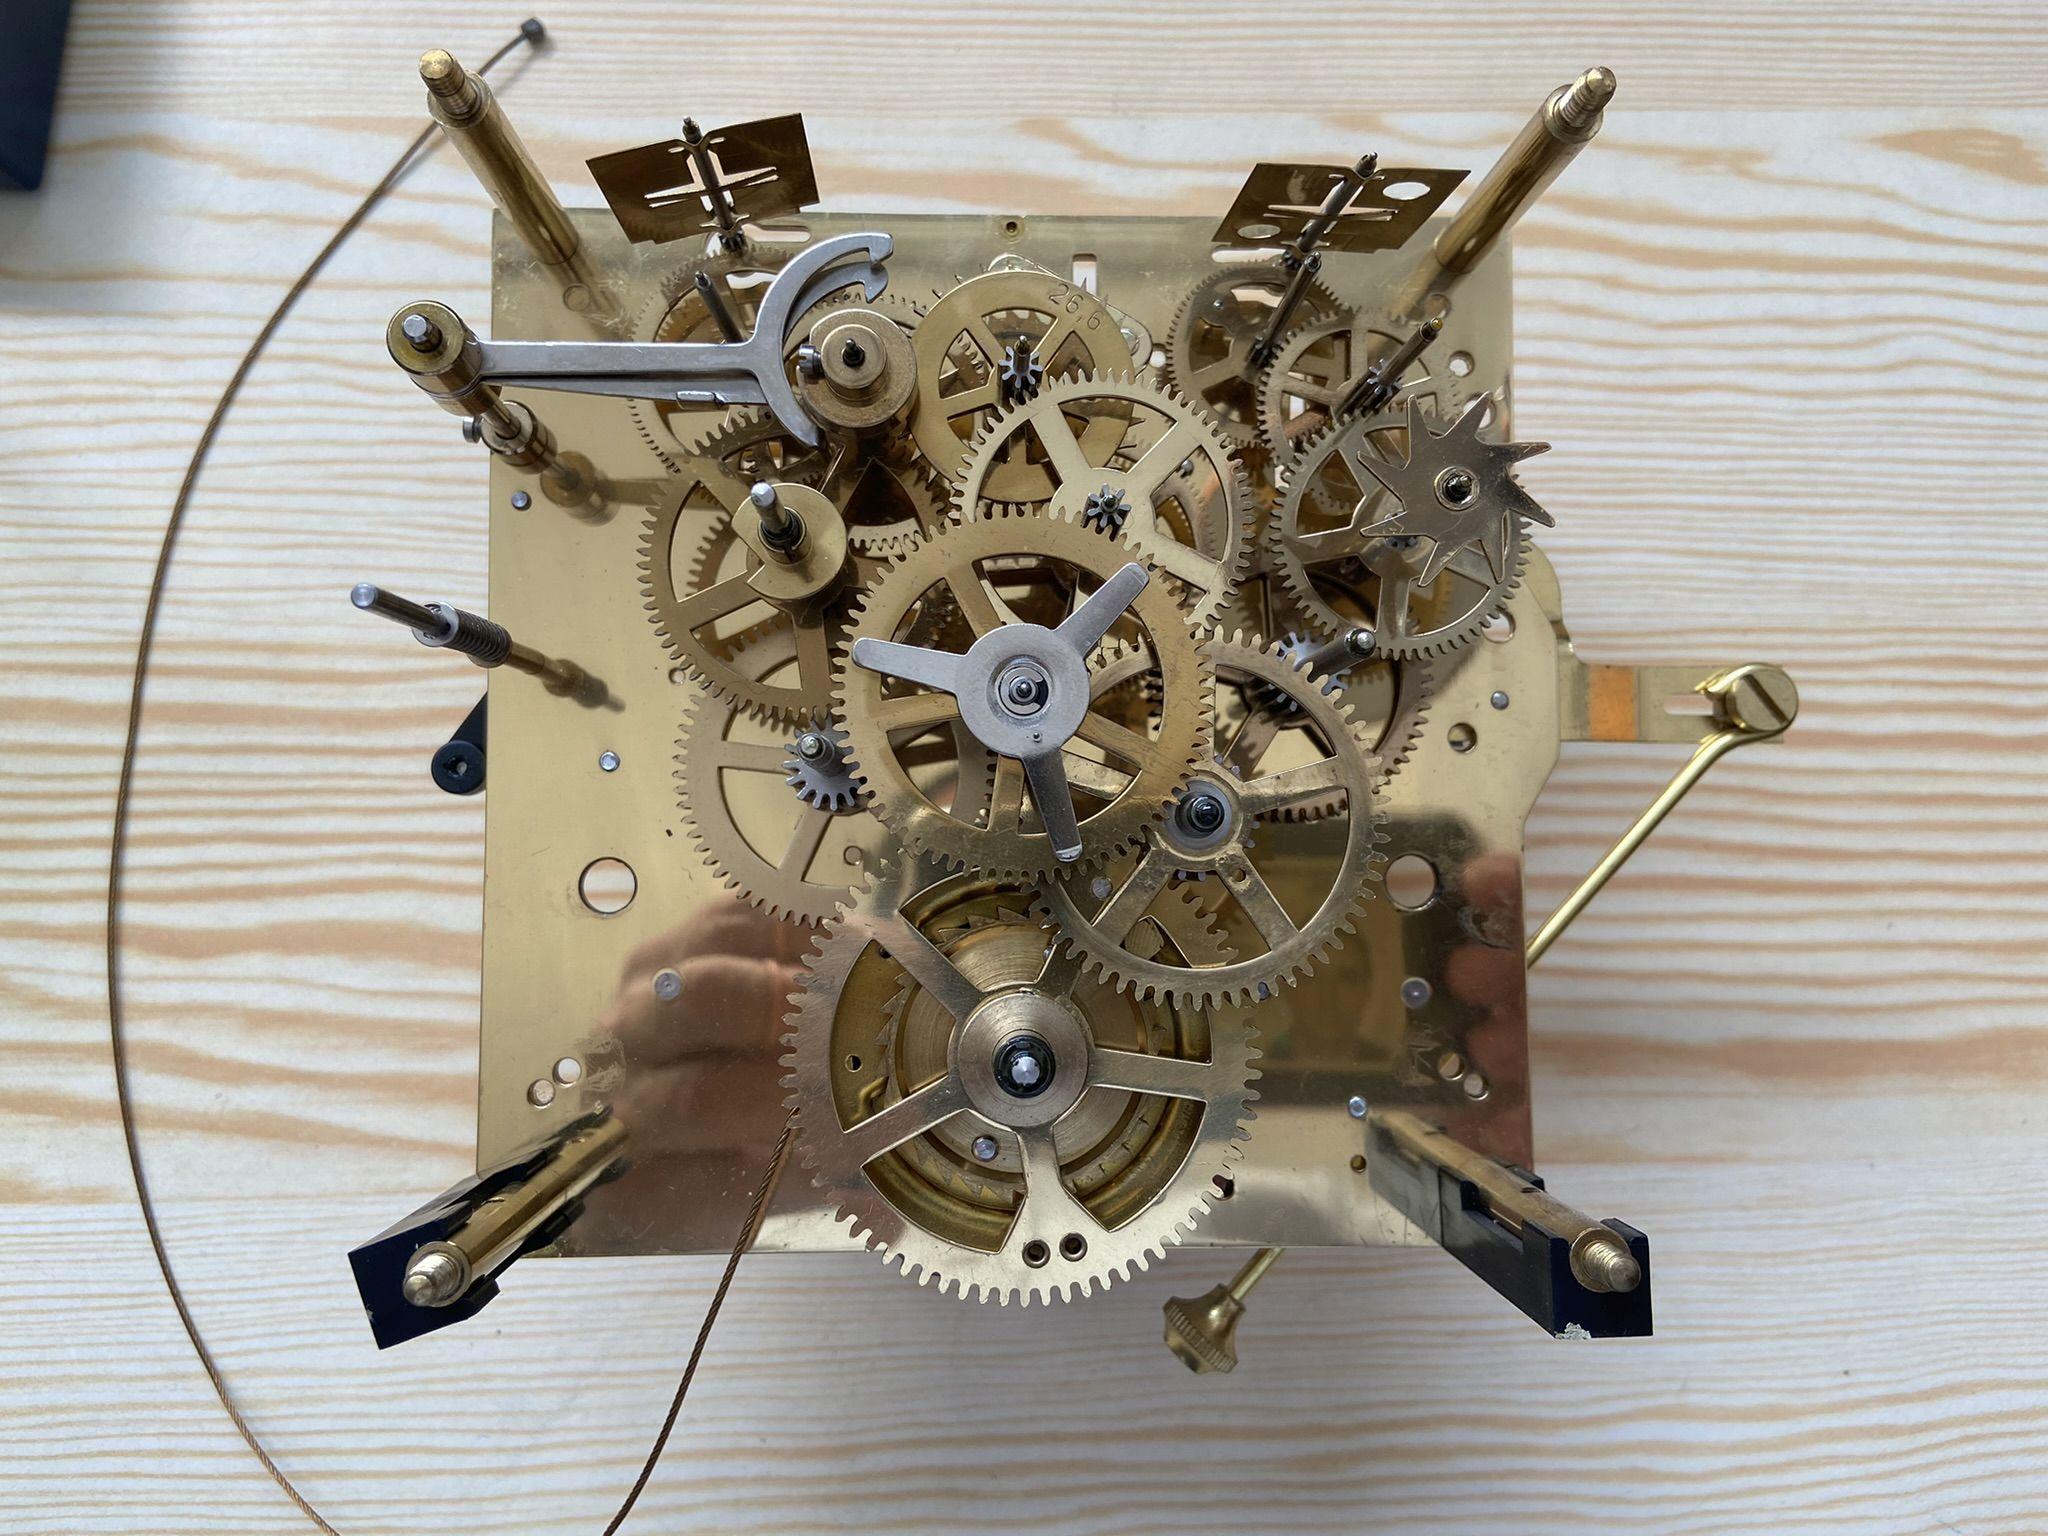
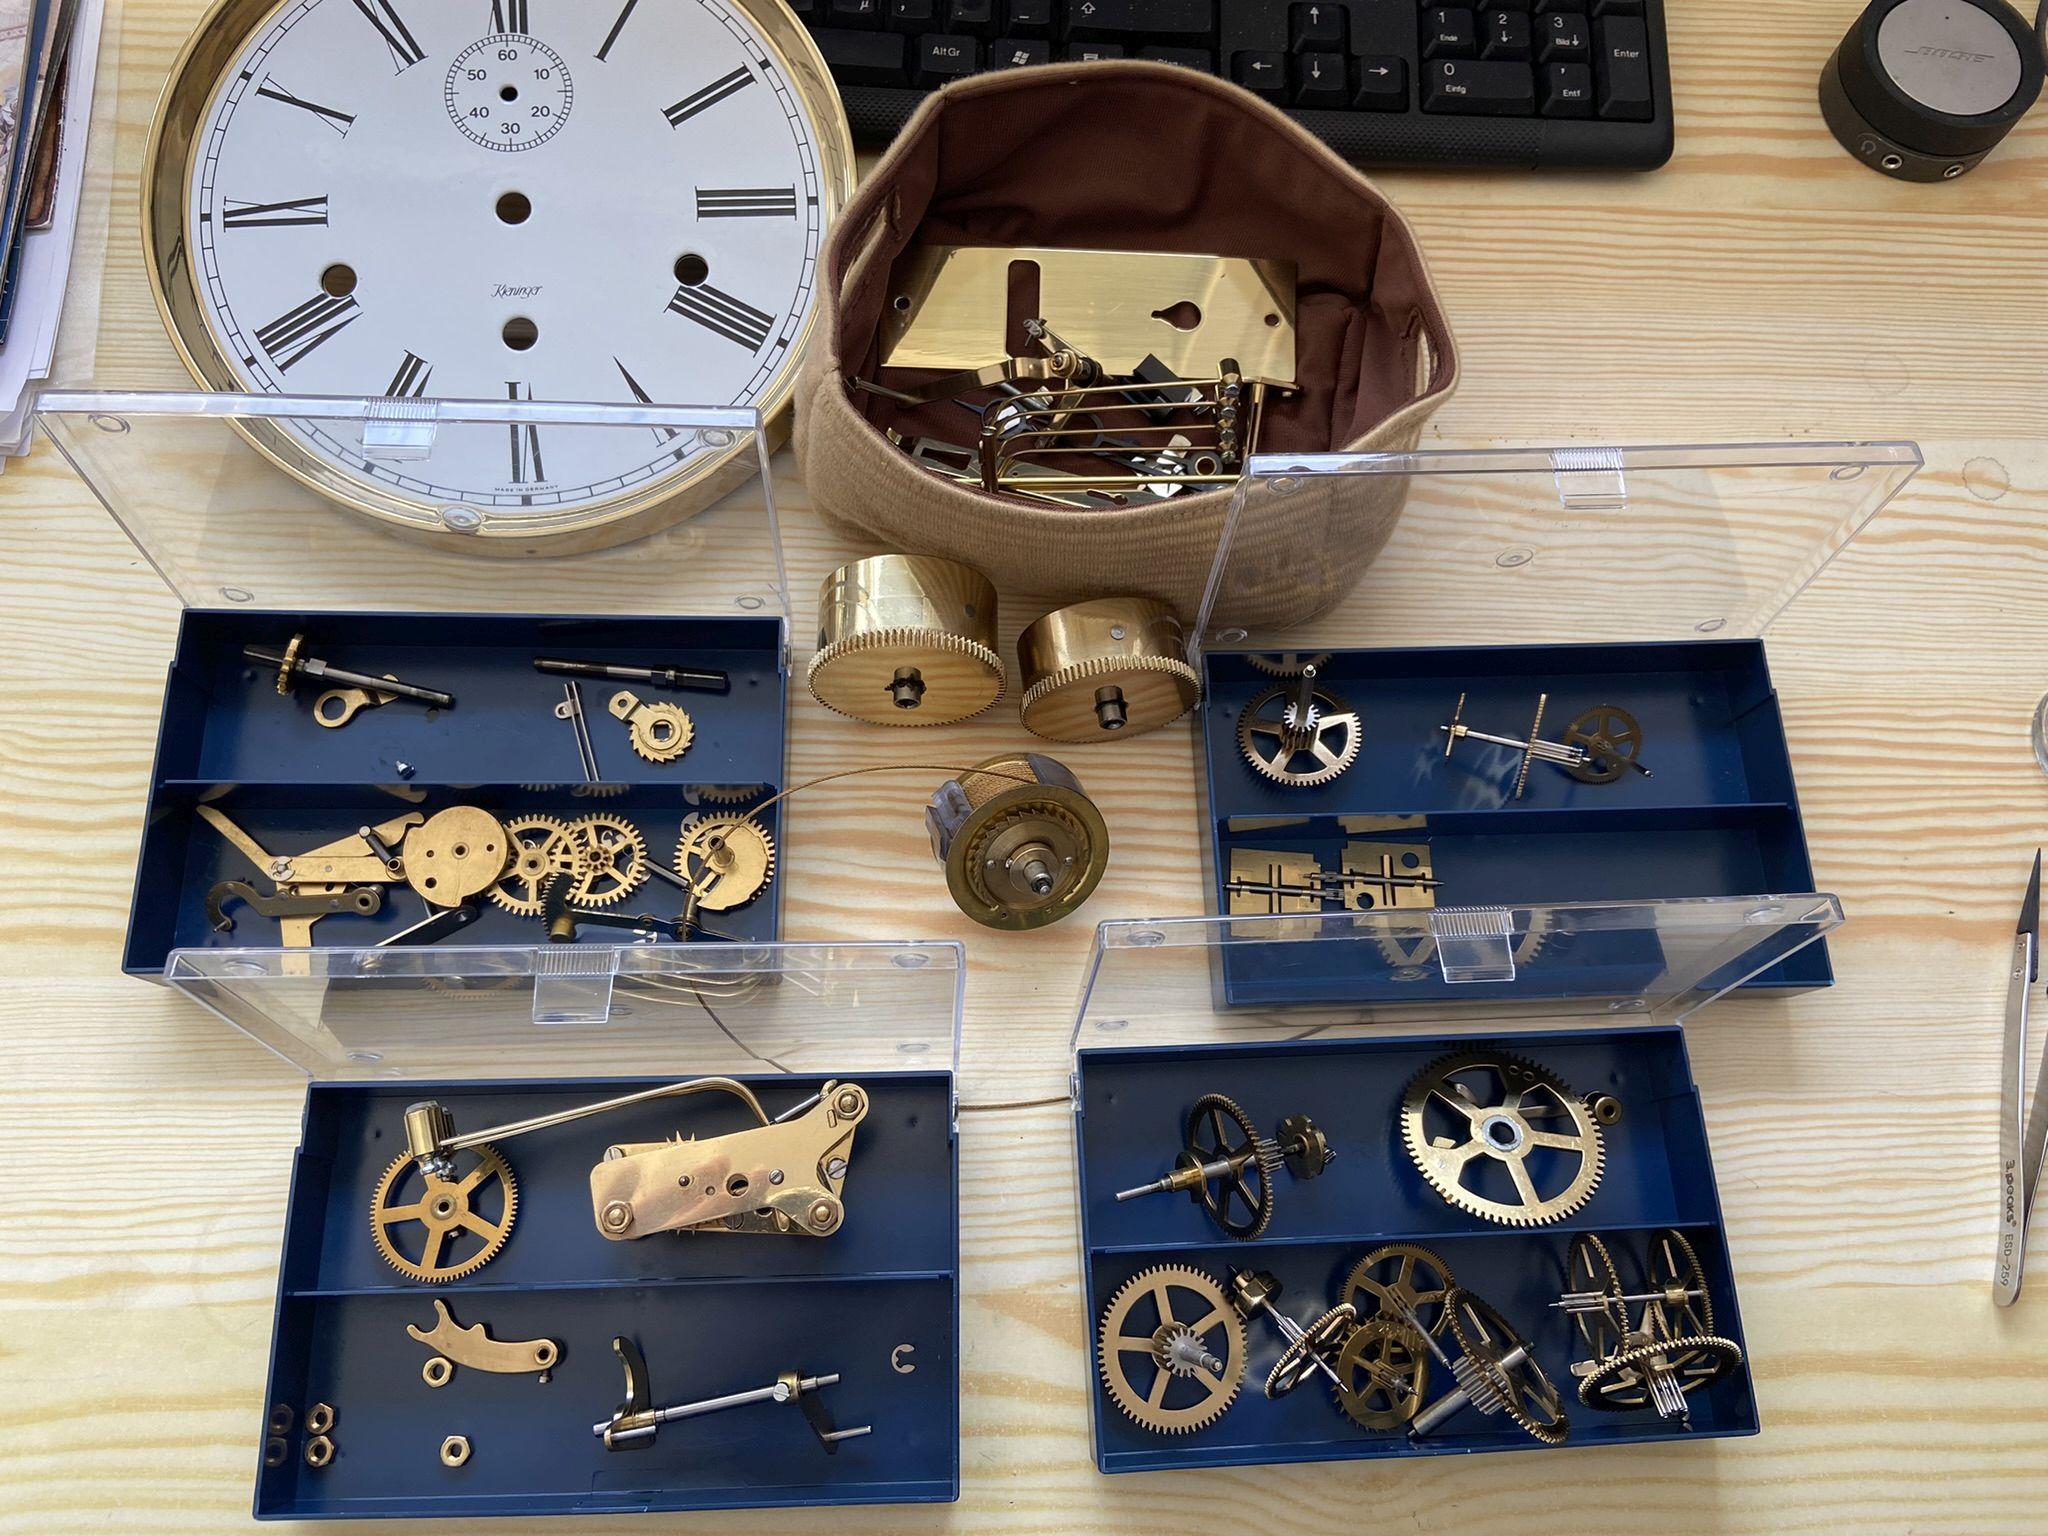
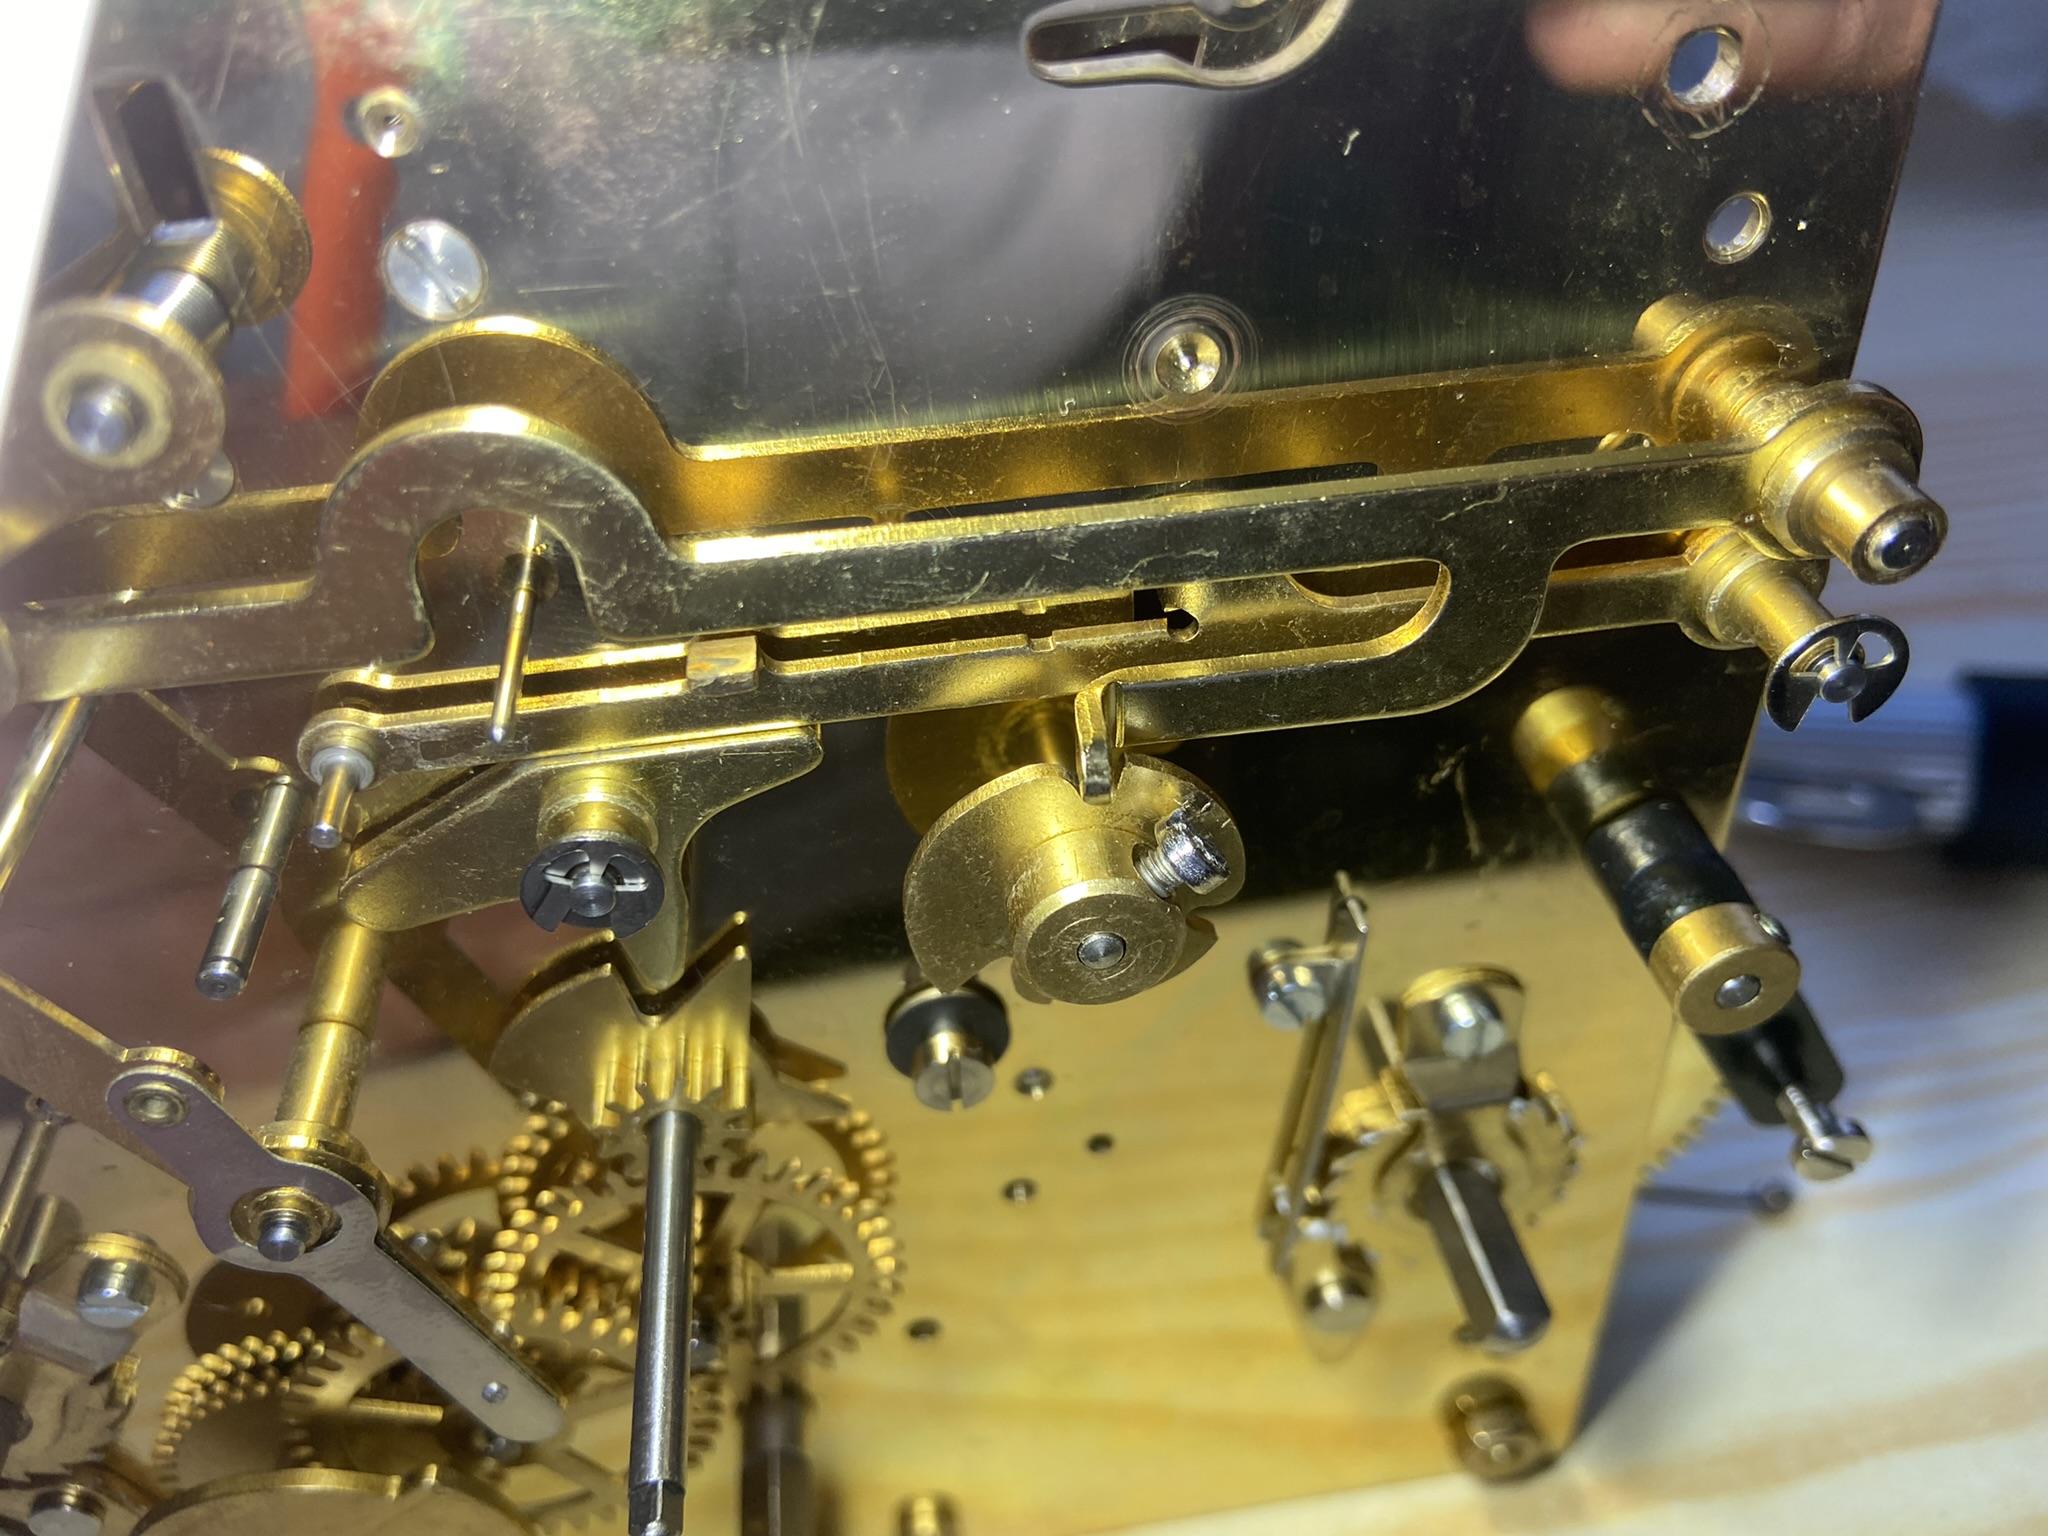
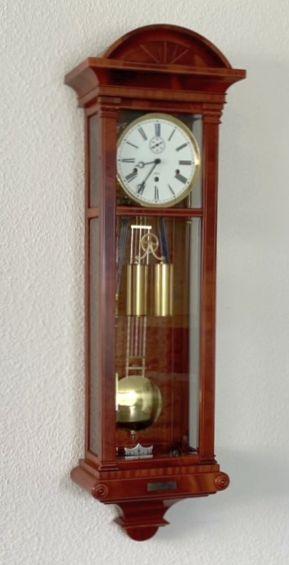
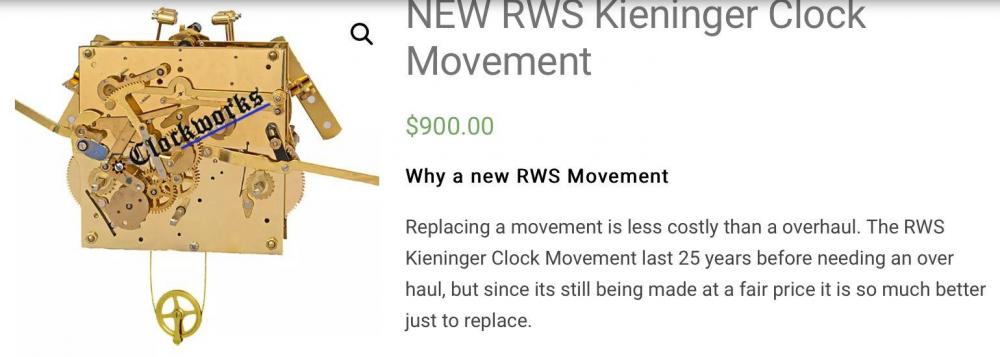
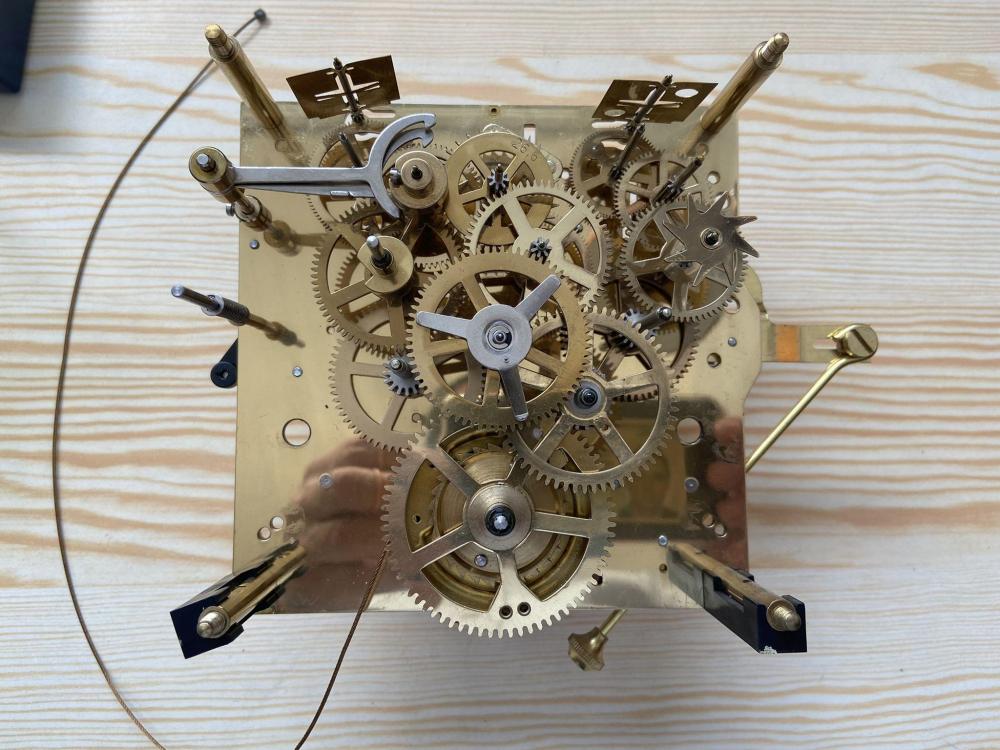
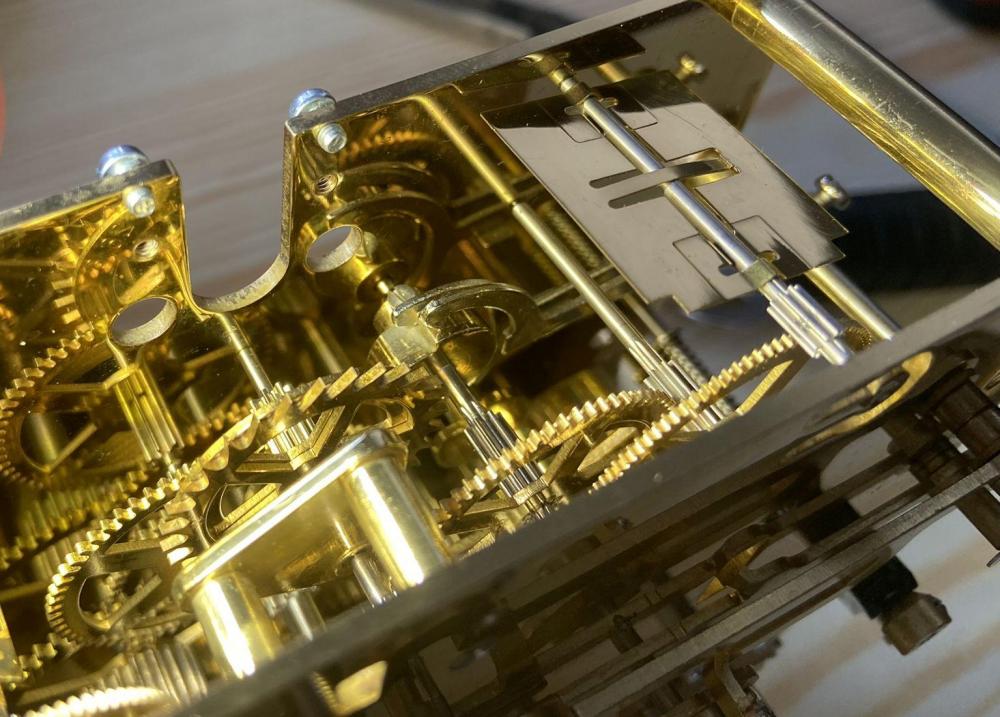
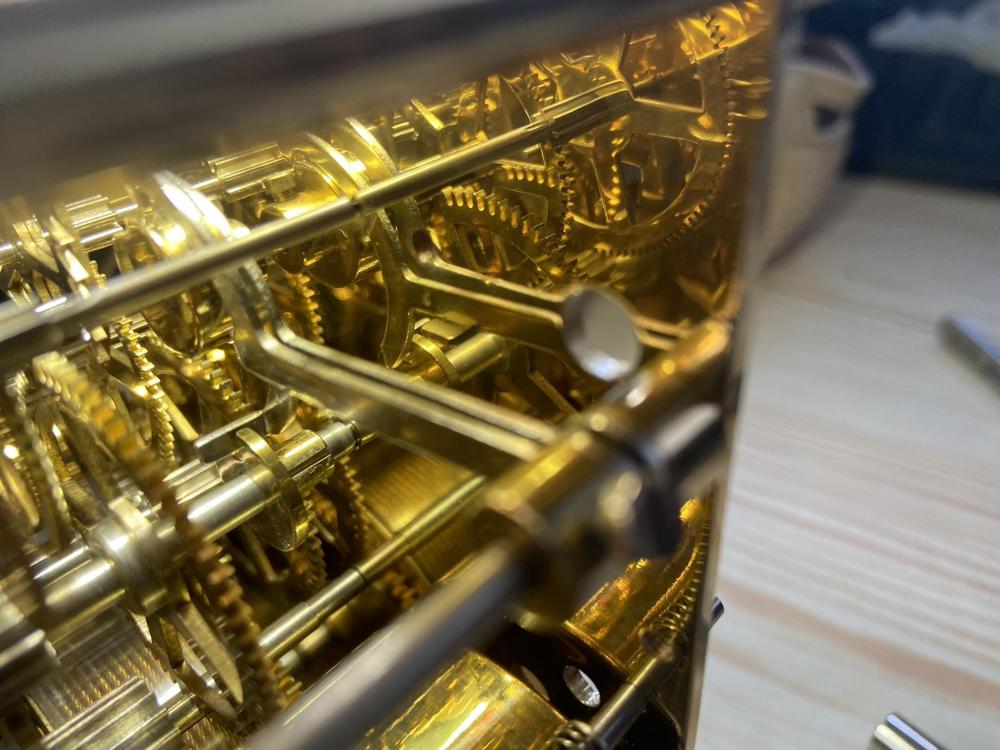
In 1991 my mother in law gave me this new Kieninger jubelee clock as a gift Searching the internet I stumbled over the following advise to buy new instead paying for service. That gave me the final trigger to service the movement myself knowing that I would get help by the experienced guys in this forum if necessary. I was concerned whether I would be able to restore the correct timing after reassembly because I couldn`t find any service literature about this specific movement. So I at least tried to read and learn something about locking cams, snails, "warning" etc.. Then I disassembled the movement carefully accompanied by a lot of pictures taken with my cellphone. For releasing the mainsprings I made a simple tool out of an aluminum pipe with handle and a cheap spare key. All parts were washed in alcohol with a brush and came out nice and shiny. I have to confess that I didn't remove the mainsprings not having a winder. So I just opened the lids and made sure that the oil was not yet hardened. As soon as I have a appropriate mainspring winder I can remove the barrels later easily by just pulling the arbors. For oiling the bearings I used the D5 that was handy from my watch servicing. I think it should work. To my surprise I found that timing of this movement can all be done without aligning the wheels during assembly beforehand. But it took me half a day to finally understand how the chime locking system with auto correction worked and how it had to be adjusted. Some pictures here: I'm happy with the result and want to encourage others to service their repair friendly Kieninger movements


 2 points
 -
If this is the first chiming clock you have undertaken you have done extremely well. You have a good understanding of the workings not only the train wheels but all the other parts that make up the workings. I always suggest someone who is starting out start with a simple 30 hour alarm clock, then move through to a pendulum timepiece, strike then a chime. Leaving French clocks until you have the knowledge and confidence of the others. Get yourself a bottle of Windels clock oil that is the one to use on all clocks. A pocket watch oil for when you have a clock with a platform escapement.2 points
-
"just replace it for $900", that kind of advice only a cynical seller can give. Excellent work. Straight to results without swinging around in doubts and useless chat. You did well in leaving the mainspring alone. I encourage you to do more, for yourself, family or friends, or even paid work.2 points
-
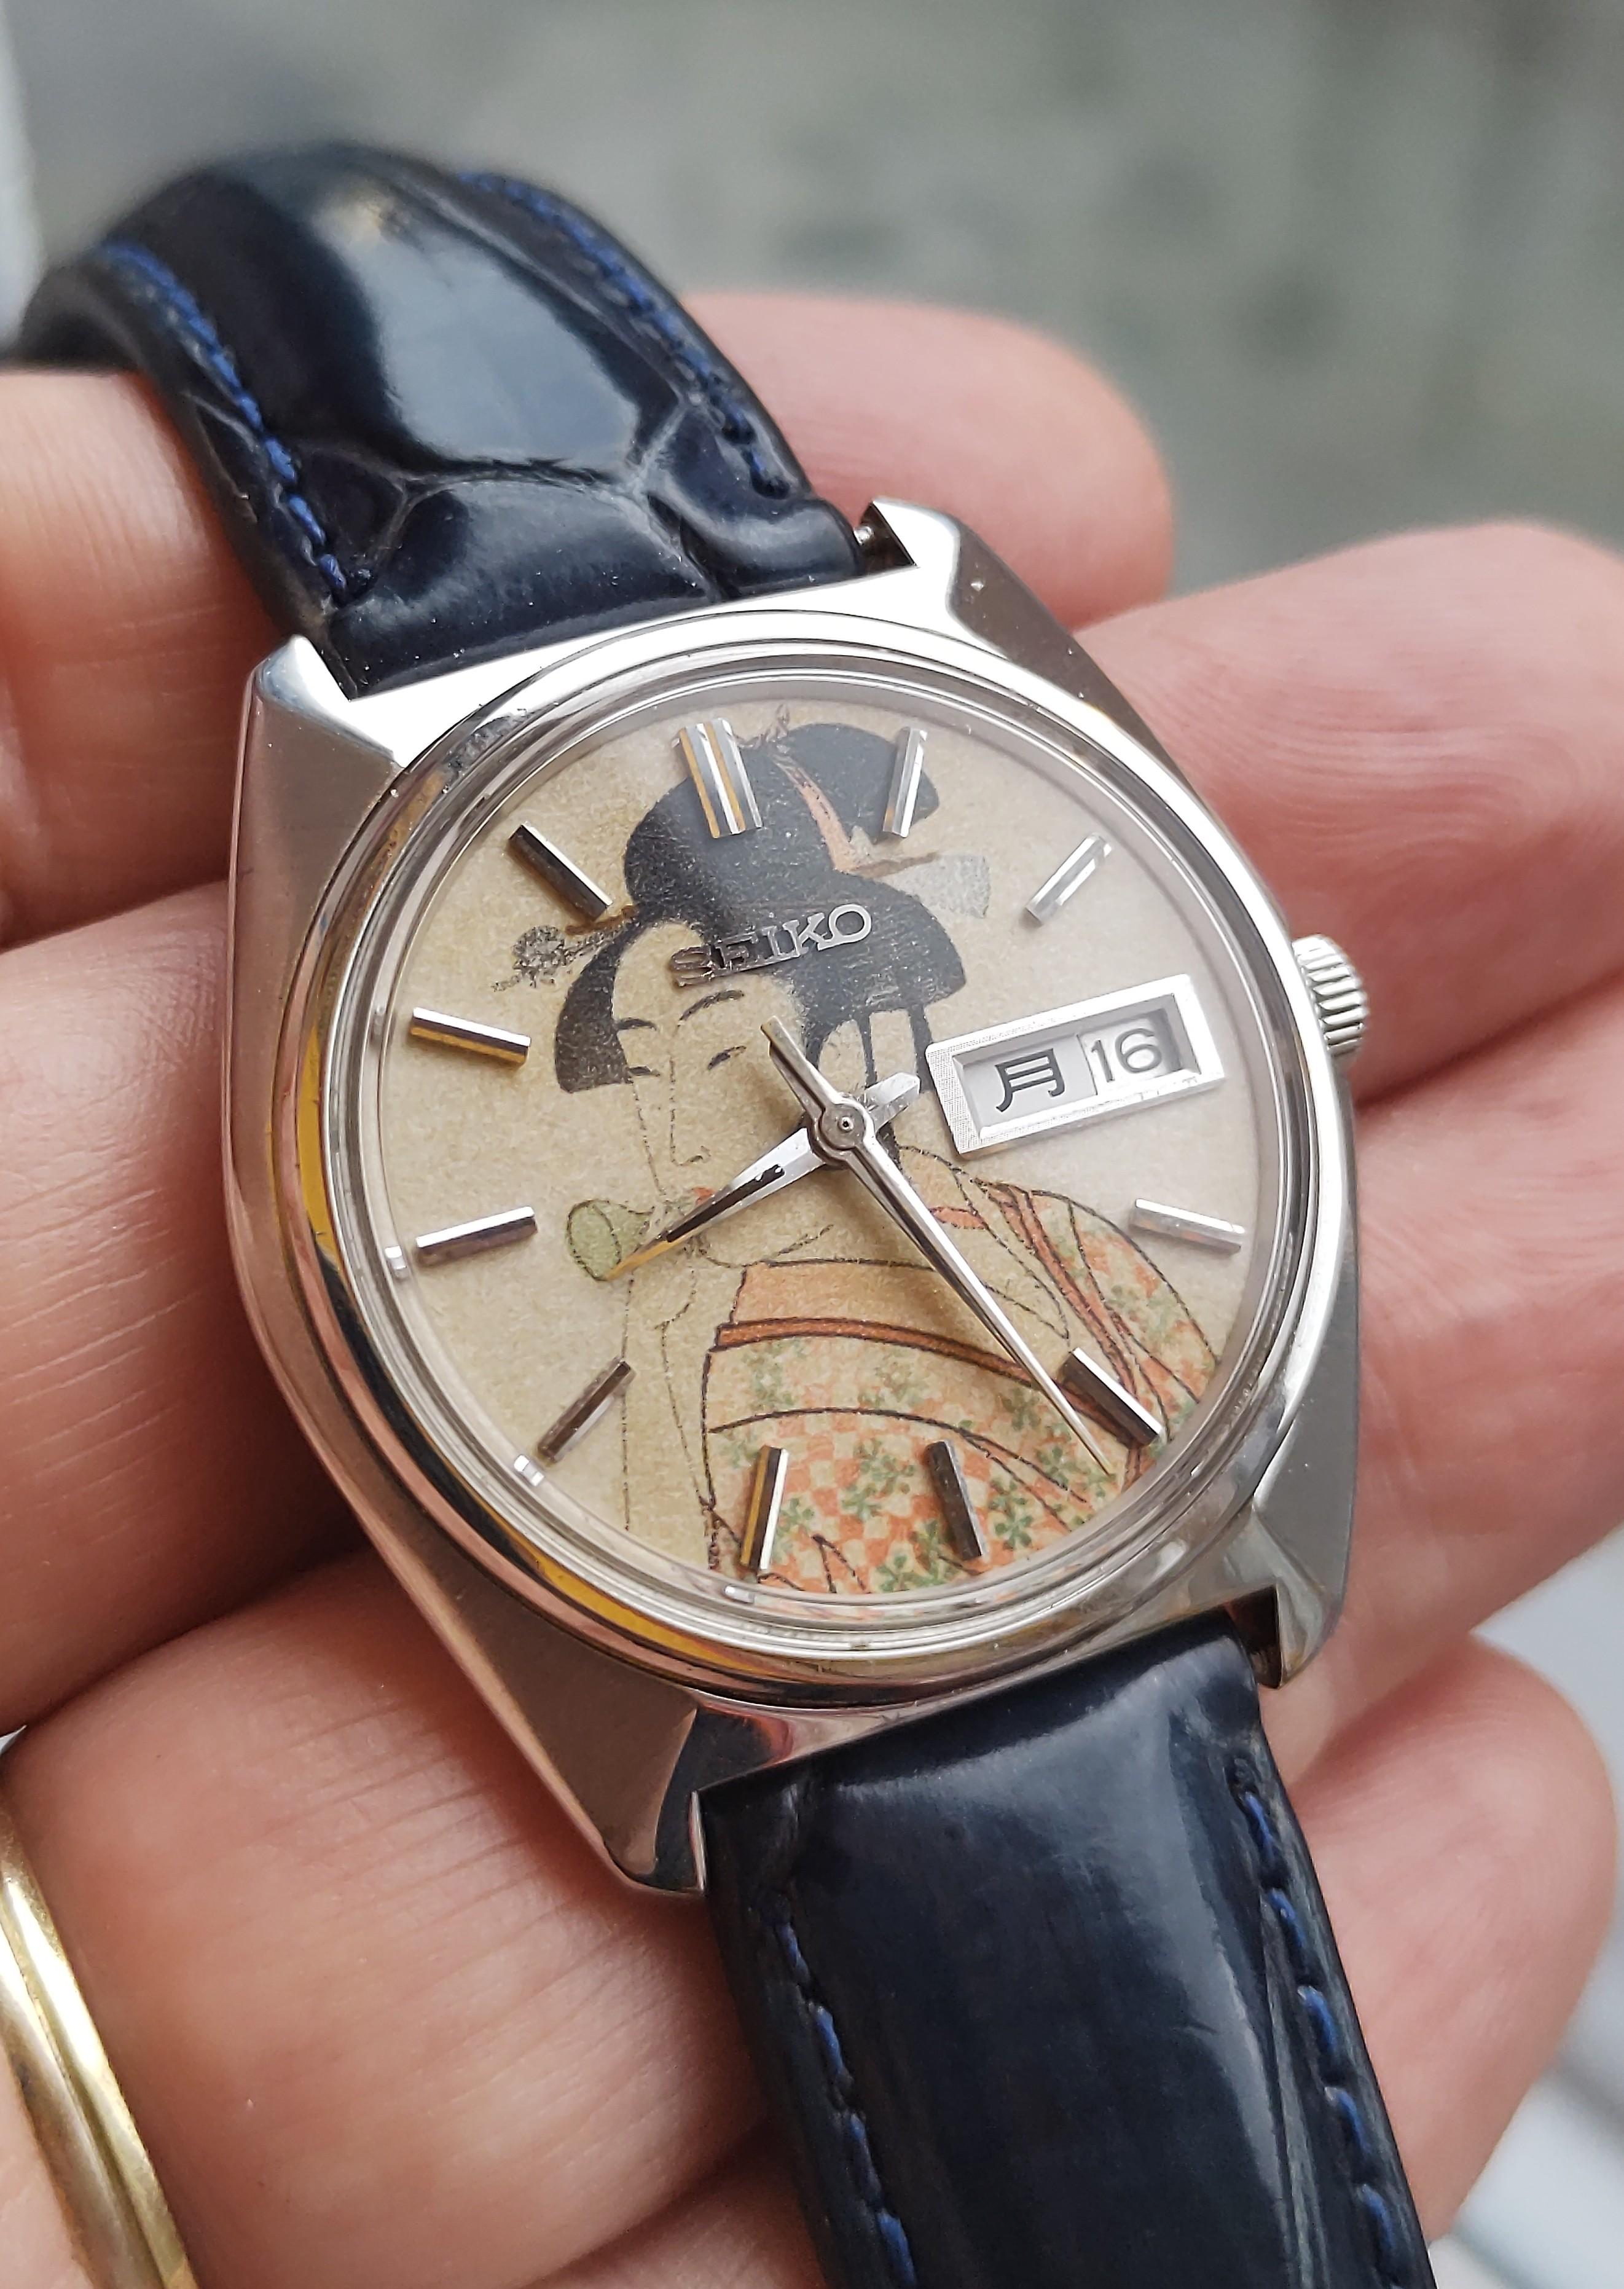
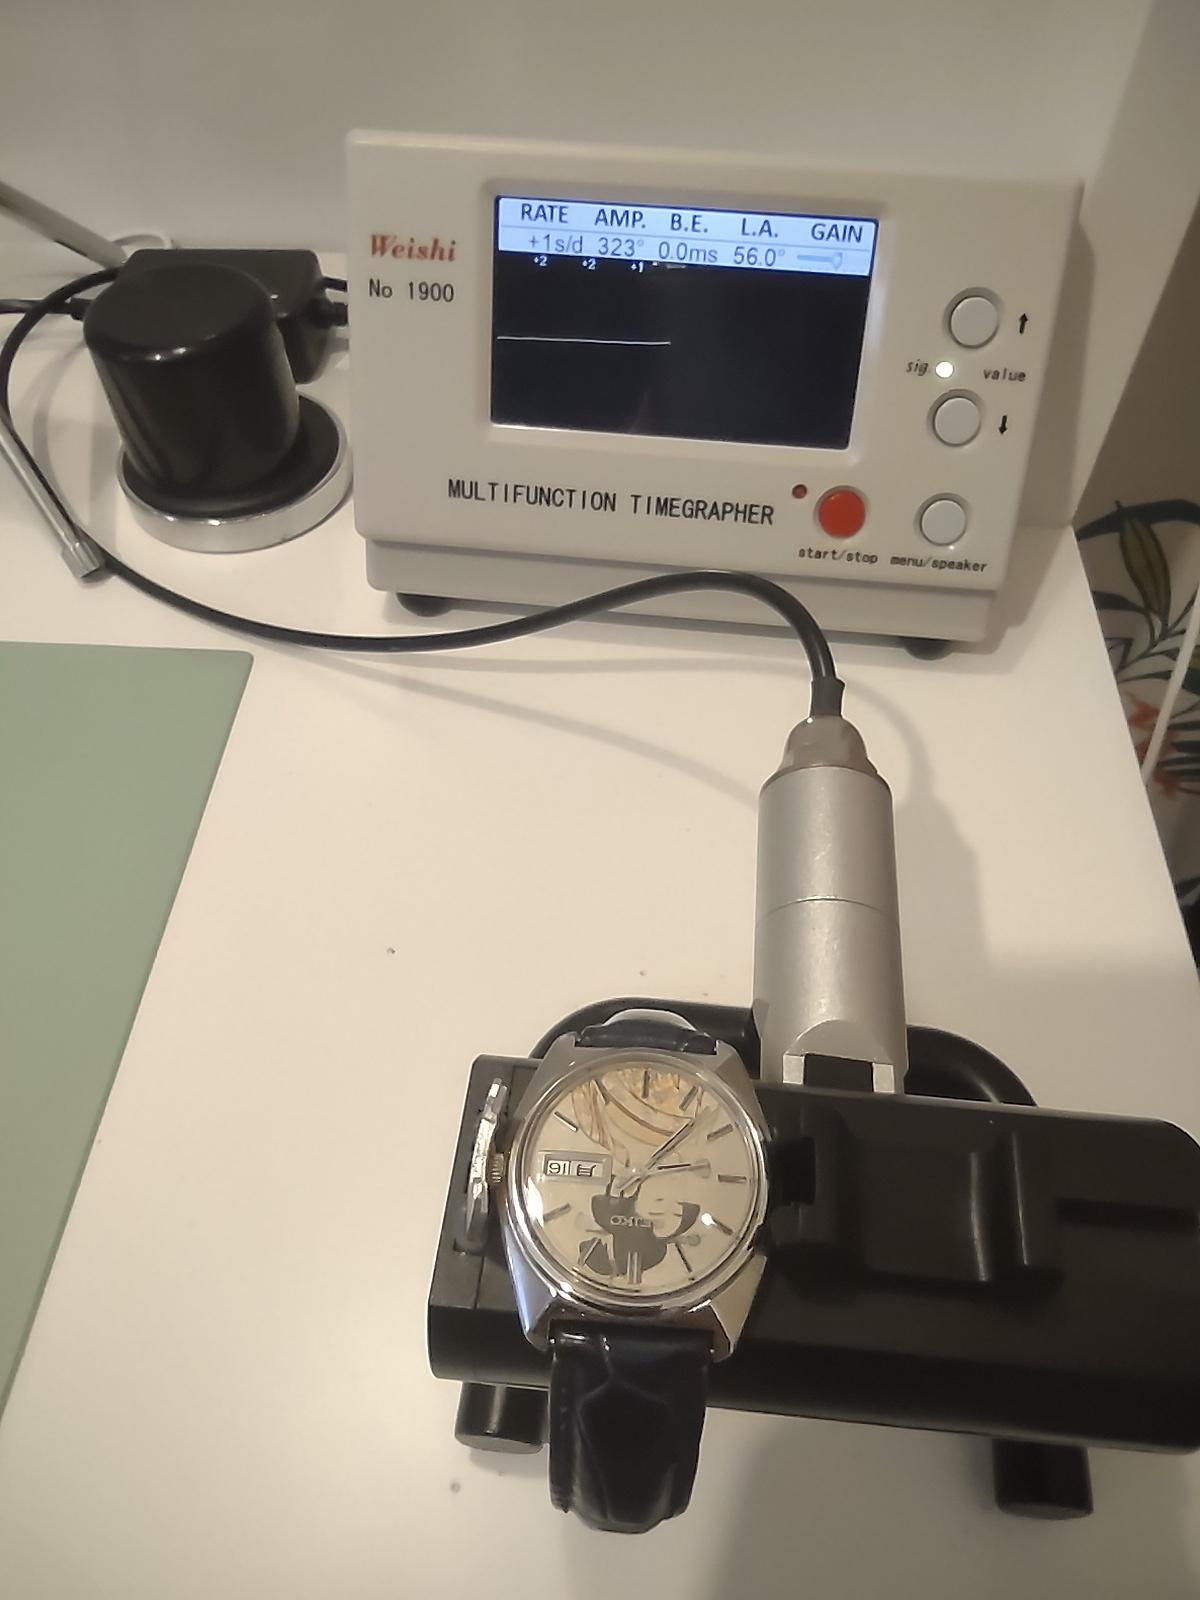
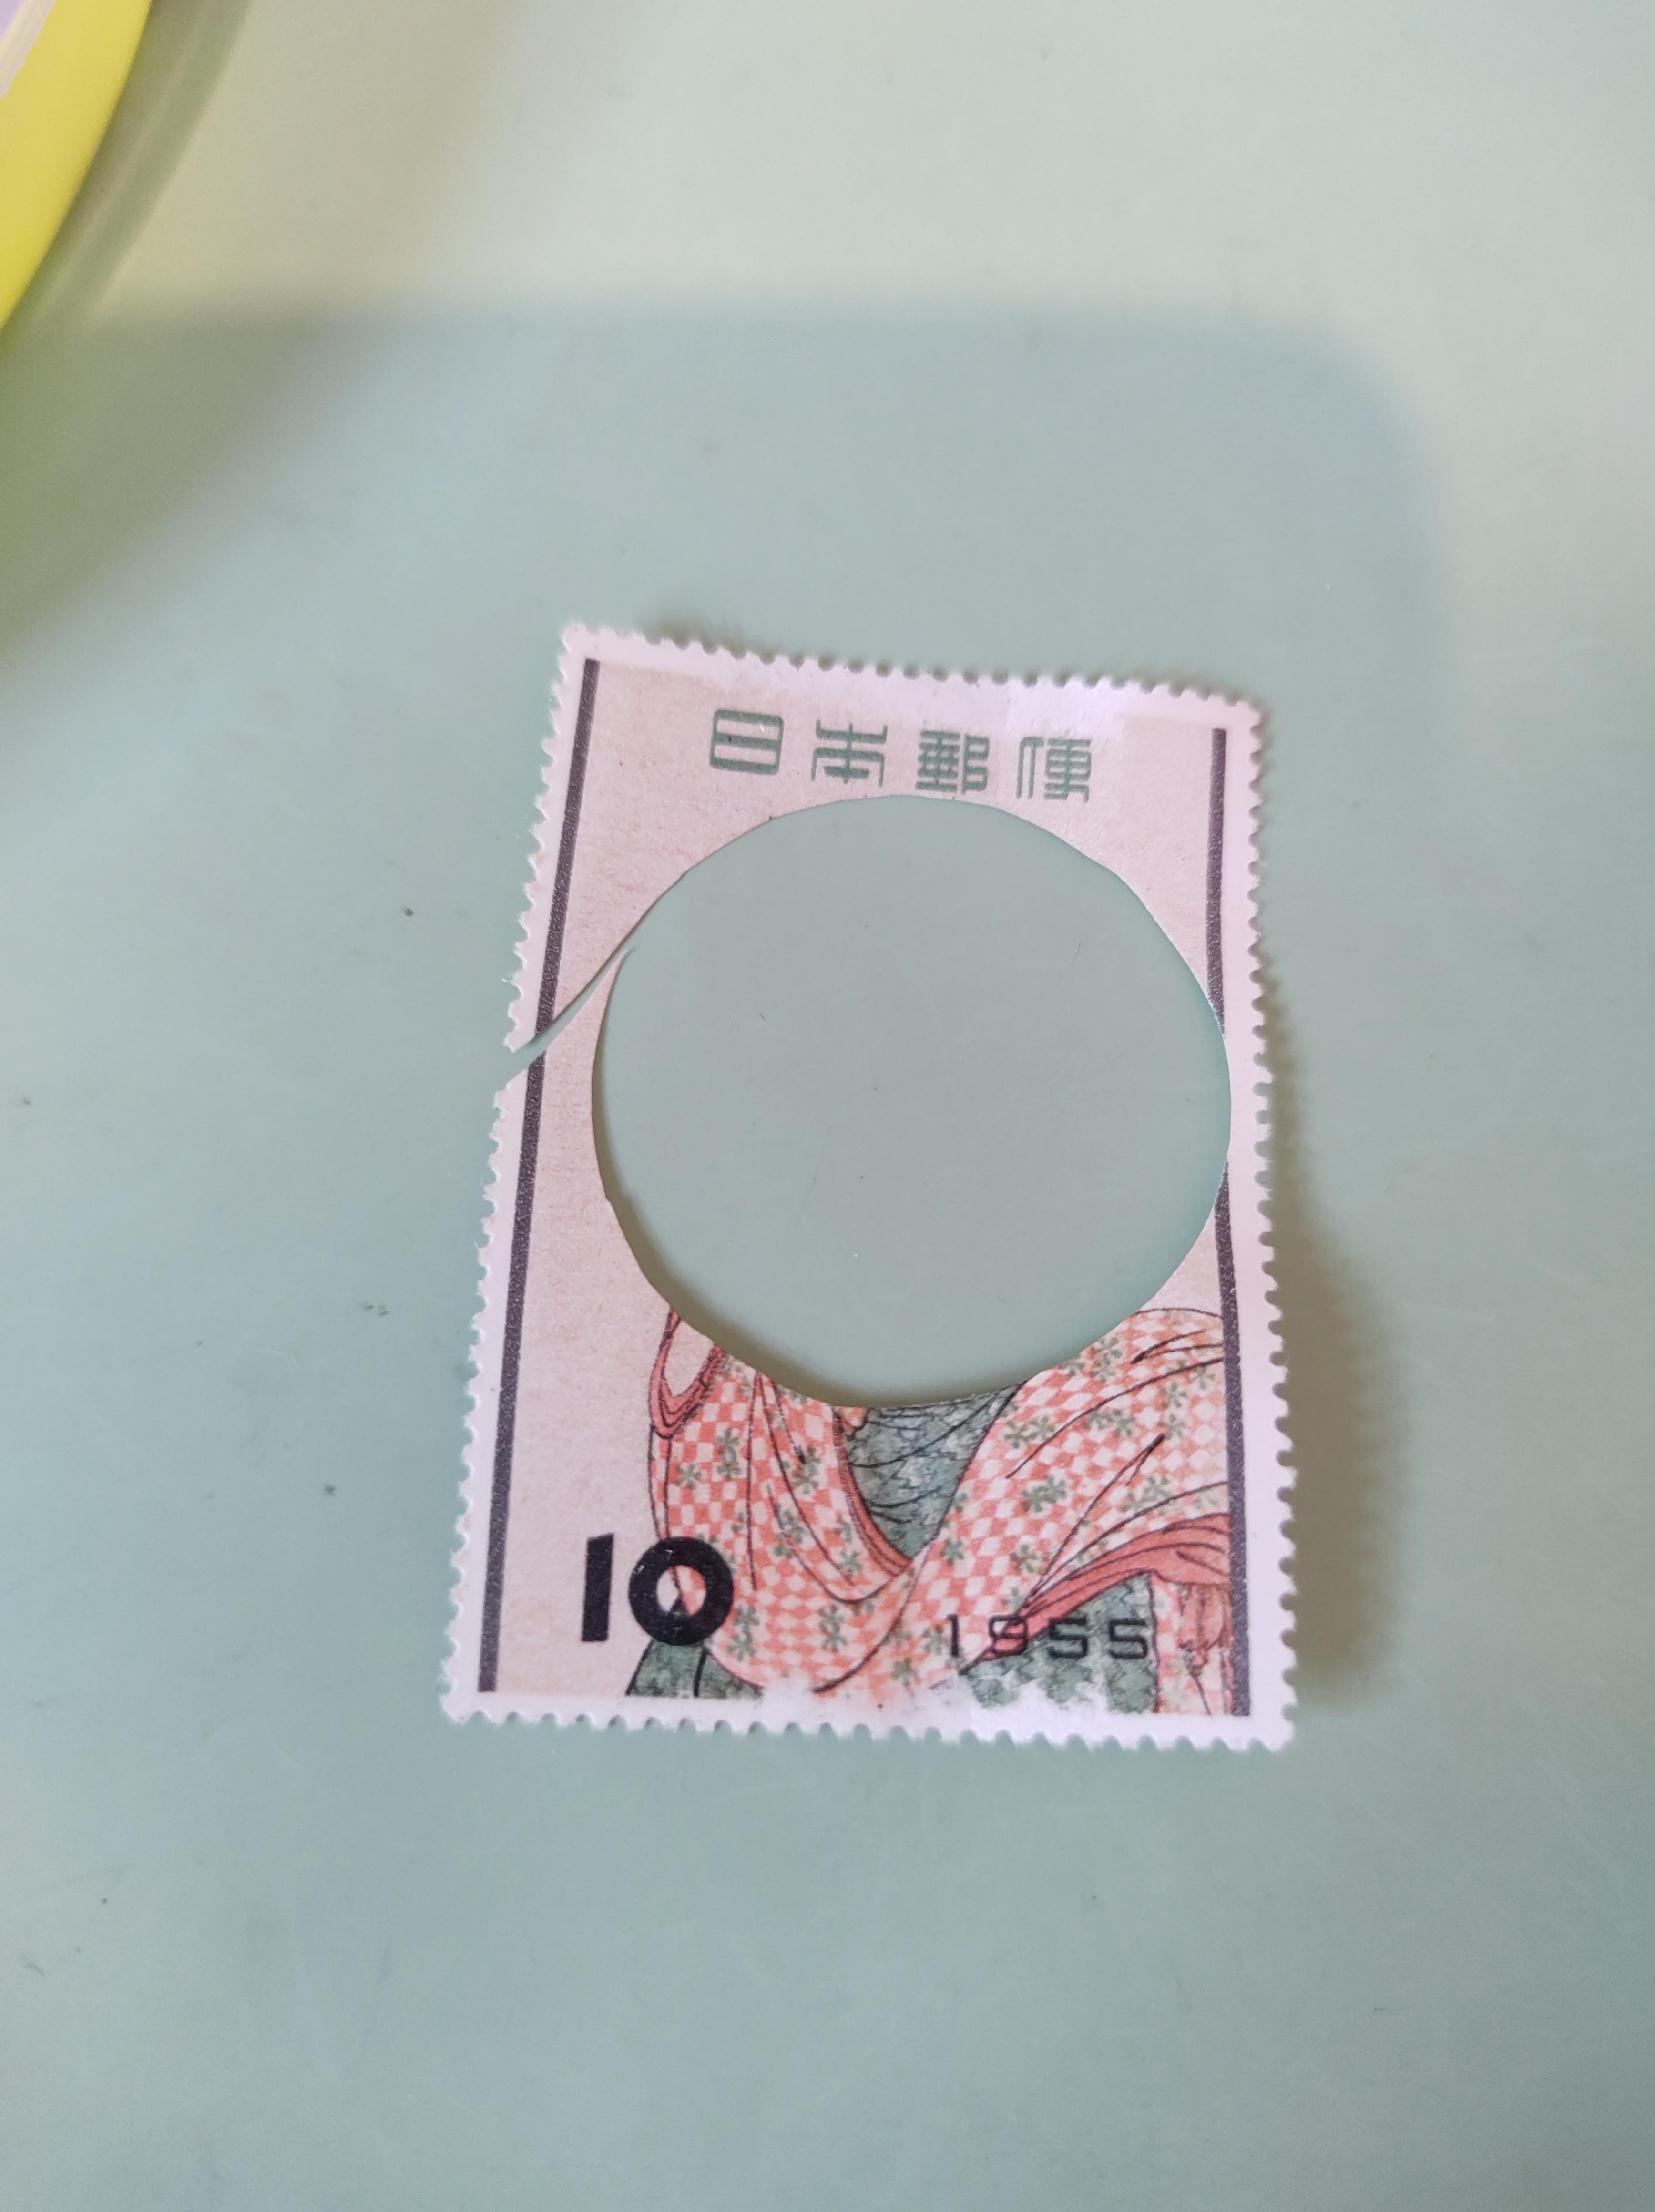
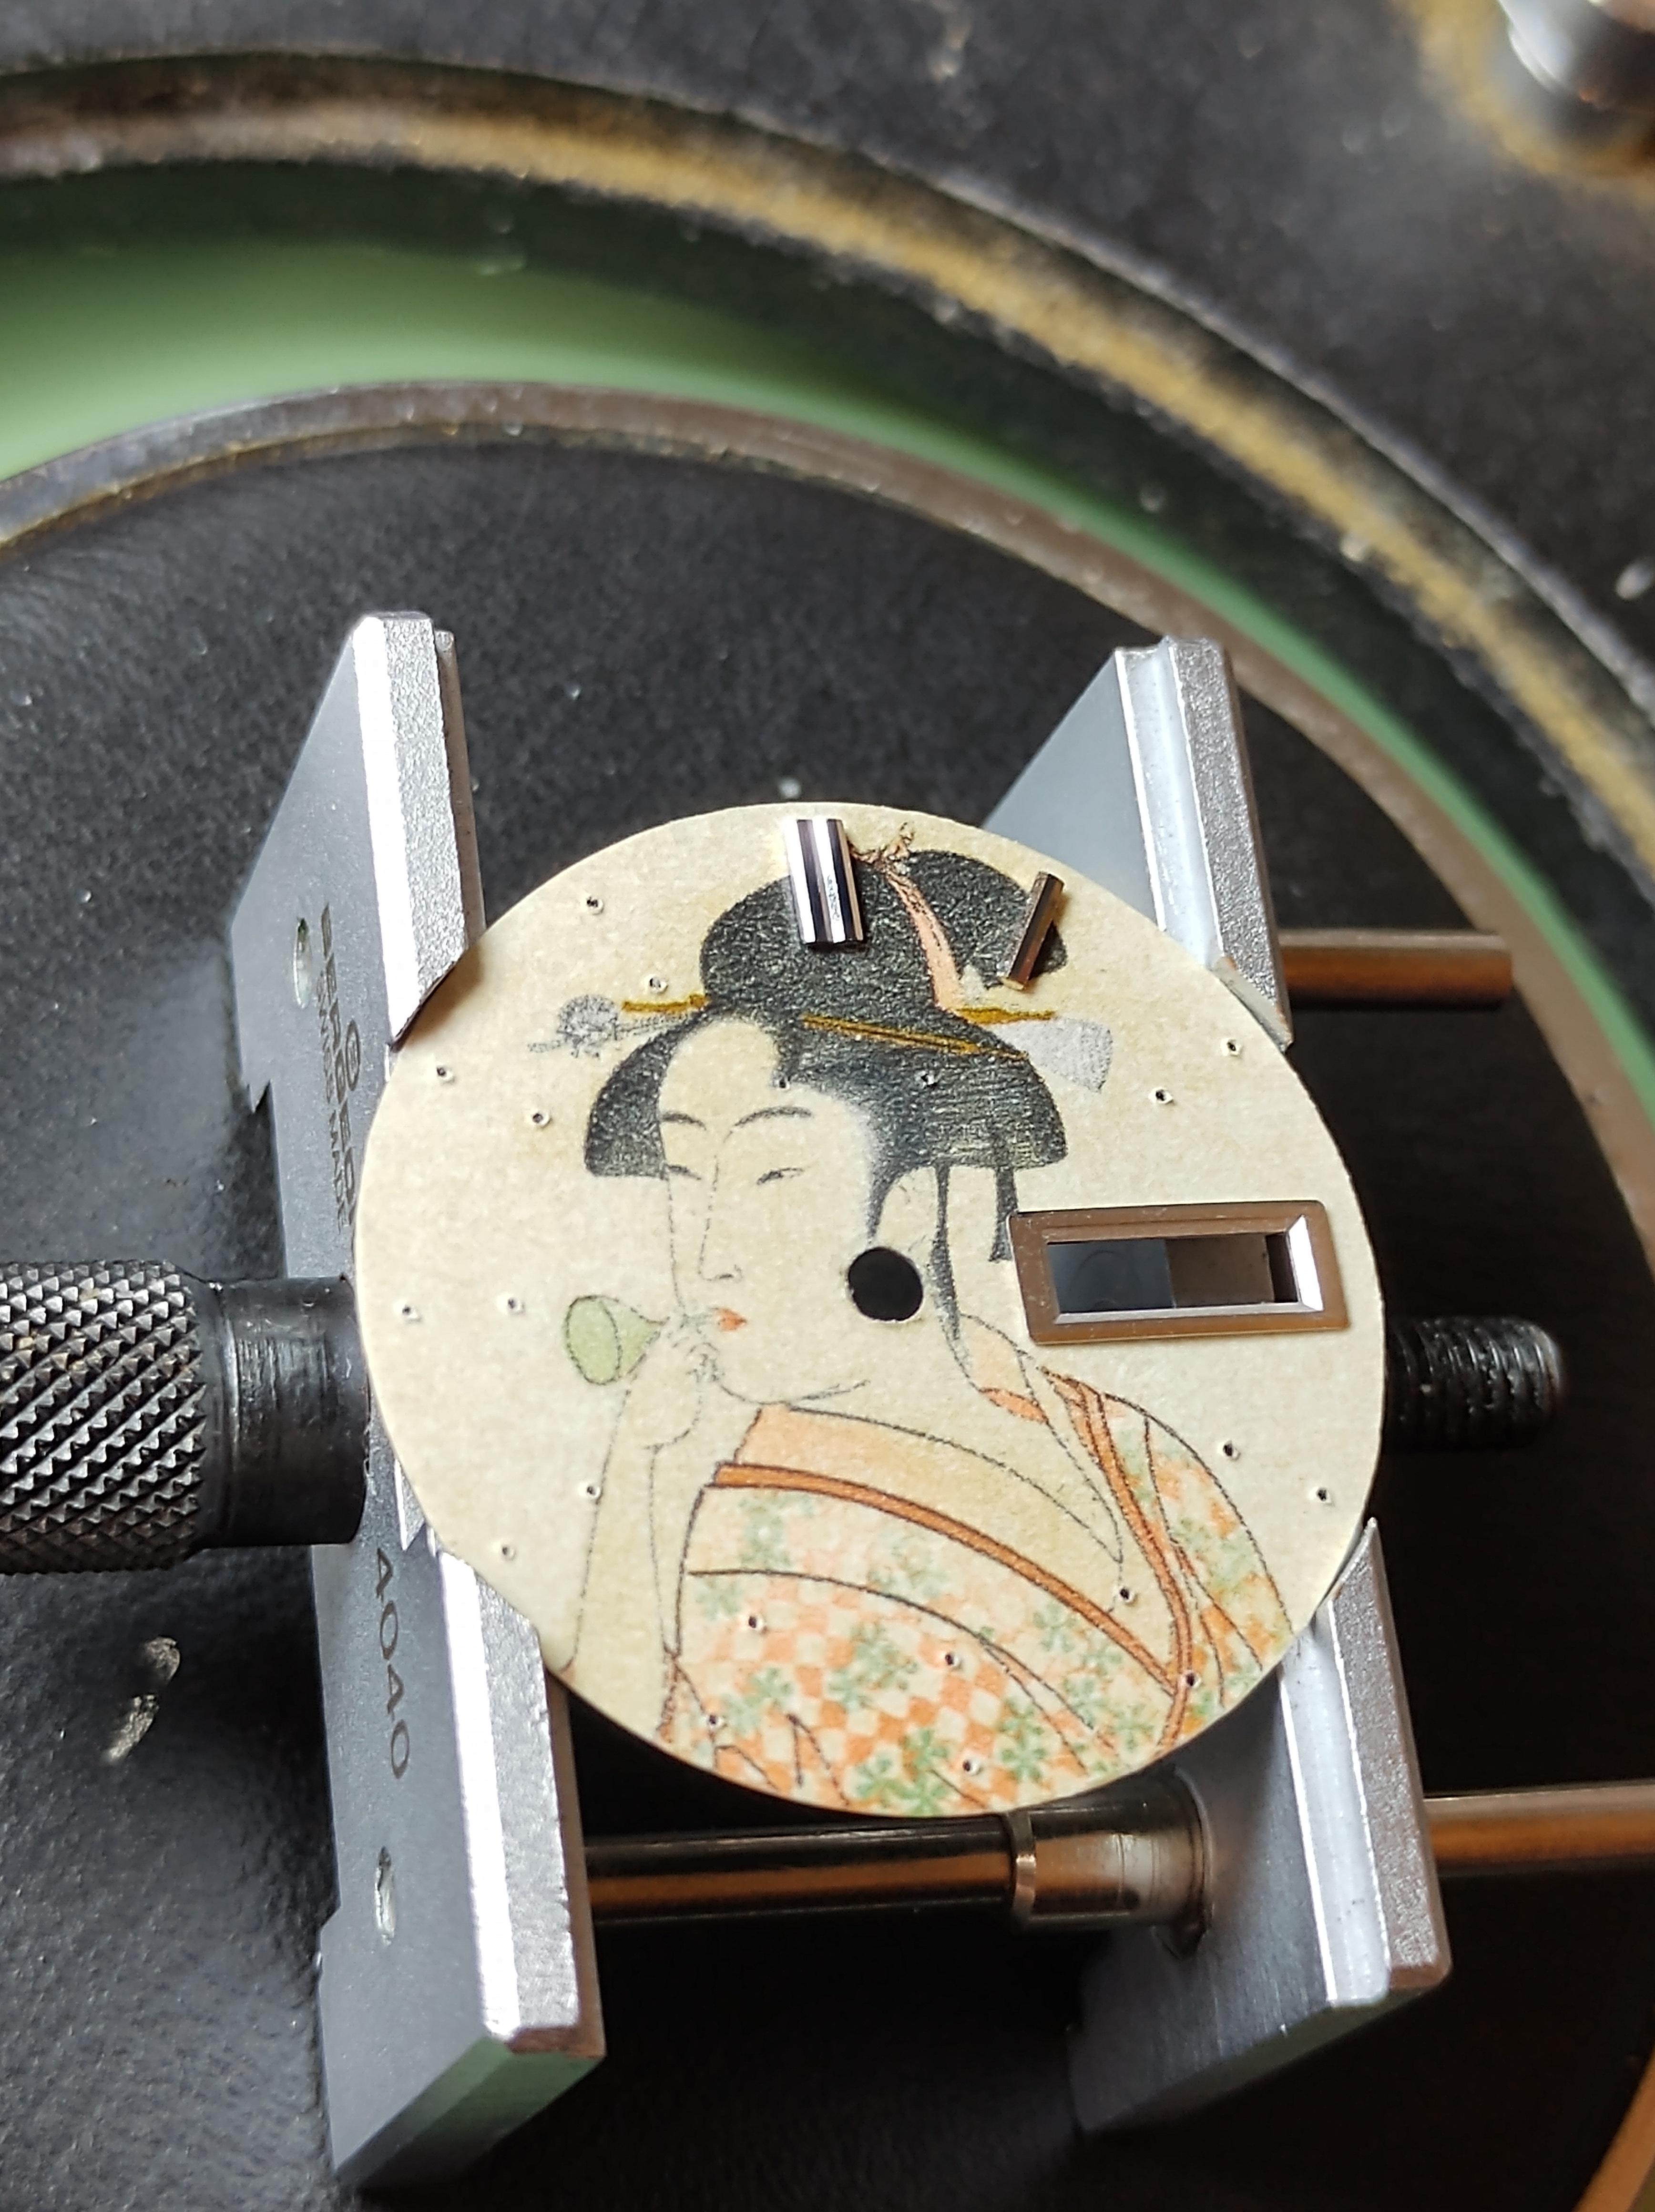
1970 Seiko 5606-7000 with hand made stamp dial. Running at 0 SPD and amplitude over 300 degrees at full wind.


 2 points
 -
Hi everybody, This is a brand new interest for me and I know so little, I can’t even ask an intelligent question. I’m enjoying looking through this forum and can see that it’s a treasure trove. Many thanks to the providers of this resource.1 point
-
First check that the screw is not blocking the stud and the hole is clear, lay the balance cock on its back and offer up the balance to the cock, move the stud into position over the hole and push in lightly then get a turn on the screw to stop itdropping out. Then lifit the balance and cock and fit into the watch. Untill all other checks have been made do not broach the hole. Thats a last resort job.1 point
-
Leonidas I've heard of. Arsa kind of rings a bell, but I can't say I know much of anything about them. And I've never heard of Telsa at all. But considering the Leonidas and the fact that they're all running, it's been hard to get a better price for three decent runners lately. I think you probably did okay.1 point
-
Hi either or both they both have good engines the ronda 515 solid little quartz and the sellitia as goos ast the eta, a question of choice.1 point
-
Well done Willow now the real job (cleaning) keep us up to speed.1 point
-
This is what I always used. Horolene Clock Cleaning Concentrated Fluid, use in a well ventilated space1 point
-
For the price of a bottle of oil I don't think I would use it. But don't throw it away, later on when and if you start bluing screws you can use it for quenching the screws or on a stone to dress out the blades of screwdrivers.1 point
-
Well done, for your first time to do a clock like that you are a braver man then me, when i started it was a 2 train movement and i struggled with that getting it back together again as jdm has said excellent work.1 point
-
I've come to realise the same thing, I think that's part of the fascination. Researching, learning and quite often making mistakes. My friend wasn't interested in watches/ clocks until he started selling them and having to do research. He too now finds them fascinating.1 point
-
I think maybe the users guide might be helpful for you. I'm attaching a PDF I think you'll find a lot of your answers there The reamers are of a specific size because the jewels come specific sizes. I find you want to be really careful to go slow because of you get carried away and try to go fast you may lose the center of your hole which would be bad. Then I find that even though the reamers made to an exacting size for specific jewel size it's best to go really slow and not go all the way to the full-size and try the jewel. Because I find sometimes if you go all the way to the maximum of the reamers size the whole ends up being too big at least for me. So I will ream almost to the size and try the jewel. Then yes it does have two really close to big it doesn't fit falls out to tight you really try hard you can break the jewel. seitz BOOK.pdf1 point
-
Most jeweling tools came with D shaped broaches. Favorite used 5 sided, and as you have noted Horia offers both. Their take is the 5 sided to rough, D to finish. The D do fine on their own, really no need for both. I have Favorite 5 sided and Chatons SA D shape, actually prefer the Chatons SA (Seitz, in spite of being the most common tool, in my opinion is the lowest quality [their jewels aren't great either]). I don't like broaching more than one "size" at a time*, so I go progressively through until the size needed, usually. But just today, I wanted to fit a bushing for the mainplate side of a barrel, and went straight from the original 0.8mm hole to 1.5mm and it worked great. *I have a lathe permanently set up for faceplate work, with optical centering and all that, and use that for critical work where drifting a hole even 0.01mm might spell disaster. But used with care jeweling reamers will keep hole location pretty well.1 point
-
It's not genuine. Rolex doesn't do display backs, and the movement (visible through this display back) is clearly not Rolex.1 point
-
Hello and welcome to the forum, good bad or indifferent all examples recieved gladly. If it helps others to achieve or to avoid problems.1 point
-
Hi and Welcome1 point
-
I do several chronographs of all flavors each week, and a few times a year I have to file (and polish) certain functions. One test I always do is if the hammer hits the chrono runner and minute counter correctly. I file these functions probably once per year. Why? No idea, but if needed, I file, as I want the watch to go out working correctly. Before removing metal in a watch, check _every possible thing_ that could affect that function. Here, a big one is if the post for the hammer is securely screwed in. But at any rate, quadruple check- you can file hammers maybe 2, 3 times before they're a goner (figuring pro level filing). Take your time, check and recheck. Normally unless parts have been swapped no filing necessary in a service.1 point
-
Er hello mm . I see you are a man of many words ( not like me then) a bit more information about you perhaps ?1 point
-
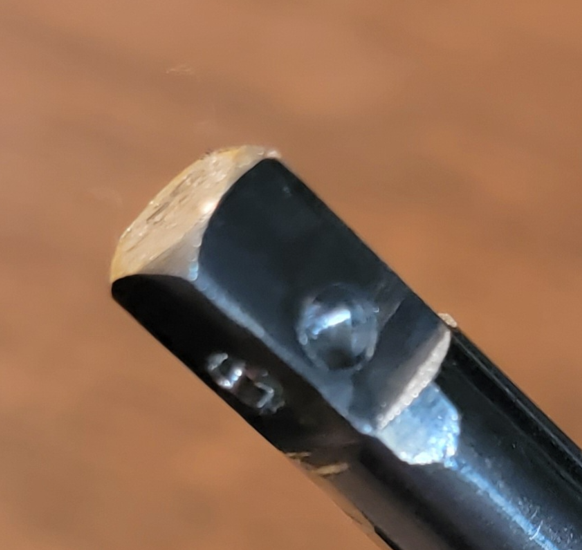
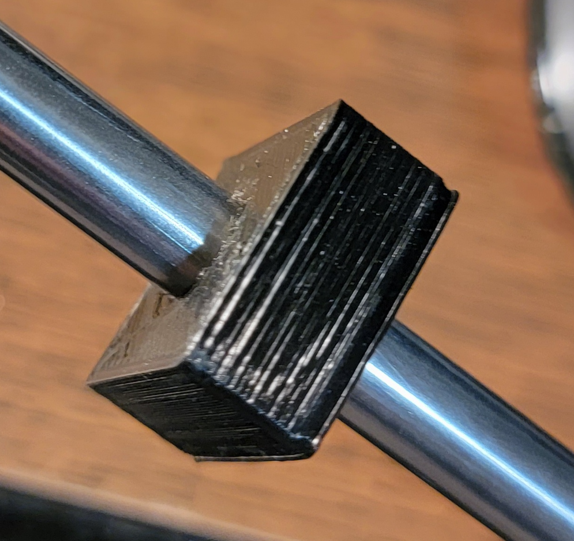
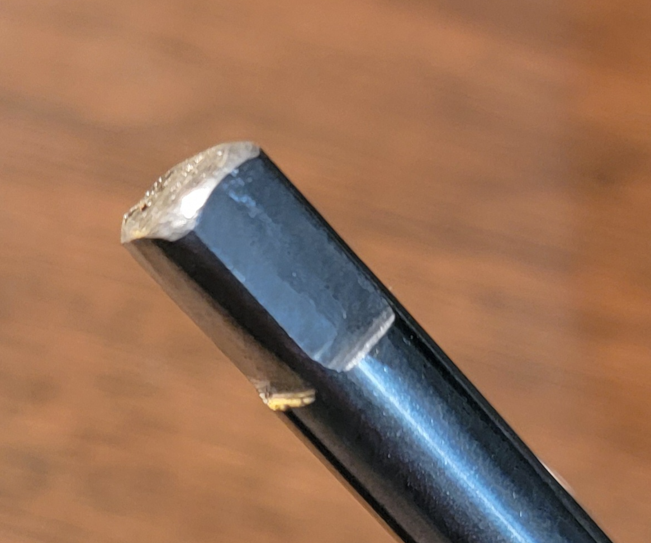
I am modifying a Webster-style mainspring winder to accept the standard winding keys (shafts). To do that, I ordered an 8mm steel rod and had to grind a square on the end...much like what you would do making a stem. I have a nice tool to do this on my lathe (filing rest and reference disc), but whoa...this will not fit on my lath. So, I had this idea to print a square block and mount it on the rod and use that for aligning the rod at 90 degrees while grinding. It is a great idea...but...even though printed a super tight fit square and pressed it on to the rod...once it got hot, I lost the tight fit. Fortunately, before that happened, I got a pretty good reference cut. I finished with a file and the appropriate elbow grease. I know that I might have an issue with heat, but I took a chance. This is still a good idea...just needs refinement. Next time, I can put a threaded insert on the block and fasten it to the rid with a set screw. Anyway...good enough for now. The first image is my attempt without any guide on the grinder. Pretty sloppy. Those indents were added later. The second picture shows the block for squaring. The third picture is my improved result. The fourth picture shows the attached coupler.
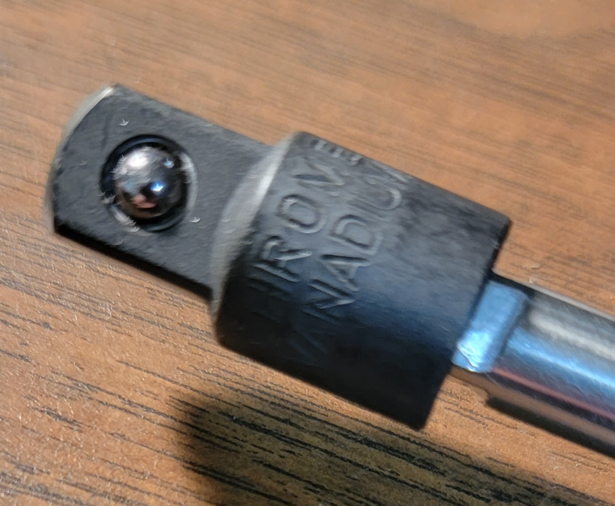 1 point