Leaderboard


Popular Content
Showing content with the highest reputation on 06/01/20 in all areas
-
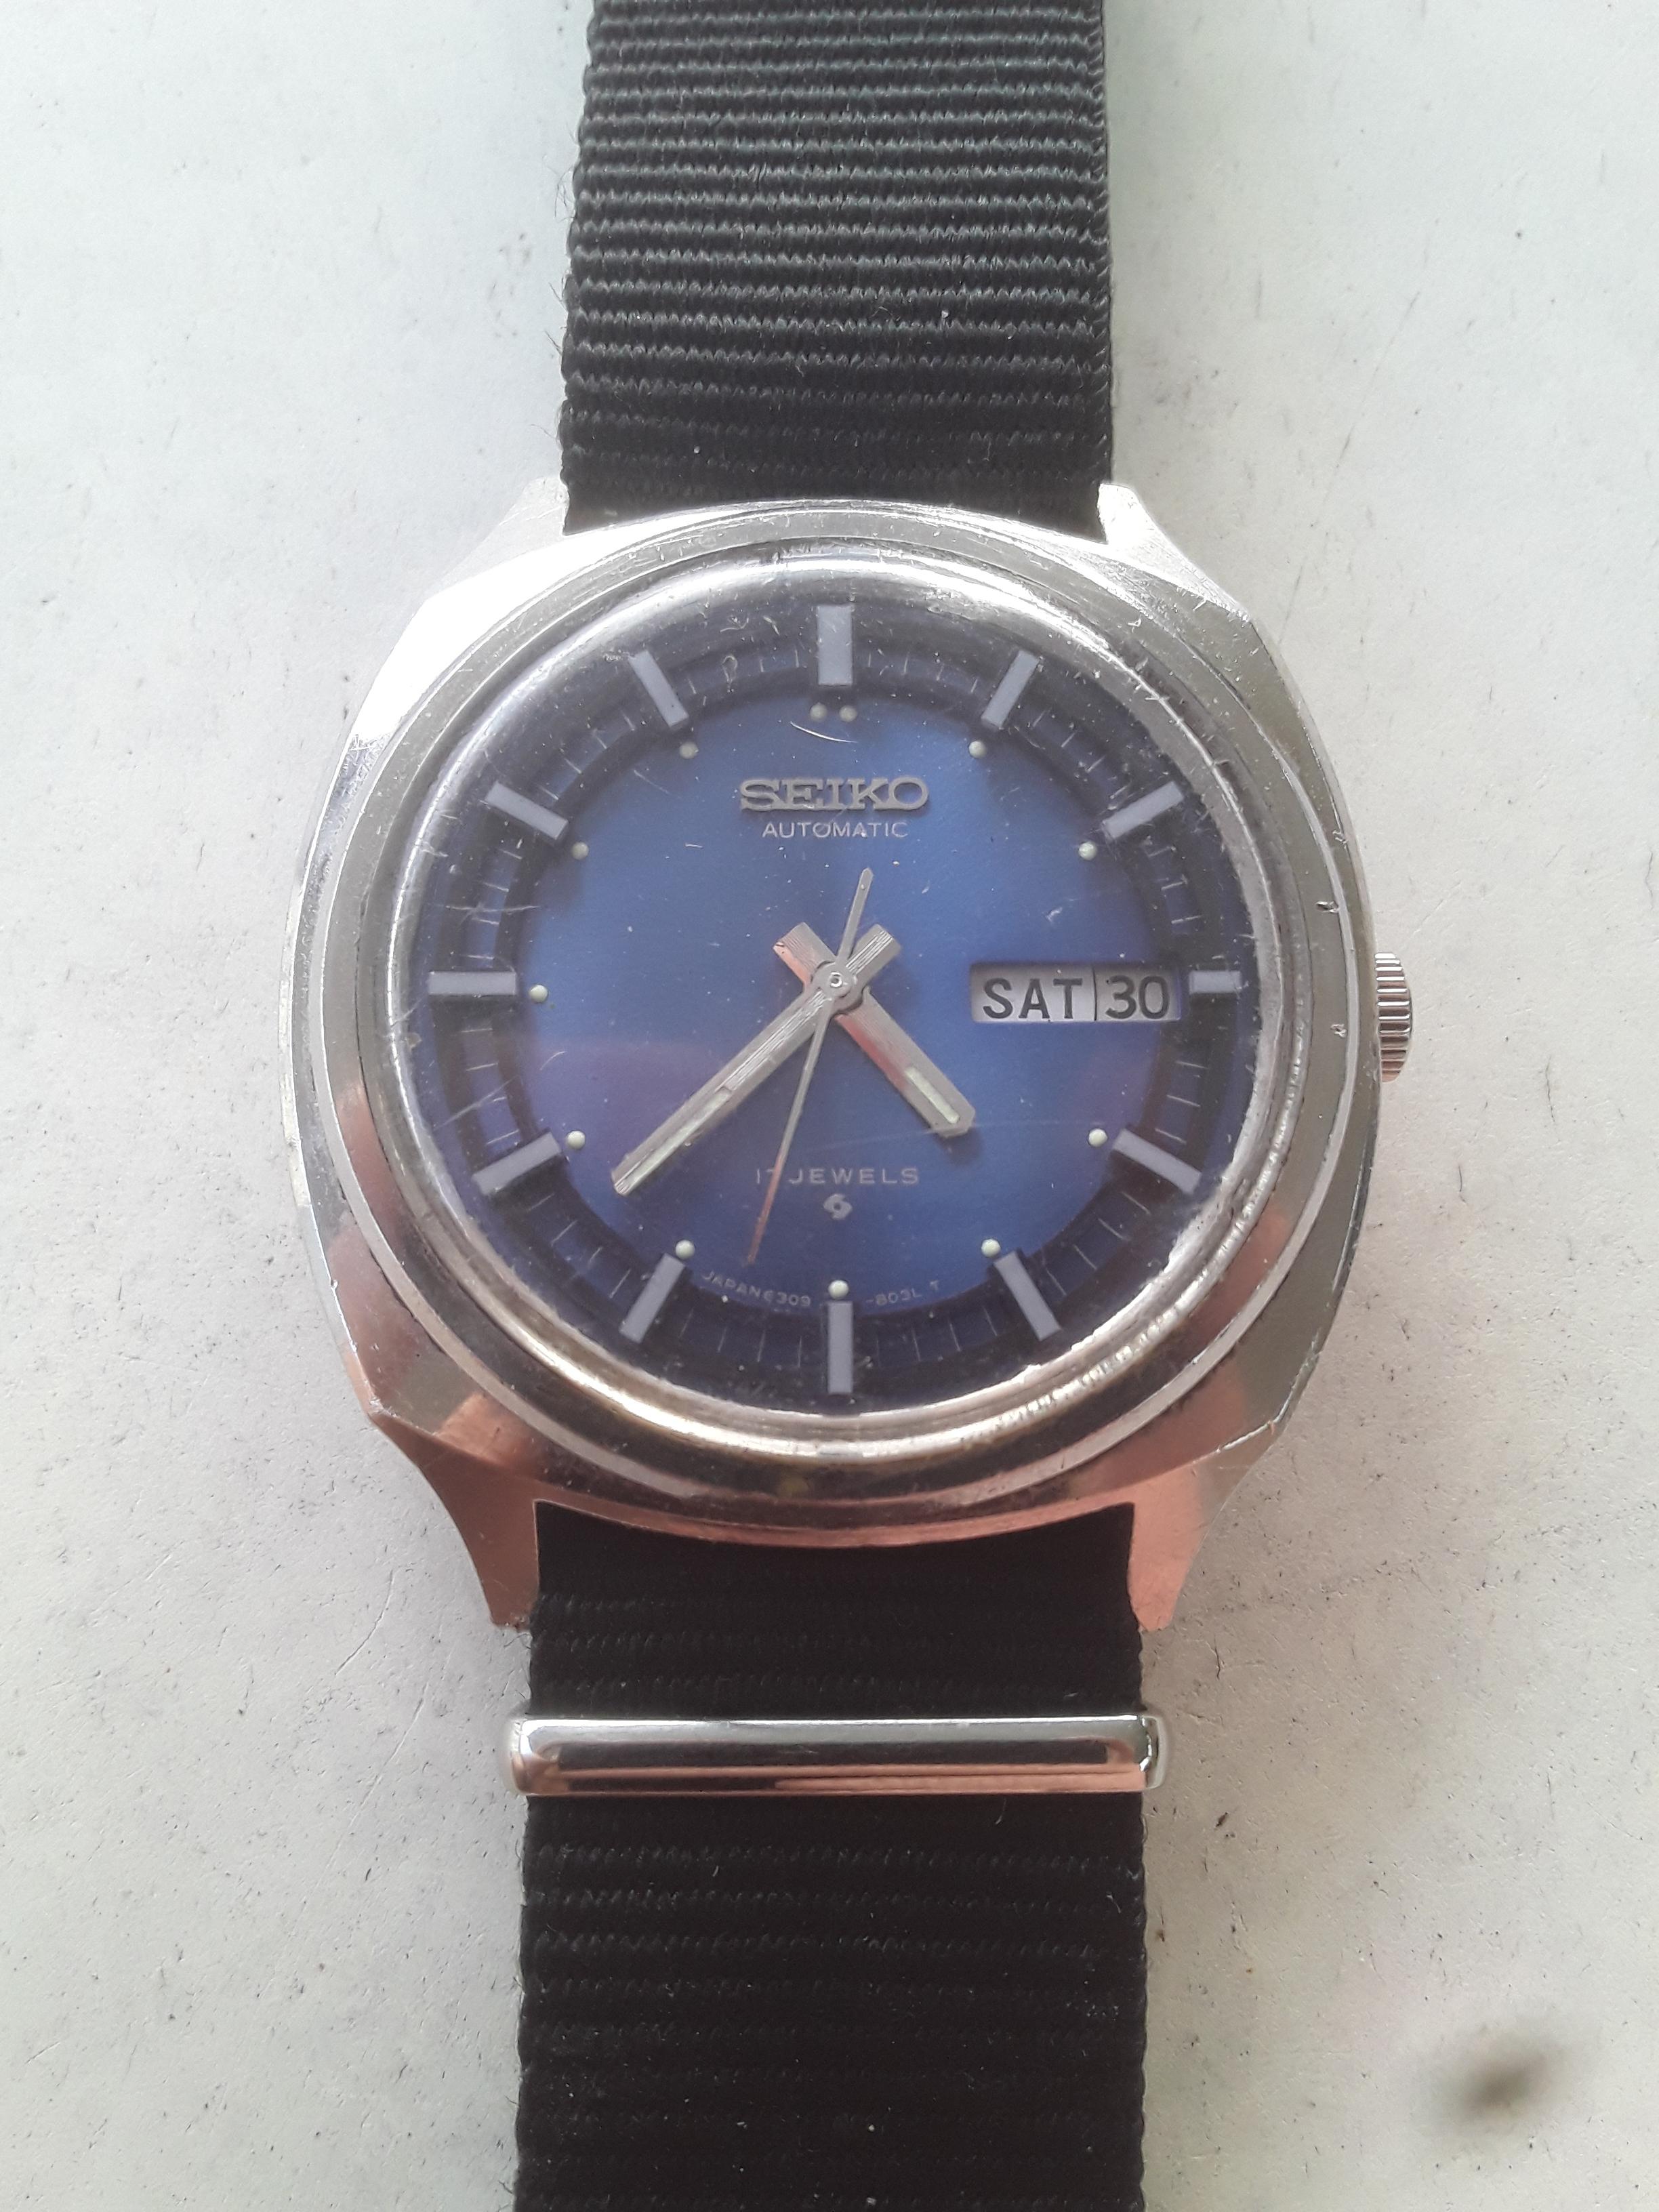
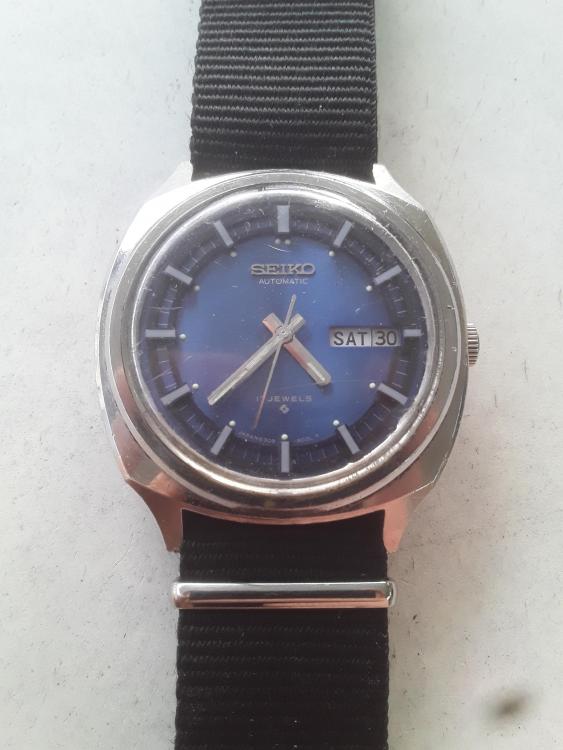
I picked up this 6309 with the crystal so destroyed I didn't even know what color the dial was. It cleaned up ok and now actually runs.
 2 points
 -
I have a major problem with vendor lock in. To my mind it is one of the most insidious aspects of human behaviour. A cynical move driven purely by greed. The simple fact is, there is absolutely nothing unique about a {insert name of manufacturer here} watch part. A gear is a gear, a spring is a spring, brass is brass, gold is gold. Even if you make your part out of unicorn droppings and elf sh*t, it is still a part at the end of the day. It is not some magic incantation that allows you to open someone else's wallet and help yourself to the contents, simply because your part forged from unicorn droppings failed. I am not advocating cloning or ripping off other peoples designs, I am simply stating that a part for a watch should be readily available at a reasonable price to anyone who needs it. This is of course not the way we have collectively decided to behave. We are constantly being reminded that were are mere consumers, and we have a duty to consume (apparently). Therefore, repairing stuff is anti-consumerist, and we should all be ashamed of ourselves for even thinking that we are worthy enough beings to be allowed to fix stuff. "Shut up and buy new stuff, and the hell with the planet" seems to be the mantra we are meant to be following.2 points
-
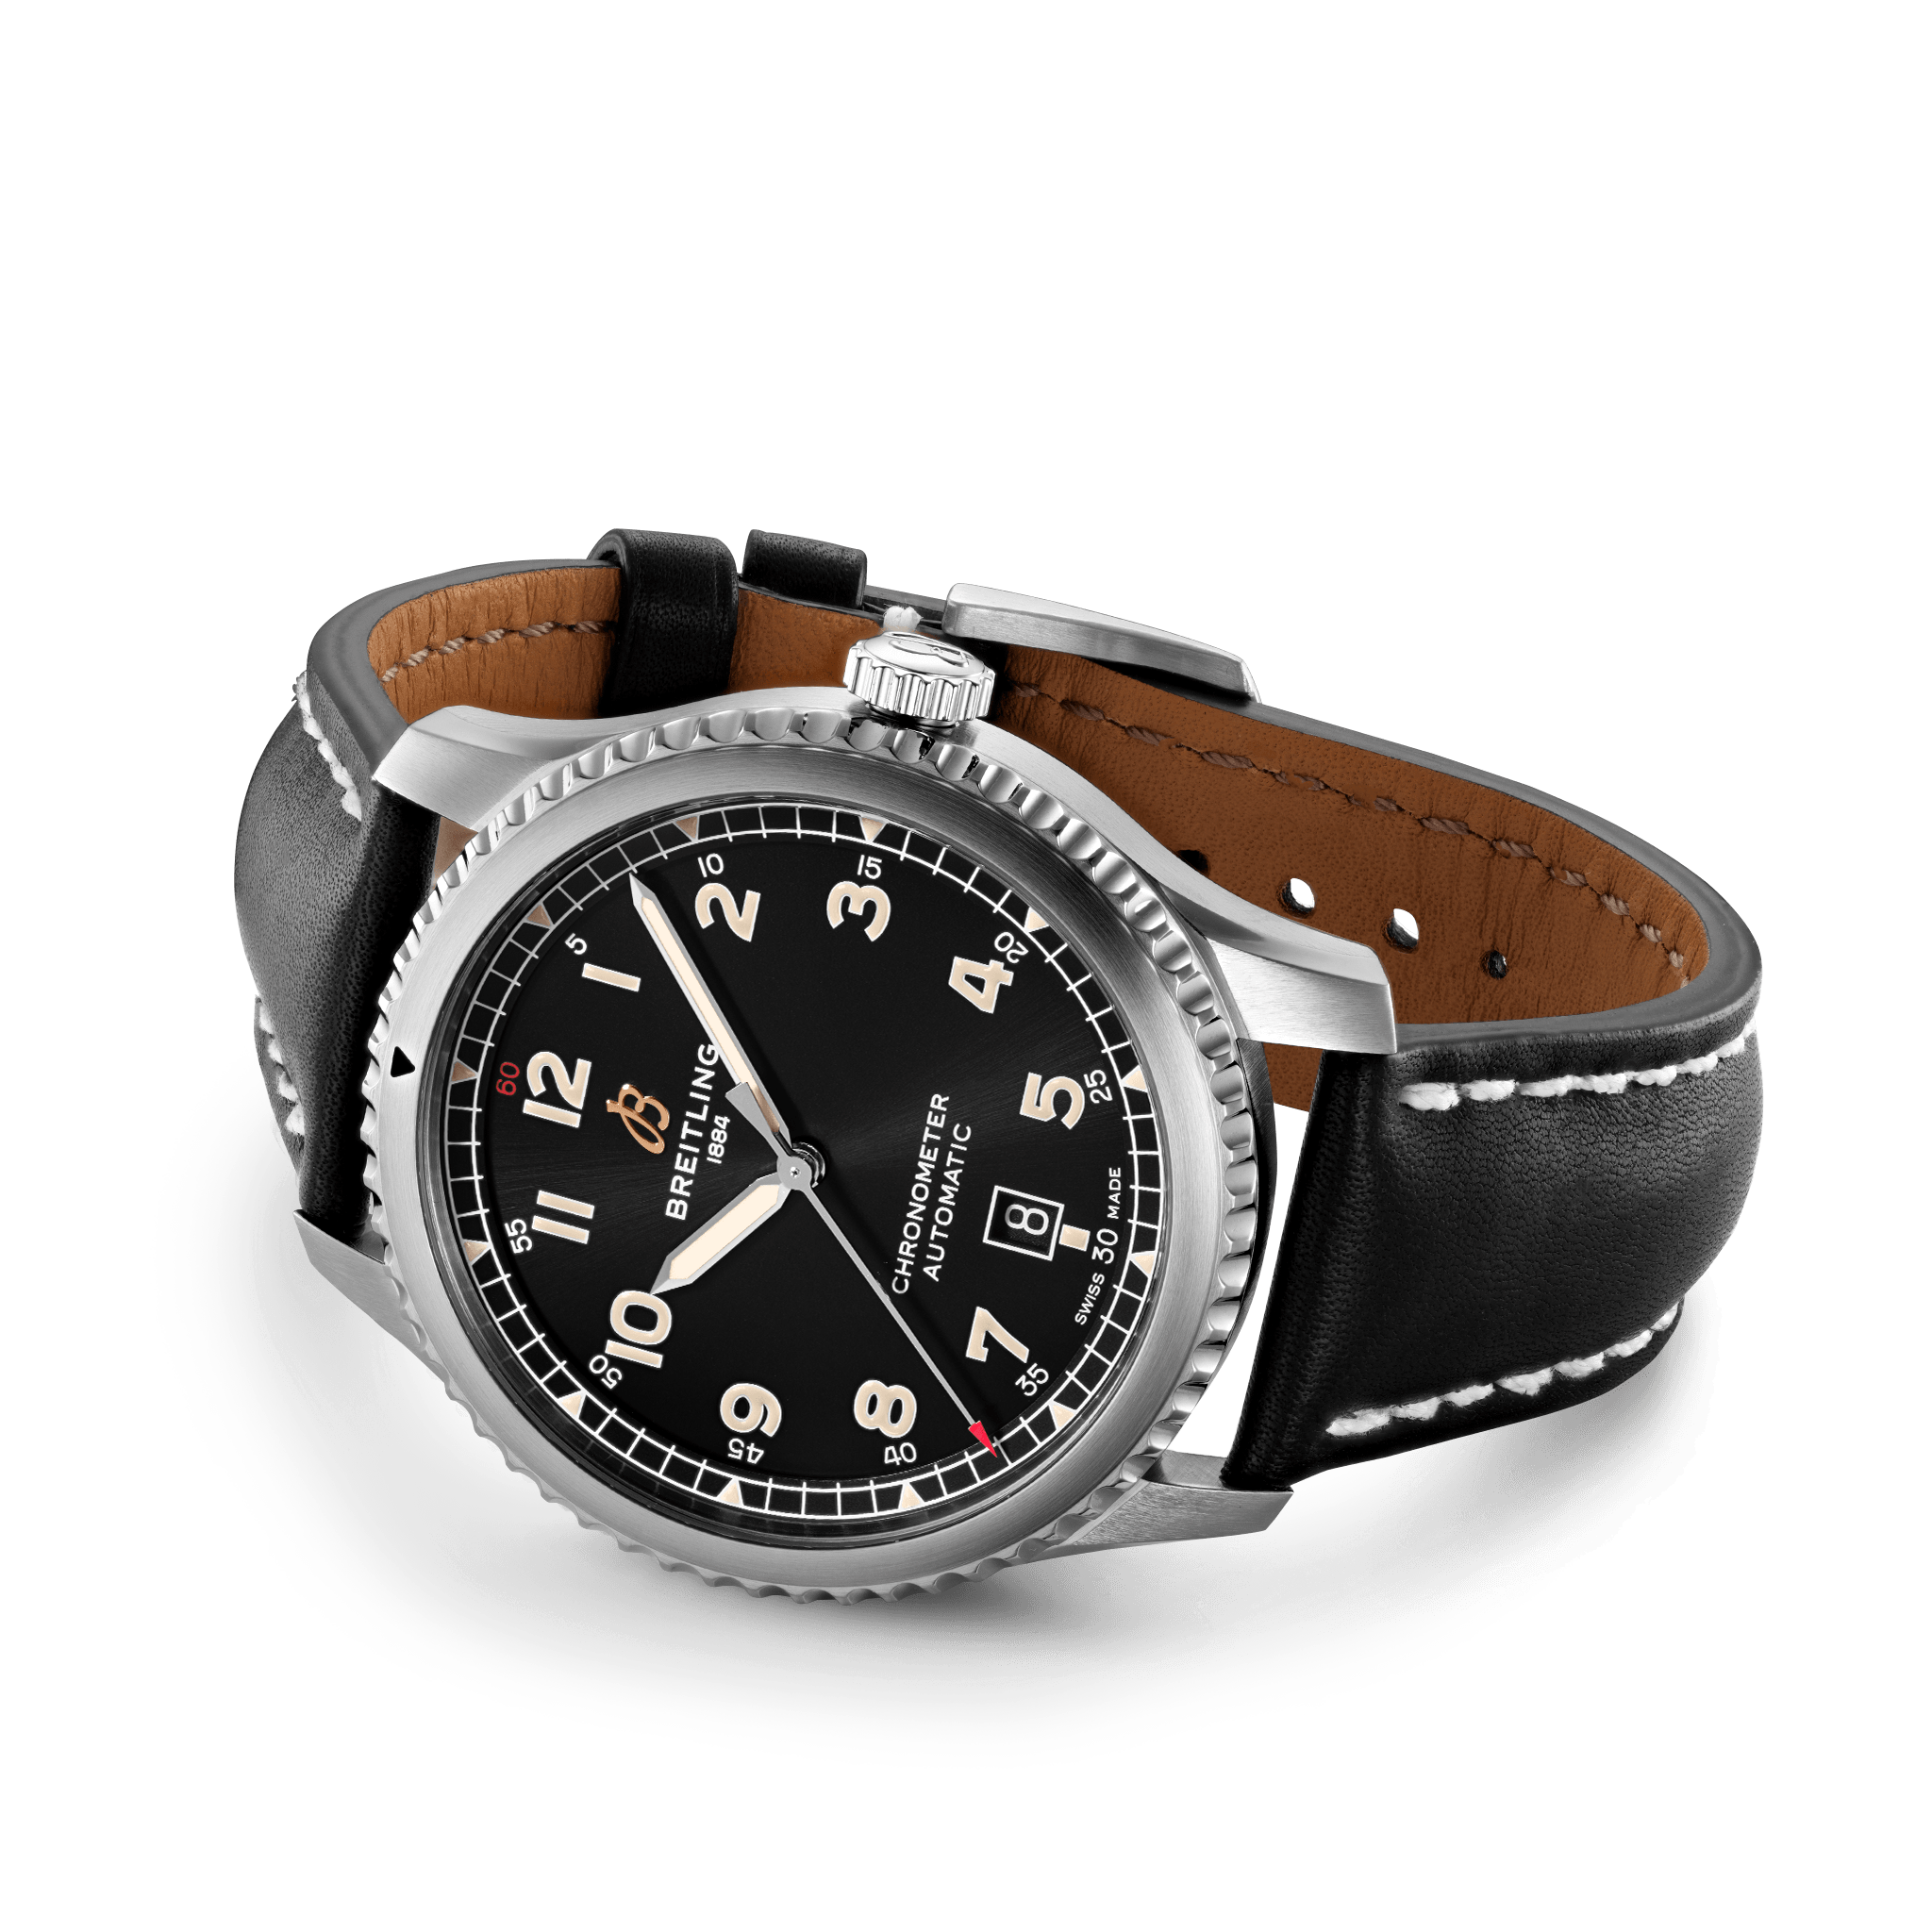
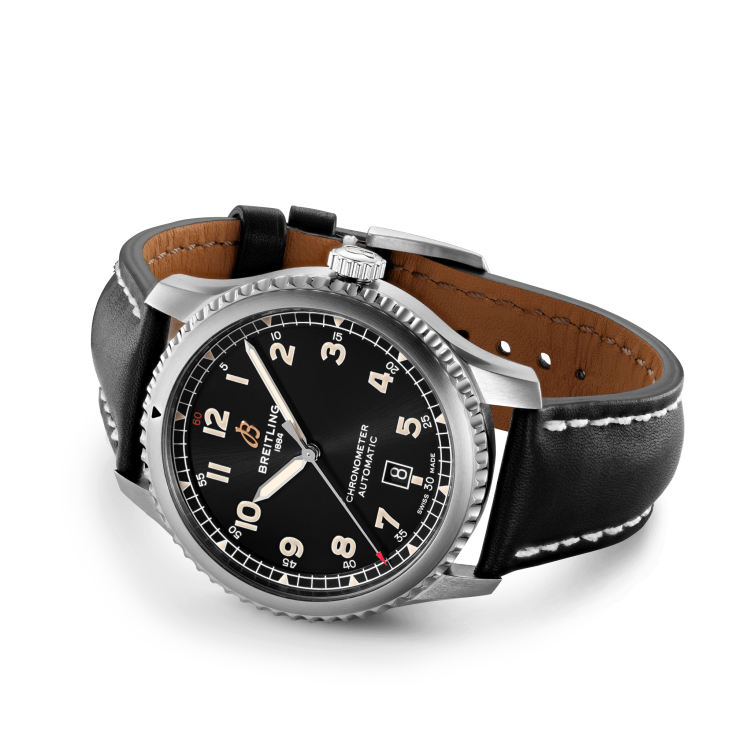
I don't own a single luxury watch but I'm contemplating getting myself one of these (detailed info here). In your opinion, should or shouldn't I go for it! It's housing an ETA 2824-2 (Breitling calibre 17) and Breitling's retail price is £3000. On Chrono24 they can be had for 20 % to 25 % less.
 1 point
 -
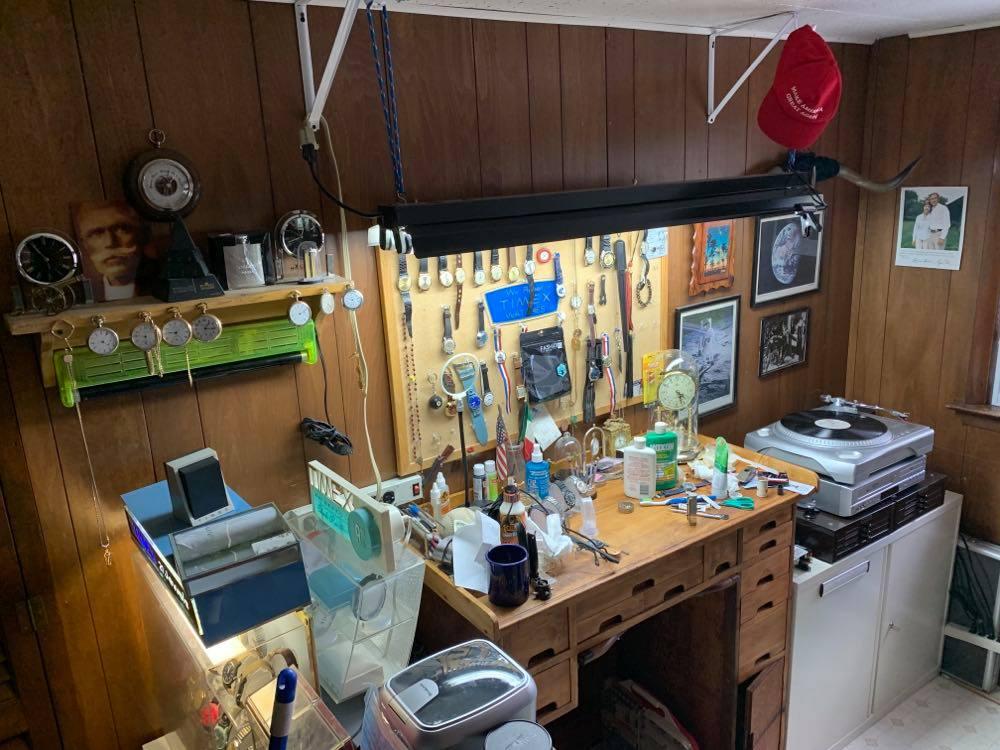
My space has been adjusted to fit the addition of a vintage watch bench. It also helped create the space for the turntable. That too adds to the nostalgic feel of living in the past. Today's list of artist included The Sex Pistols, Golden Earring, CCR and The Doors.
 1 point
 -
I make gears all the time, I use the norms in the swiss NIHS book which gives you all the math to draw the profiles for any module of cycloidal gear. Does the Gearotic do cycloidal or just involute? While several watch companies have moved from cycloidal to a highly modified (and proprietary) involute derived tooth form over the last decades, cycloidal is the standard. It won't mix with involute. Well, it can, but- Gearing is a pretty huge subject. You can get an involute to mesh with a cycloid and they might even seem friendly together, but the efficiency will be diminished and they will self destruct over time. If you reverse engineer geartrains in watches you'll find that they rarely match perfectly to theoretically correct numbers; this is because they were modified based on experience or testing. All that said, if you make a gear train for a watch "by the book" it will perform well and last. If you need to replace a gear or pinion there is usually the original to copy, and if not, a reverse engineered one will perform well. The larger the more leeway you have. A pocketwatch escape pinion can probably be off in diameter by as much as +- 0.02mm and still function; in a small wristwatch you will be cutting it close at +- 0.005mm. What's really a problem is getting cutters. There are several companies in Switzerland who will make you one to your drawing for a couple to three hundred bucks. If for a wheel of say 70 teeth, that cutter will probably be OK for any wheel of that module up to a rack, down to around 35 teeth. For pinions it's much trickier, a cutter for a 7 leaf pinion of a given module will cut that and nothing else. One does find cutters secondhand, but 99% of the time they are marked with some arbitrary number and you'll need a profile projector to trace the profile and compare to drawings. That's all said not to discourage, just to illustrate a little bit what's in store. I'll be the first to say that making even a theoretically terrible gear on your own is a really great feeling when you get the last tooth- it's like you're a wizard. Put it on your keychain and get ready to do some math then.1 point
-
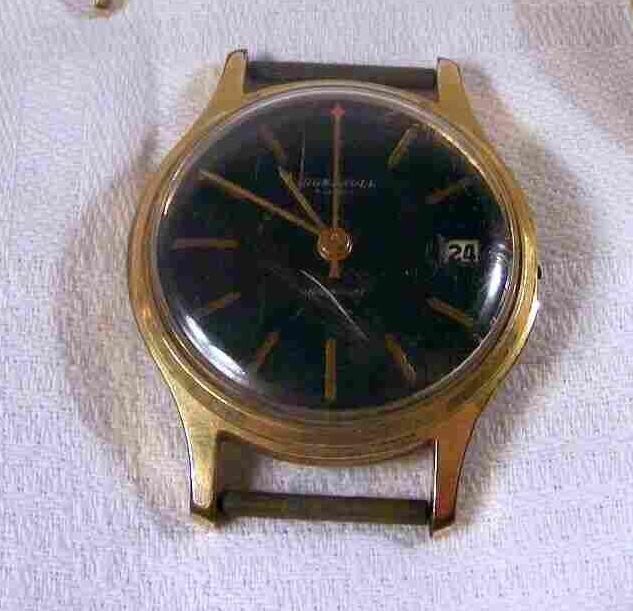
Hi there could be several reasons for the watch stopping , from being dry/dirty and needing servicing to a mechanical failure for example a broken balance staff, pallet/fork fault faulty wheel or wheels. broken / damaged mainspring, the list goes on. Without opening the watch up the watch and taking a look, sorry cant be more specific at this point cheers1 point
-
amazing work, well done. The heavy drawers are a bit overkill imo but it really looks good. Like Vwatchie I was looking for the Ikea Bekant table which was around 450 euro but I was able to buy a watchmakers heritage with a few professional workingbenches and a ton of parts. Sadly the family, who were not in contact with their father, only had eyes for the gold and gemstones and had already thrown away at least 20 movingboxs full with parts, books, tools ect....1 point
-
Thanks ... I didn't took pics while making the bezel but I can ain the method, which is sort of basic. For the bezel ring I've modified a spare one that was on my drawers and whose exterior diameter fitted the watch ... I've just sanded the inside diameter until it can turn easily around the plexi, with a gap of about 1/4mm ... so you just have to work slowly as if you go to far then the bezel ring is loose ... For the paperclip spring is used ... a paperclip ... I just sanded it to make it thinner so that it can fit to the inner groove of the bezel ring ... The "printing" and "applying" is the only tricky part ... I first drew the design on Illustrator at 2400ppi then up to 4000ppi on Photoshop ... it took me hours as I didn't found any font matching the original one so I had to design every letter and number ... one by one ... Then I printed the design, reversed, on sunnyscopa film-free decal paper ... I first made many test on glossy photo paper to get the "right" red colour ... of course I've used a laser printer as film-free decals need toner and not ink ... Then I applied the decal on the prepared bezel (sanded 2000 grit) ... You have to gain some experience to achieve that : - Glue and applying : Let the glue cure too much and you can't positionate the decal properly ... let it cure not enough and the decal slips while heating ... when properly applied you need let that cure about 5 mns, remove all bubbles, then let cure again about 1/4 hour before heating ... - Heating : Heat too much or to closely and the film will shrink ... not enough and the toner won't adhere to the metal ... I heat with a hair dryer for about 2mns at medium heat, gently press to make the toner adhere, leat the metal cool, heat for 3mns again at high heat, gently press again, let the metal cool again then gently remove the film ... of course time and heating depends on the temperature in the room you work ... - Remove the film : Tat's when you know if you worked properly, or not, while going and and heating and there's no way back ... If the result is bad you just have to remove the toner with nail varnish remover and start everything again ... If the result is OK you wash the bezel with cold water to remove all the remains of glue ... you can rub with your fingers as the toner is already hard ... Then you heat again at high heat for about 5mns to make the toner melt again and when cooled it becomes incredibly scratchproof ... really amazing how hard it becomes ... You also can do the last heating in a kitchen oven but some metal becomes yellowish if heated too much so you have to take care to heat less than 180/200°C ... and if there is any glue remaining it will become yellow too ... So all that's why I wrote about gaining experience ... when I begun using film-free decal papers the score was 10 trials/1 success ... now it's about 2/1 only ...1 point
-
Looks great!1 point
-
Very nice. A quick "How to" on making that bezel would be greatly appreciated, it really hits the mark.1 point
-
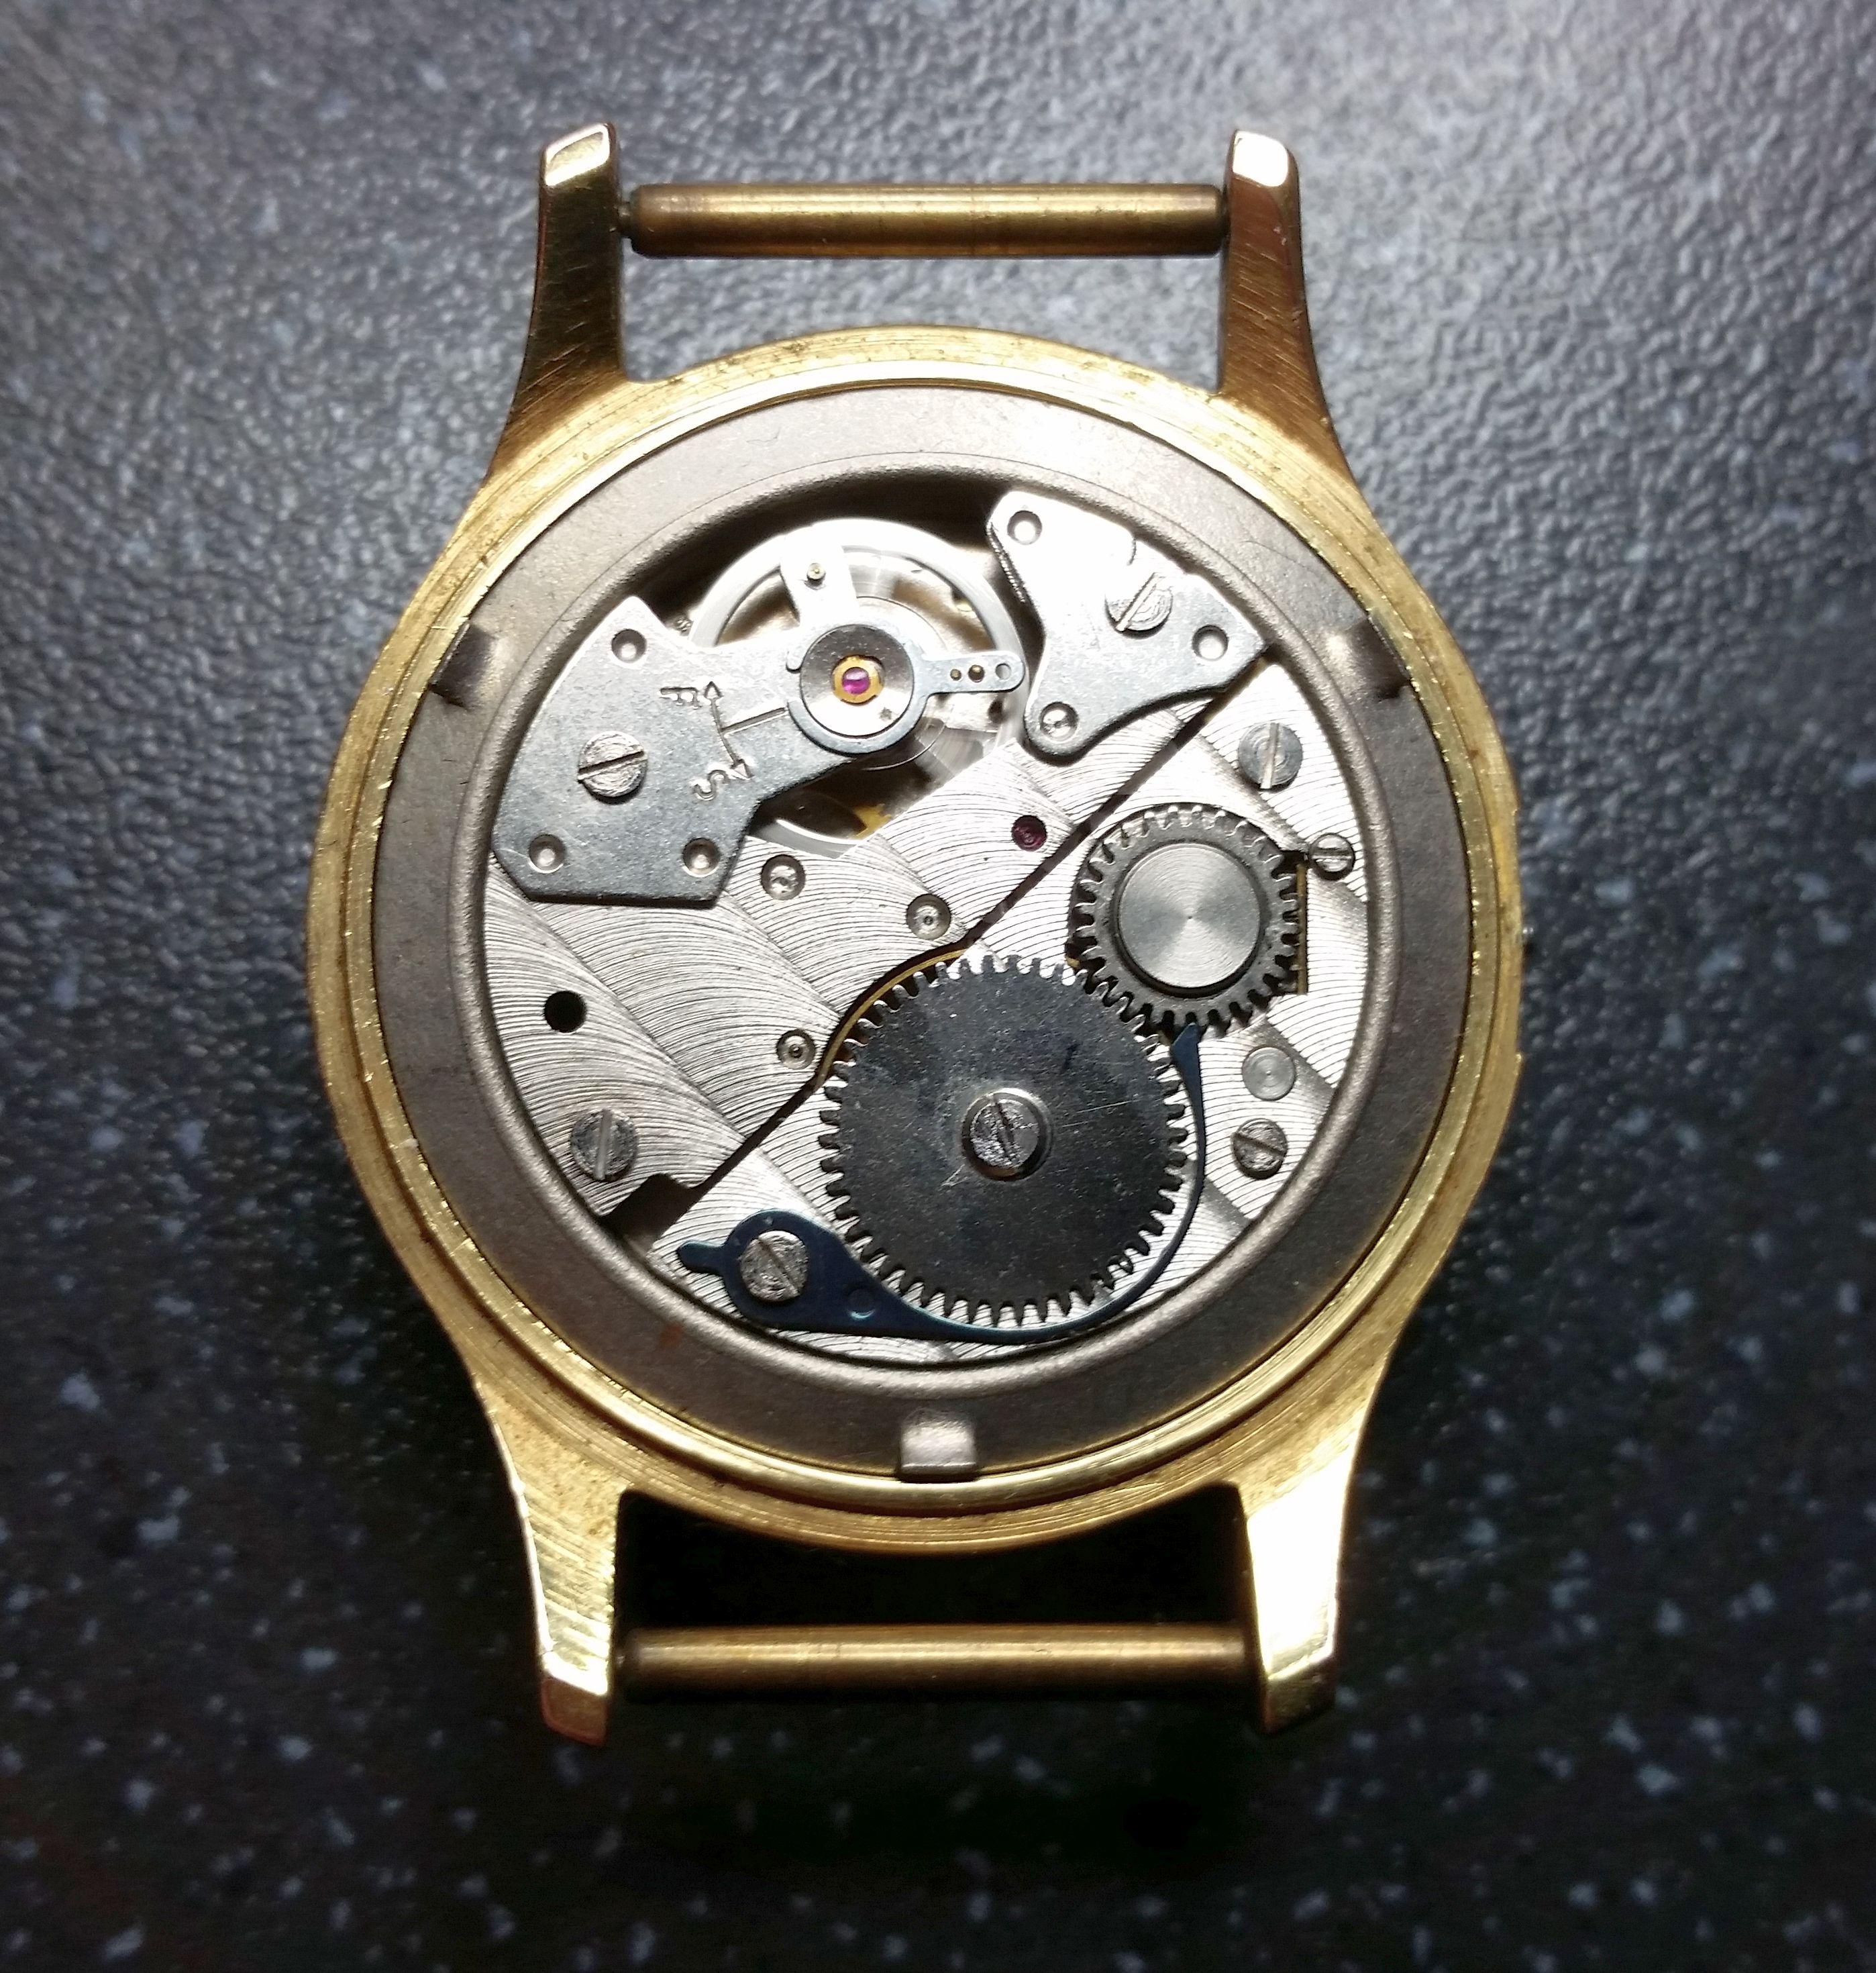
Hi Mike, the movement came out the front - there was a thin retaining ring that needed prying from the front of the main body, which I initially thought was just part of the case design.1 point
-
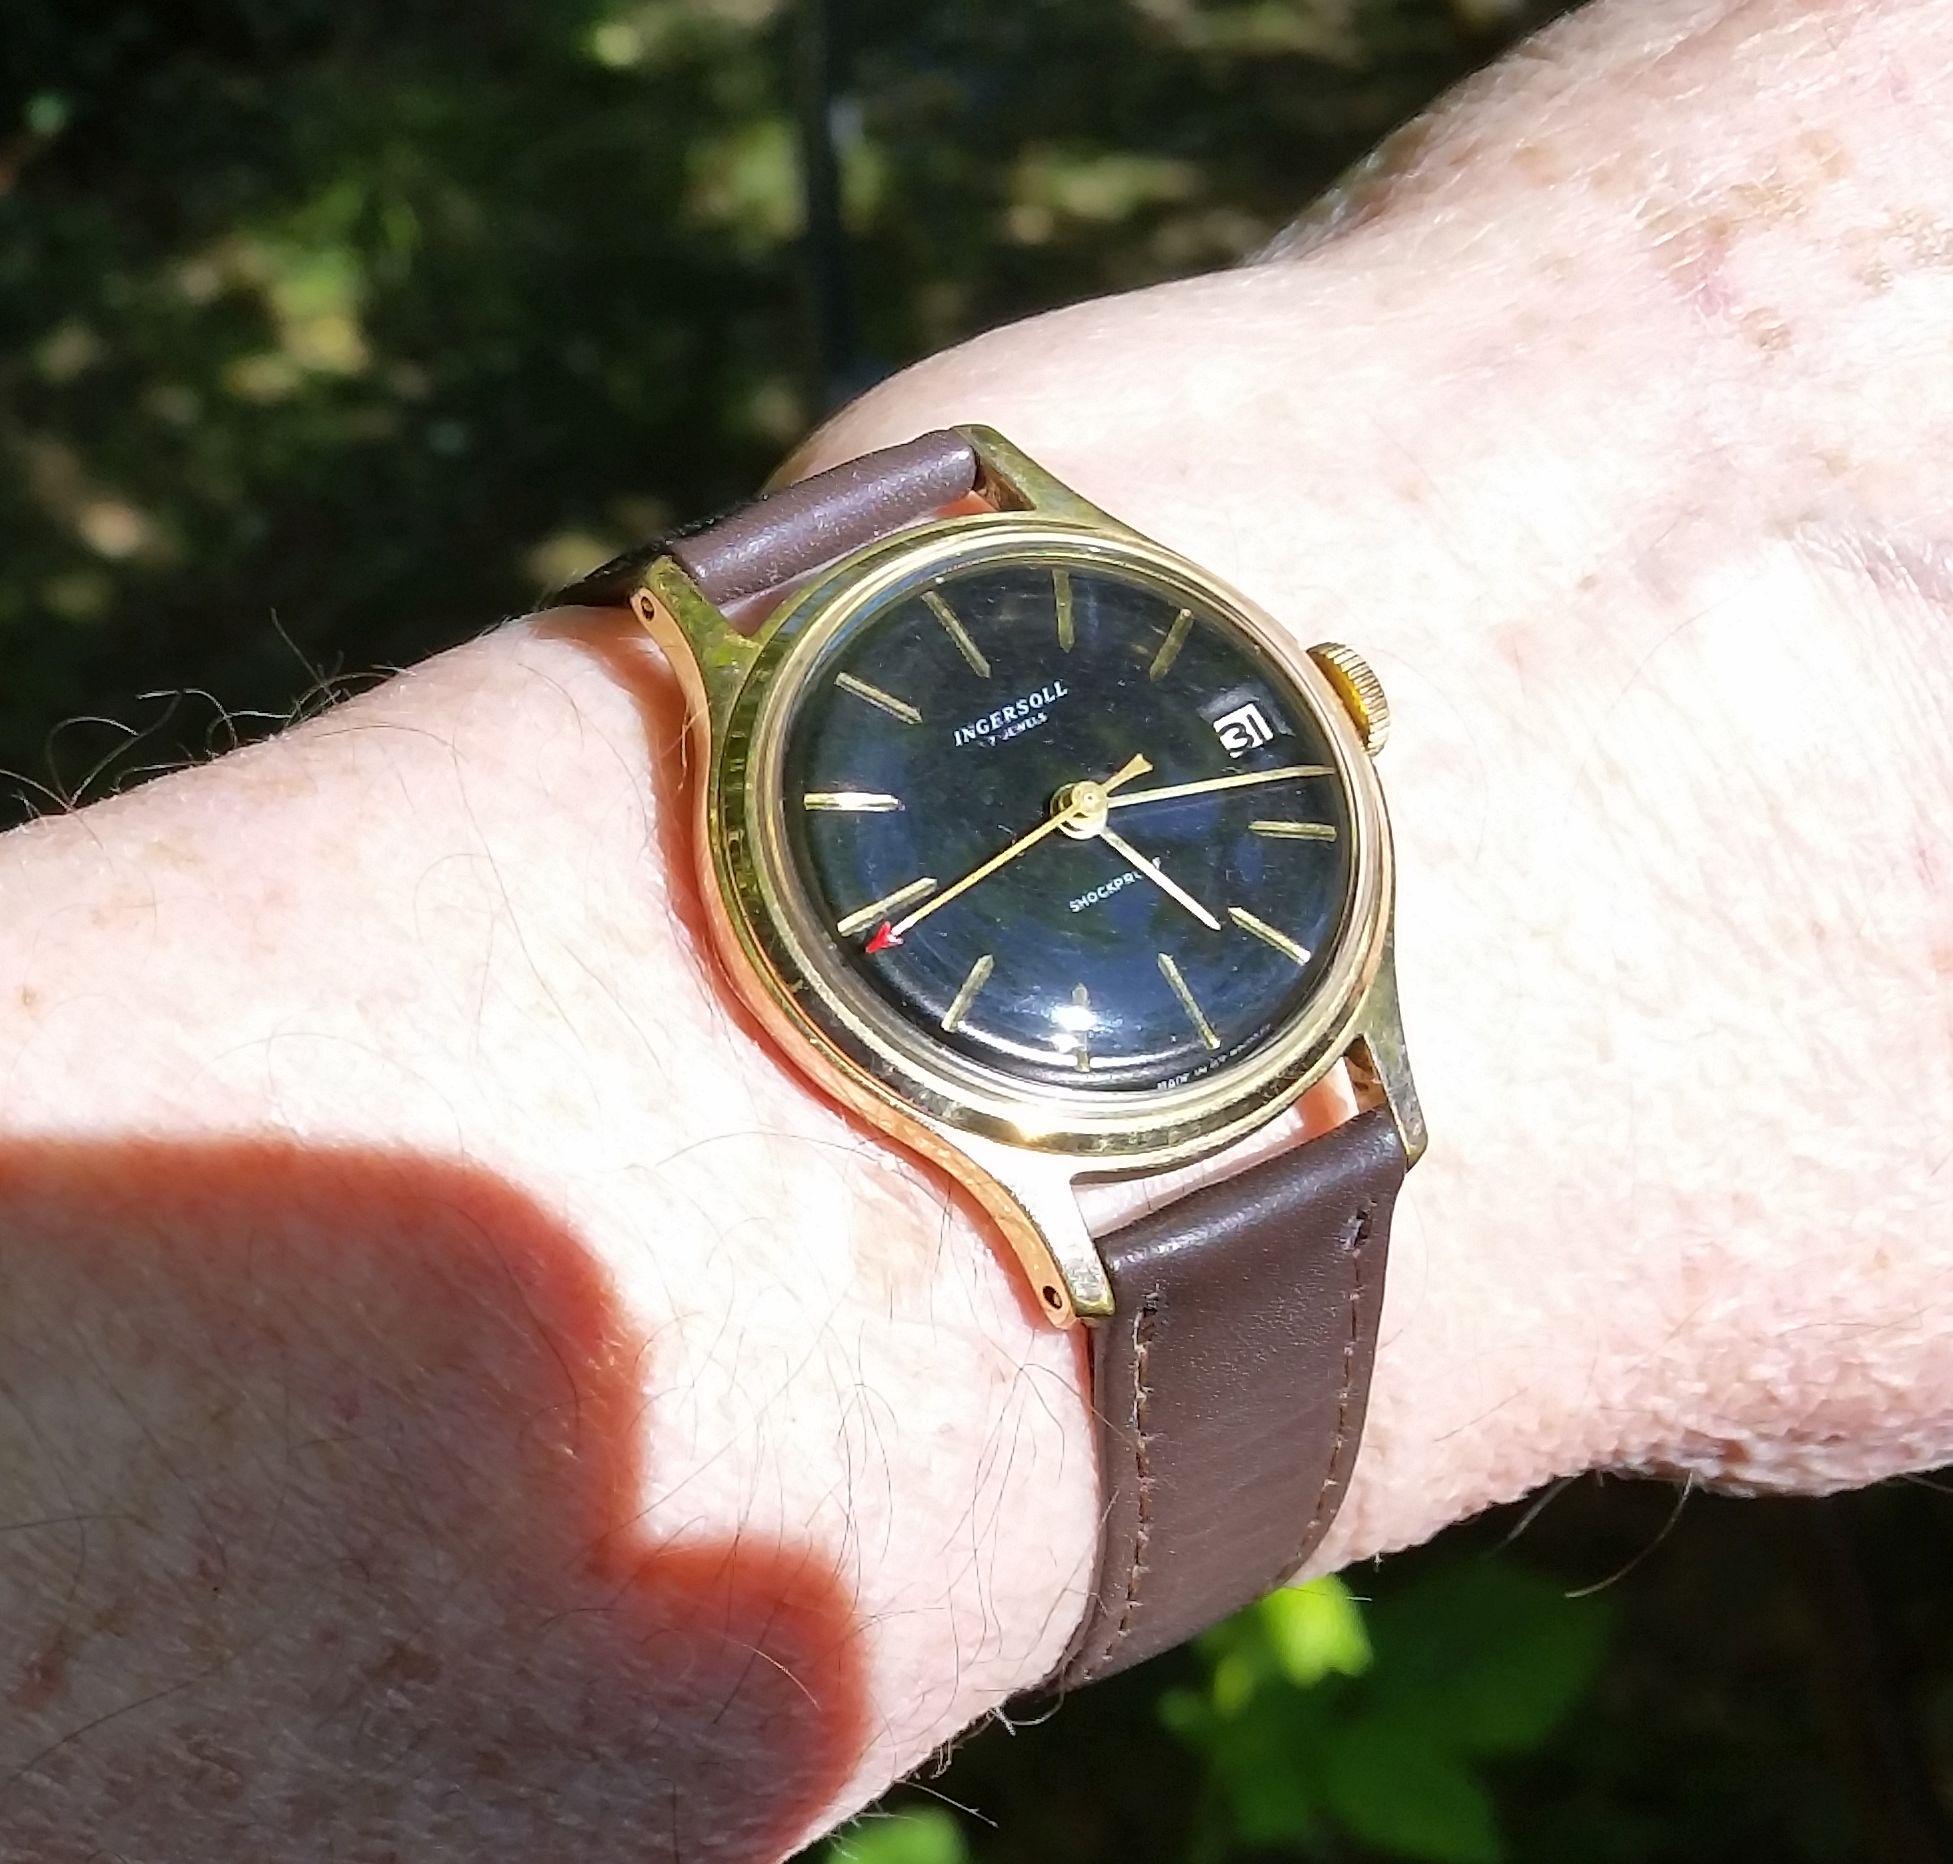
Keeping with this theme, how about this Ingersoll? Made in Wales I believe.....

 1 point
 -
Again, excellent post Andy! I am old enough to remember that it was a matter of course to try and repair everything that was broken if possible. My impression is that most of what was created up to about the 1950s was intended to last and be used for as long as possible. My father, who is now over 80 (he was very young when I was born) was a craftsman and when he was educated, quality meant everything, not least to his professional pride. The work itself and the development of the skill made life meaningful. He simply cannot understand the modern world where money means everything and quality almost nothing. It's really sad! If we could go back to focusing on creating real values instead of money, probably all environmental issues would end, and I think we would be much happier. Unfortunately, it will not happen because too many of us are greedy and as you put it, lazy.1 point
-
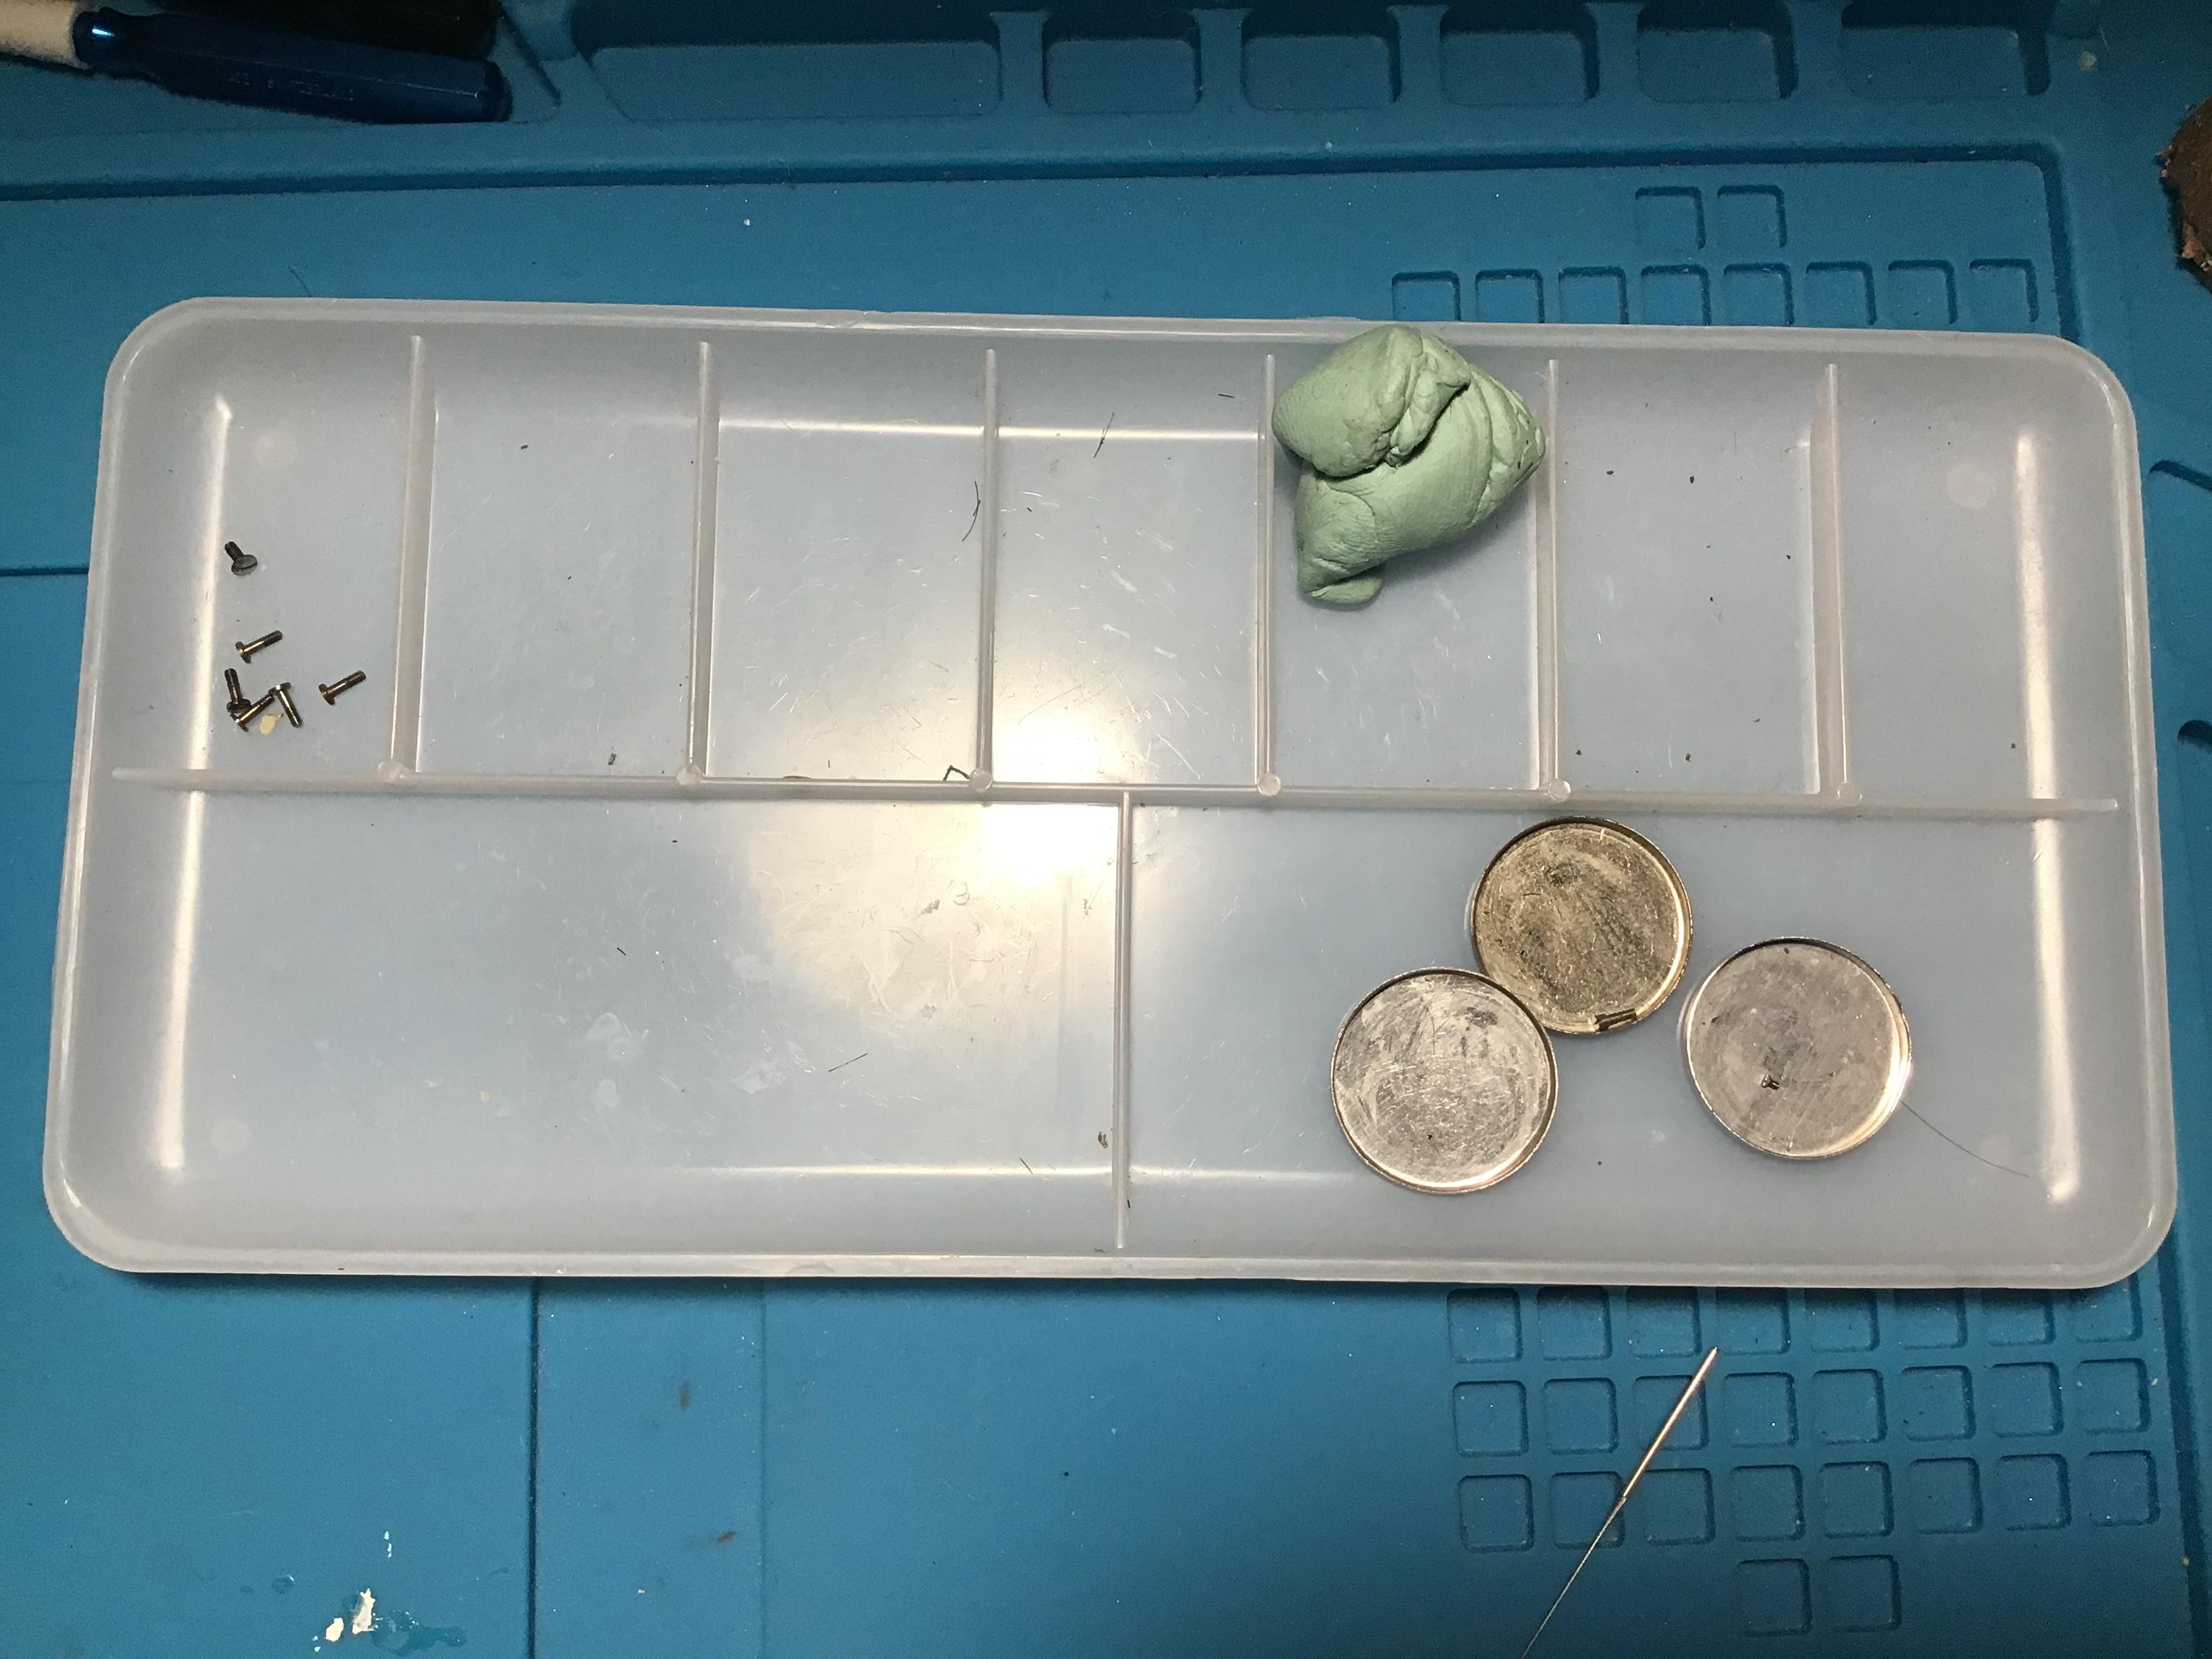
Pictures don’t always help so I always use these compartment trays, these I get from a hobby store in the paint section. But Esslinger sells nice ones with lids....each piece I remove goes into one compartment with its respective screws. Each compartment represents a step. When i reassemble I work backwards. As far as a bridge that uses different length screws you can always attach the bridge and look from the sides and tell where longer screws will go. Or by seeing where they screw in from under. Kinda hard to explain but just observe and you will get the picture.
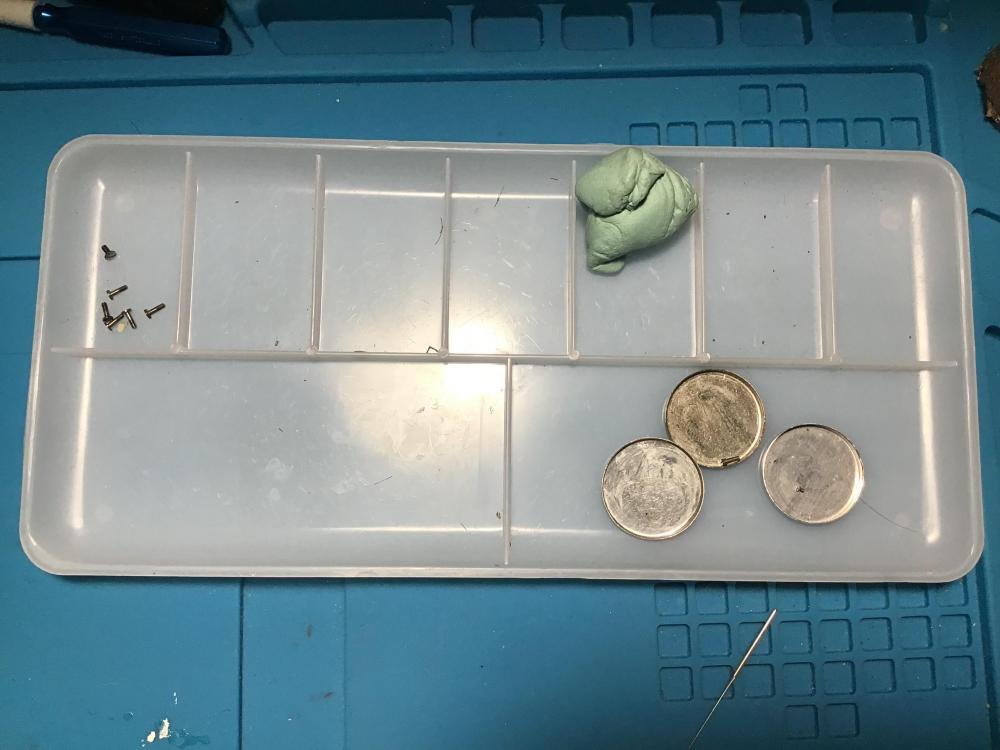 1 point
 -
I was thinking about your original question of how do we remember where everything fits we don't. Watch repair is all about practicing continuous practicing lots of practicing. Taking marks course just gets you started you still need lots of practice the definition of lots of practice is your entire life. Learning watch repair is not something you learn overnight. Then it's really really helpful to understand what every single component in the Watch is for and how the watch Works. ideally you should have really good problem-solving abilities. Because unfortunately With watch repair that's going to be required. Because as pointed out above even if you took photographs you may find that others perhaps didn't put the watch back together the way it was supposed to go together. Or things don't work and you're going to have to figure out why they don't work or why the? Then today with cameras take lots of pictures of everything if you've never seen it before photograph it. If you never look at the pictures again that's fine but it's always nice to know you had a picture of anything that bothers you. Then if you're into note taking do that. Then if you're really enthusiastic I would keep a journal of every single watch you do. Especially if there are other your own personal watches. That way years From now you can go back and look at what you did To the watch how it's running now choices you made especially for lubrication Like was that a good choice for that lubrication or maybe it's a bad choice. Then cousins is very good for tech sheets. But as a reminder not every single watch will have a tech sheet Then in case you're curious about my answer of we don't remember is because those of us who've worked on a lot of watches can assemble a watch that we've never seen before. If you understand what all the basic components are how they look how they go together for the most part we don't have to memorize we just know where everything goes. But we also recognize when you should have a picture and feel annoyed when we don't have a picture.1 point
-
Impressive! Saying the following is probably like swearing in church, but I use a simple but steady electrically elevated and lowerable table as my workbench (IKEA I think, yes I'm Swedish). I find it extremely convenient depending on what I'm doing, for example fitting the balance cock (elevated) or when I need a "helicopter" perspective (lowered). It quickly goes up and down with a simple press on a button. I'm so used to it that I don't even think about it. Then again, I don't use eye loupes either but magnifying glasses and a stereo microscope. I would never be accepted among real watchmakers Anyway, I'm truly impressed!1 point
-
it's unfortunate that something that can look so pretty in a picture can turn out very poor. On the other hand it's an opportunity to make something much nicer. Like for instance when I'm doing this I'm looking at my computer and the desk I made so it fit the space that I had it met my requirements because I couldn't find anything that was suitable for a computer desk for me. As much as I like my watch bench I would really like modifications like it would be nice to have drawers on both sides of the bench. The entire left-hand side is open and basically it's wasted space. when you're starting out it seems like the bench is a vast open space but it's amazing how fast it gets filled up and then you run out of space.1 point
-
More power to the elbow SparkyLB sounds like quite a project look forward to seeing the progress pictures, enjoy.1 point
-
If you want the job done well,... Looking forward to seeing the results.1 point
-
I should have mentioned that to become a "authorised service centre" companies had to install the recommended Swiss tools even if the tools already being used were perfectly good they had to be replaced. If my memory serves me well it was in the region of €50,000. Many experienced horologists just retired and who could blame them.0 points