Leaderboard


Popular Content
Showing content with the highest reputation on 05/21/19 in all areas
-
Either “Sir” or “Madam” should be fine3 points
-
Hello All. I currently use a small ultrasonic cleaner from James Products. It is about 500ml, 42kHz and about 50watts of cleaning power. I have been using this with warm water in it. In the water I have been using glass containers containing clean Renata Essence as the cleaning medium. After cleaning the pivot holes/jewels with peg wood, the watch parts placed are then inside the jars with the Essence. I Then run the ultrasonic for about 5 minutes and then take the jars out. The parts are then individually removed and given a blow dry (with a bulb puffer) and then stored in my parts trays until needed for re-assembly. My questions are: 1 - Is this a good enough? 2 - Would I get better results from using a proper watch cleaning fluid? (what would be recommended?) 3 - If using a watch cleaning fluid, would I need to then use a rinse or final finish of some kind? (Again, recommendations, if yes.) I am looking out on t'internet for a second-hand watch cleaning machine and there are a few about sometimes, typically for around £100 for an old but useable machine. Are these likely too be good value, or am I better off with what I am doing? I'm retired (early) and only doing this as a hobby, so I have time on my hands to do things the long way, but also have a (little bit) of money for a suitable watch cleaning machine, should something come up. Sorry for lots of questions, but I want to do the best job I can with cleaning. Cheers Moose.2 points
-
I clean exactly the same way in Naptha and it seems to work well for me. Cleaning solutions and a machine would be nice, But I, too, am retired and a hobbyist, so the costs are difficult to justify. RMD2 points
-
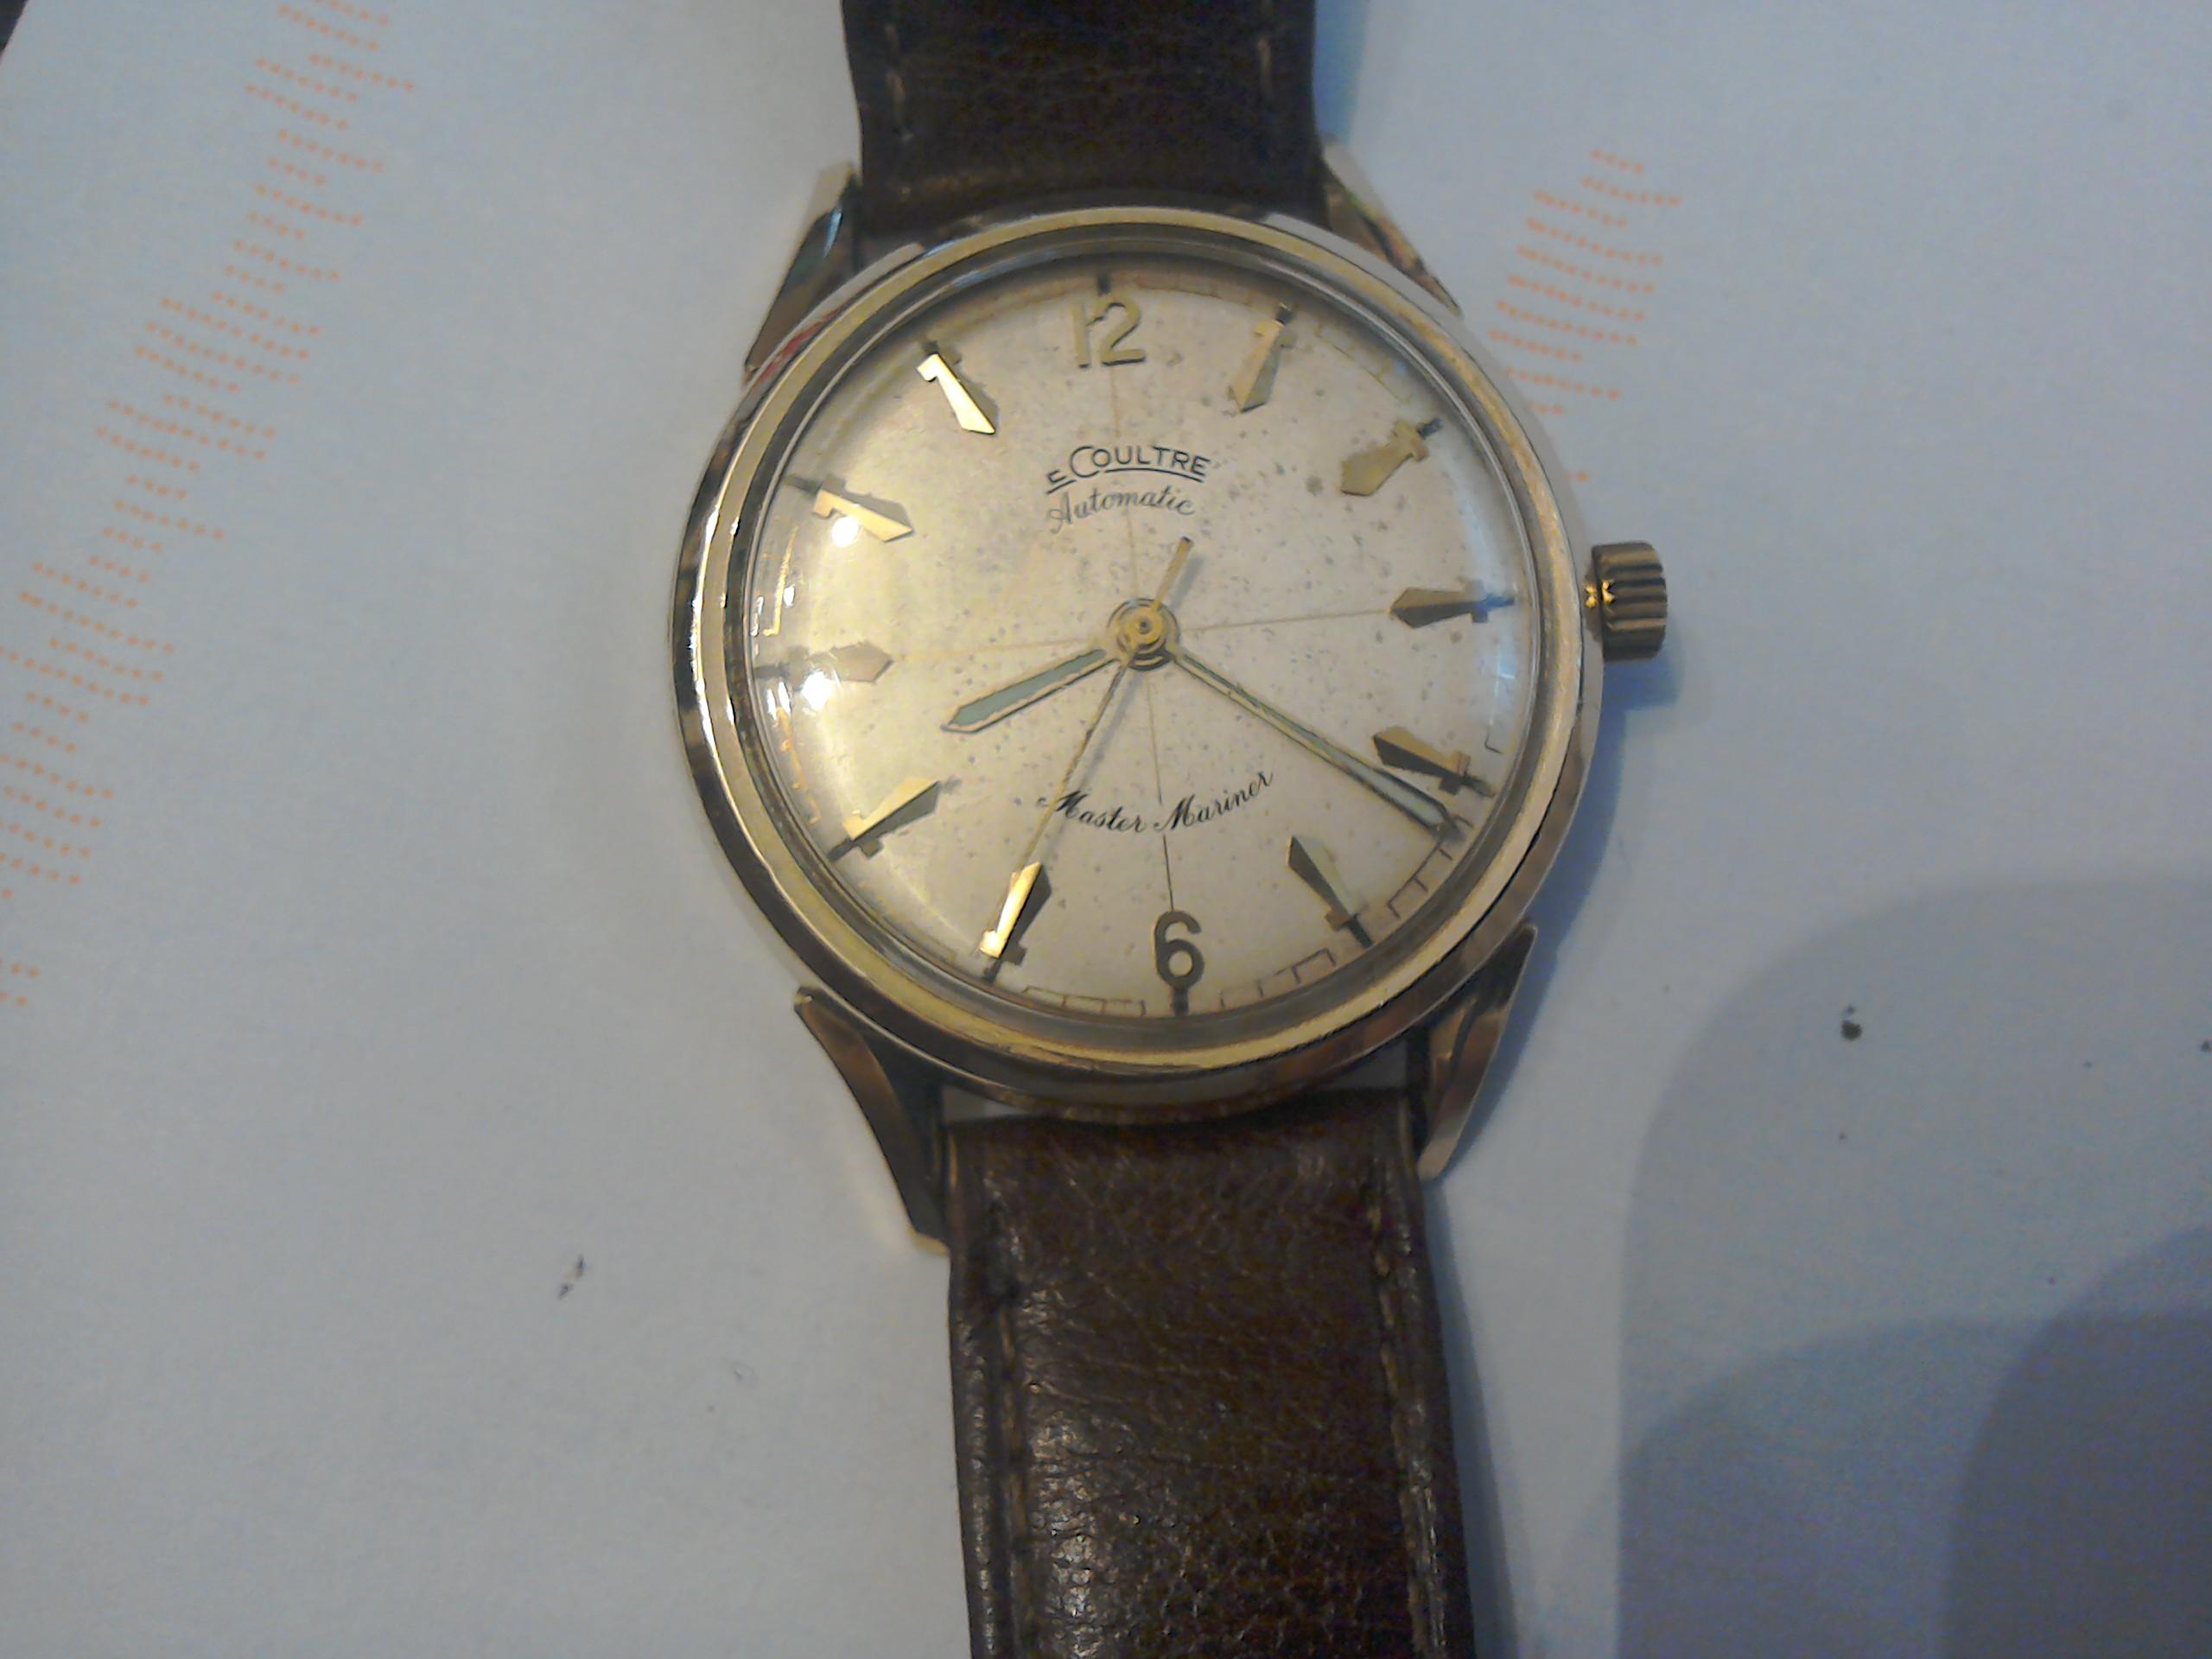
Lecoultre master mariner with bumper movement,
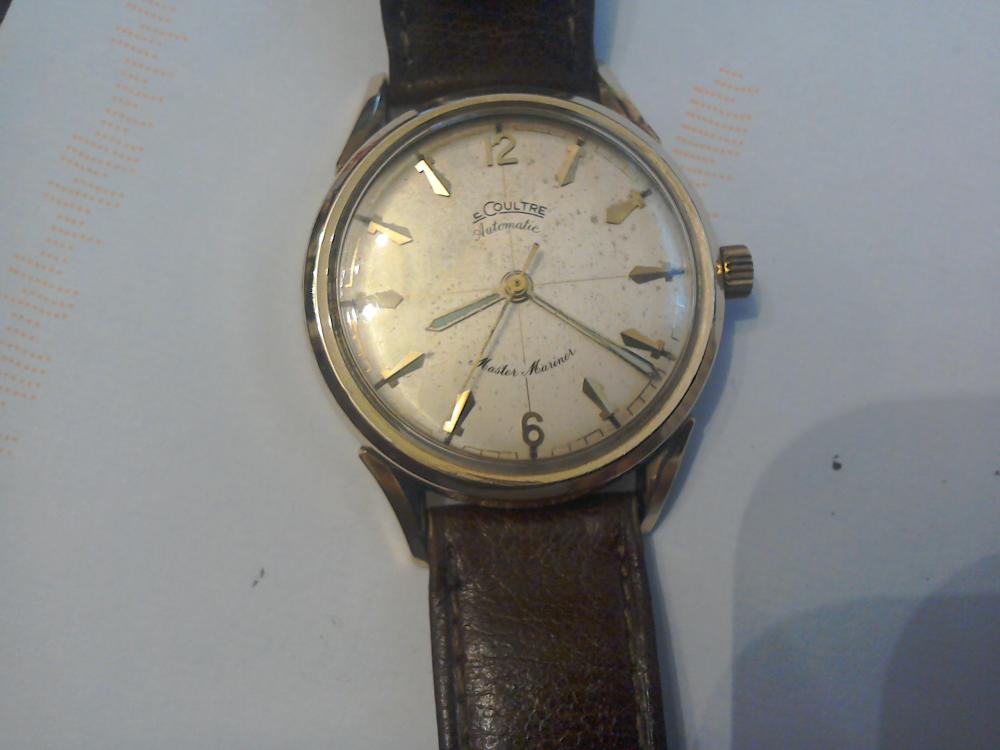 2 points
 -
Still working and keeping good time.
 2 points
 -
Ive had some time to tinker with this technique and am happy to report some good results. If this has already been posted please forgive me but Im so excited I just had to share. Of course everyone knows how to blue their screws. I wanted to spice up a couple of builds and didnt want to spend 8 dollars a screw. So I spent a few hours testing and came up with this process. I take my screws and polish the heads on emory paper. Once thats done I place them in this brass jig which is basically an old bridge I had laying around. I tried to do this in the tweezers and for some reason it works ten times better in the jig. I think the brass helps distribute the heat more evenly. Also its imperative to direct the heat to the thread side of the screw. When I would blast the heads it never seemed to work right or at least in a predictable fashion. Its also key to make sure your heat, if youre using a pen torch like me is on a low setting and on the same axis as your screw. If you come in at an angle youll get an uneven finish. It takes a little trial and error. Be patient the farther you are away from your heat source the longer it will take but the deeper the blue you will get and the longer the colors will stay in phase. I used just regular canola oil to quench. Its key to get it in quench right away. In fact when you get real good at it youll actually be able to time the quench right when it hits blue. The color phases will be gold to purple to blue. Just as it starts to go from purple to blue id drop it in the quench. I found that the blue isnt as blue as the ones you can buy. Honestly to me the store bought ones are too blue and are a bit tacky. I dont think the store bought ones are blued by heating but rather by a chemical process. I have some gun blueing chemical on the way to try as well. I will report back with thos results. Hope this helps. Sent from my SM-G950U using Tapatalk1 point
-
The hole made the most sense once I realized that the other spot was a bit far from where most releases/detents would be. Good luck with the job.1 point
-
I use all cleaning instruments at my disposal, each would do some good. No magic one cleaning solution one machine.1 point
-
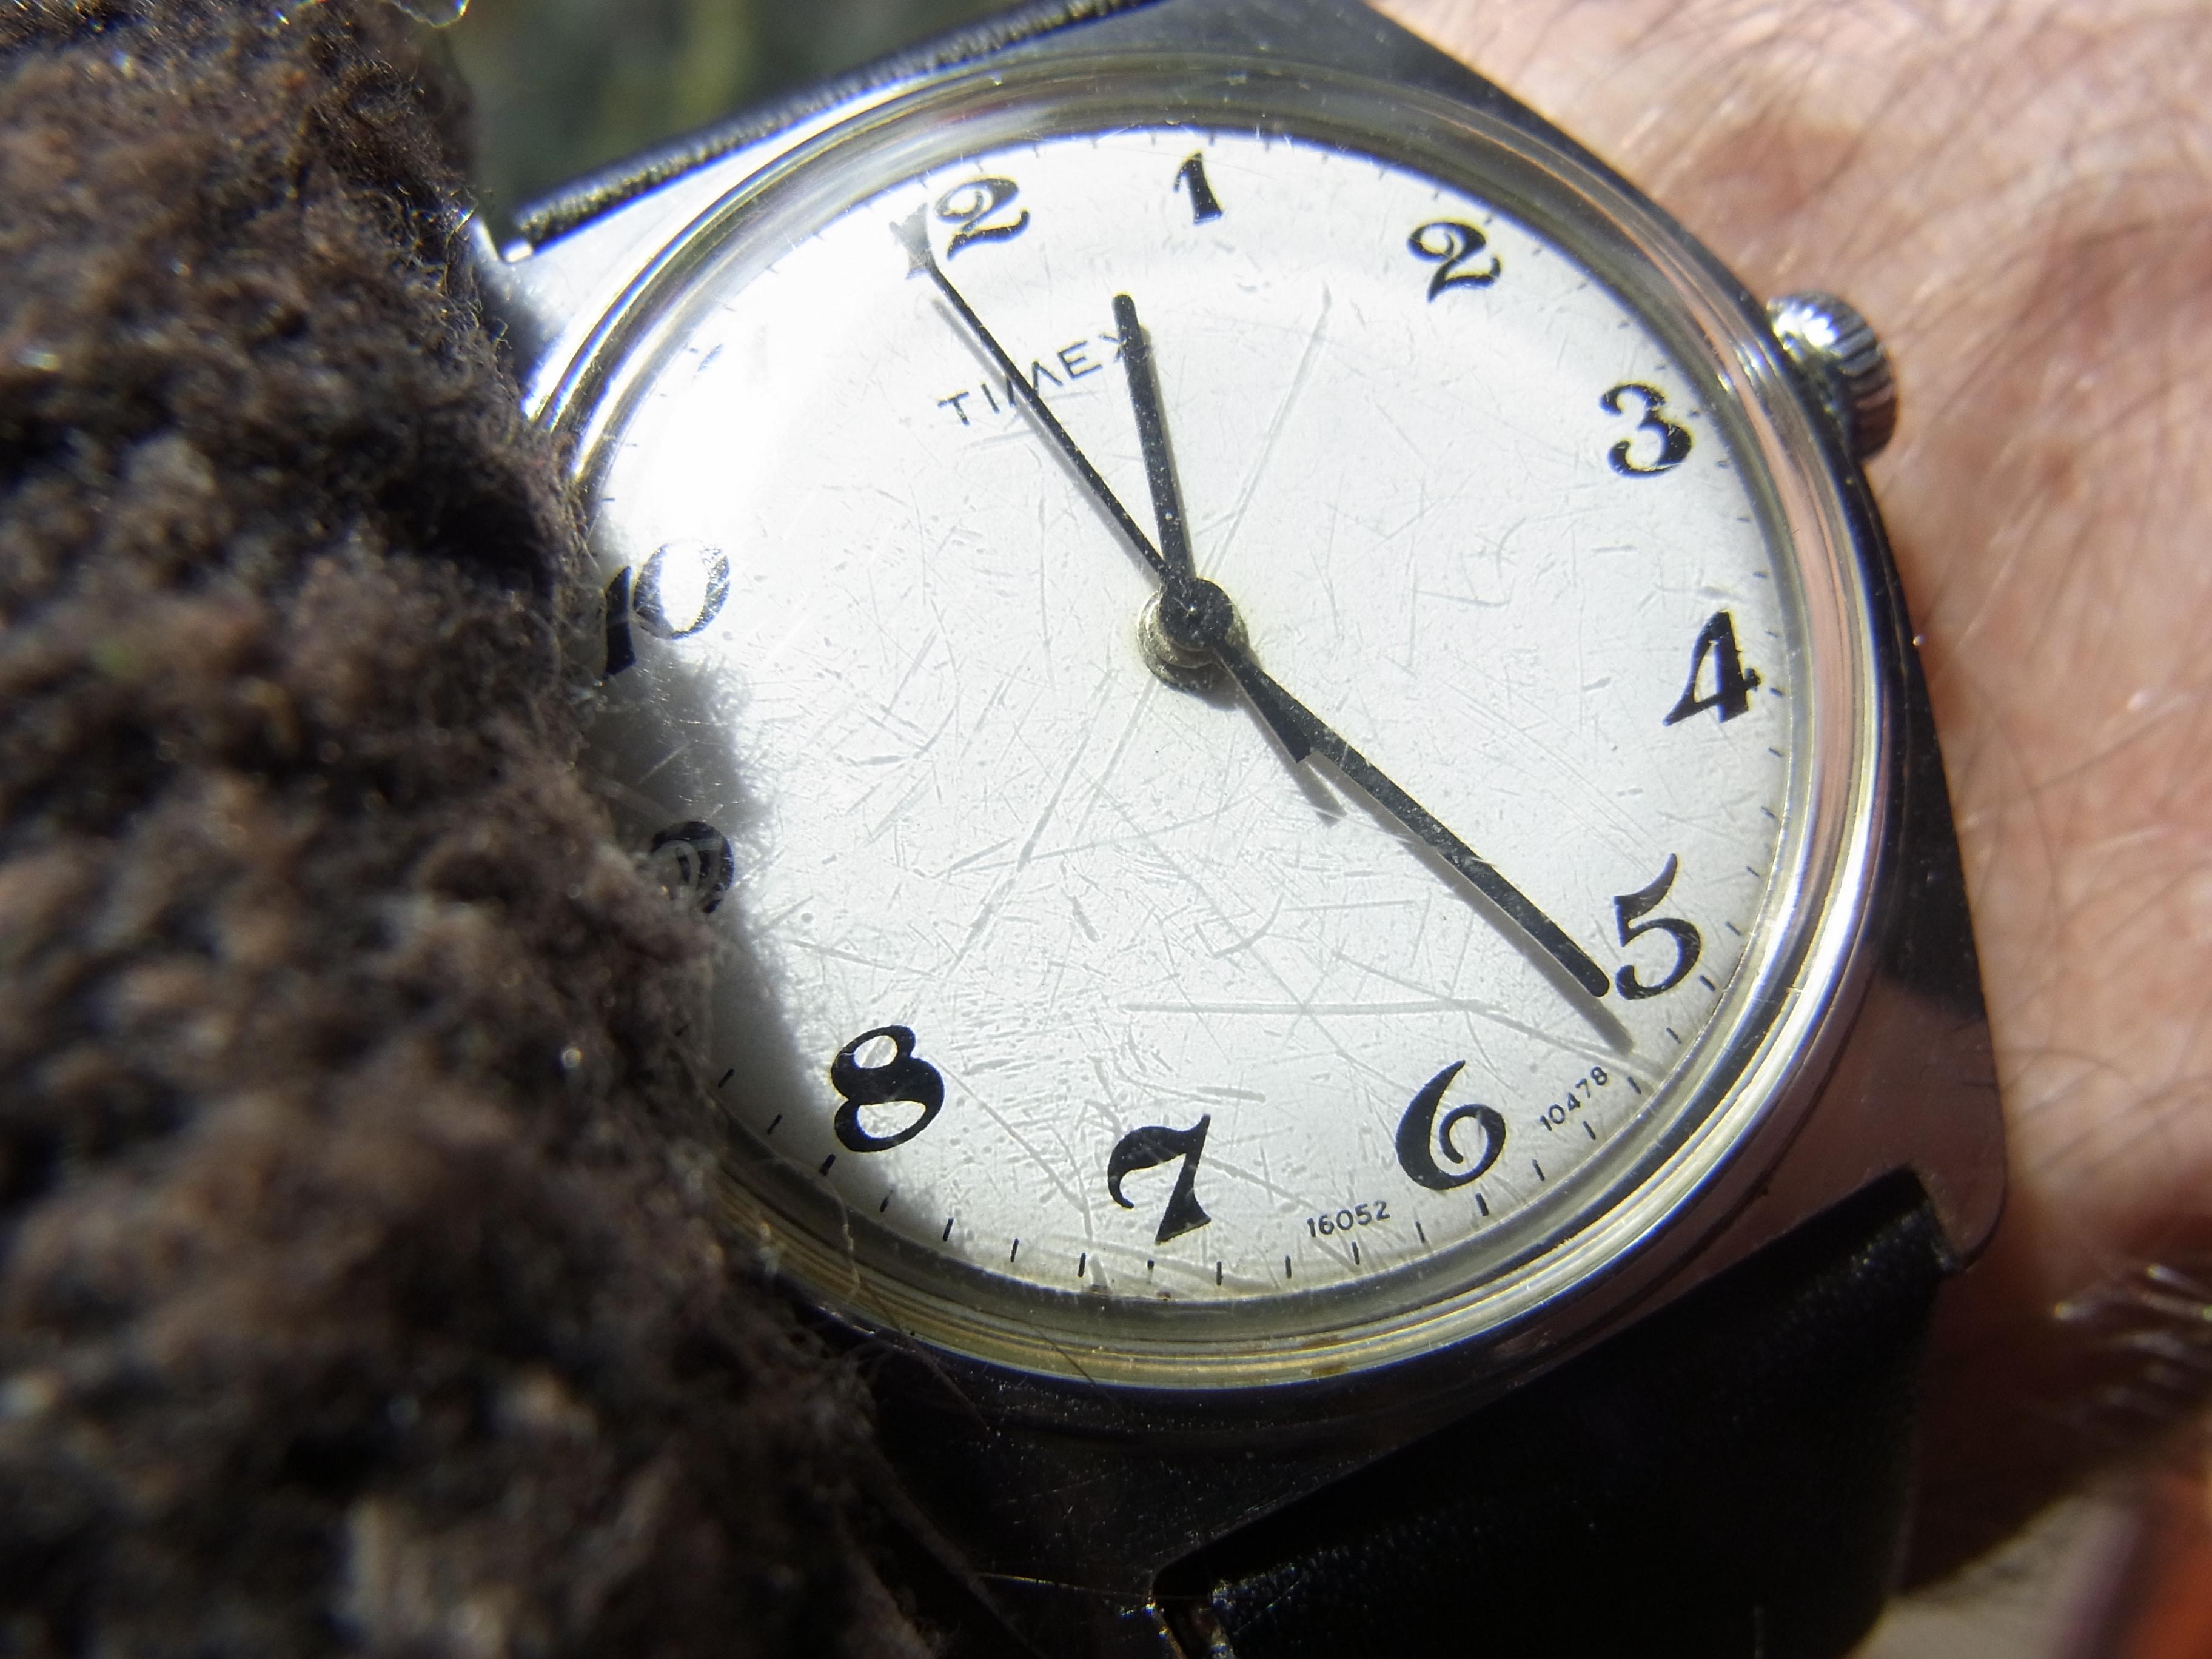
1978 Timex Mercury - I finally got this to behave itself. I could possibly go chasing a little more amplitude, but from >+3600 s/day with a beat error of >14ms and an amplitude of around 140 fully wound following the first cleaning session to +/- 5s/day, a sub 1ms beat error and an amplitude hovering around 230 degrees is almost good enough to keep the OCD at bay for the time being. Just as well really as I was going cross eyed staring at that hairspring for so long. Except of course there are still those little scratches on the crystal, (which I have grossly exaggerated by holding the watch at just the right angle to the sun here). Time to do a little more light polishing I think. But first, I think I'l wear it for a few days, just because I like the look of it, and I'm bound to add to the scratches while wearing it, rather than lessen them. Its amazing what you can do with a little patience and a couple of sewing needles. The hair-spring-de-nardelling was done with the balance still in the watch, as it is far too much of a faff to take it out, and you run the risk of "fixing it worse" and/or loosing the hs retaining pin if you are not careful.

 1 point
 -
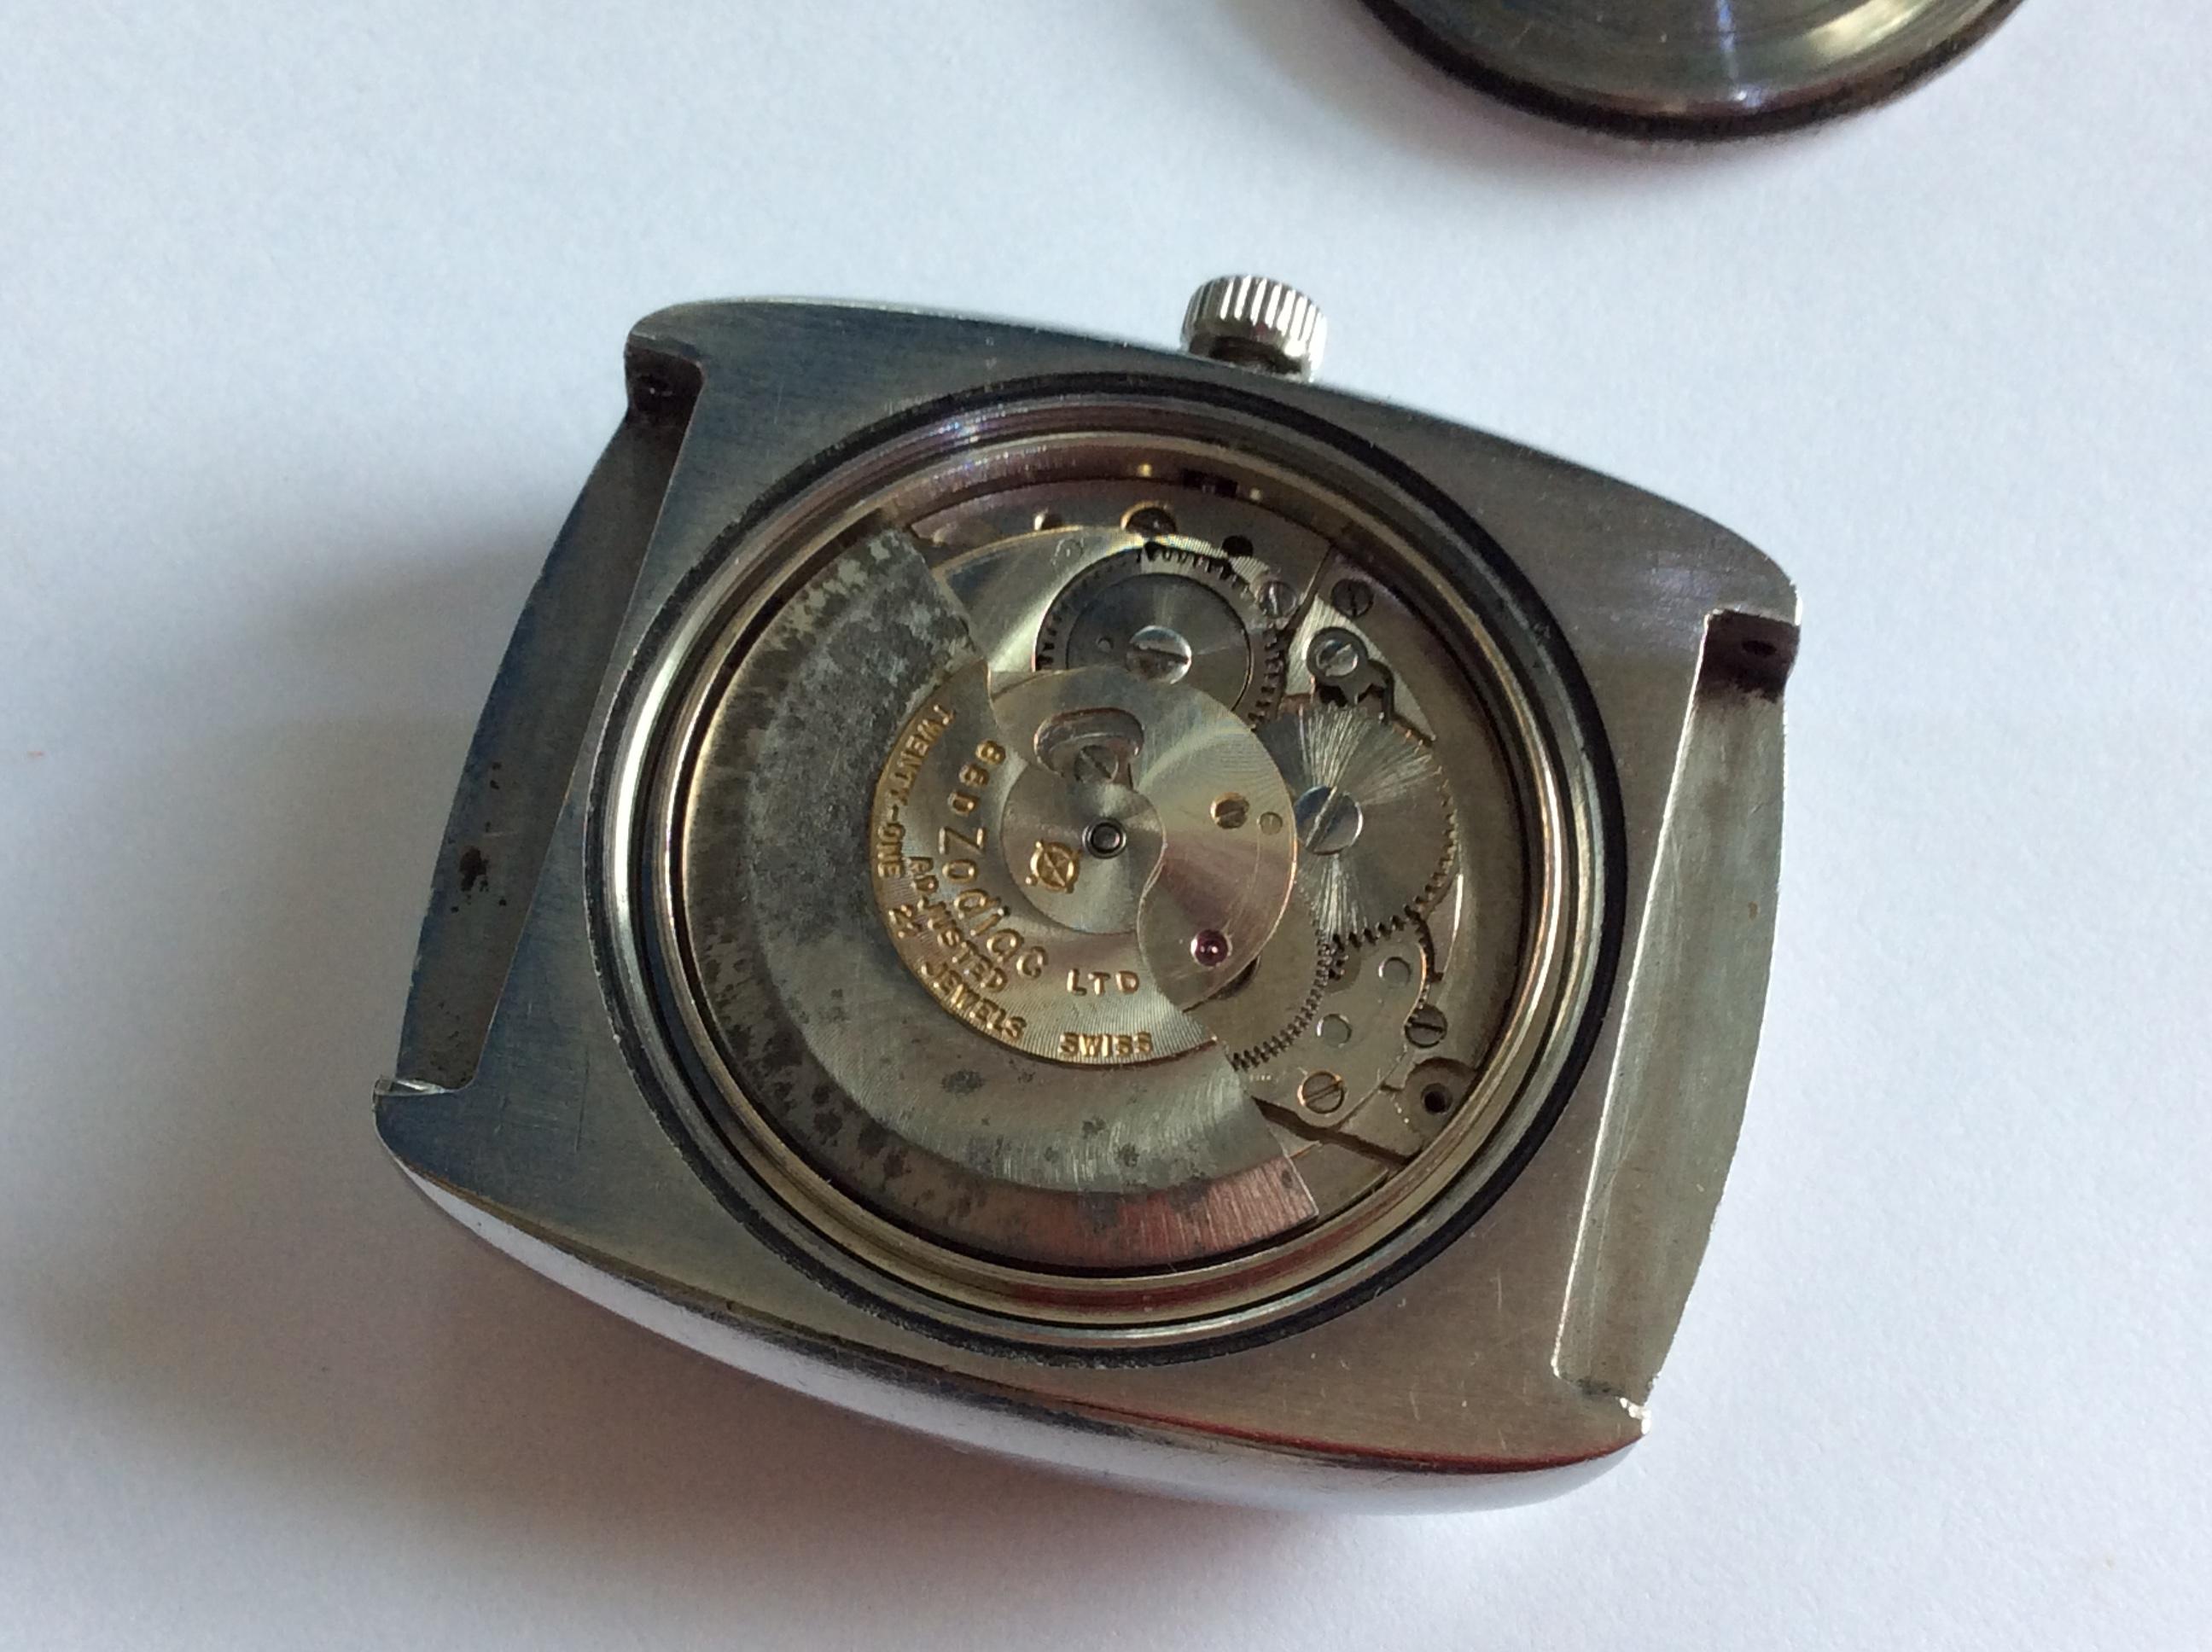
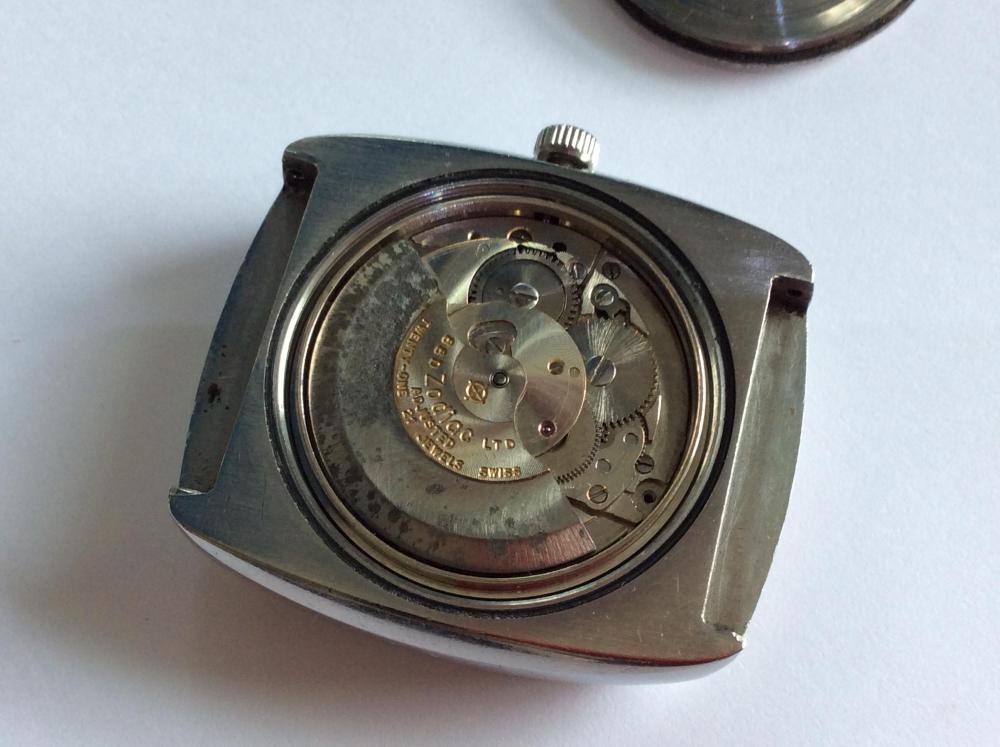
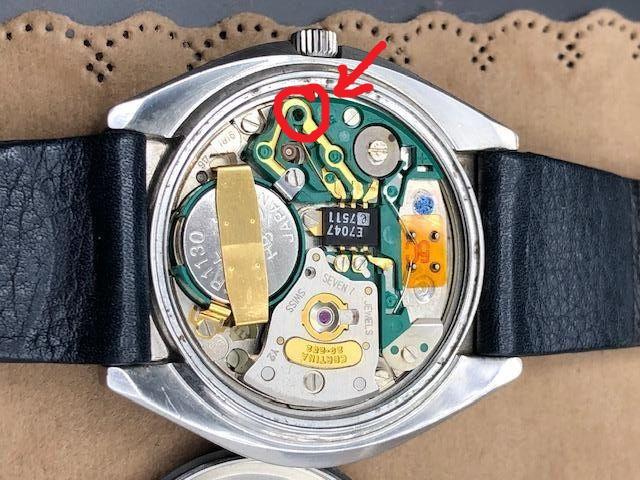
I can't figure out that double wheel. It looks like both wheels mesh with the sweep second pinion! I managed to get a new balance quite cheaply. The problem was finding the part number. Have a look here, basically the same movement and good amplitude https://mitka.co.uk/2019/05/20/service-citizen-150m-diver-68-5372/#more-127431 point
-
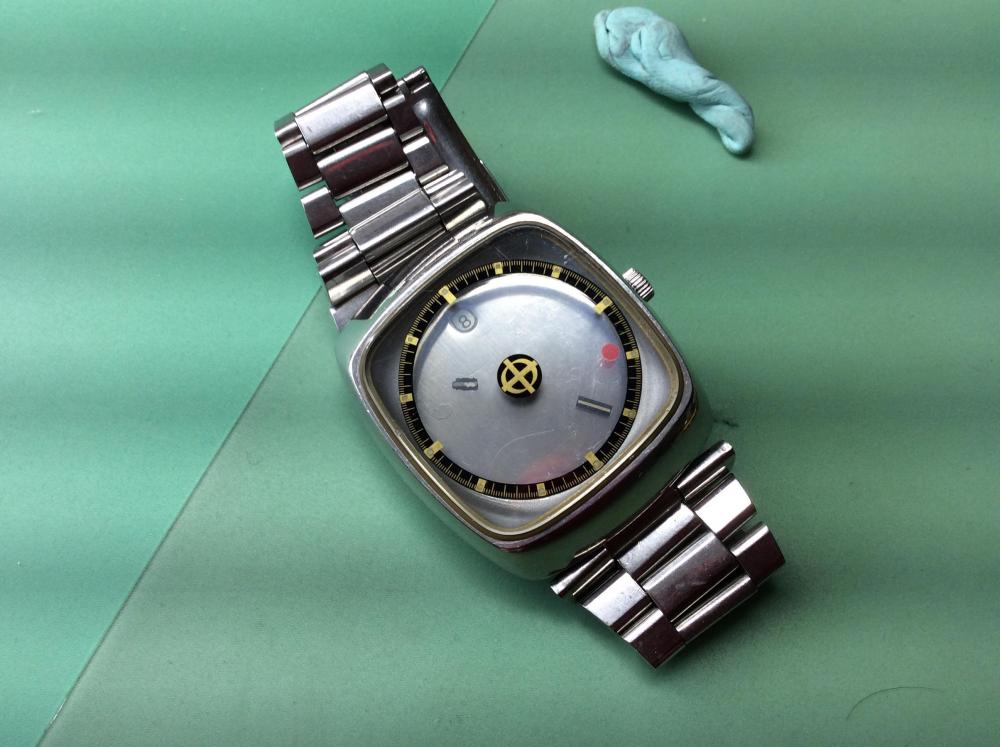
Seiko "notch"
 1 point
 -
Alright, I figured it out. It's this hole here where the tab that needs to be pushed is located.
 1 point
 -
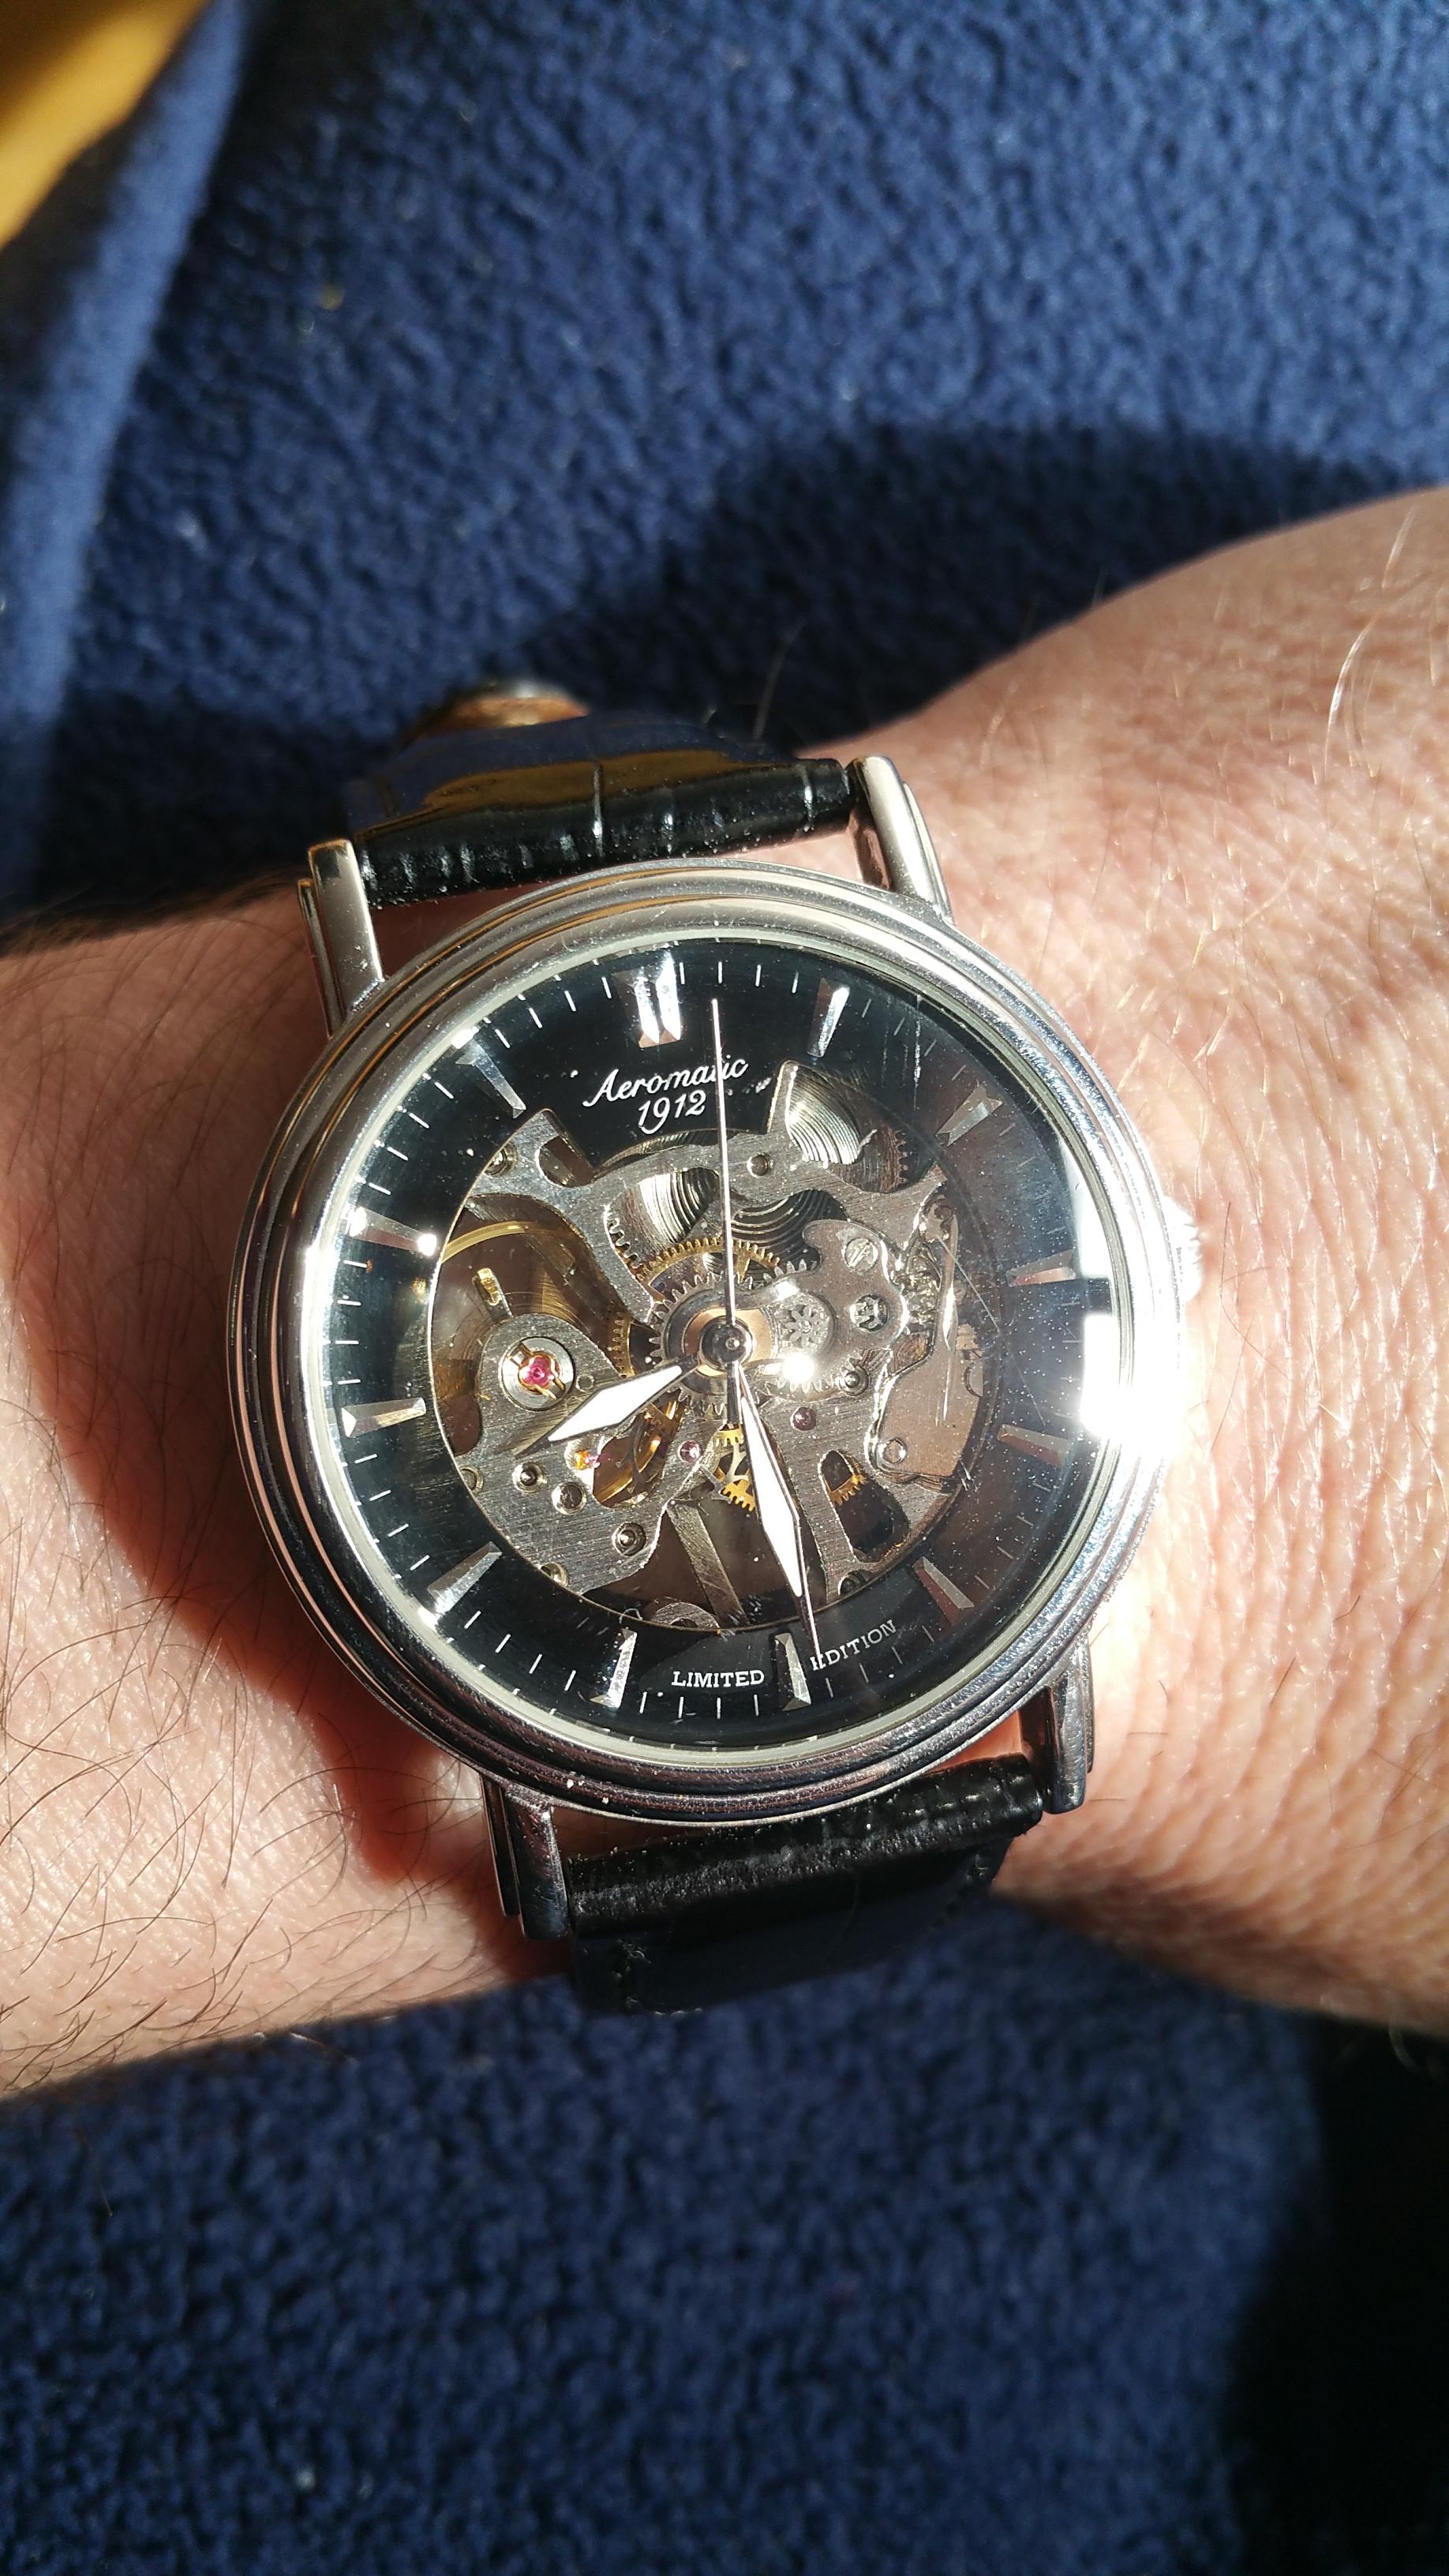
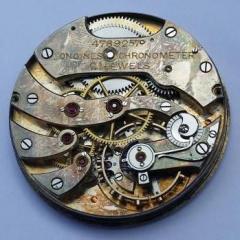
Skeleton today, haven't worth this one in ages.
 1 point
 -
The thing is that I loosened that screw near the stem (quite a bit) and it didn't work but I might have to retry.1 point
-
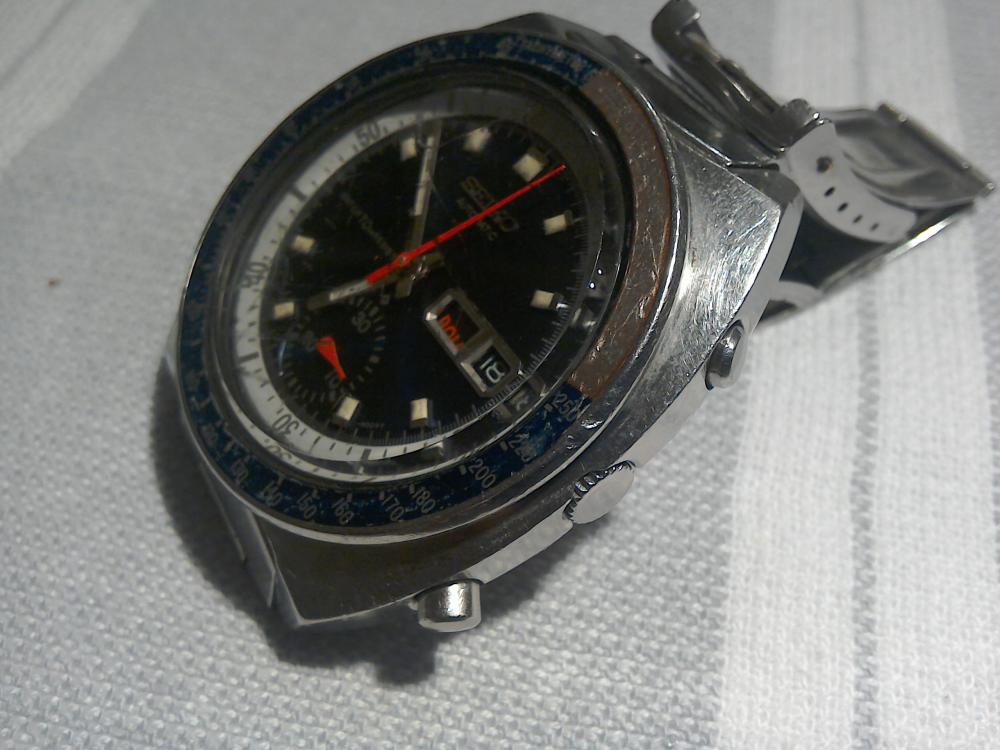
A recently serviced 7750 with a broken mainspring should raise an eyebrow or two, I would have made a complete overhaul while being at it. You can access it from the back but the amount of junk you have to take away makes it not worth for example leaving stuff on the train Wheel bridge to cut some work. I guess you already got the service manual but I attache it here anyway just for the public interest 7750 Service Manual.pdf1 point
-
I nominate the 3D printed mainspring winder that I printed and tried yesterday which successfully butchered a Seiko 7019A mainspring for me. At least that spring wasn't in the best fettle to begin with. Back to winding in by hand unless someone wants to donate a spring winder set?1 point
-
yes; this is a very good tool. IF you ever work on vintage watches.1 point
-
Watch is now back together and working fine so I think I dodged the bullet on this one.1 point
-
More low cost fun. Just a little over three and a half quid each. My guess is, possible franken-dial, probably original and probably original. I spent more on two coffees and a couple of sticky buns in the supermarket cafe yesterday.1 point
-
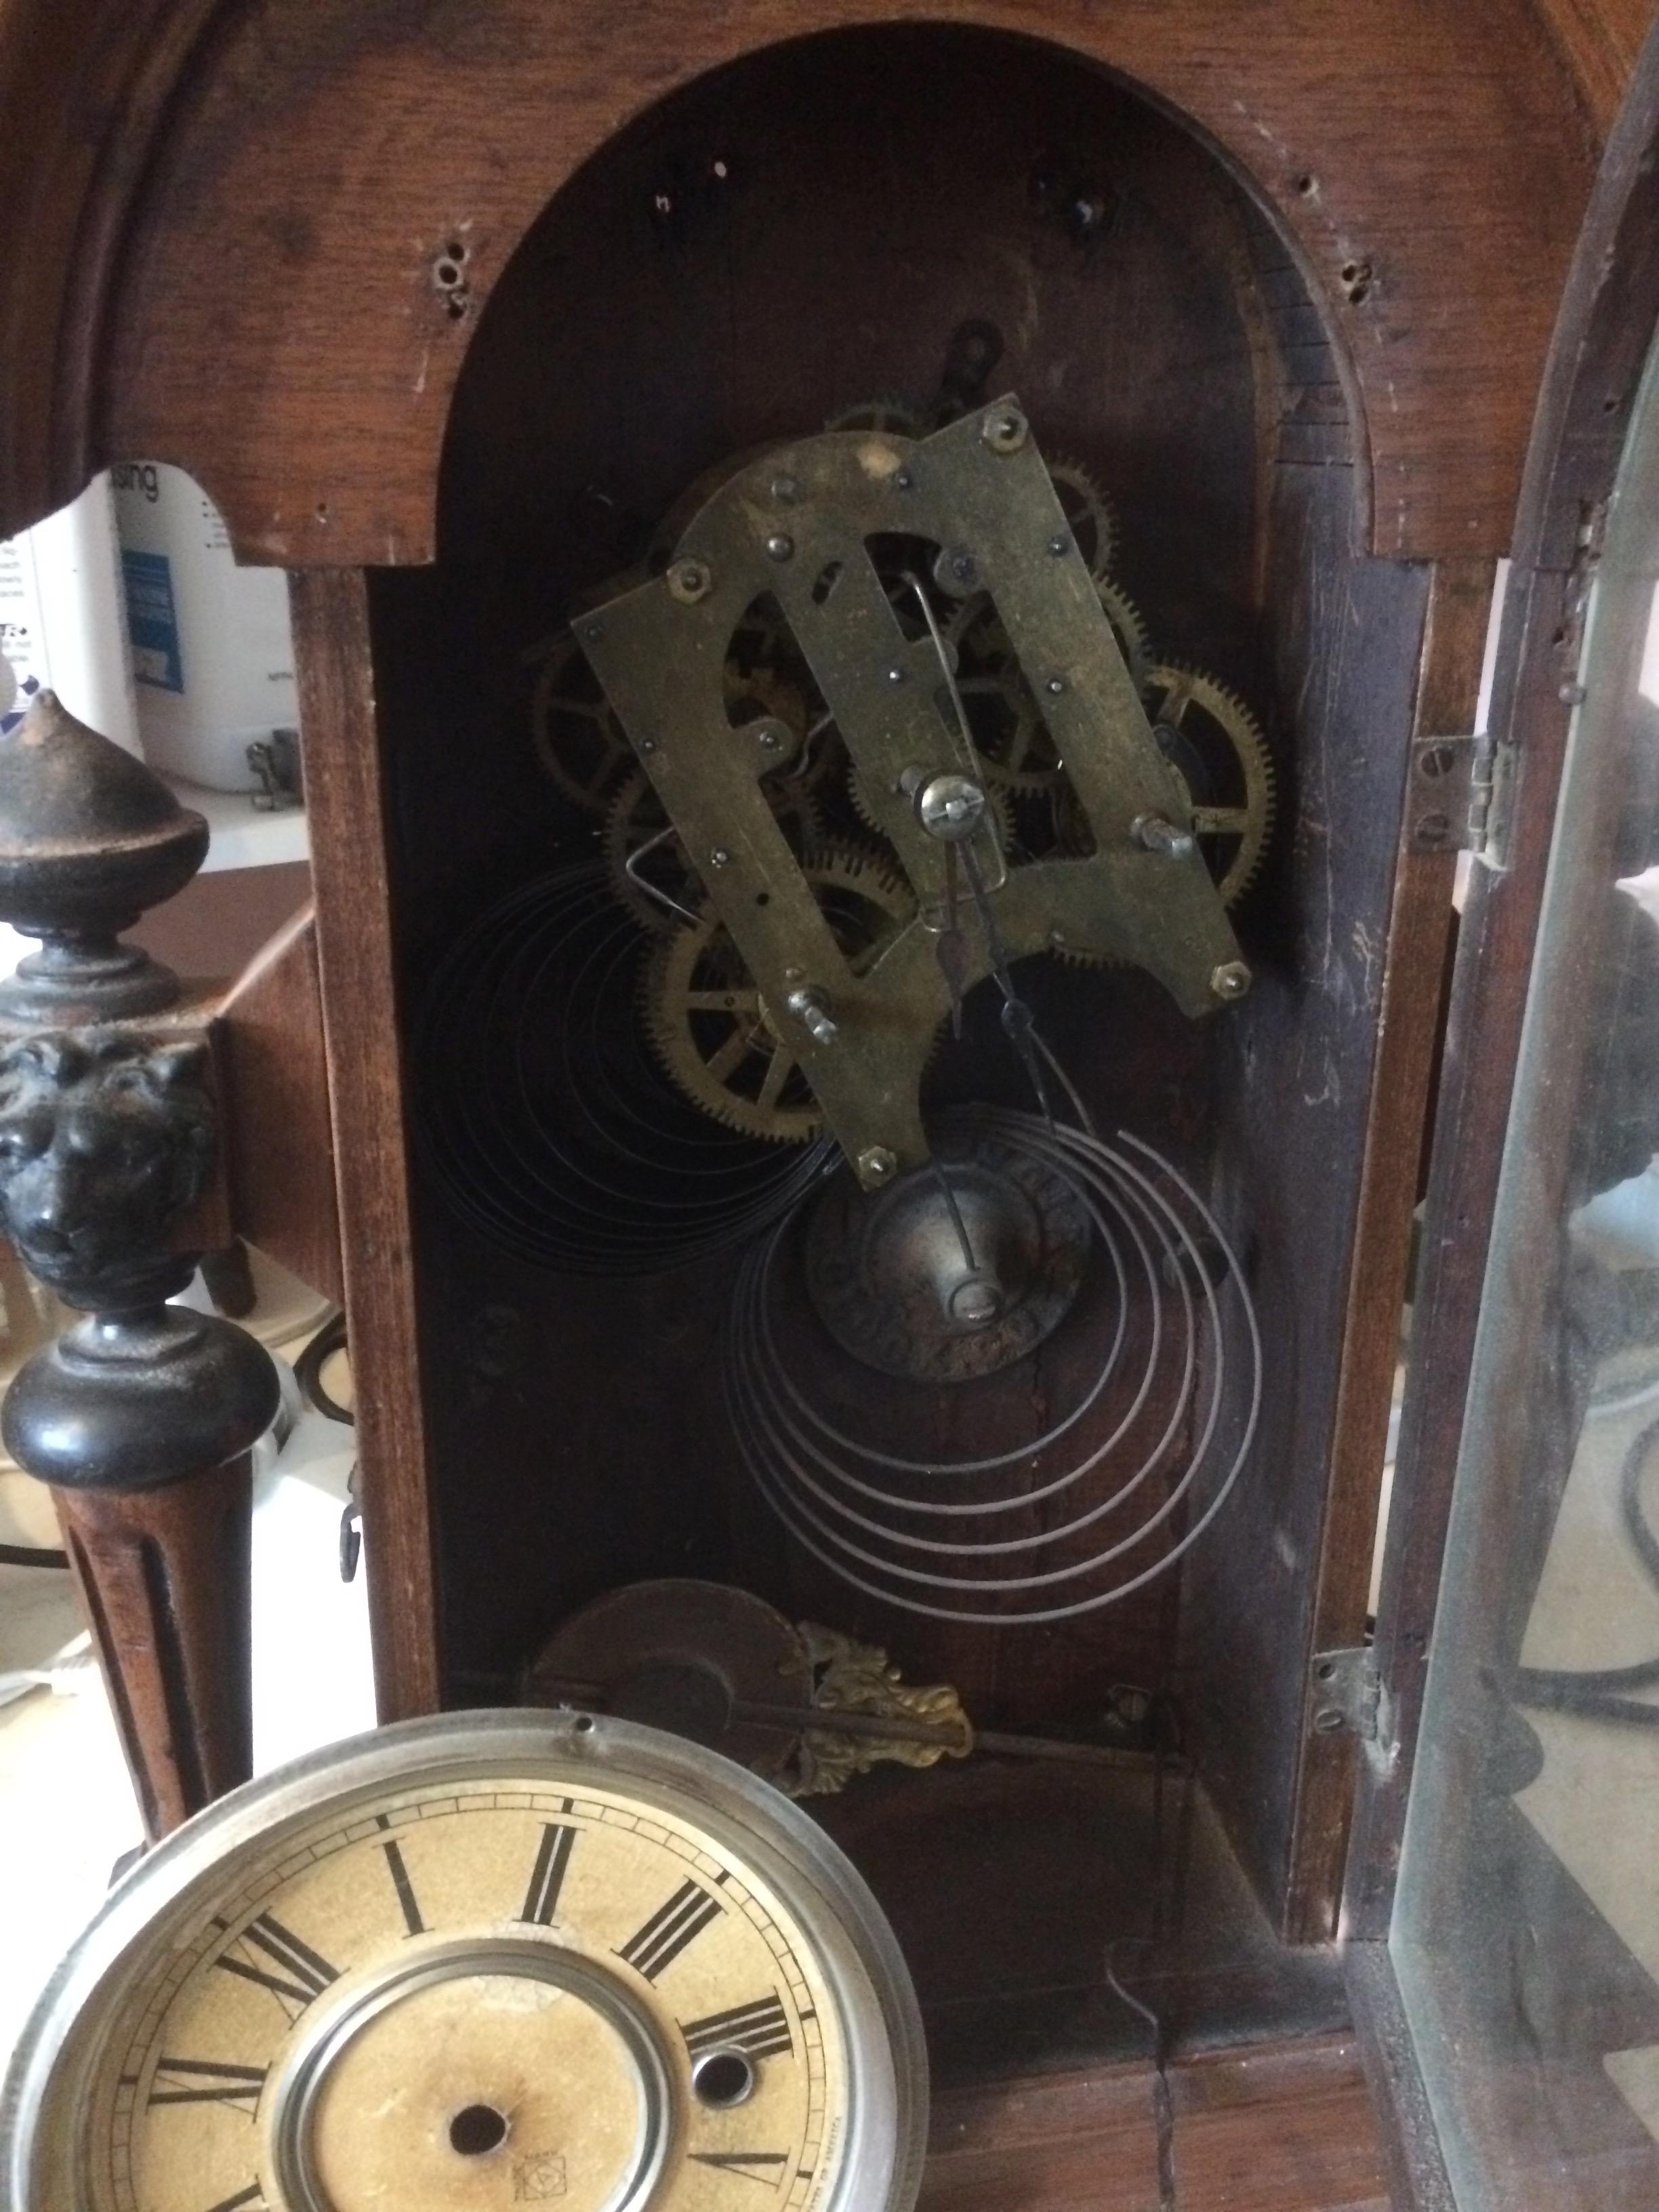
I have had this one arrive yesterday "no hurry was the message" bit of a challenge to say the least. I think it is american but a complete wreck. It is close friends so I will give it a go but Wish me luck
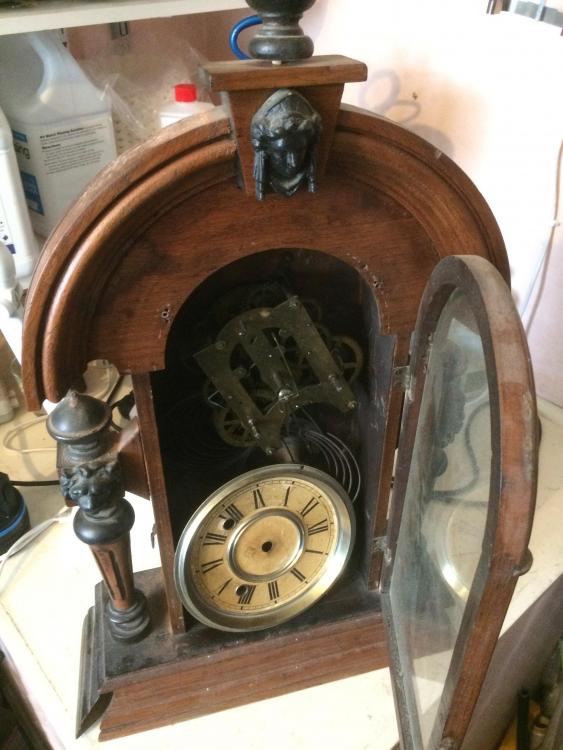

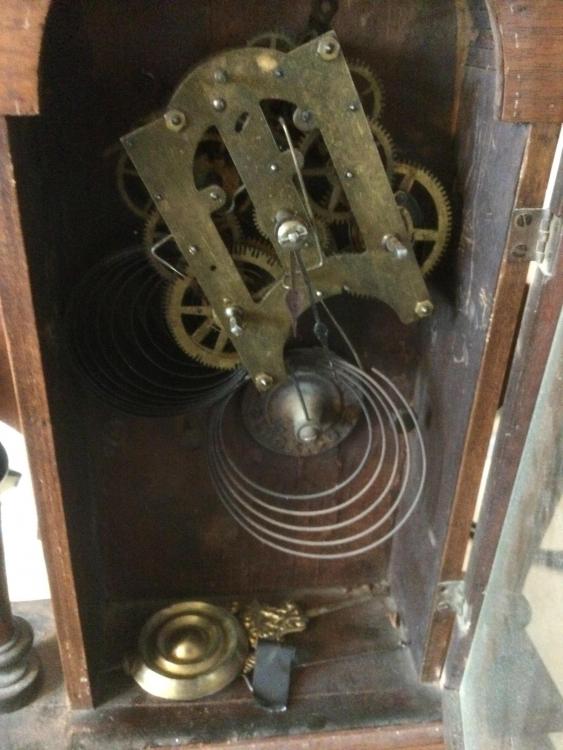 1 point
 -
Brass keeps the heat it doesn’t spread the heat outwards. Some people use brass filings. This is the way I used to blue screws. Remove the entire burr with a needle file and use various grade of emery, I used sticks, sometimes cloth. Wash out the screws in my old watch cleaning machine. I had an old copper penny (copper is as good as brass when it comes to heat) that was bent at an angle and held in a mini vice which was held in my bench vice. Sprit lamp underneath the penny, when the penny got hot I would put the screws one by one on the penny and blue them, as soon as the screw was blued drop it in clean oil, I used 3 in 1 this will add a shine to the screws. When all done wash them in the cleaning machine again. All nice and blued (the same colour blue for them all) ready to use when assembling the movement.1 point
-
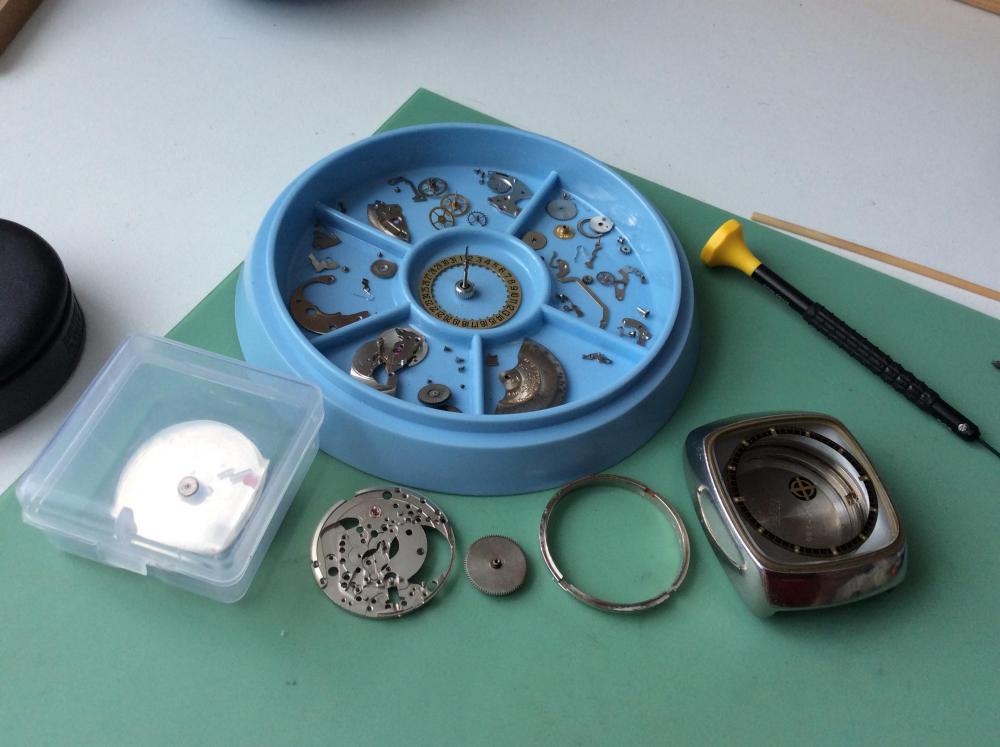
I know what you mean, sometimes these things are pretty hard to find. It's probably a bit difficult to do this as each movement has it's own type and it's parts and you won't really find one movement to show all types of parts. Here's a couple of images that should help.1 point