Leaderboard


Popular Content
Showing content with the highest reputation on 02/15/19 in all areas
-
The stem should be in the hand-setting position. Also the button should be depressed when re-inserting, do not depend on the spring of the set-lever. Use a screwdriver which width fits the slot exactly so that the stem release doesnt get pushed too far down. Anilv2 points
-
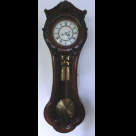
That's a very nice pocket watch you have there. I once had a rare IWC C56 Americaine, and it was very high grade. It's odd that you're showing 3 different numbers from the case. Are those factory engraved into the front, back, and dust-cover? If so, it would seem to indicate that it could be a Franken-case. That said, it doesn't look like it in the images. It looks like both front and back have what are called Jurgensen lips, denoted by the little extra cover piece that travels up the pendant. If you have images of those serial numbers, it might help to determine something. That all said, the fact that the back is tight, may just be how that case is. Back when it was made, it was rare for people to really need to see the mechanism, or make adjustments. And the harder it is, the more effective it may be at keeping out dust. Cheers.2 points
-
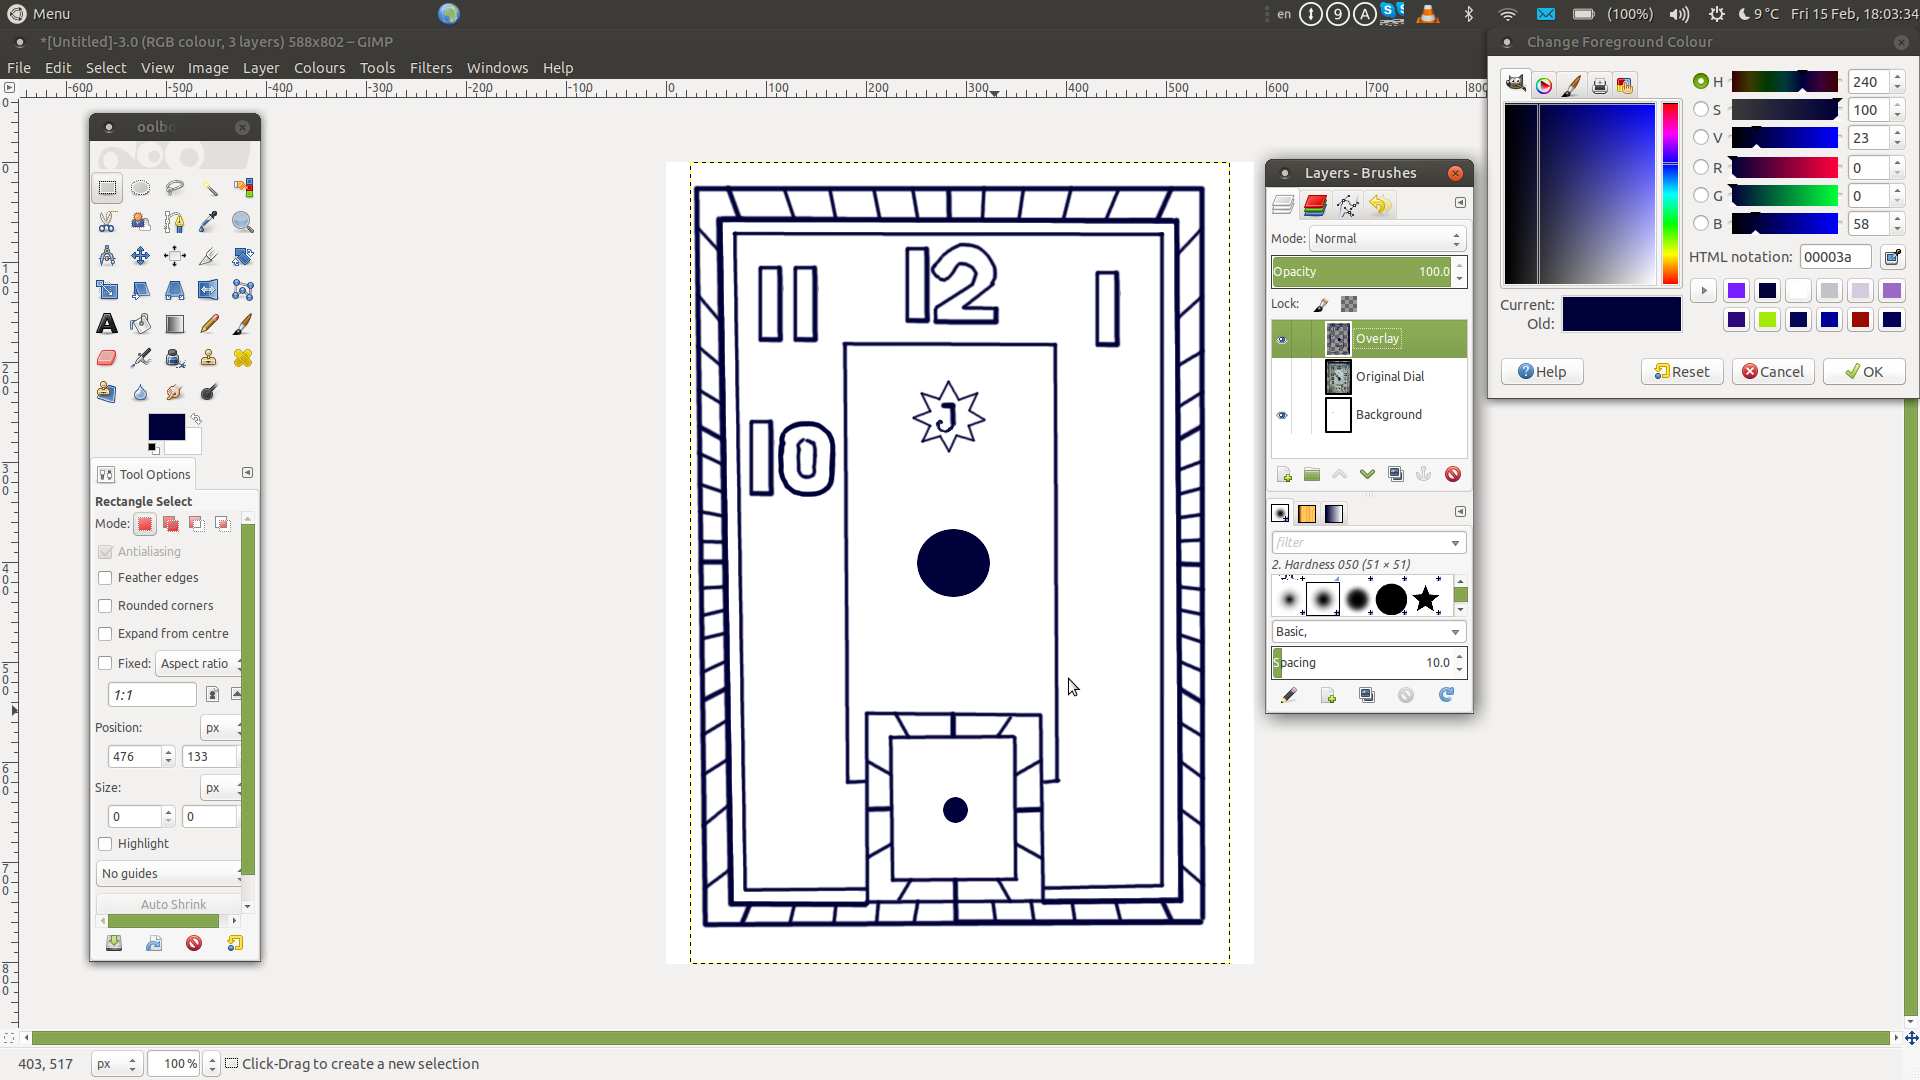
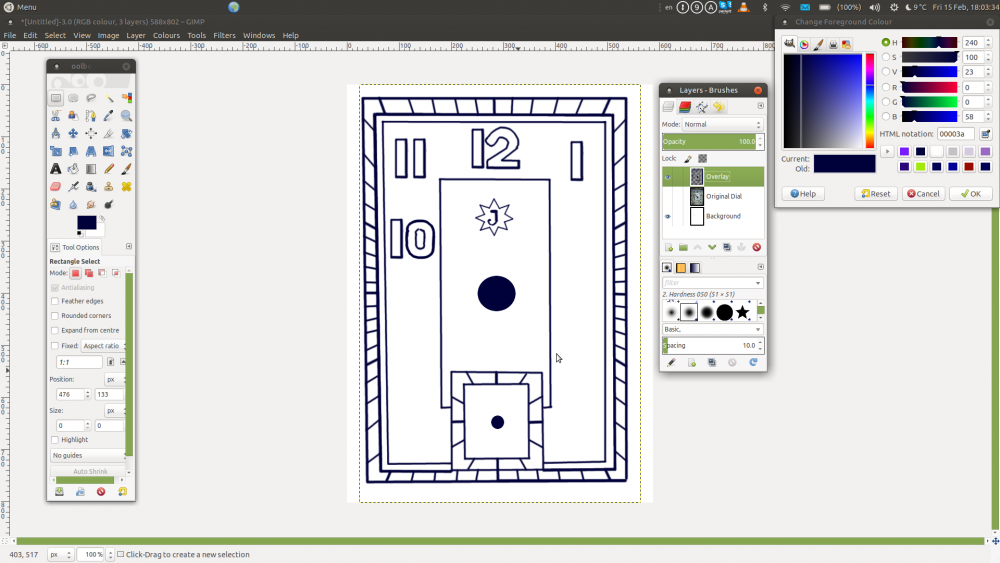
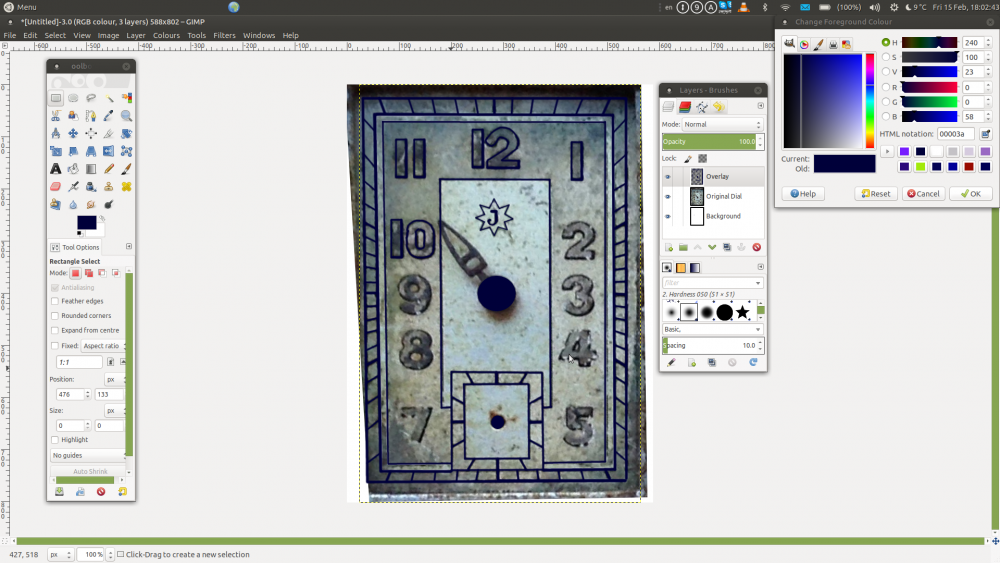
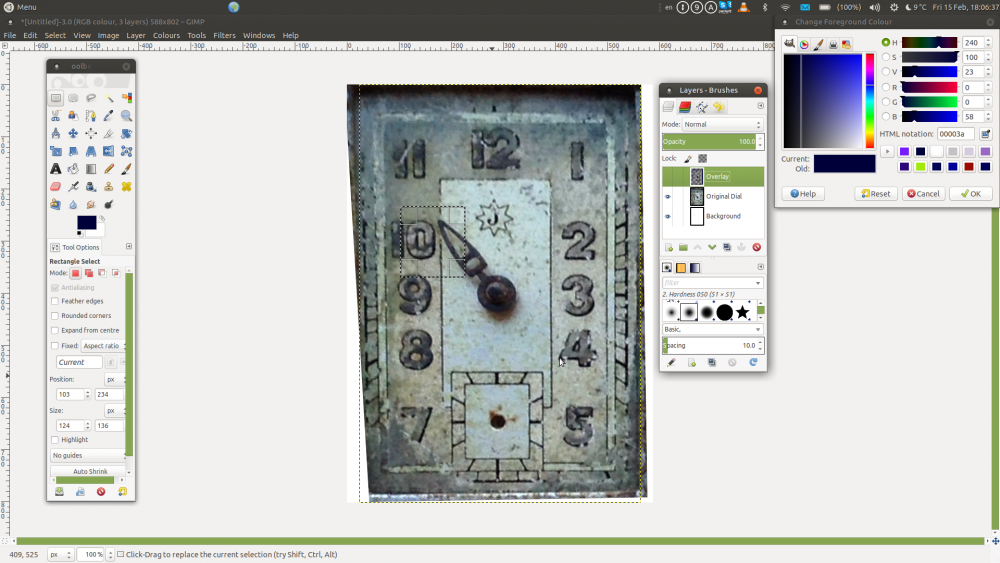
One of the scruffier watches waiting for my attention has a pretty beat up looking dial, which I hope to experiment with. My plan is to preserve what is left of the original, but make a replacement, which given its condition seems the most sensible way forward. With this in mind I set to work with Gimp to see what sort of result I could expect. I used one of the ebay images as the basis for the replacement art work, squared it up and set it as the base layer of the new image. My feeling is that the original was dial artwork was fairly simply produced, probably using three different drafting pens, as there appear to be three distinct line widths. So I measured each, and experimented with the brush widths in Gimp until I had something close to the original. I then added two new layers. A base white layer, and a top layer on to which I am building the art work. By selectively switching each layer on and off, I can toggle between the transparent top layer with the art work, the middle layer with the original damaged dial, and the base white layer (by clicking the small visibility "eye" icon next to each layer in the tool). Here are a couple of screen shots to try to illustrate the process. All layers on. Base and artwork layer on. Original dial and white layer on. Notice how much detail has been destroyed. This technique allows very accurate positioning of the artwork to match the original, and lets me re-create the missing details by careful measurement. This is only a first draft, but it looks like it could produce a usable result.
 1 point
 -
I can't see where those numbers are on the movement. Sometimes there can be Swiss patent numbers on the plates, and are near by the word "Brevet", or a cross symbol. Both of those numbers refer to Swiss patent numbers attributed to the IWC. 31457 is for a crown-wheel design. 55231 is for a design relating to fastening the dial. The more I look at the case, the more I believe that it is original to the movement. Jurgensen lip cases are generally on the heavy side, and are used for high quality movements. What does the outside of the case look like? Initials? Engine-turning (finely engraved cross-hatching)? I'm just curious. Beautiful watch.1 point
-
Well.....since I was so bullish on you getting the Star, I'm feeling bad its not yet working.....I'll make you a pulley if you like. One time offer, I am not going into pulley business lol. You have to supply a good dimensioned drawing of exactly what you want and postage.1 point
-
Thanks. I bit the bullet and order a set of 4 Bergeon. Costly, but I need all the help I can get.1 point
-
When I was an apprentice antique restorer way back in the 60's and machines being used were made in the 40's we used to use Pine resin for slipping belts. It was left to dry and then crushed to a rough powder, worked a treat on leather belts, not sure how it would go on today's synthetic belts though.1 point
-
Yeah no way you have enough contact there. You can try to turn the v deeper but ha need a lathe for that. Worst case use a triangular file and file it. It'll probably seat on the rest of the factory v once there's clearance.1 point
-
So I had a quick look and with a lathe and some blue steel rods at about 1mm, it is possible to replace the stud on a spring winder.I think you just punch out the old one and then grave the small piece of 1mm blues steel down to size with i minor 3 deg taper, then tap it into the opening. Easy Peasy Sent from my iPhone using Tapatalk Pro1 point
-
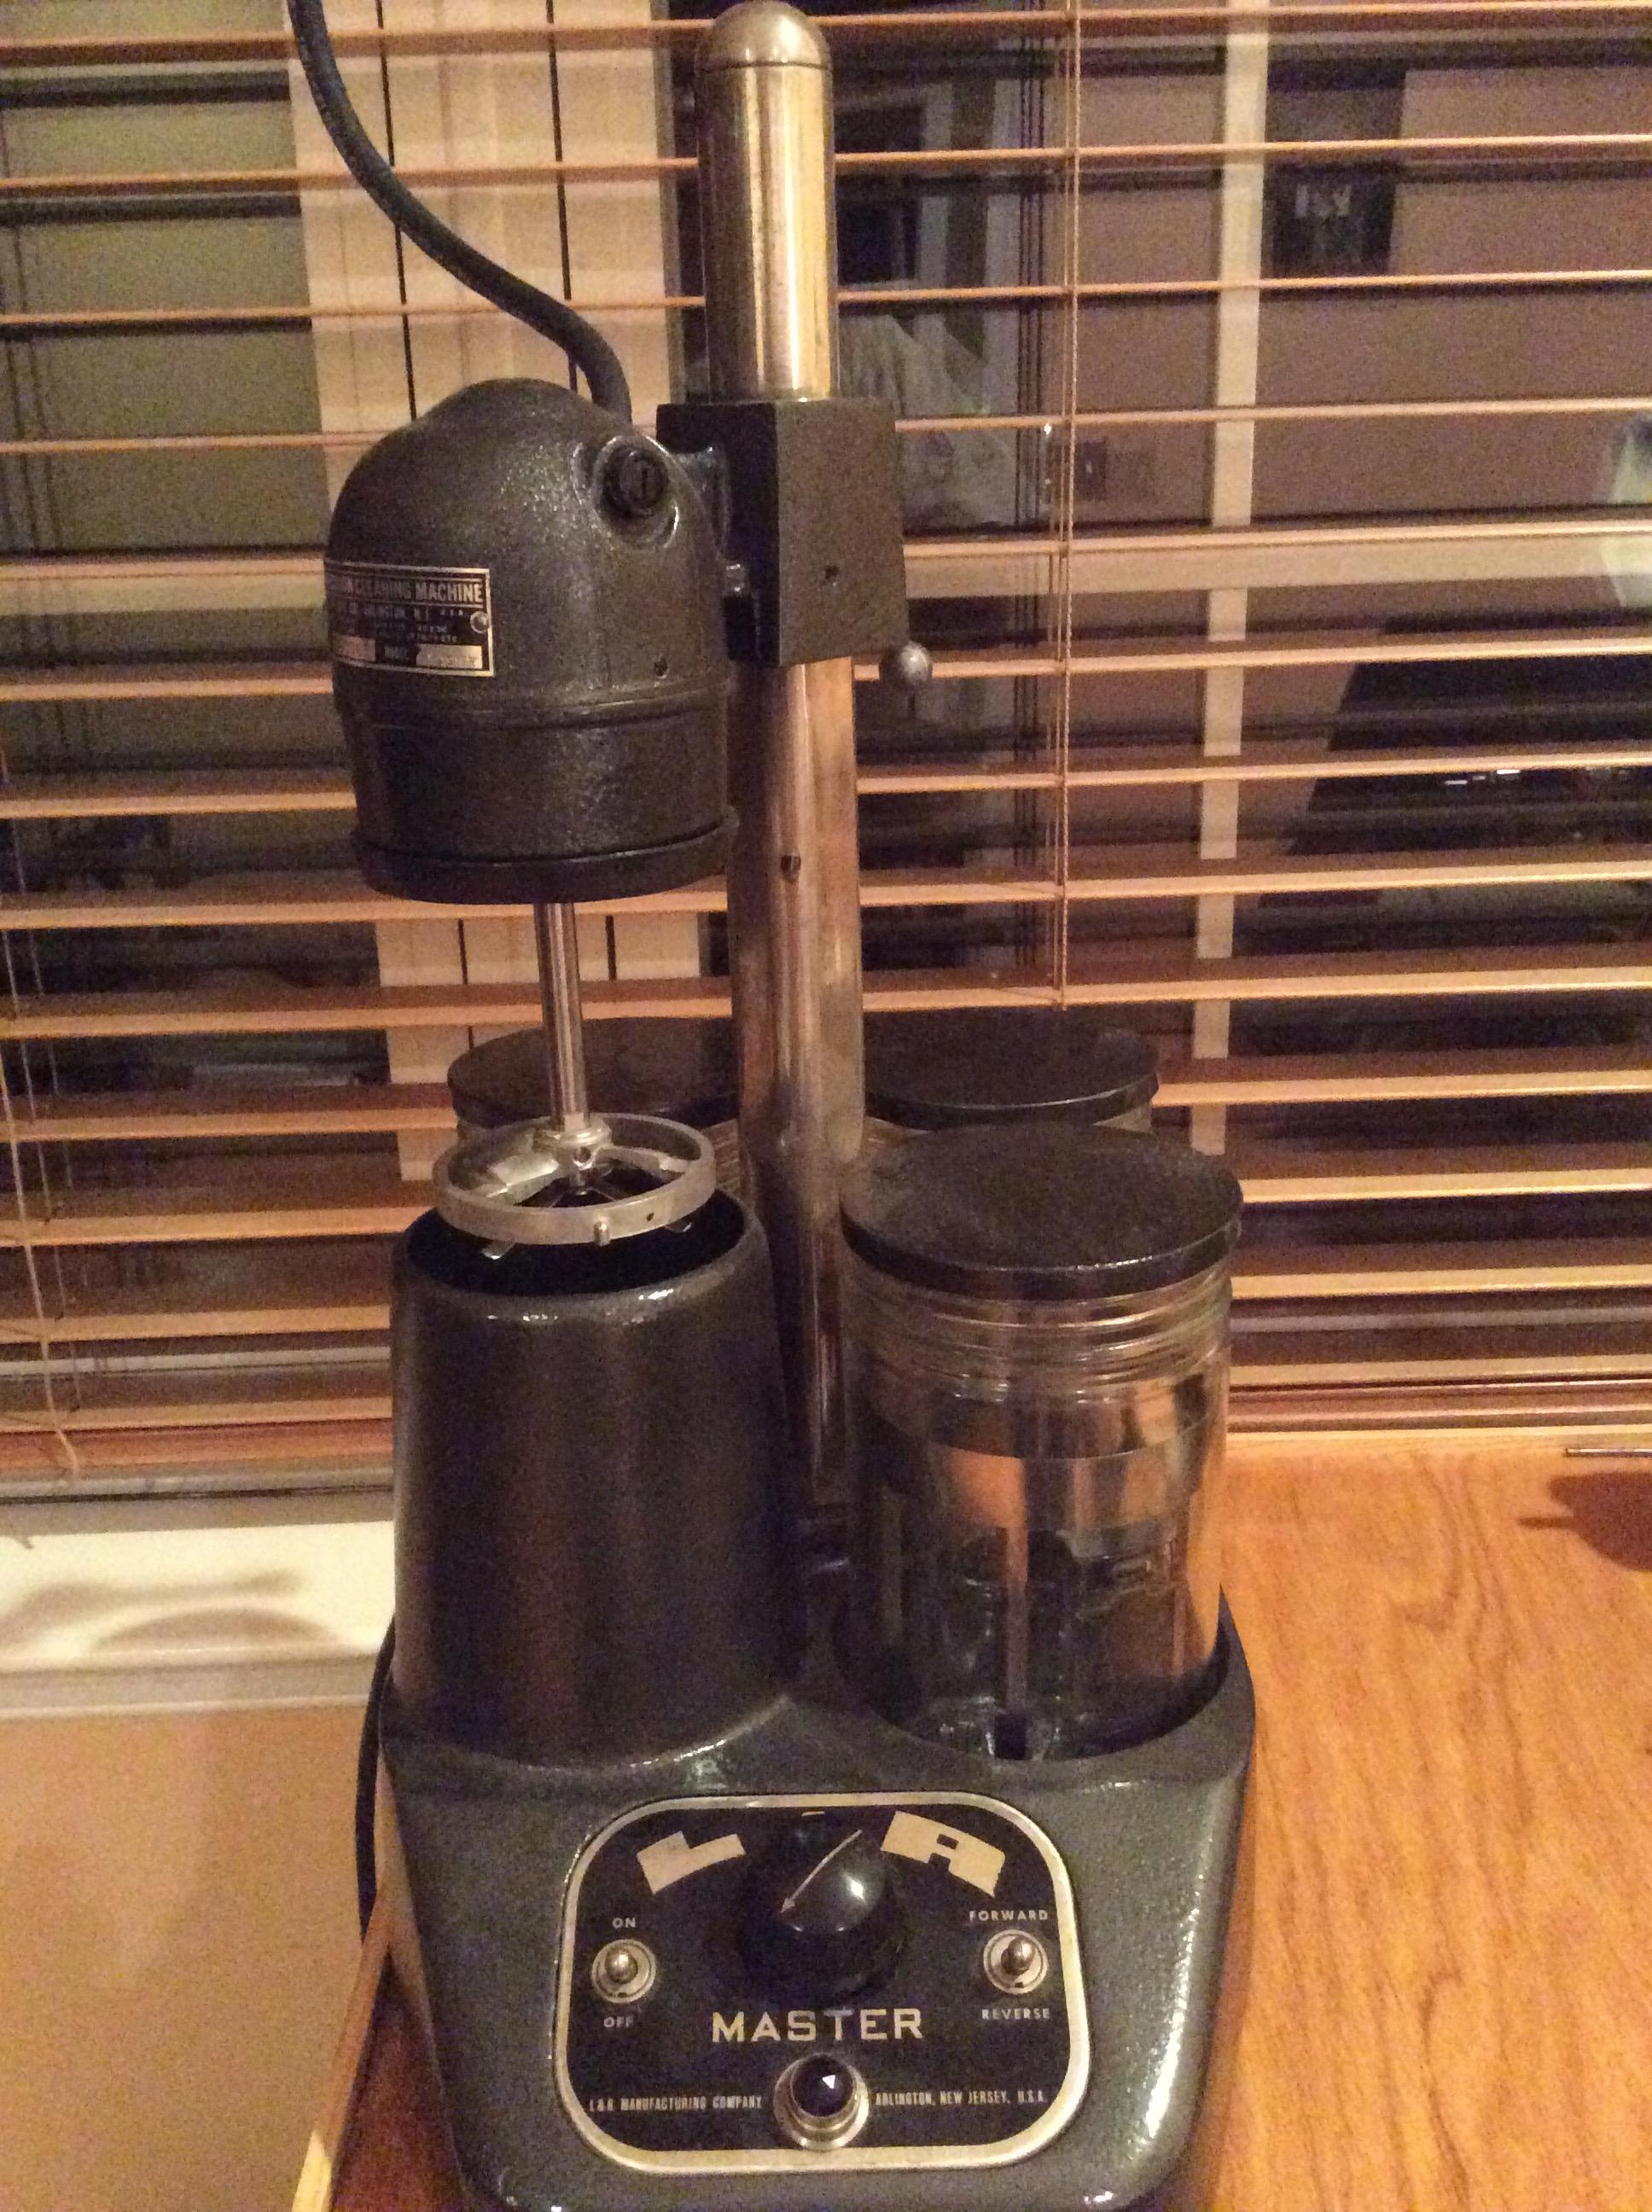
Have been reading with interest the threads about watch cleaning machines and I thought I'd post a pic of mine that I purchased on eBay a few years back, old L&R Master, it was in a pretty unloved state when I bought it, motor ran, heater did not and paint finish was all chipped, worn off and just looked not nice, I paid $130 for it as I knew it could be brought back to life with a little love and attention. I re wired the whole unit (original looked downright hazardous, threadbare fabric insulation) and rubbed down paintwork and sprayed unit and jar lids with grey hammerite paint, replaced the bulb inside the red display switch and the heater was operating, (the builb acts as the fuse for the heating element). Spent under $20 in Home Depot for everything that I needed. Hoping this might help someone who has been looking to get a machine, it really was a pleasing job fixing it up and it's a great little machine that I now love dearly.
 1 point