Leaderboard


Popular Content
Showing content with the highest reputation on 09/22/17 in all areas
-
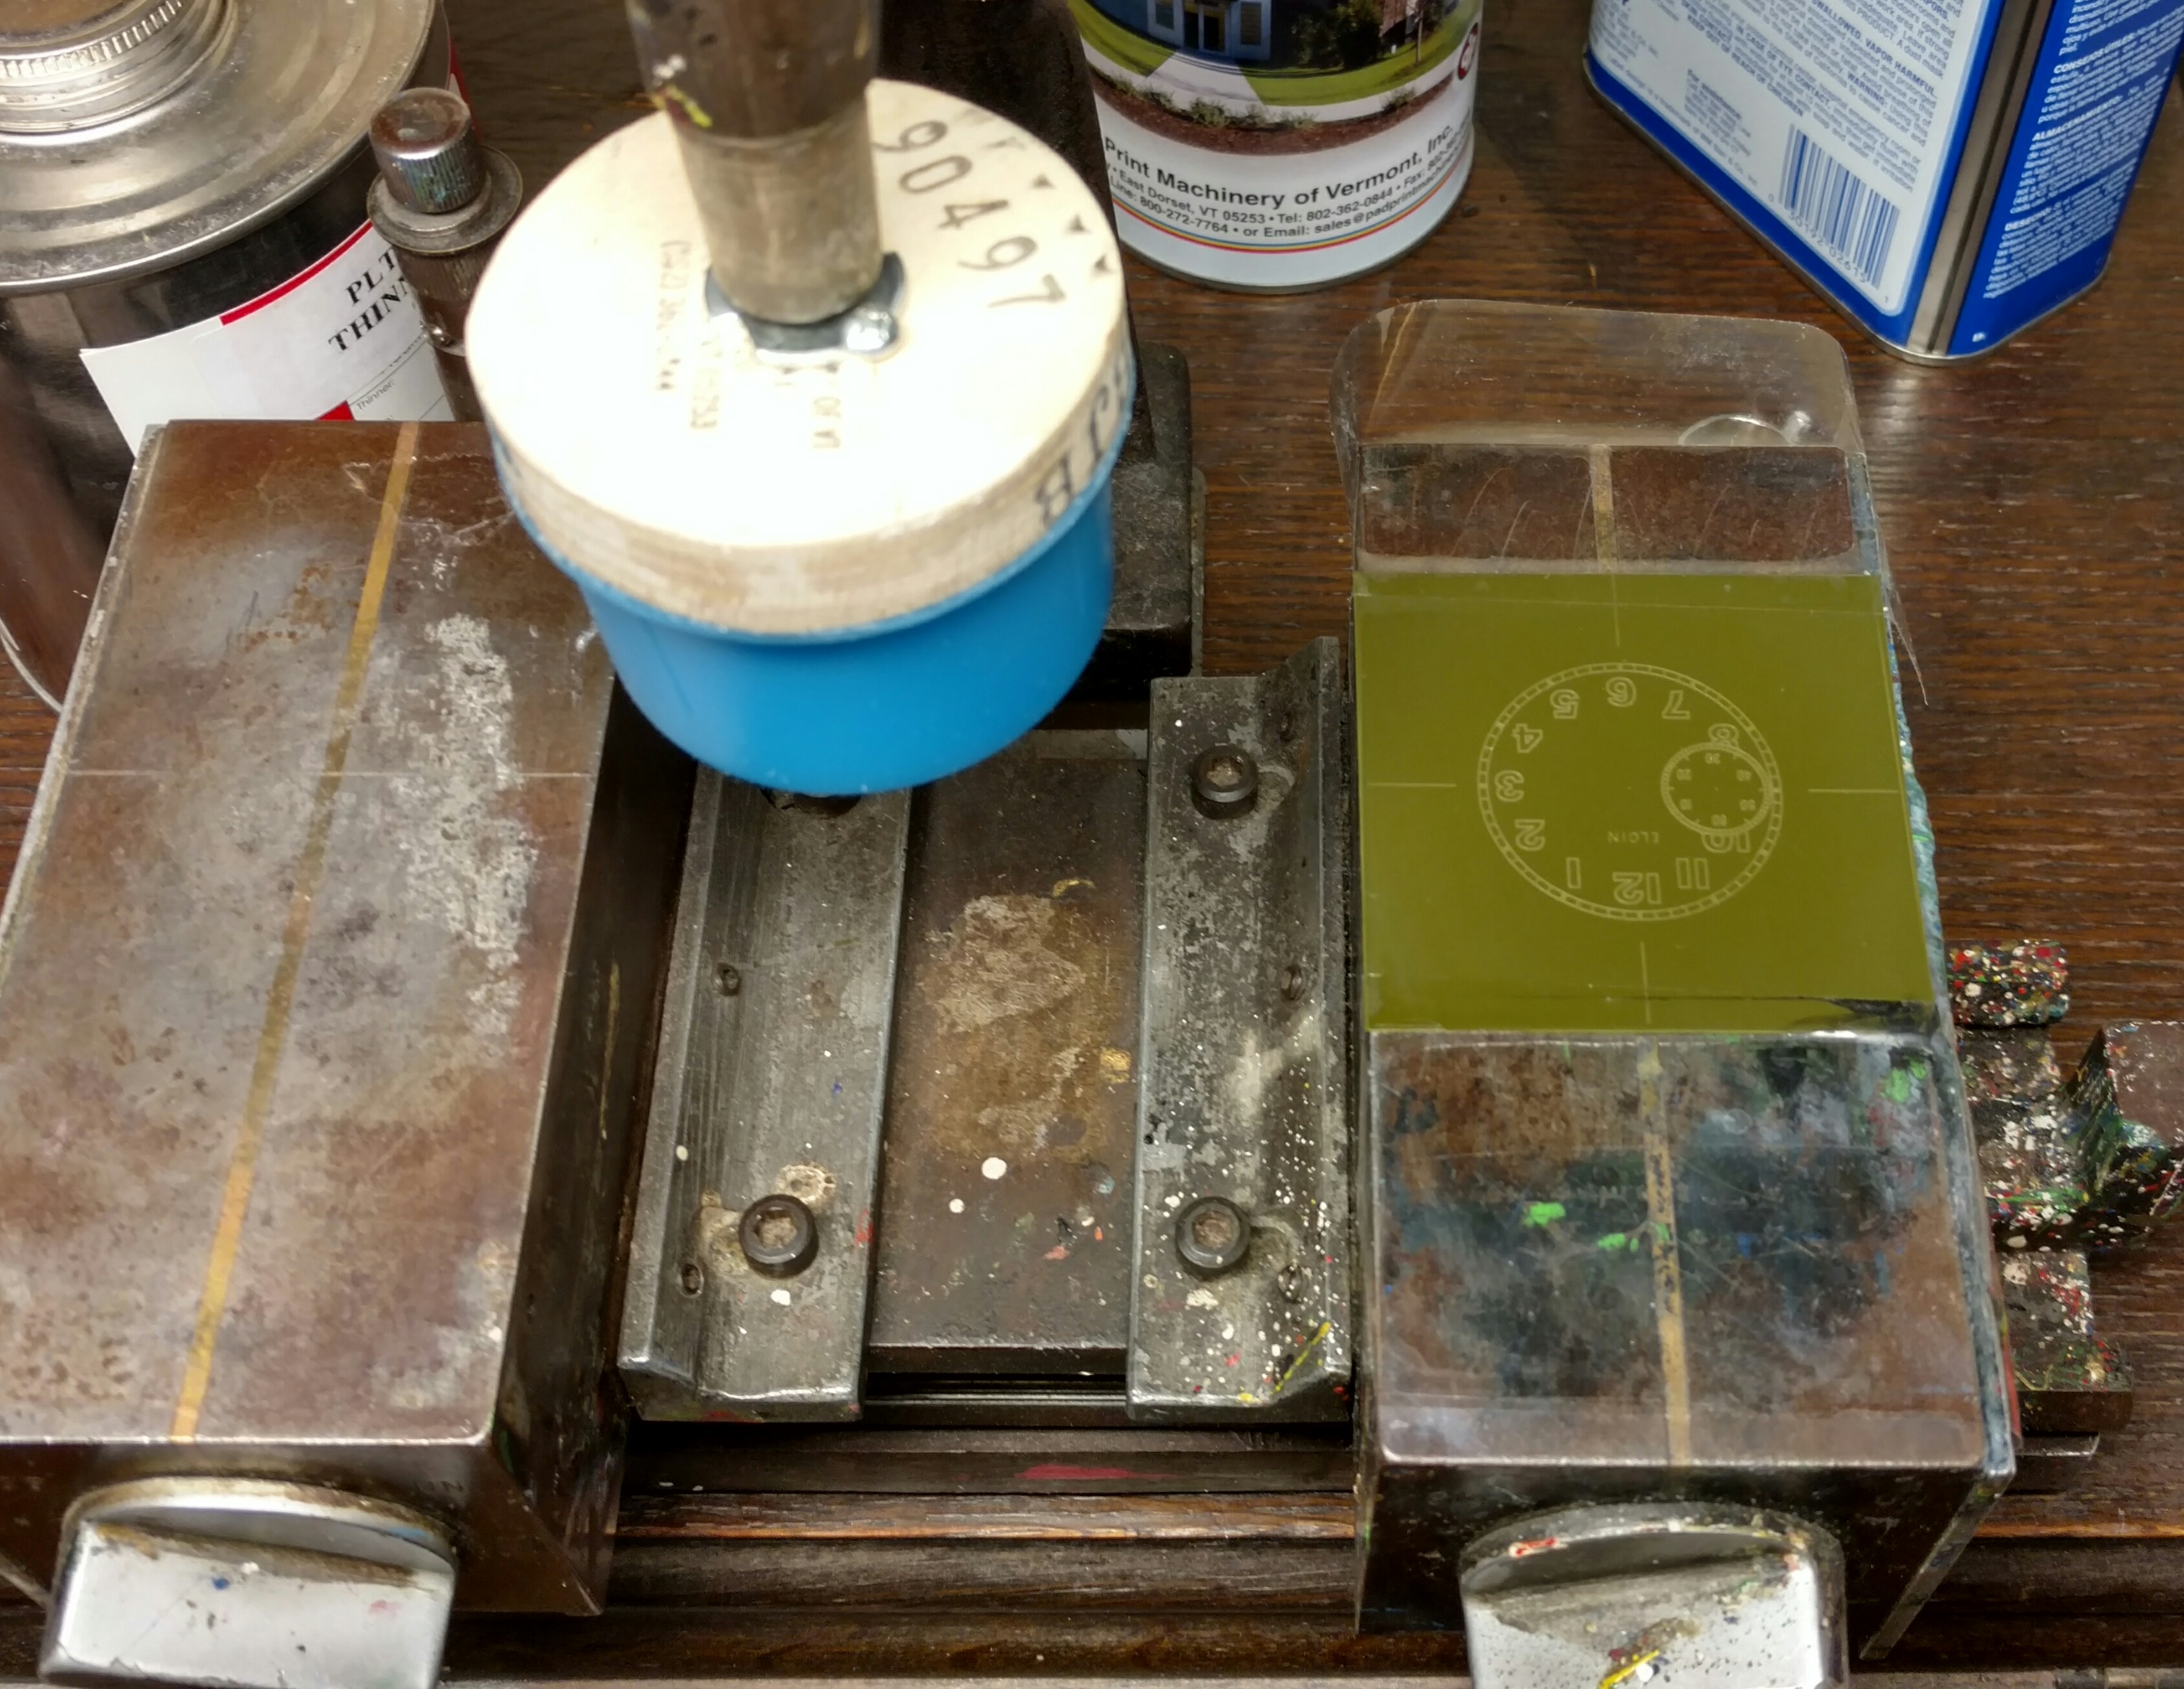
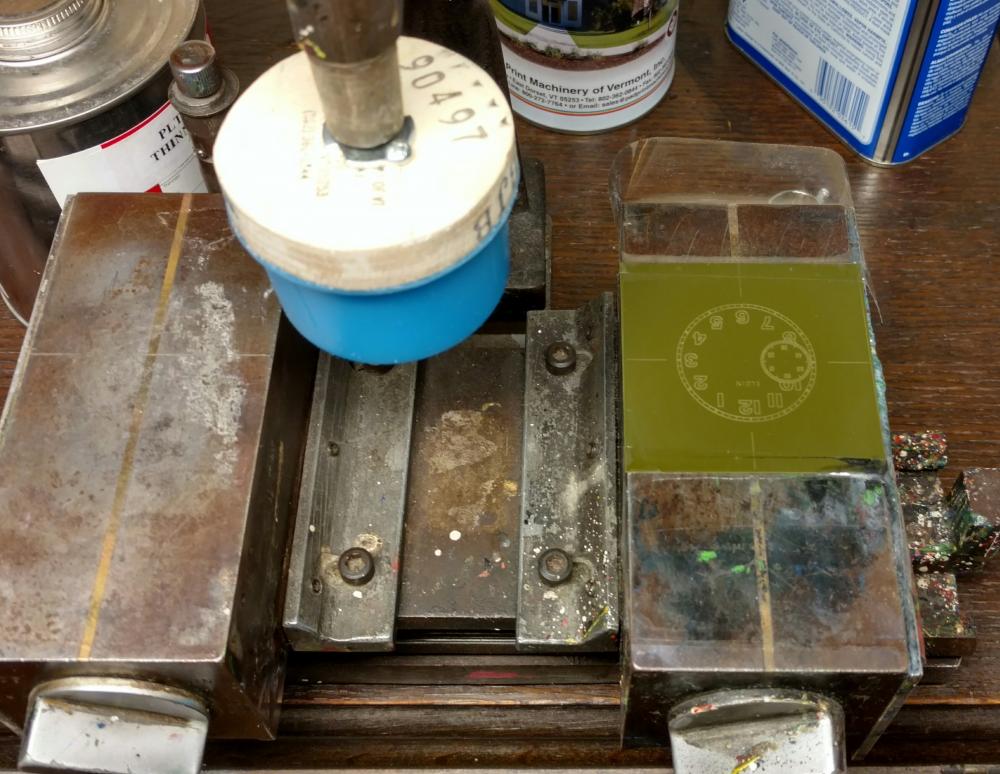
I will try to put together a walk-through of the process of dial printing along with creating the plate itself. Honestly I spend more time on the computer designing the dial layout then it takes two create the actual plate or print the dial.


 3 points
 -
case back opening tools (for snap off and screw down case backs) case holders (not always needed but they come in handy; I have a plastic one to not scratch the case) movement holders (very important; usually come in pair of 2s, smaller and larger; mine are cheap and can be used on both sides so 4 sizes in total) a good set of screwdrivers (very important to get a stone or something to sharpen them or a screwdriver sharpener) hand removing tool (again I have a cheap one but it does the job just fine; there is also the 2 hand lever version but I prefer the special tool) good loupe or magnification (one of those digital microscopes might come in handy) a watchmaker's mat good light source hand fitting tool (you can use tweezers here I guess... as long as they are not sharp or pointy; I use the sides...) a good set of tweezers spring bar removing/installing tools (various types exist) a watch crystal press (if you want to replace crystals that is; there is also a claw tool that can be used but only in some cases) a digital double digit pair of good calipers (for measuring and stuff) an air blowing tool (not sure what it's called; use this to blow off debris from parts; human breath should NOT be used to do this) polywatch or various other acrylic crystal polishing substances (they say tooth paste works just as well) a cushion watch/case/movement holder (can come in handy sometimes) good oils and lubricants oiling tools (a couple of variants exist) watch part cleaning substances (in case they're dirty or rusty) This is all I can think of for now...2 points
-
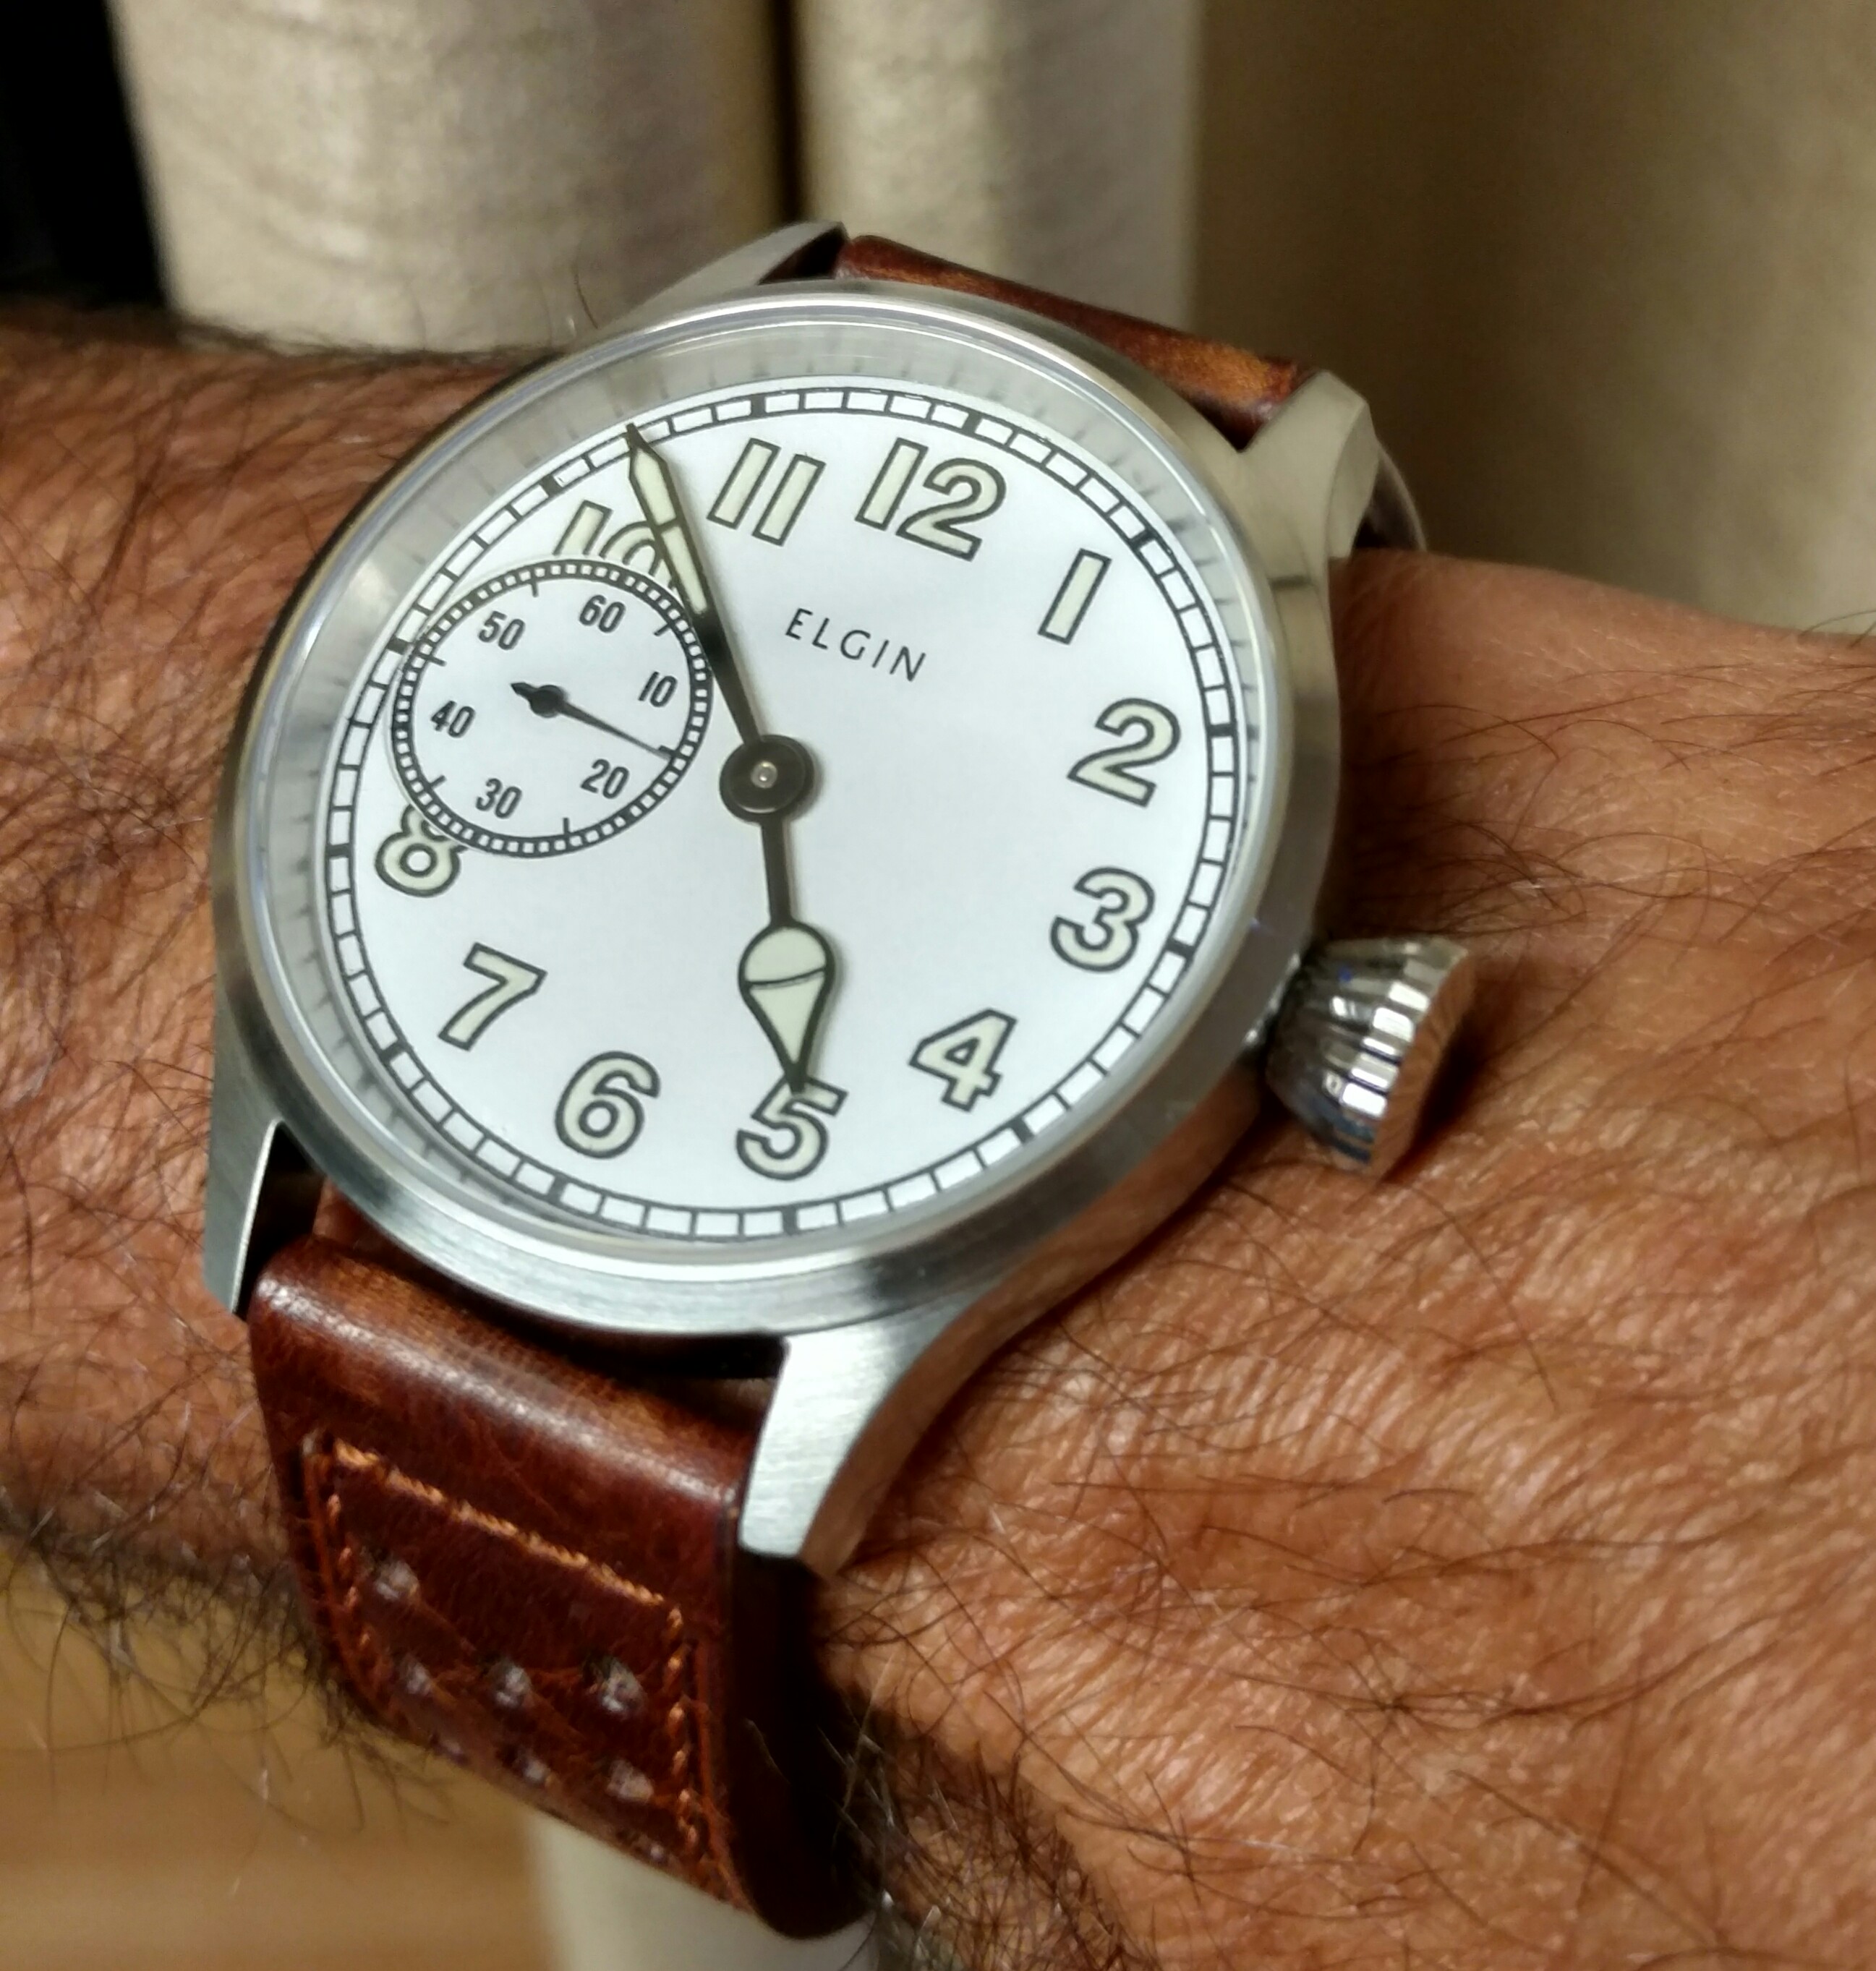
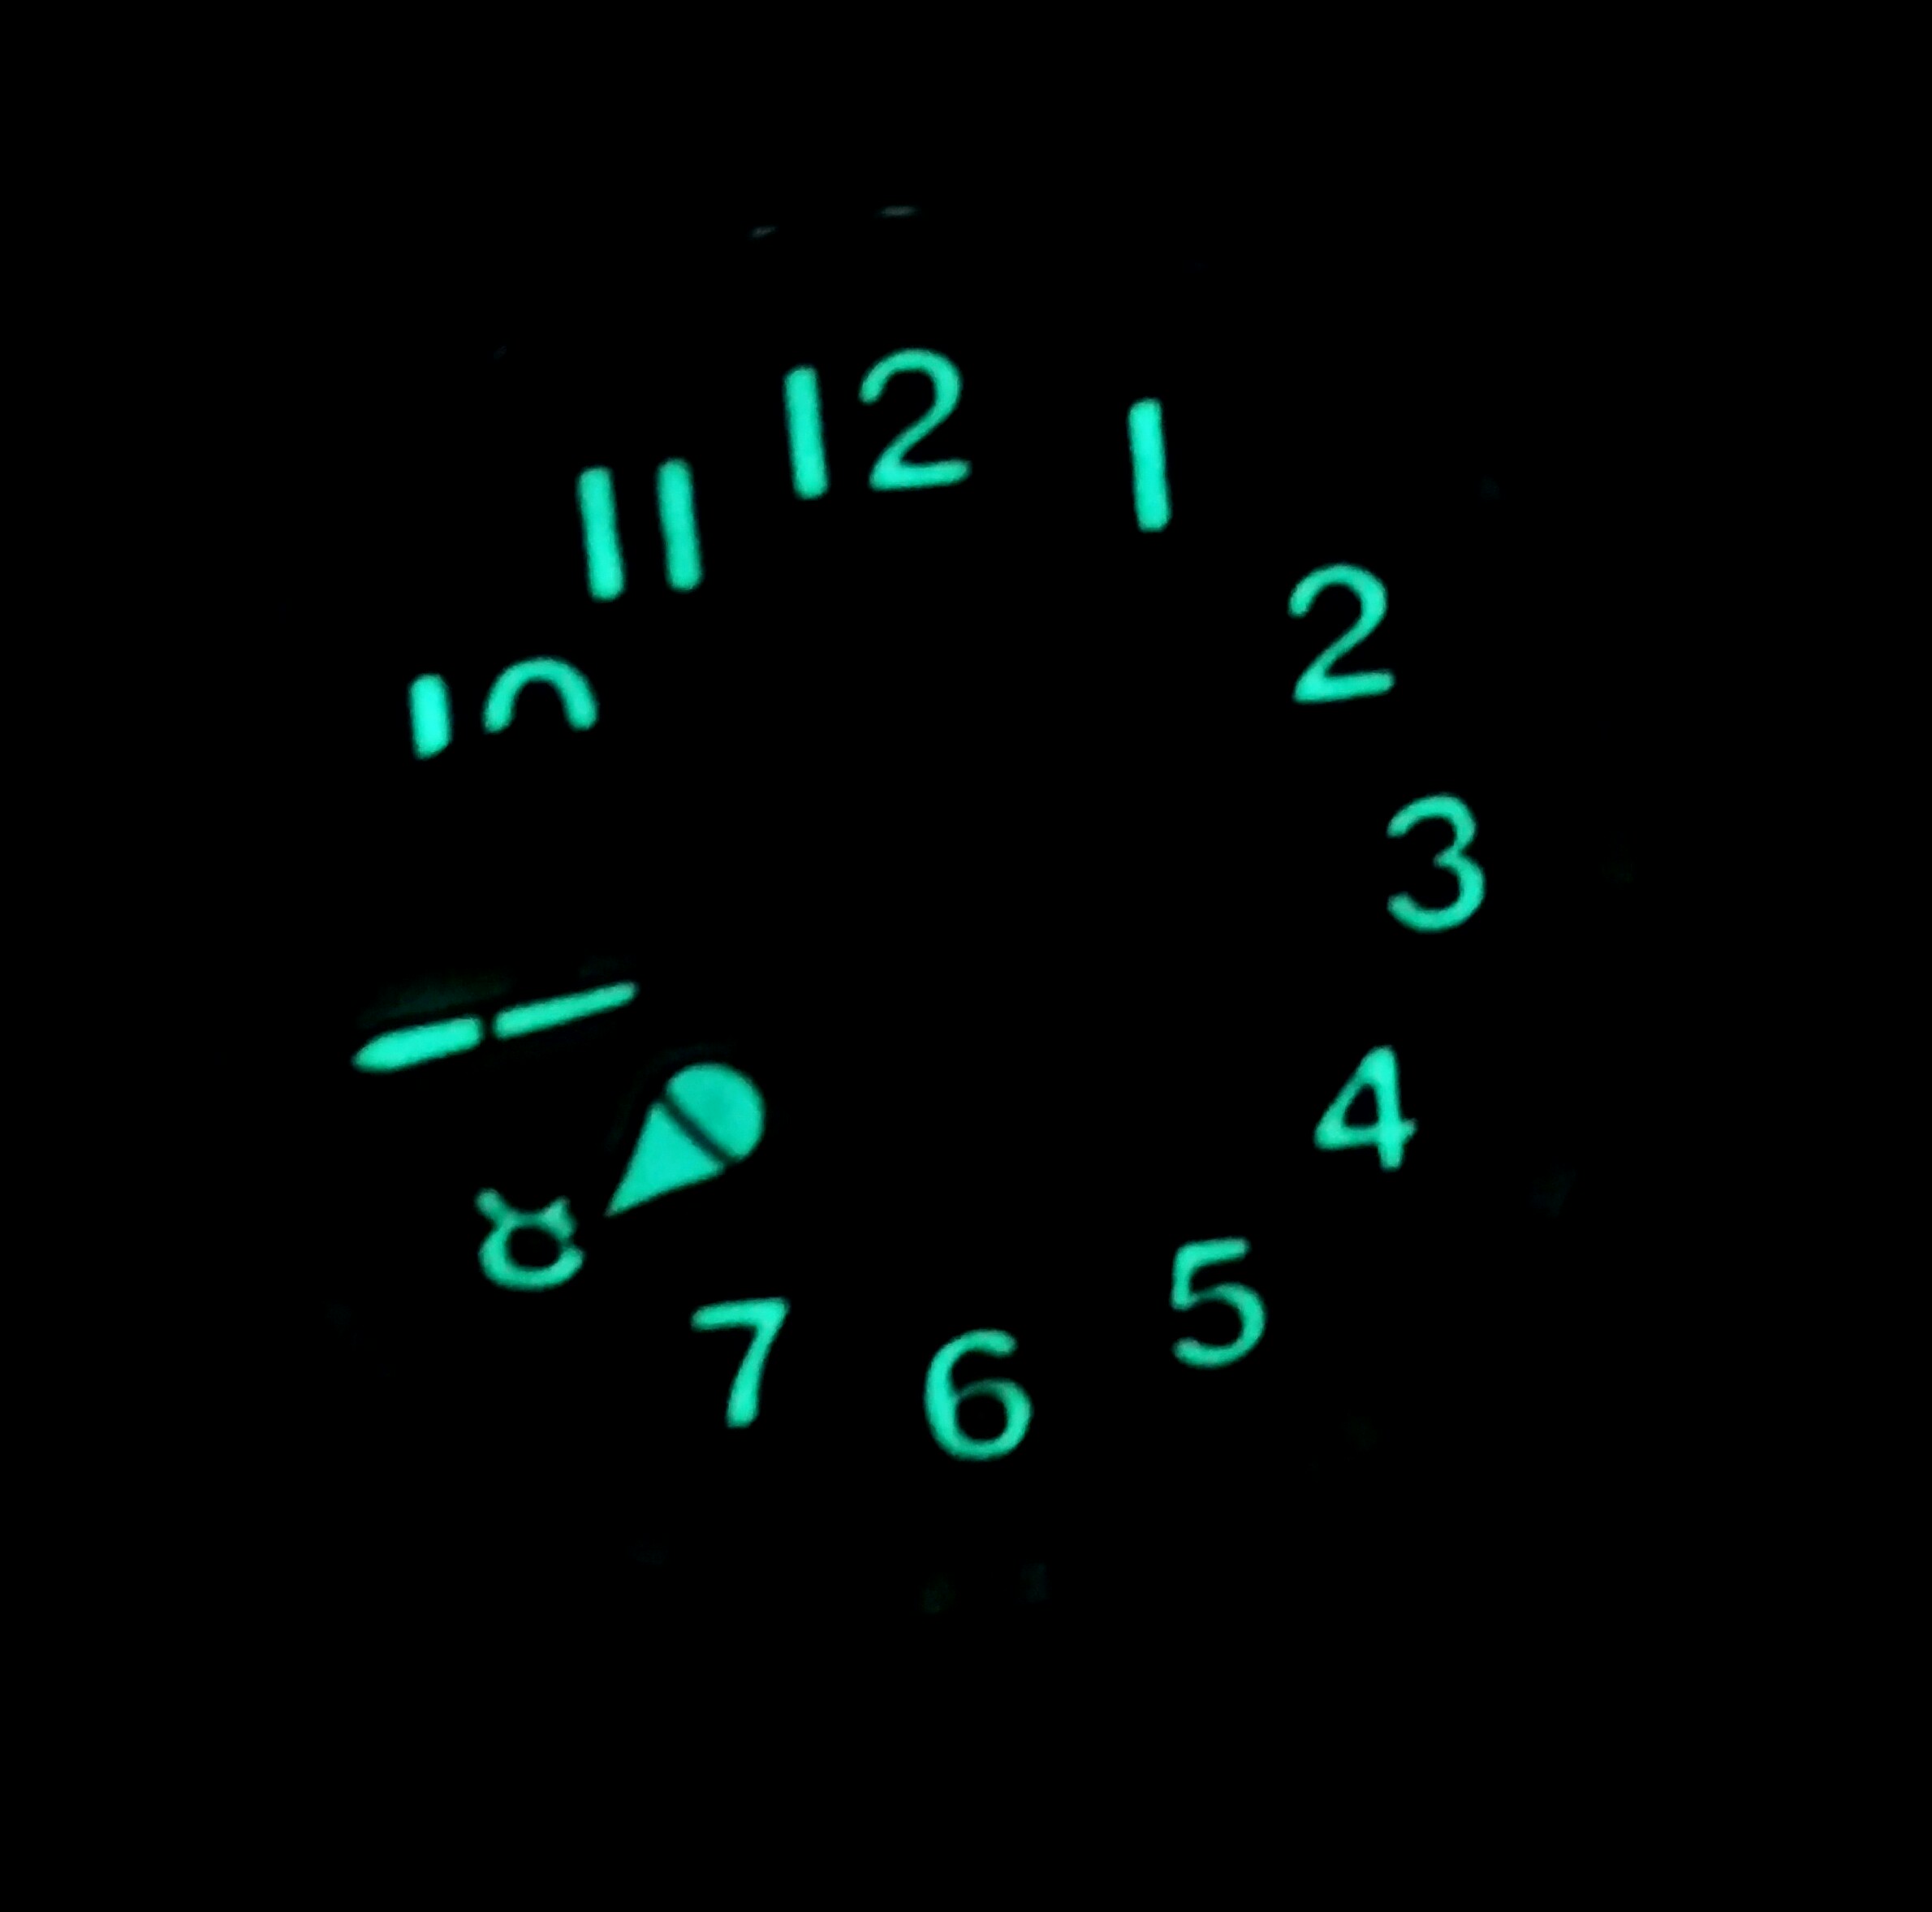
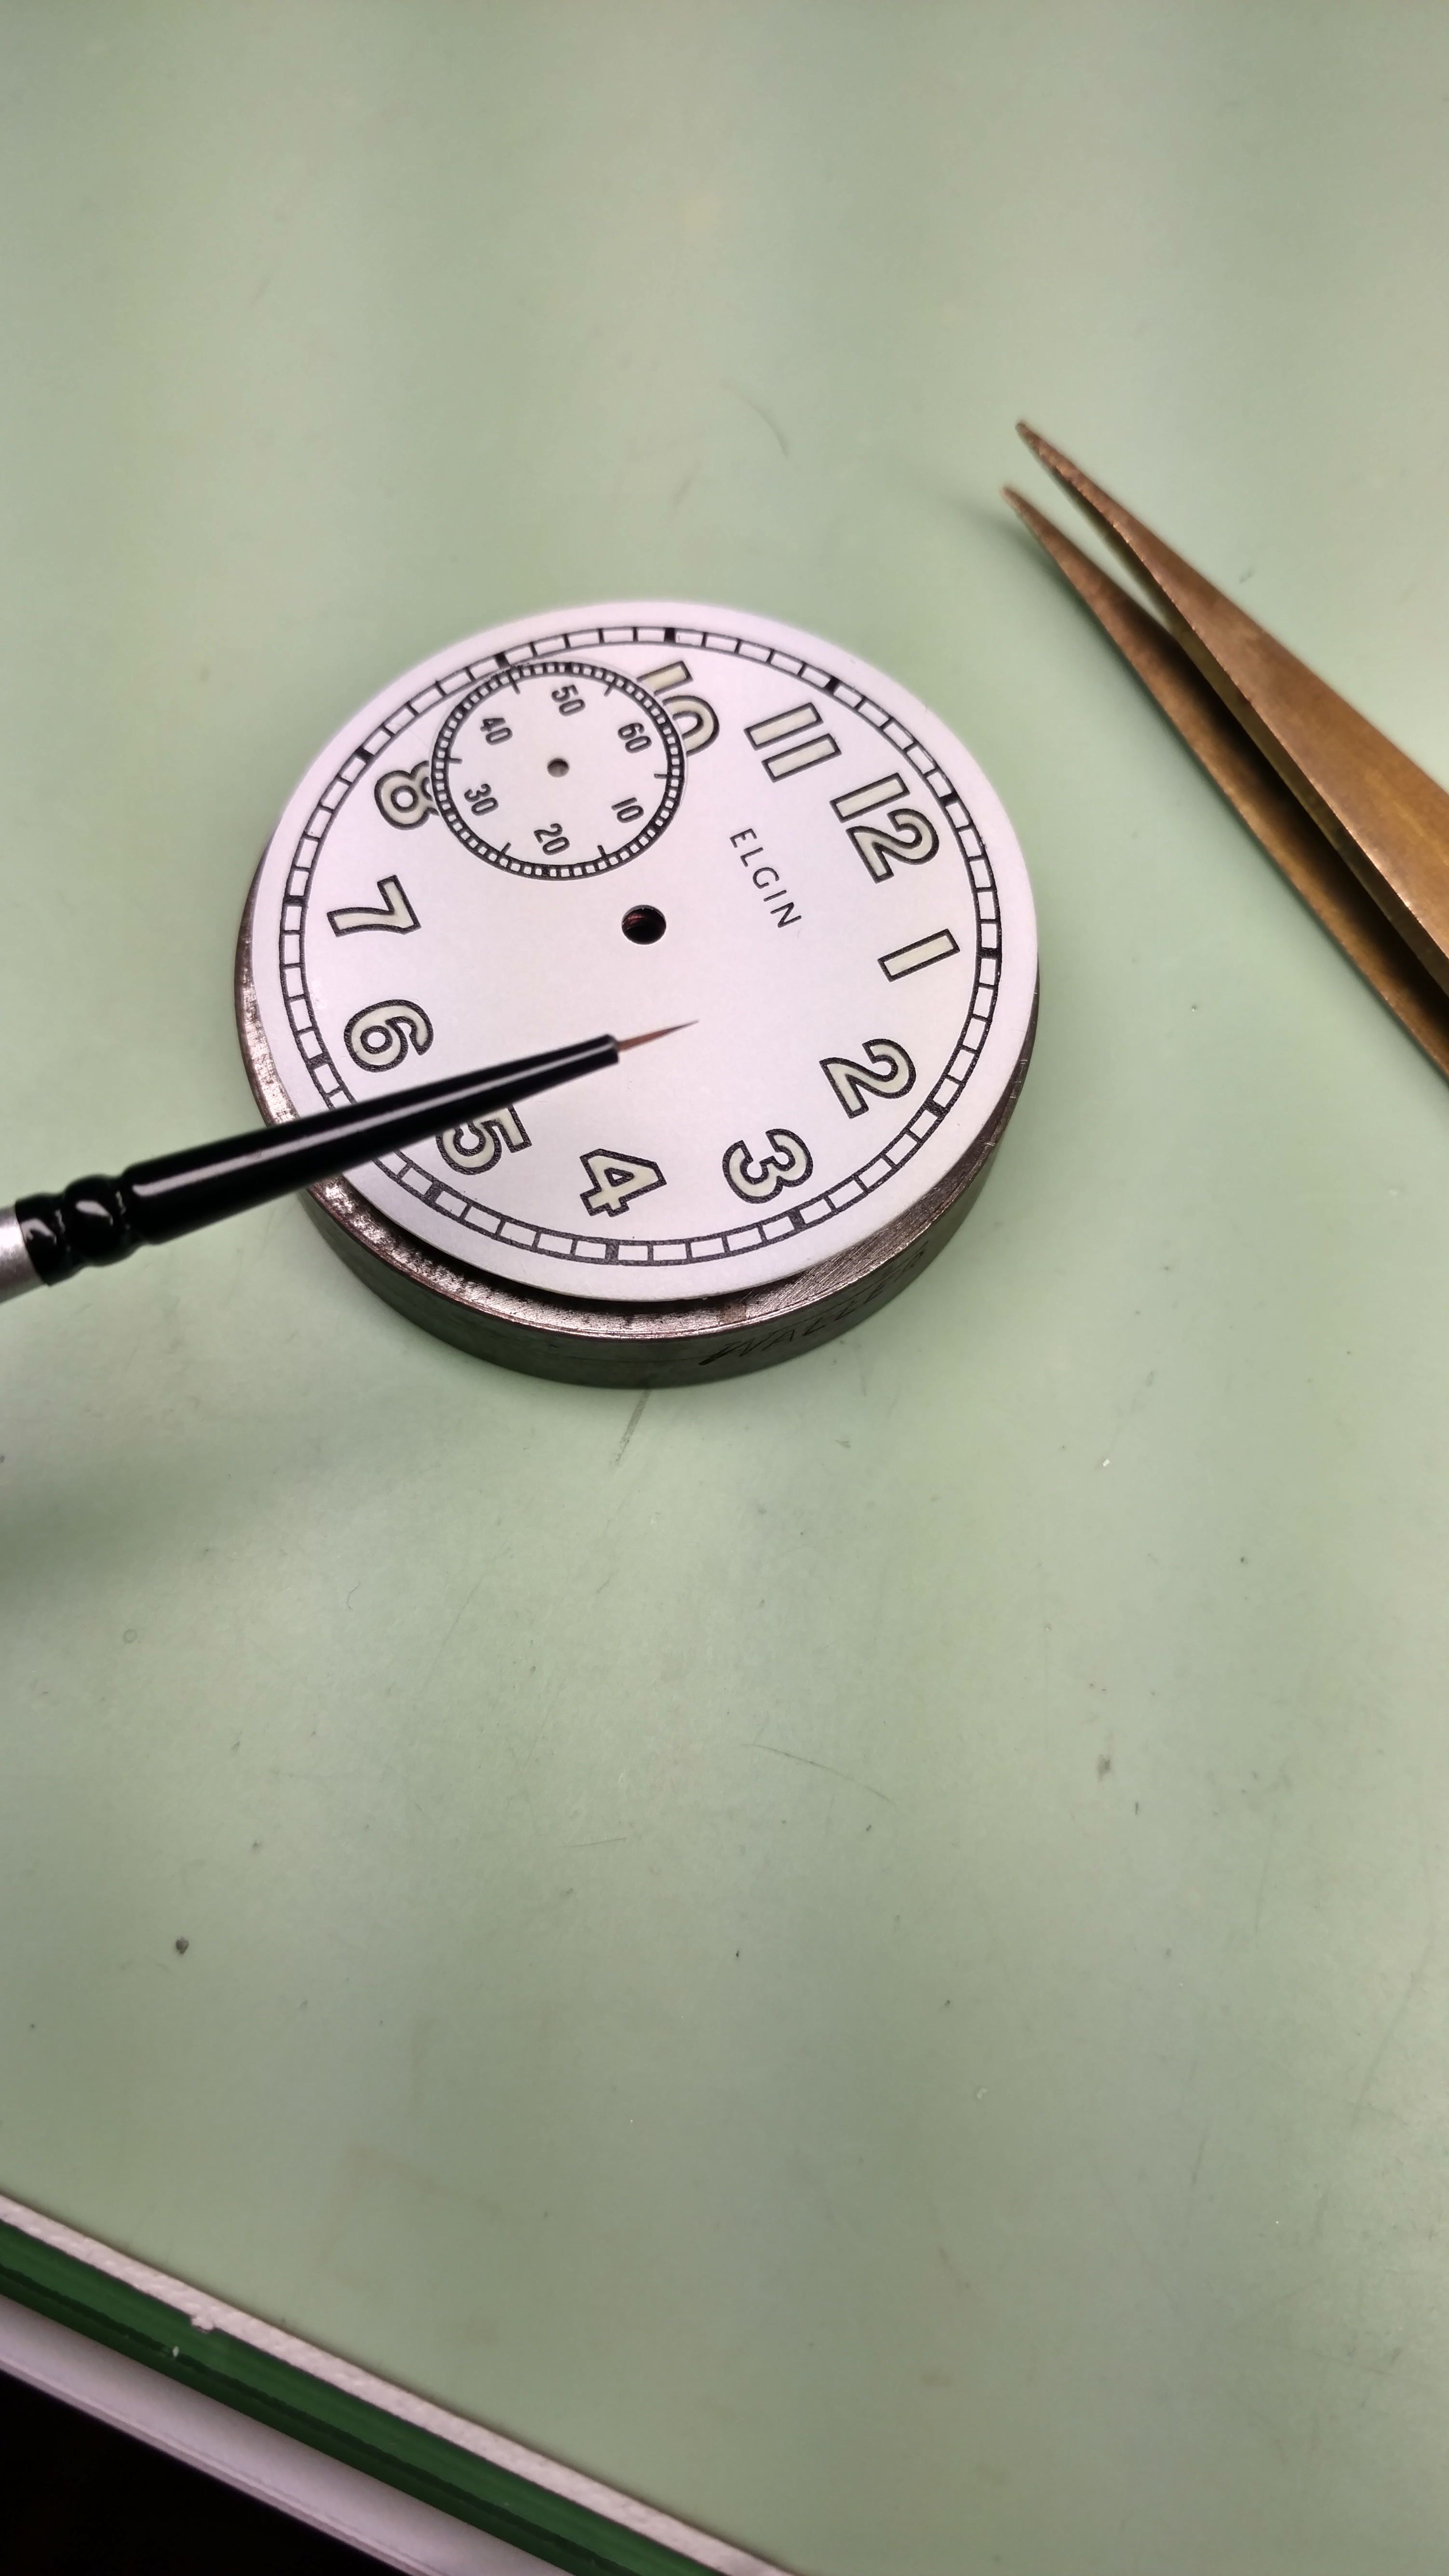
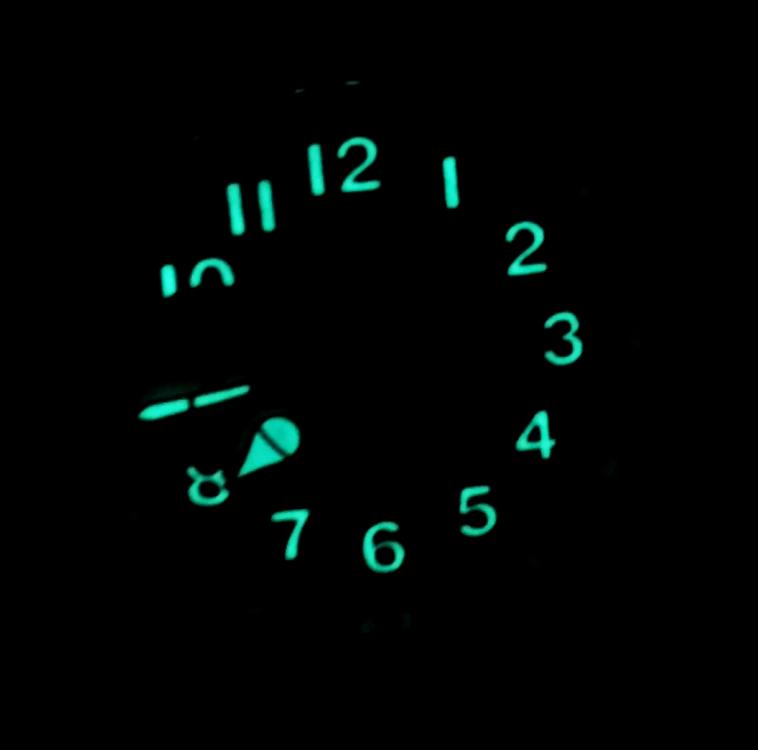
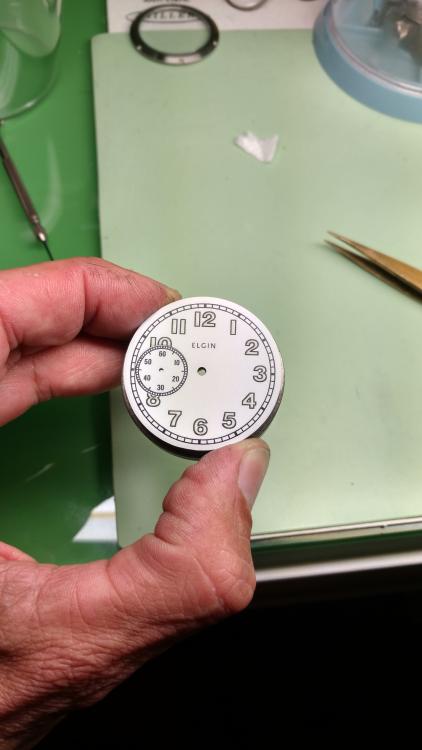
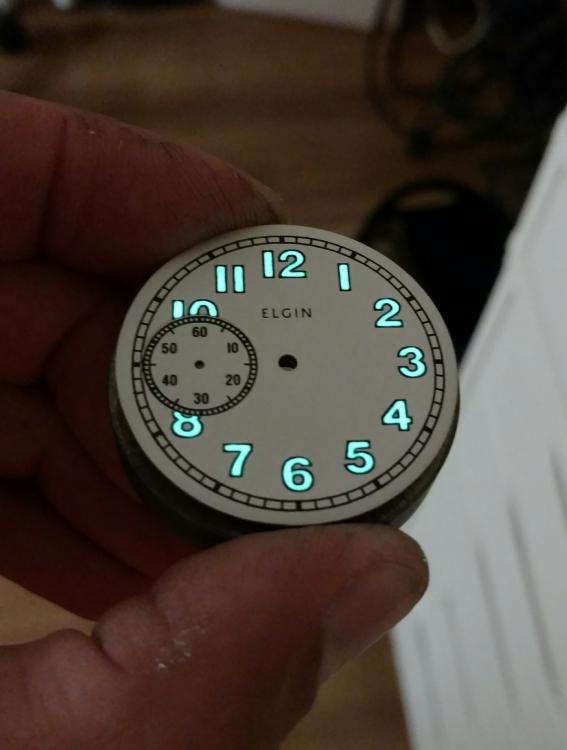
I'm very satisfied with how this dial turned out. I'm building and Elgin pocket watch conversion into wristwatch and wanted a vintage military dial look. I had recently purchased a lume kit but hadn't had the chance to use it yet. I design the dial with bold outlined numerals for the purpose of filling with lume. It really turned out better than I ever hoped! The first dial I did turned out very acceptable, except that I had another issue with it and had to start over. I learned quite a bit just from doing that one dial. Once I had the printing plate made I repainted the original Elgin dial to a flat white. I then Inked the plate and printed the new dial. Once everything was dry I then slowly added the lume using a 100 - 0 paintbrush which is about the size of a watch Oiler. I went around the dial 4 times adding a layer little by little. I'm very surprised just how much Lume this process adds. The markers have a nice three-dimensional heft to them...

 1 point
 -
I'm an o-ring fan too. Inside the lid of my Boley and Leinen lathe is a stuck on label which says it is essential to use first class mineral (or spindle) oil. After some research (where I came across as much opinion as there is about watch oils) I bought this: http://www.ebay.co.uk/itm/Mobil-Velocite-No6-High-Speed-Spindle-Oil-Free-U-K-Postage-/321918165229?var=&hash=item4af3d160ed:m:mA1wRjMUae9aNleEfui4_lQ For those who care about such things, this is the same oil as is specified for the spindle on Linn Sondek turntables.1 point
-
Cheers everybody! In the lately I have done service on vintage Certina and Omega watches from the 50 and 60 s. And I see that many of this have an metal ring atteched to the glass or crystal. Can somebody tell me the purpose of this? What is it for? Thanks and best...1 point
-
A word of warning here. In many Omega crystals the ring was relieved to fit around and center the dial. The outer edge of the ring will be level with the edge of the crystal, but the dial is slightly smaller and fits into the inner relieved area that is recessed. If you press a new crystal with a solid ring all the way home, you will crush the edge of the dial with the tension ring.1 point
-
Thank you Chopin. I was worried but now I feel encouraged. You have been a great help to a total learner.1 point
-
To be honest I'm an amateur. Only serviced a few watches so far. Almost all of my tools are cheap (each costs a few $) but they do the job just fine especially if you are careful and patient. If you worry about the costs you can just start cheap like me and see if it satisfies your needs. It'll take some time to get all of the things that you need but you can get there in no time.1 point
-
Thank you Chopin. O dear, what will I tell the wife. I never imagined this and doubt if I will be able to do it. I think most of you here have an aptitude for such things. I think I can only fantasise! Back to the watch maker but again, many thanks.1 point
-
I will get one so i don't go through the same annoying learning curve. All little sounds bug me:) Sent from my iPhone using Tapatalk Pro1 point
-
JD Ricahad, Yes, those are the type of lathe belts I can't stand. They are the very reason I switched over to O-Rings. I went through the learning curve with the welded belts as well. Even a welded belt that looks perfect still has a hard spot at the seam. I know that some people swear by welded belts but I prefer the seamless O-Rings. david1 point
-
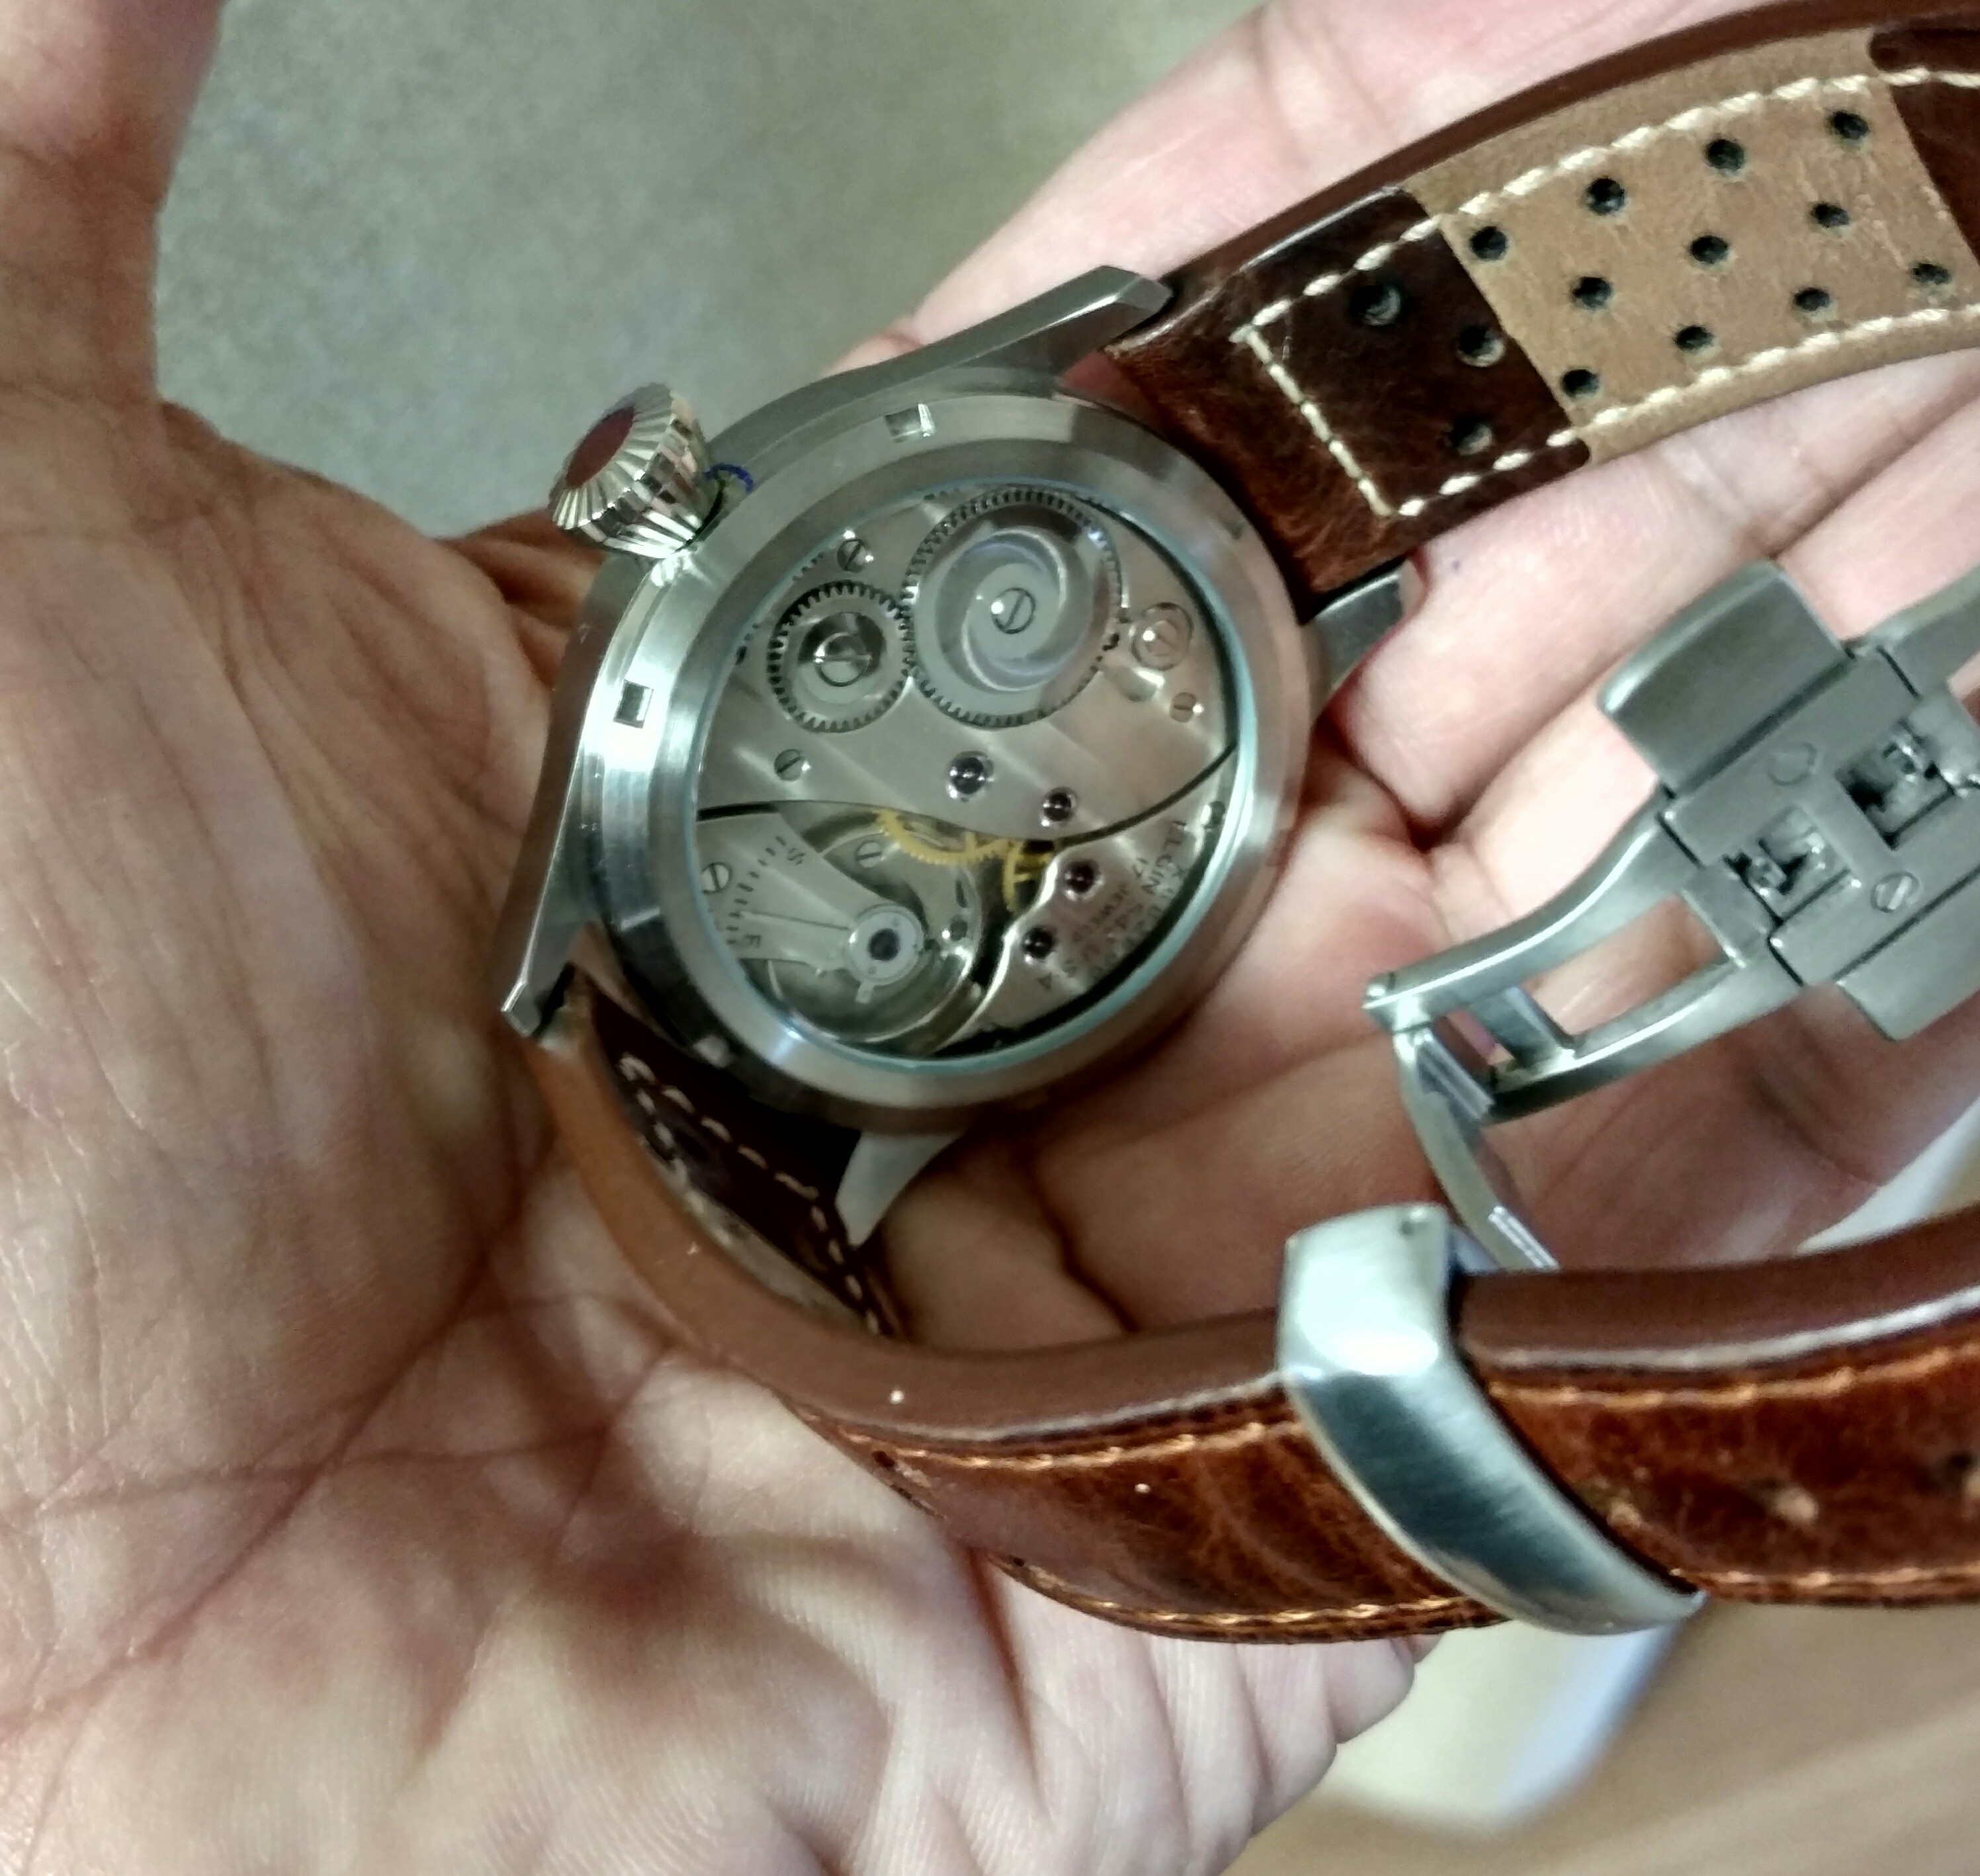
It's legit. Don't worry. Everything is in place if you ask me. Weird that they made the case back look like a screw down but I've seen it before...1 point
-
http://calibercorner.com/sii-caliber-vd53b/1 point
-
Temporary leather shoe lace belt stapled and taped Sent from my iPhone using Tapatalk Pro1 point
-
Yes, Sternkreuz make the "ATC" type which is standard low-dome. They also do high dome, wide ring (ooh err) and gold ring versions.1 point