Leaderboard


Popular Content
Showing content with the highest reputation on 09/23/14 in all areas
-
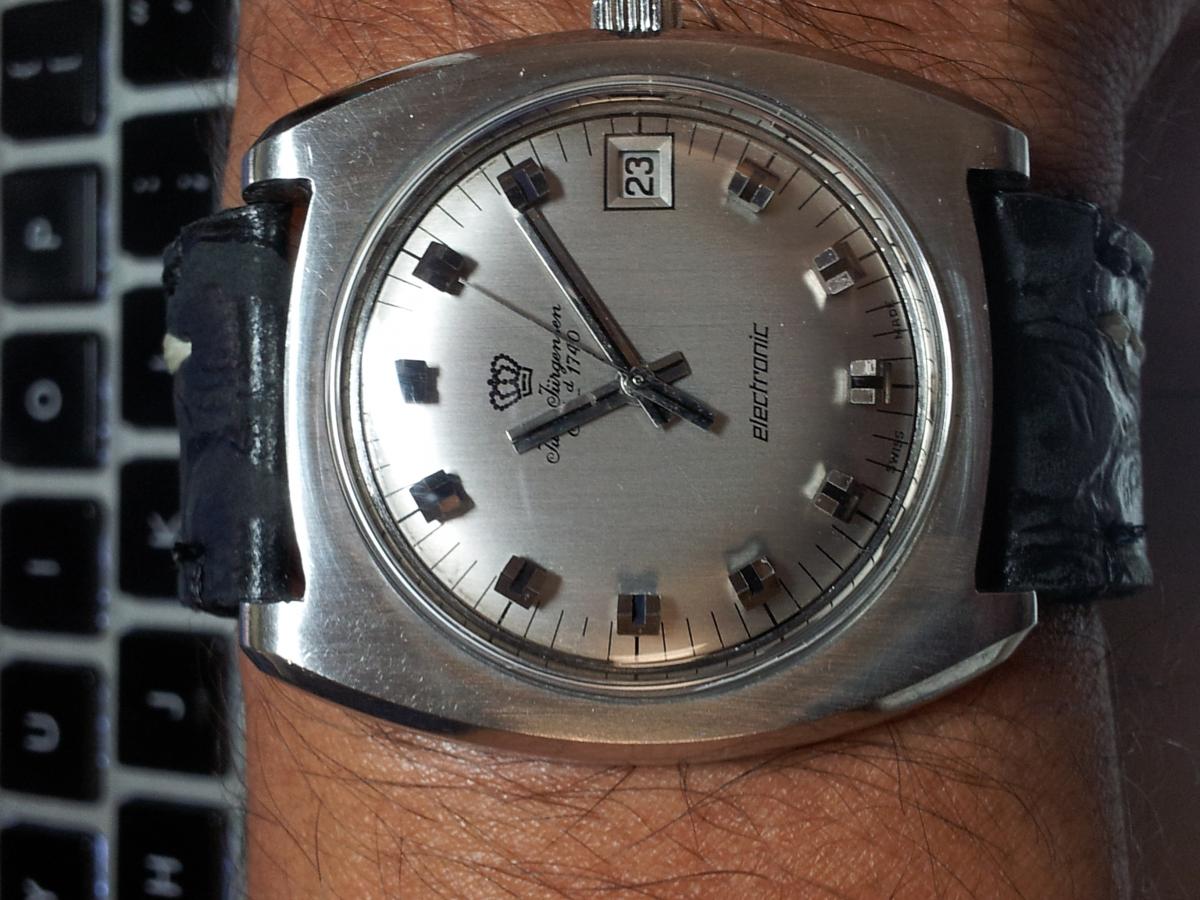
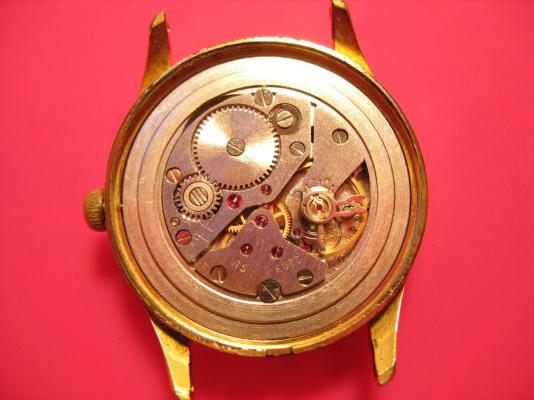
Here's one of my favorite watches. It is powered by an ESA 9154 with a Hacking feature and calendar, and this thing keeps time within 3 seconds a day! Its as good as any of my Omega certified chronometers and I got it for about $40...a little maintenance and a new crystal/gasket and here it is!
 2 points
 -
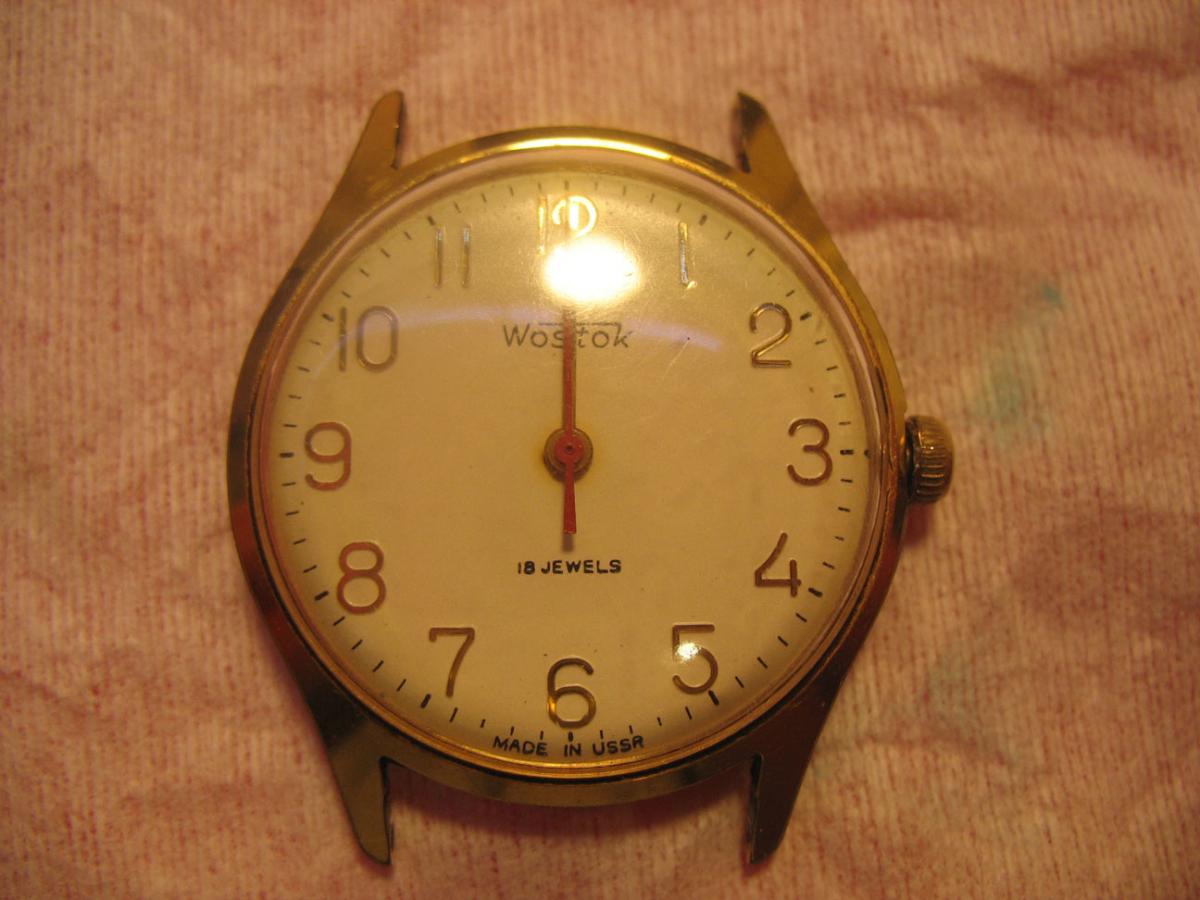
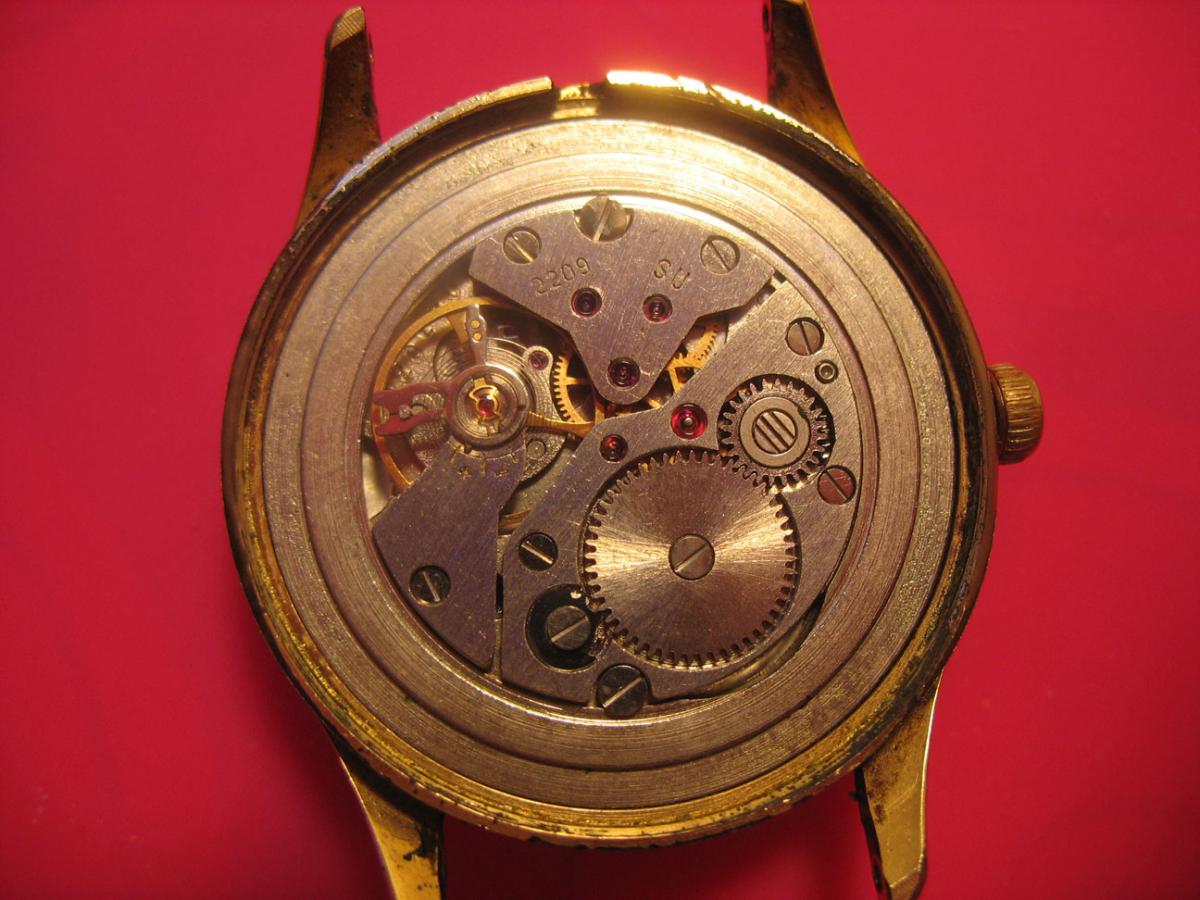
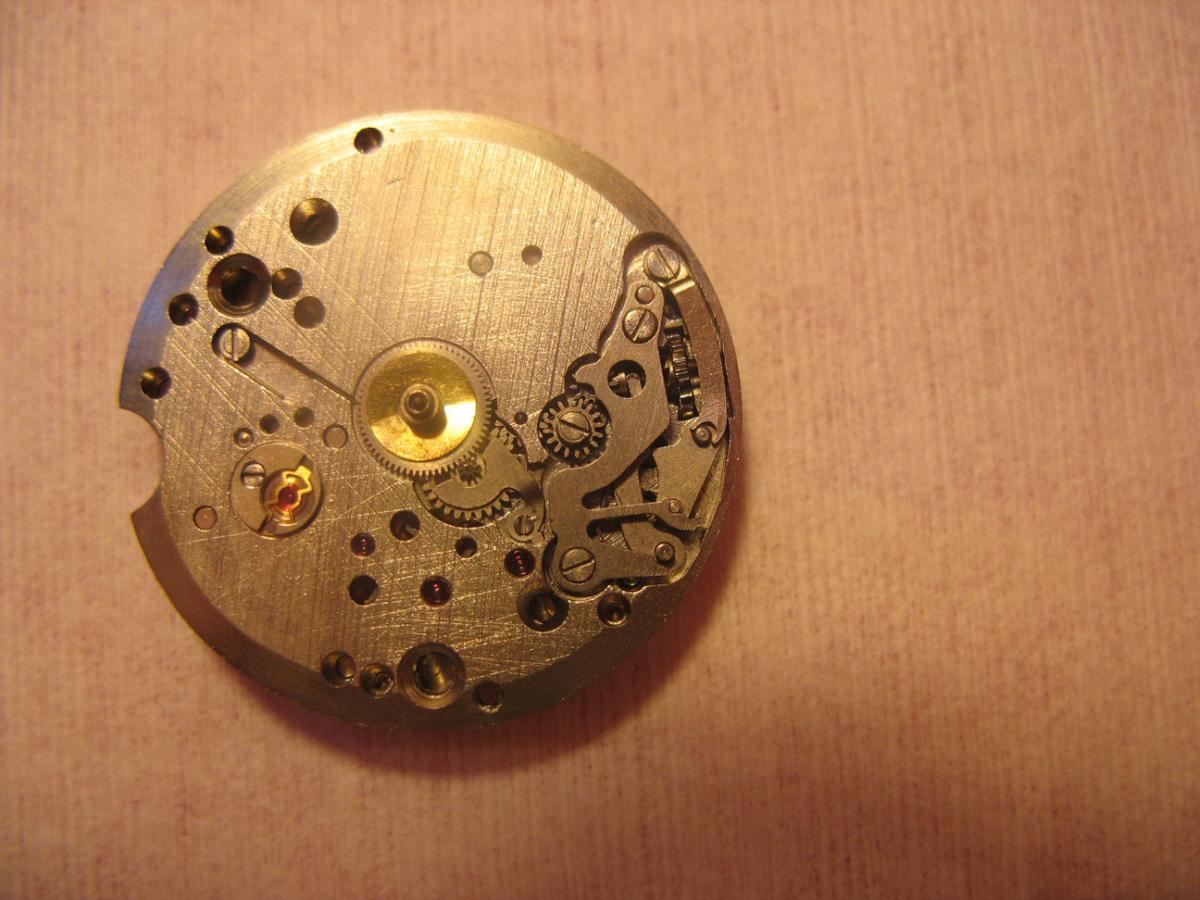
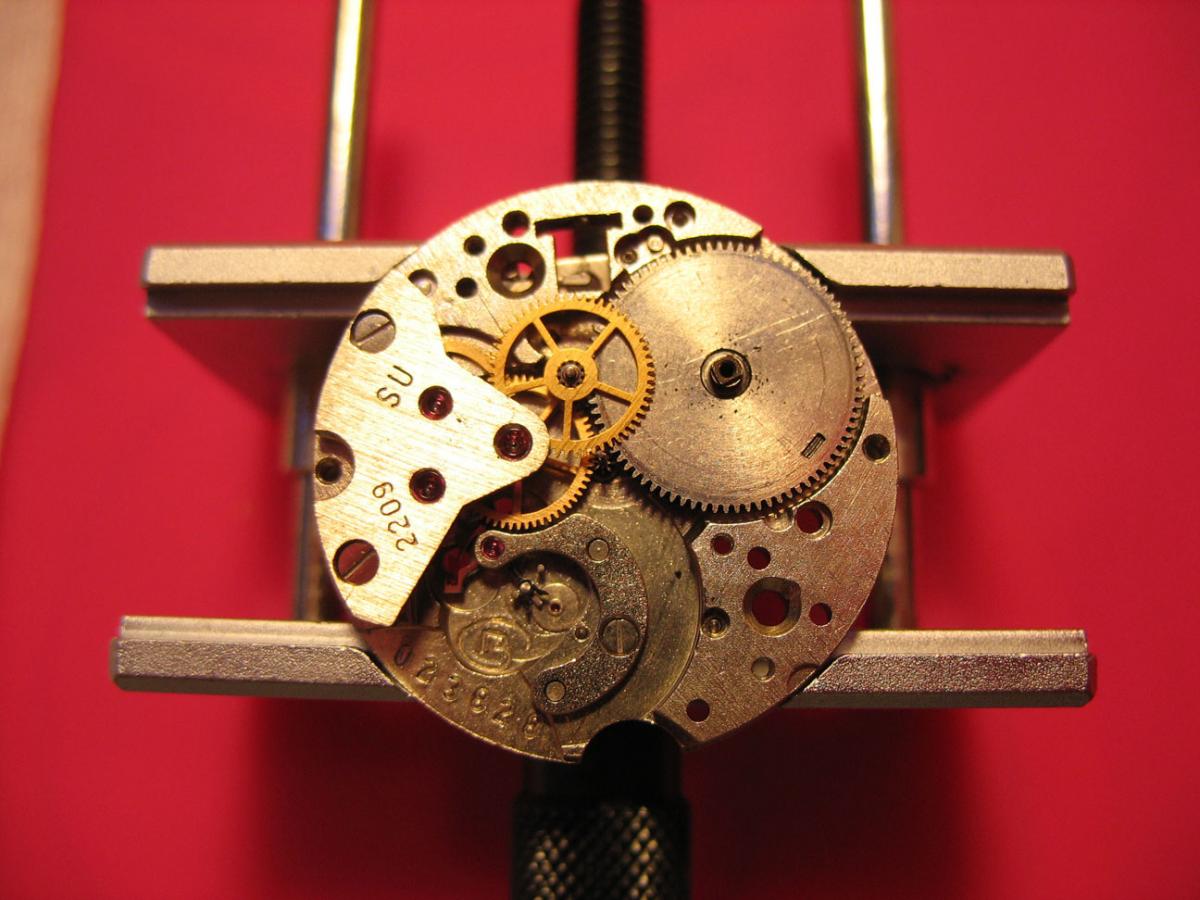
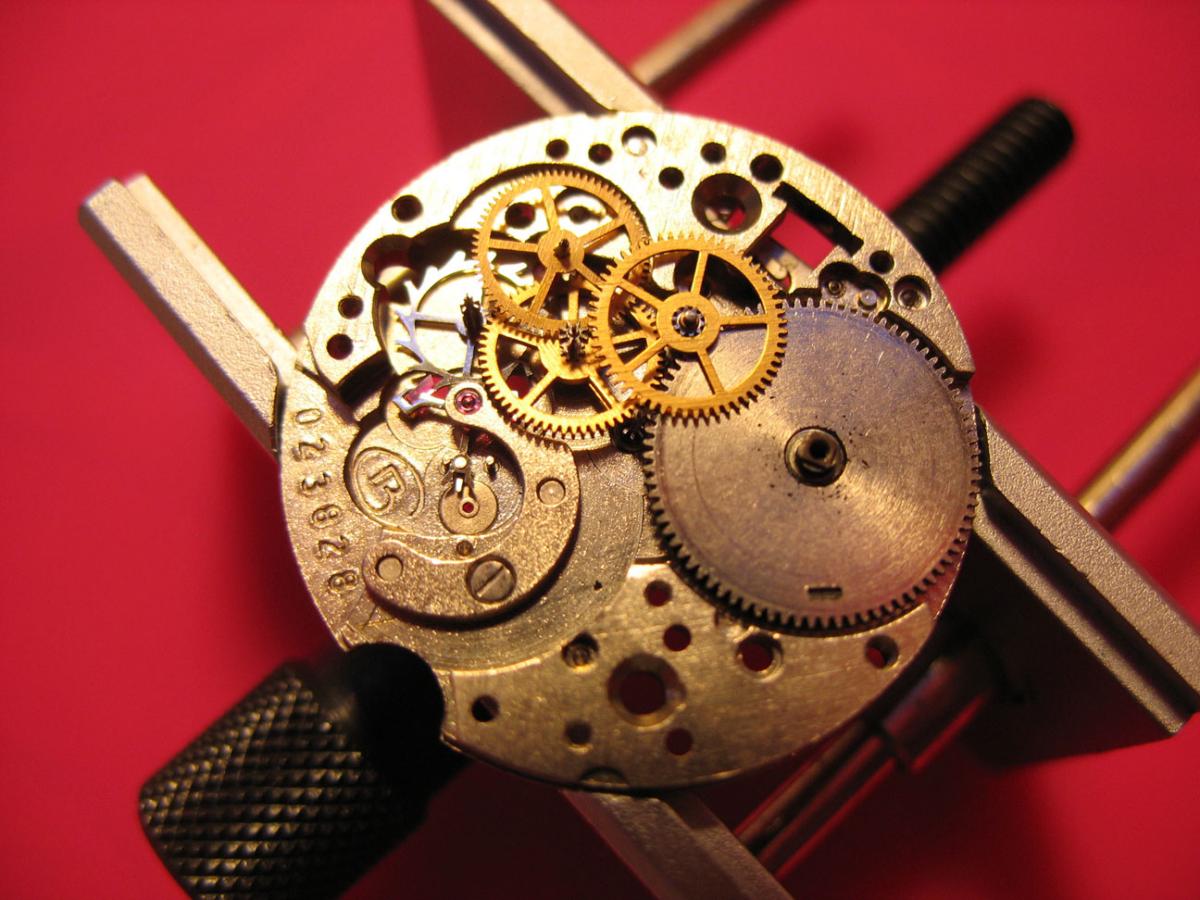
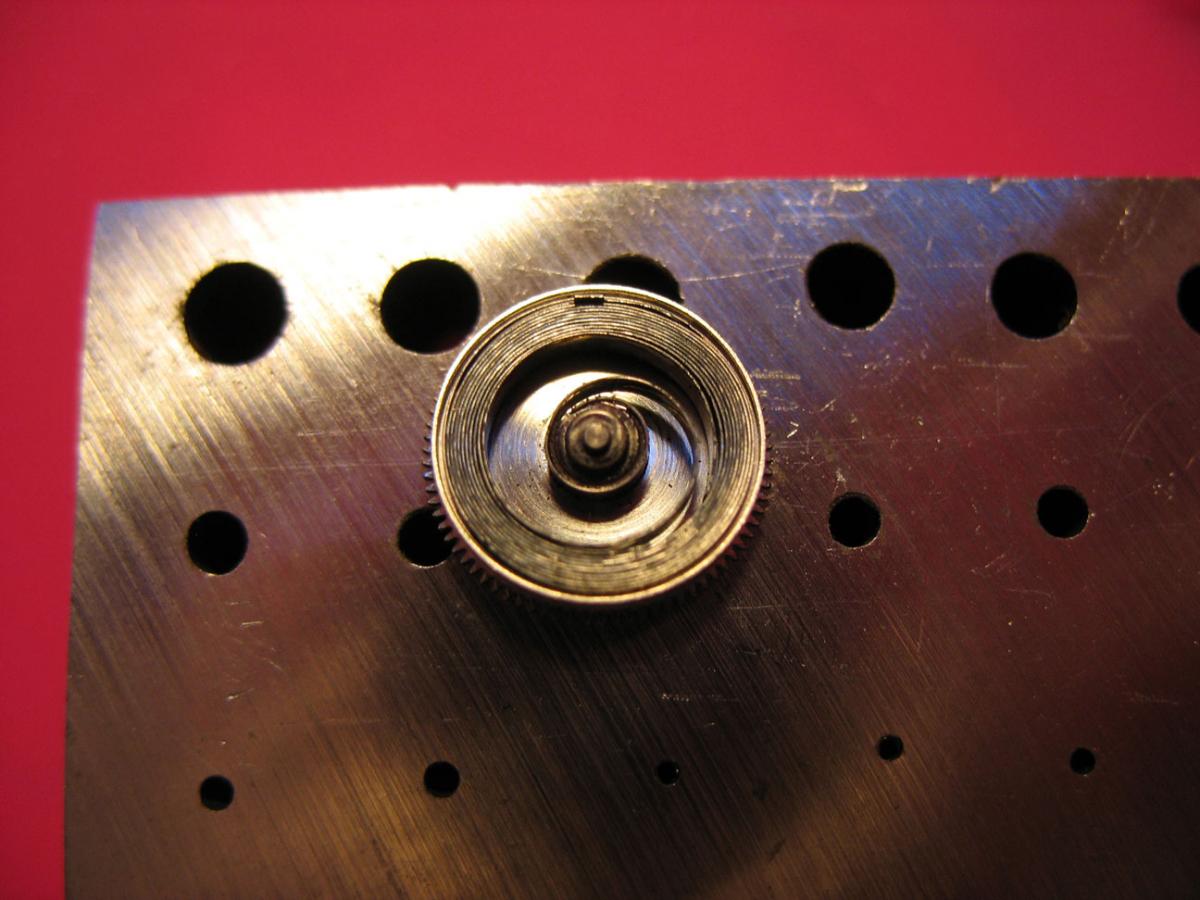
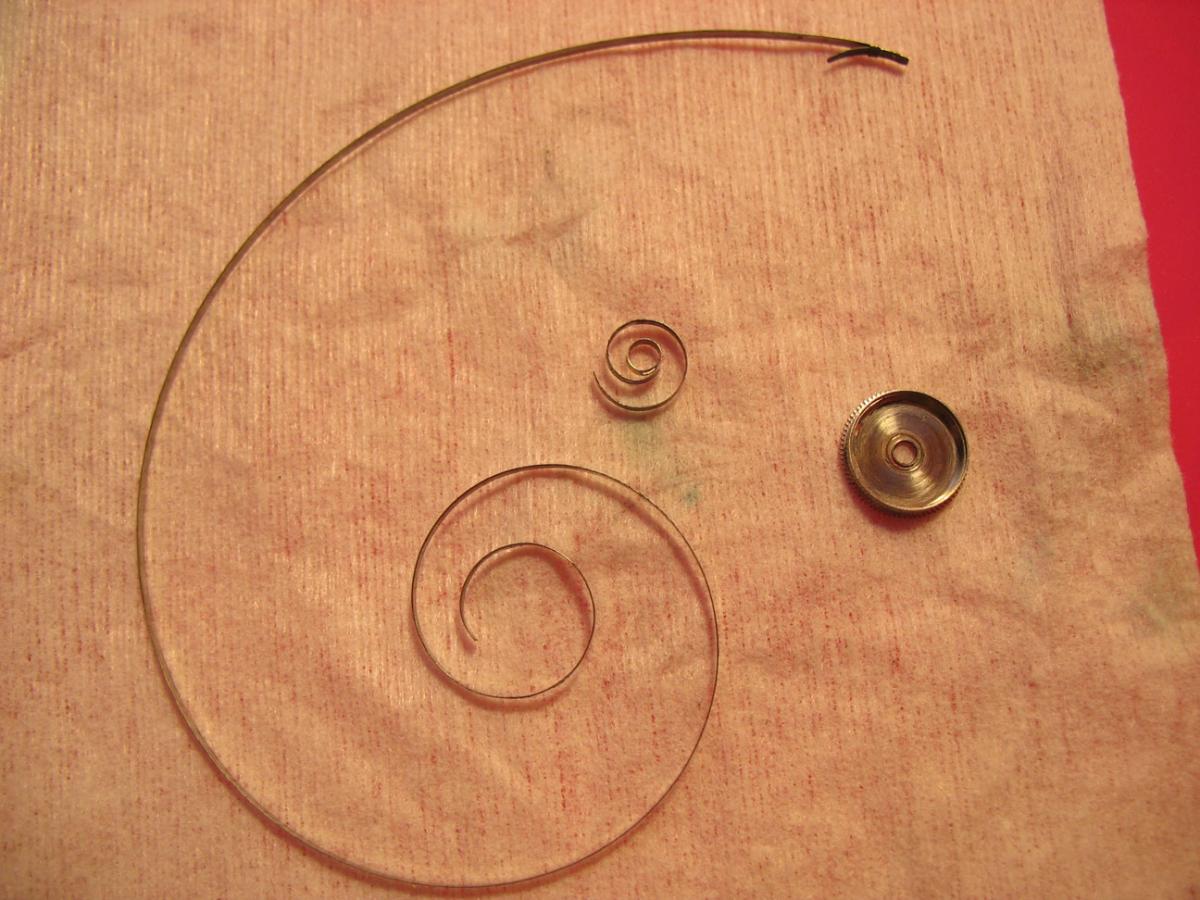
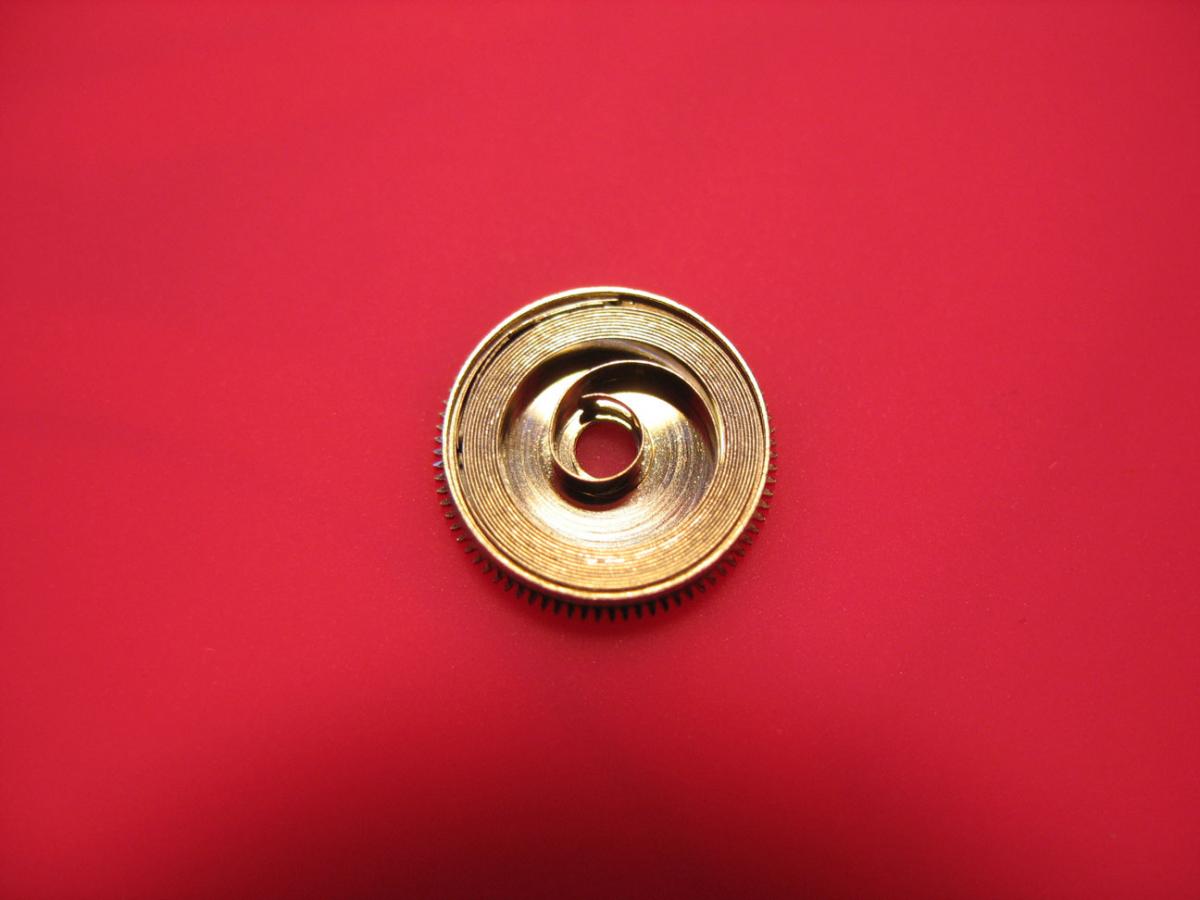
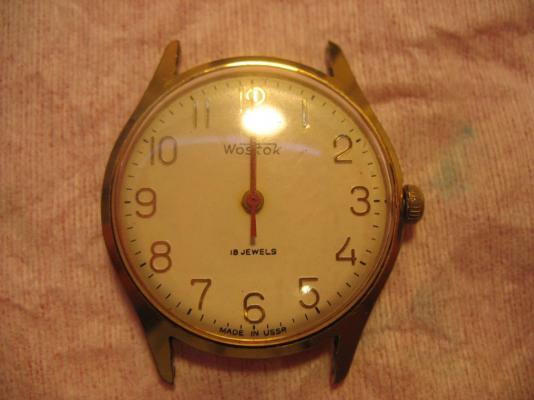
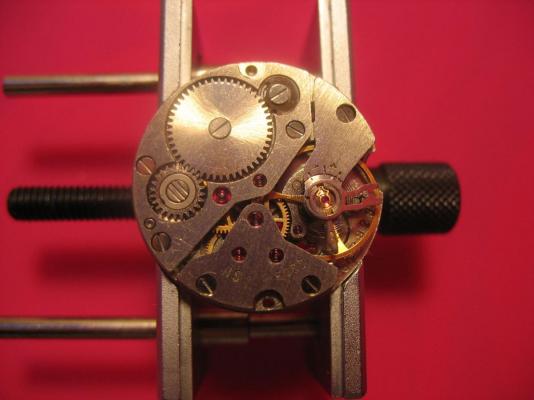
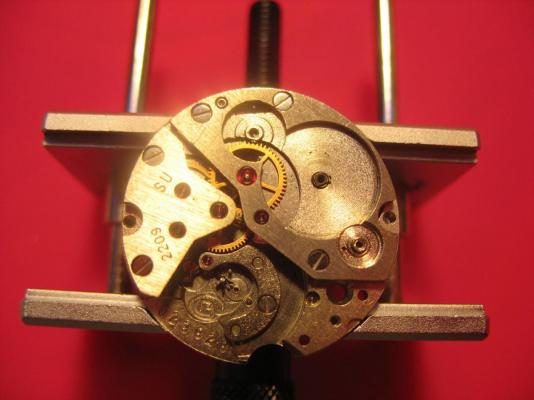
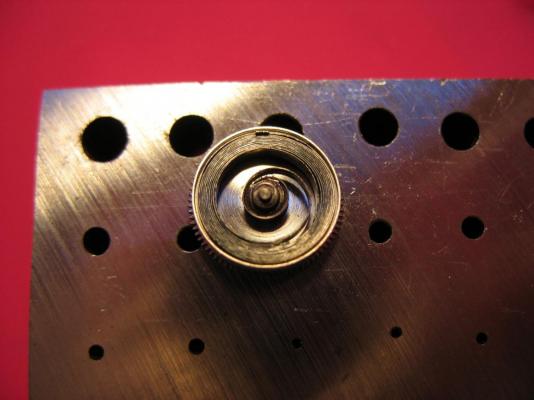
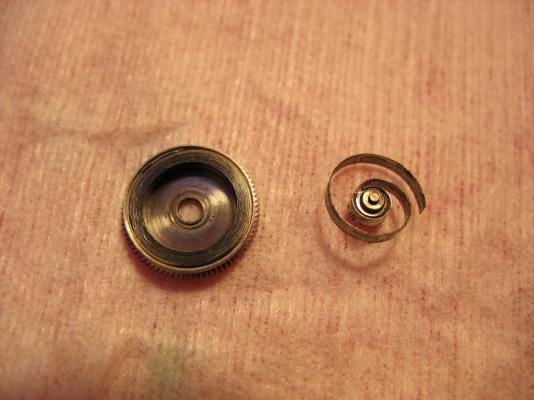
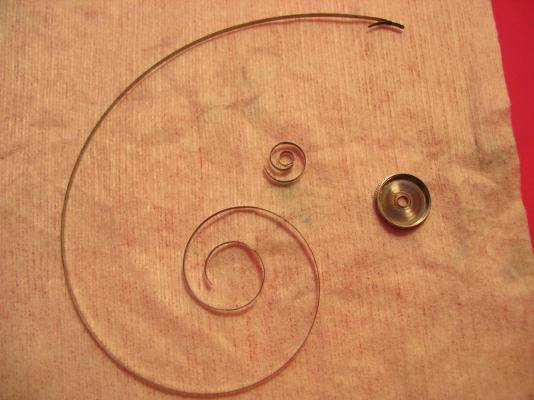
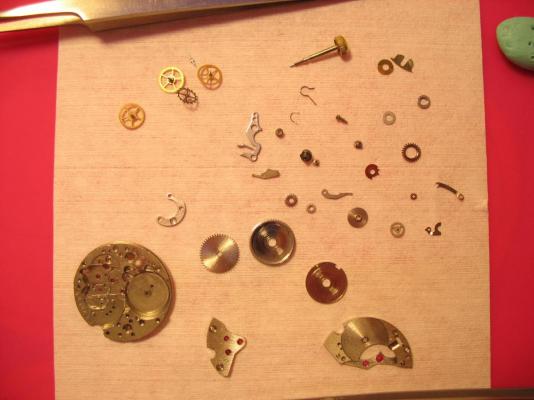
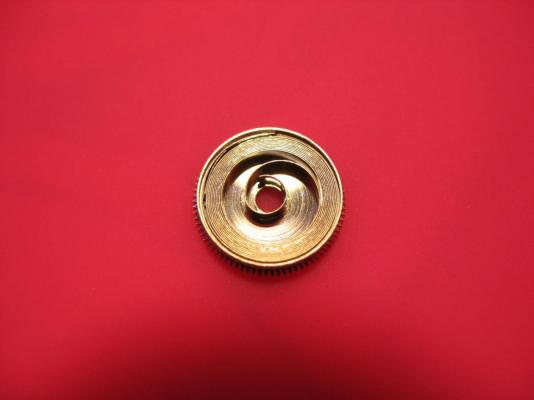
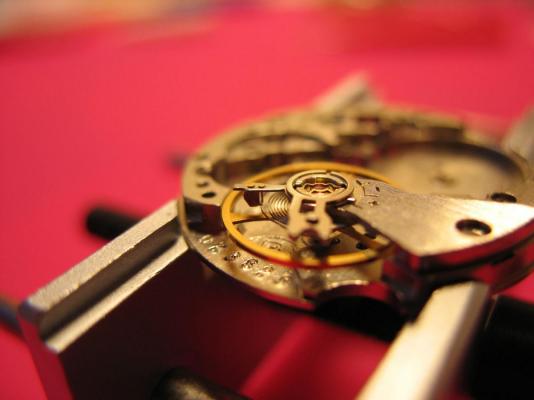
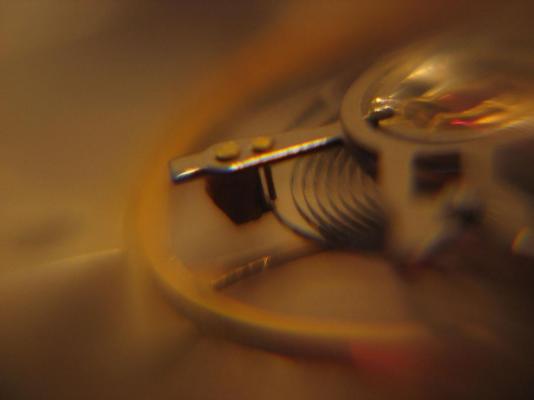
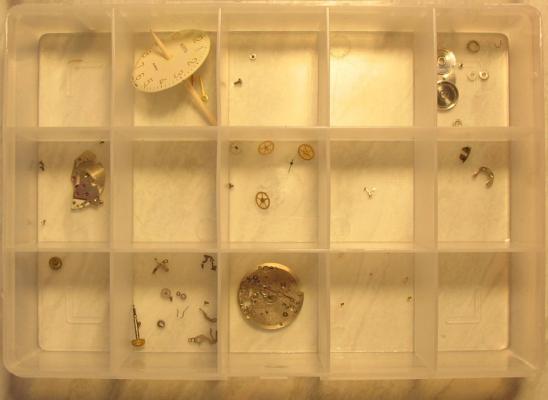
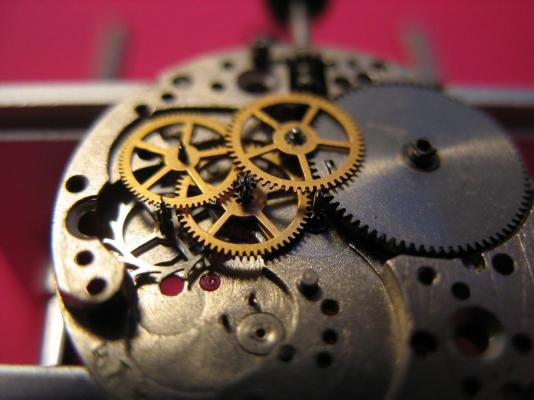
Hello! yesterday I finished putting back together a russian wostok 2209. I thought twice about posting this after seeing what monumentally complicated movements Mark posted... but then I thought this what this forum is for. So here goes: This is the watch. about 30 years old. I would say it is in great shape. The reason why it didn't work - broken mainspring. Parts after cleaning with benzine and isopropyl alcohol. Replaced Mainspring I centered the mainspring between the regulating pins. Done! That's it! Some interesting things about this movement: The friction pinion is on the second wheel - the minute wheel is indirectly driven. Also there is a double third wheel:


 1 point
 -
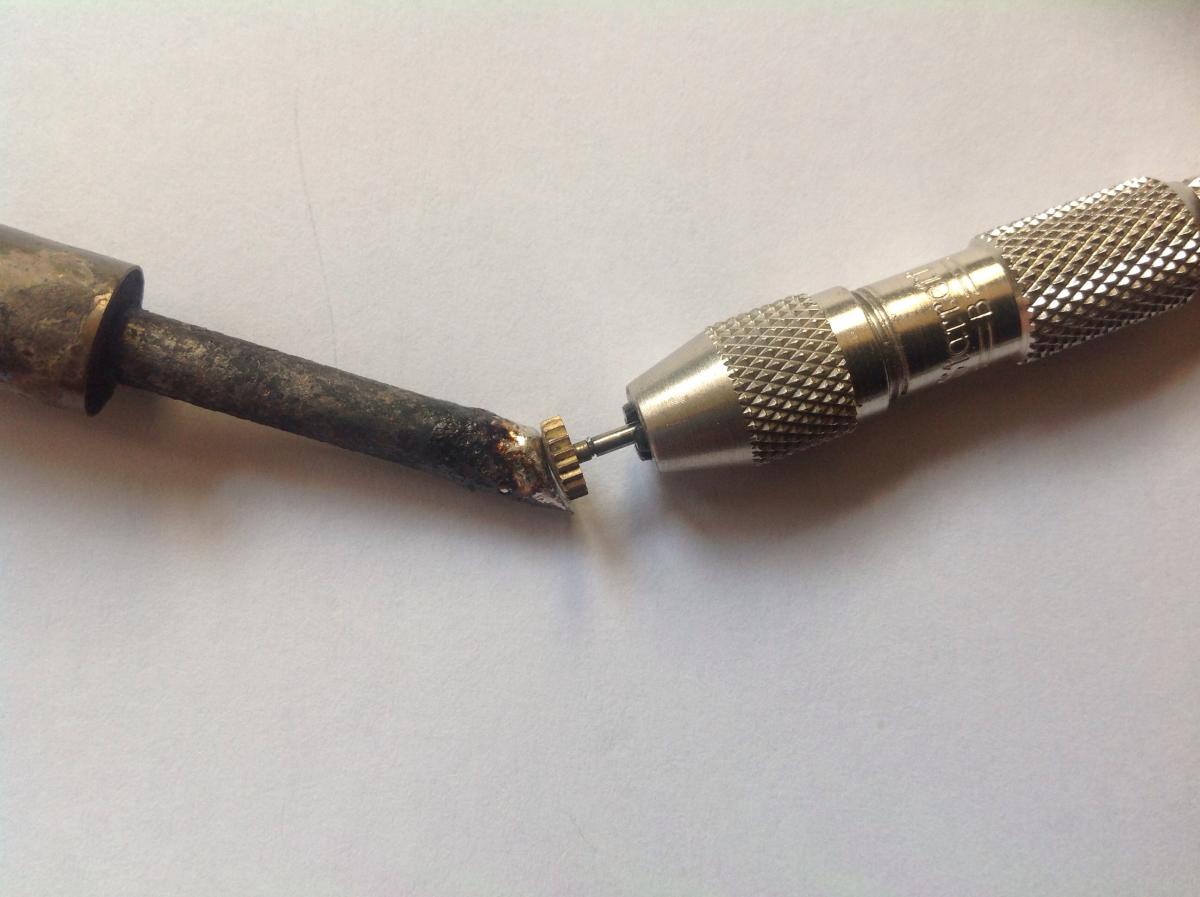
Yesterday I managed to start work on my Seiko chronograph. "Autowind" on the forum was kind enough to donate a watch that had the same type of stem and crown that I required, I really can't thank him enough for that. I thought all I had to do was to remove the stem from one watch and fit it to the other, but unfortunately (or luckily) the stem was too long. I thought This will be an easy fix, just unscrew the crown and shorten the threads by 1mm. Well I gave it my best shot but it refused to budge, I think it had been fitted using Loctite. As this stem is rather special, it has a spring loaded gear on it to drive an internal rotating bezel, I was frightened I would break it. After a bit of deliberation, I came up with the idea of using a soldering iron to apply intense heat to the crown. I held the stem tightly in a pin chuck and applied the soldering iron to the crown. After about thirty seconds of applying heat, I used a pair of pliers and the crown unscrewed very easily. The only caveat, if the crown is not stainless steel or chrome plated, put some high temperature grease on the crown to prevent solder adhering to it.
 1 point
 -
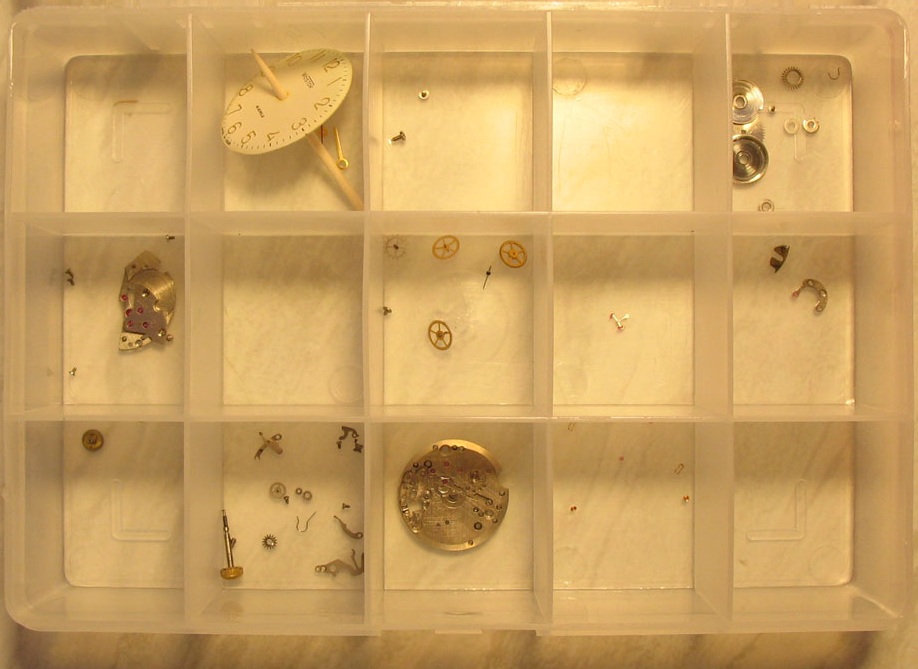
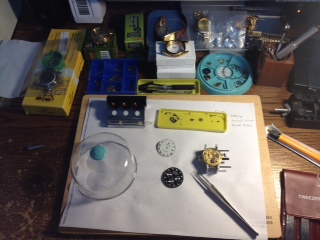
Hi everyone. I too, am a watch enthusiast. As you can see I'm starting to build up a tool inventory. I now see how things start to build up. I'm glad I found a hobby that I enjoy. I find it both relaxing and rewarding as I become more familiar with disassembling and rebuilding a watch. Already I replaced a mainspring and a case crown tube. The fear is beginning to subside. Well anyway, I'm glad to be on board and look very much forward to fellowshipping with everyone here. Here's my temporary work area (my computer desk); I'm working on getting a table top watch repair desk.
 1 point
 -
If I am not mistaken, brass tweezers are softer, hence better for handling more delicate parts to avoid scratches or marks, is that accurate? If that's the case, why not just use brass tweezers all the time? What are your understanding about the usage of brass versus stainless steel tweezers? Thanks1 point
-
@mark - yep, I bought the replacement from cousins....expensive habit, this watchmaking lark. My wife describes my watch obsession as a combination of hobby and habit - a Hobbit :) I assure her I can quit any time...1 point
-
Don't worry Colin - this is a code friendly zone. Perl was the first computer 'language' I learn't back in the late 90's and I was addicted to writing small scripts for my website. Then I got into PHP and this has been very useful over the years. In the past I have also enjoyed, sort of, using VB and VB.NET and QT. With the question of water resistance, you have to look at many factors when designing a case. Obviously the material and the material thickness. The back. For example, a snap-on back is almost useless for a divers watch. So a screw-on back is required. The glass should be thick enough - 1mm for a basic swimming watch, 2mm or more for a divers fitted with a nylon gasket - or an armoured perspex. The crown. A regular water resistant crown for swimming, a screw-down crown for divers So all the weak points: Glass Crown Pushers (if its a chronograph) Back And also remember - there is no such thing as water-proof when it comes to watches, just varying degrees of water resistance.1 point
-
Yes Don, I took -- mainly, I'm still taking -- all 3 (I go back and forth as needed). The reason is they don't expire, I understand, and the information there is pretty much best practice and approaches Swatch "guidelines". As a matter of fact, the instructor used to work for one of the Swatch Group companies and is a real instructor in a watchmaker school, I believe in the Netherlands. The link is also very useful with the ofrei site since they are the official "store" for the school and are more helpful -- also better prices -- than with regular customers. The 3 courses are complementing one another so #1 is not a complete service unless you have all 3. On the other hand, the seiko "course" was an attempt -- and I mean an attempt for the reasons listed later -- to an online class. I figure the people that started this class became more involved in business and not quite watch repair than in knowledge. Also I believe, the instructor, a full, apparently reputable and knowledgeable watchmaker couldn't find the time to keep up with his many occupations. But whatever legacy he left through that link is an almost full servicing of the Seiko 7S26/7S36 and very nice at it. Since this is a free class, I highly recommend it but you will get a lot more -- if starting from zero -- if the TZ class is taken first or at least at the same time. All in all they all complement one another...probably as everything watchmaking. One thing, also my belief, is that all those are nothing without Mark's videos which actually demonstrate techniques discused or hinted in class and/or teach some new, more practical approaches to them. And as everything else, this community here at WRT...well you know the rest! I hope this helps in your watchmaking interests. BTW, did you introduced yourself to TZ class on 9/4? Either that or we have a student in class with your name! I sign as Robert always. Robert1 point
-
Hello Colin and its good to have you here. Look forward to hearing about your projects, problems and successes. Never get in a bind just post a help request and someone will probably know something or at least where to look for a solution. My only suggestions are to look through previous postings and Marks Vids, get a good book and your tools (don't skimp on the screwdrivers - I did and regretted it before shelling out for some good ones) and then get a cheapo watch or even just a movement off EBay or the like. Take it apart getting a close up of every stage before you remove screws etc. (ps one of those screws will probably be a left hand thread) and after they are removed, before you lift pieces up, pause and be gentle, try not to disturb whats underneath before you get a close up of it and only then take out the bits and photo again (I use an ipad or iphone - thank heavens for digital), clean it all and put it back together. These are some of the things to think about but I can't possibly list all the things I have done wrong in the past, which is mainly the opposite of what I am suggesting you try to do. Lastly prepare to spend loads of time on your hands and knees trying to find fly away bits especially springs and screws. Not so long ago I did all of this and the watch worked, I asked for help when I got stuck, it was given and the watch is still ticking away merrily - Wonderfully satisfying feeling. Cheers, Vic1 point
-
Welcome Colin, you'll always find something here to take your interest sat all levels.1 point
-
Hi Colin, Welcome to the forum. There is -to me - a course of choice www.timezonewatchschool.com/WatchSchool. And a free kind of class at www.clockmaker.com.au/diy_seiko_7s26,1 point
-
Hi Bob, You also need to find out why it snapped in the first place.. Rust?...make sure surface is free of any rust before soldering. Hard to wind/set? ... if you don't solve thisthen chances it may happen again.. HTH Anil1 point
-
Me too :) Come to the dark side! We have cookies.1 point
-
Hi Bob. Using silver solder is similar to brazing, but uses a lot less heat. You will need a micro torch, silver solder and flux. When silver soldering I wear clear goggles rather than green to prevent me overheating the work. 1) First make a fixture or use small clamps to keep the parts in alignment, but also ensure that they hold the work in such a way that they don't create a massive heat sink. 2) Align the parts carefully and secure tightly. 3) Apply some flux where the parts are to be joined. 4) Heat parts to dull cherry red. 5) Using a very thin piece of silver solder, touch the joint. The solder should ideally melt from the contained within the work, but due to its size may require just the slightest heat from the torch at this point. 6) Allow to cool and finish off as required. If you have not done any brazing or silver soldering before, I would suggest taking the parts to a competent jeweller to have done.1 point