Leaderboard


Popular Content
Showing content with the highest reputation on 08/16/14 in all areas
-
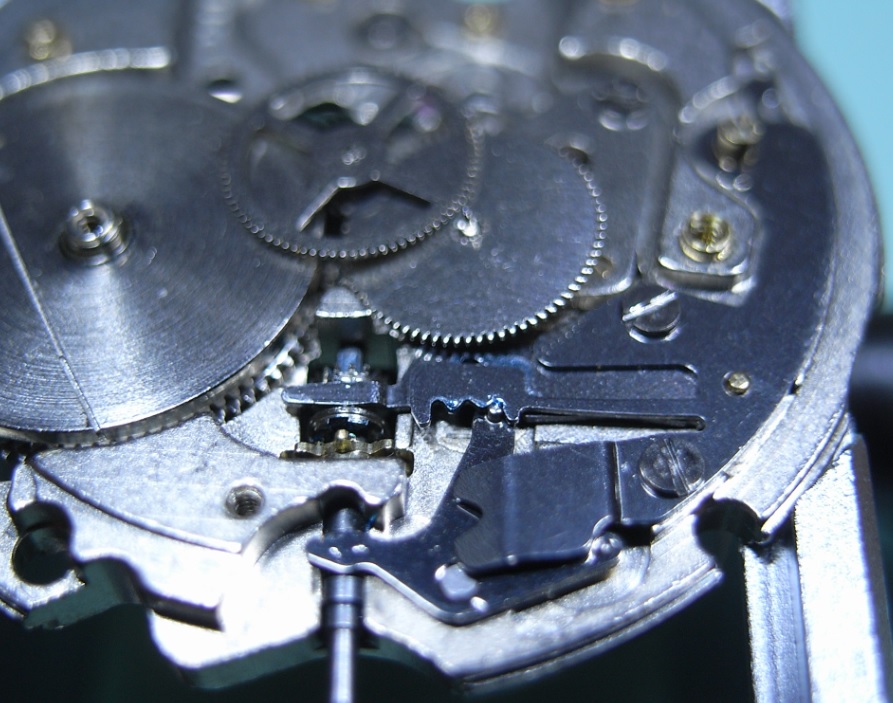
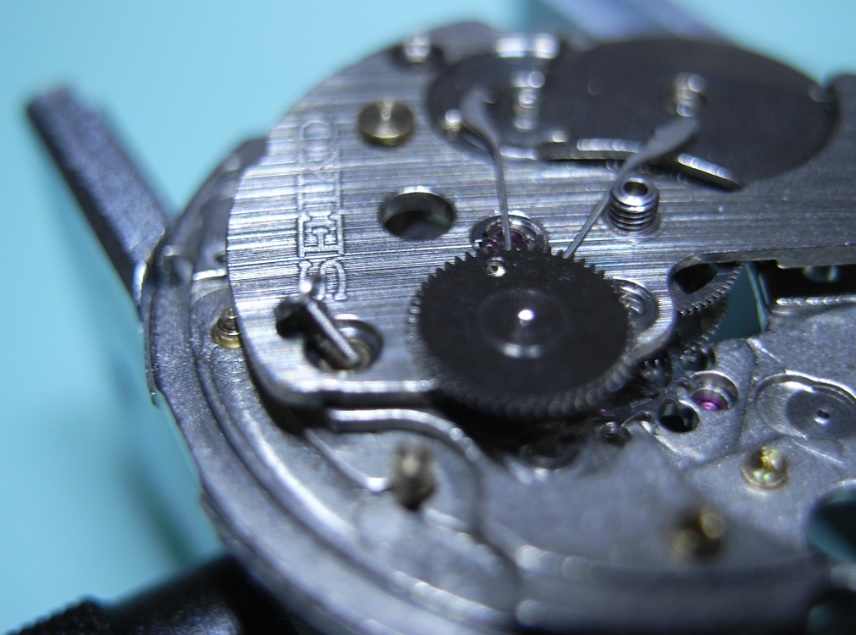
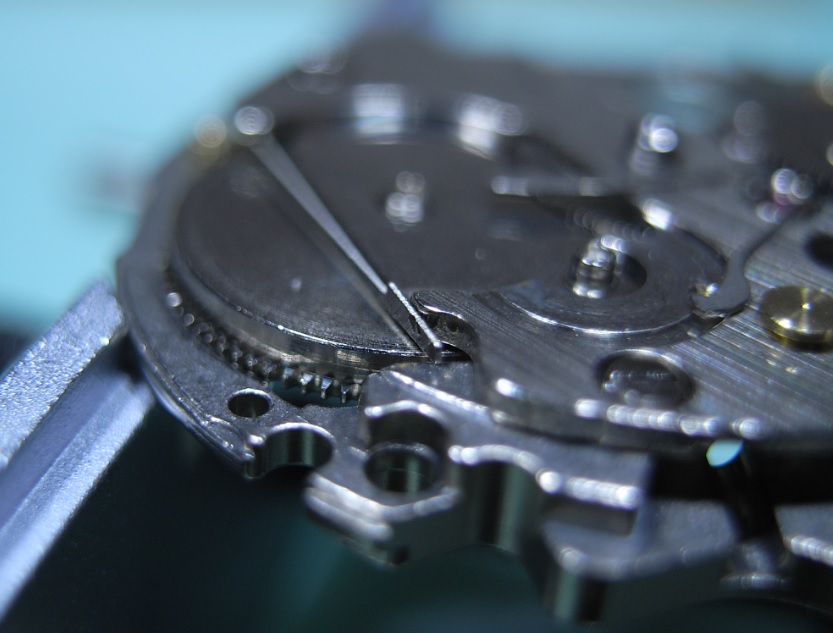
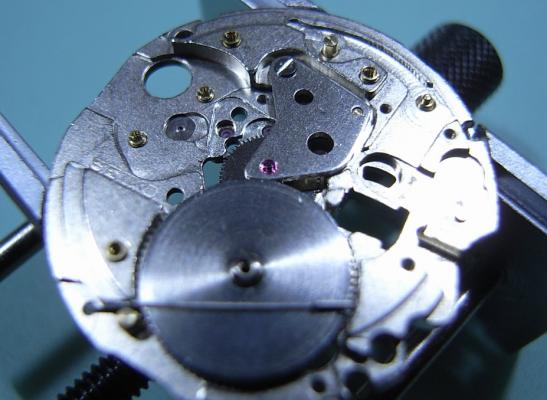
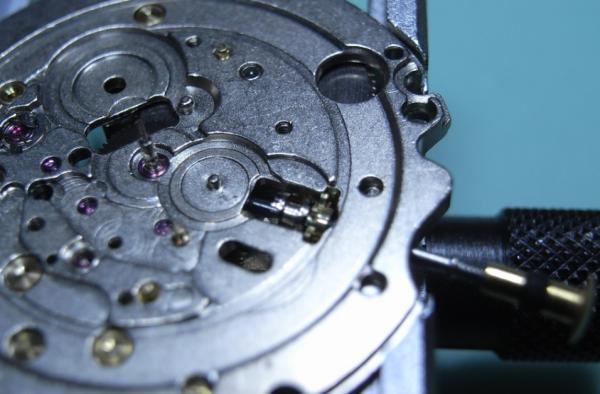
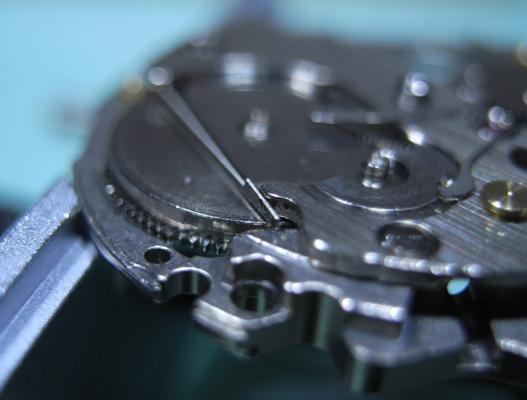
Have a look at this Vic, I'm pretty sure that there are pinions protruding.
 1 point
 -
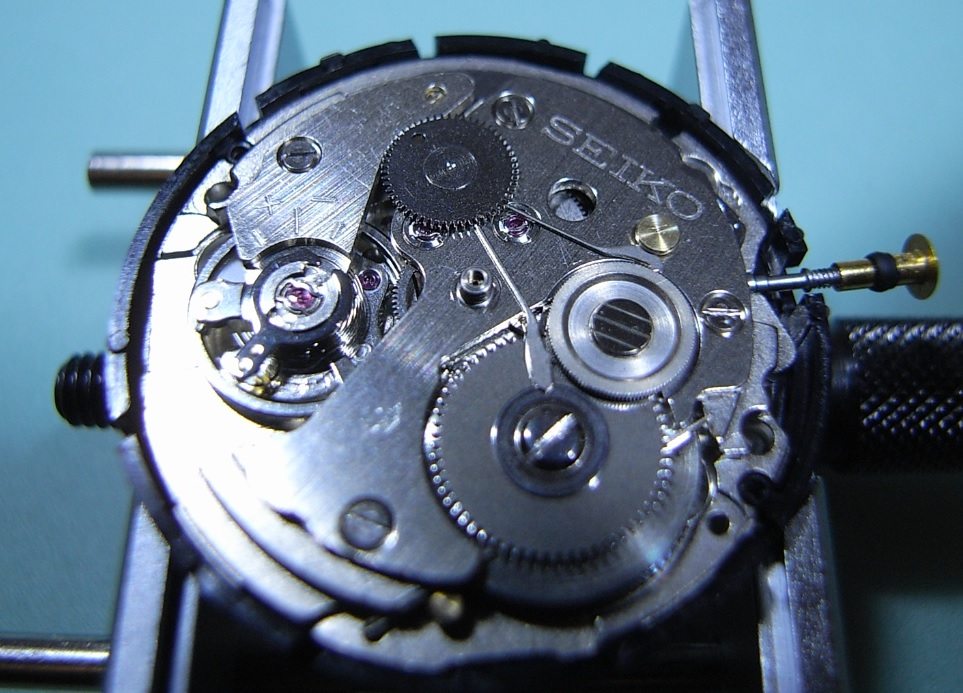
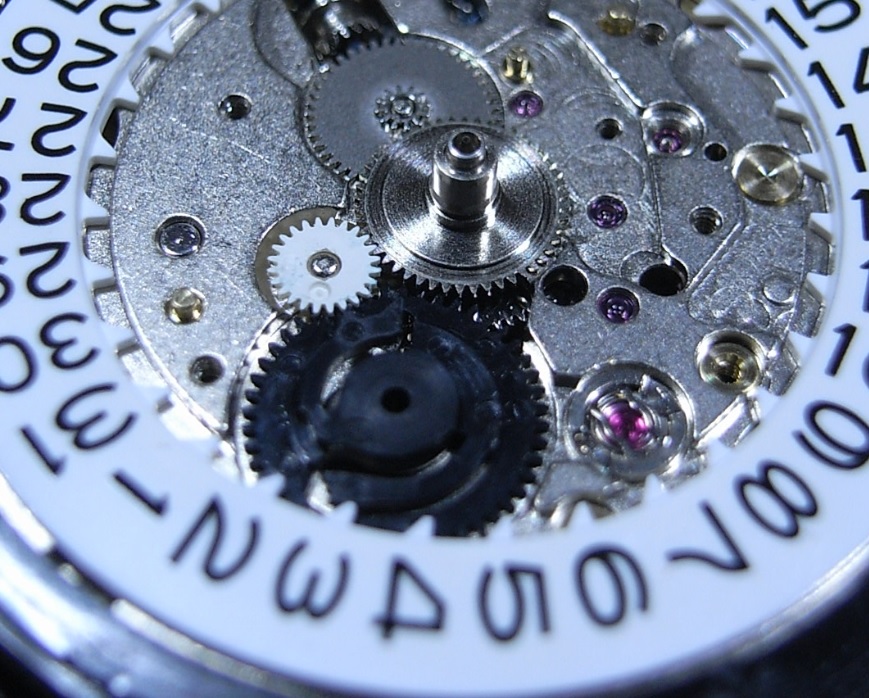
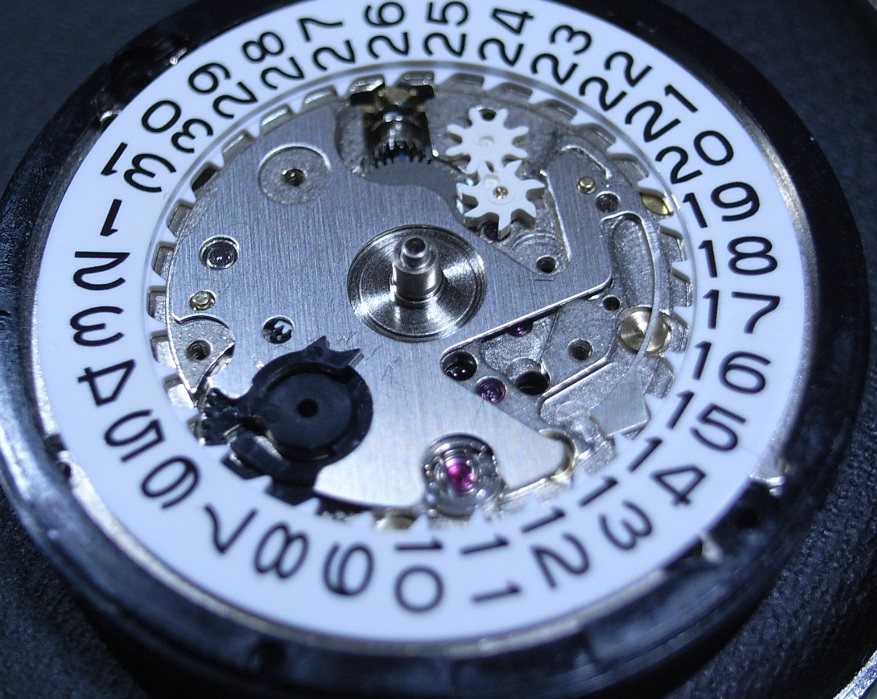
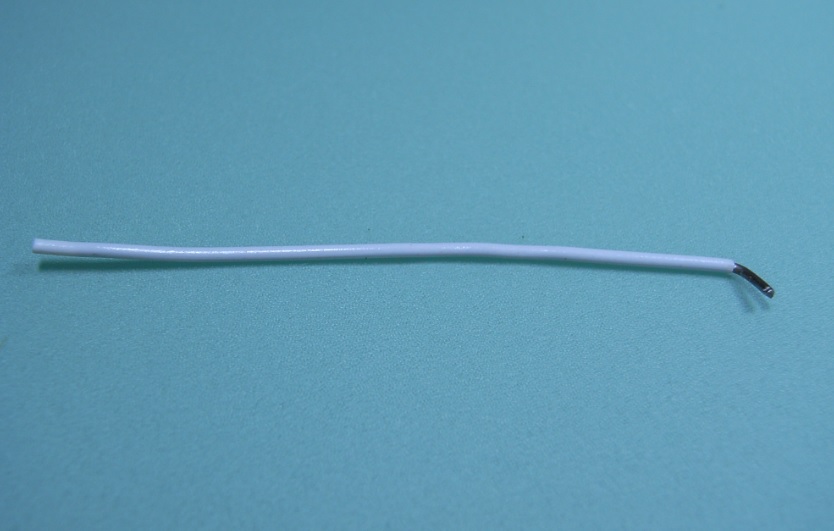
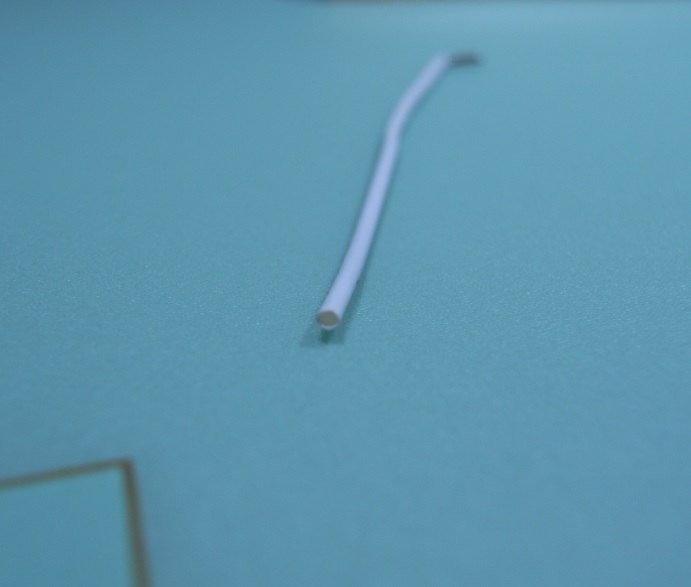
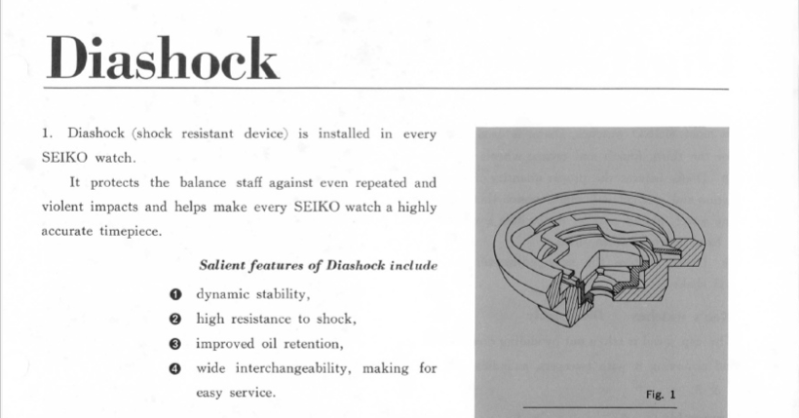
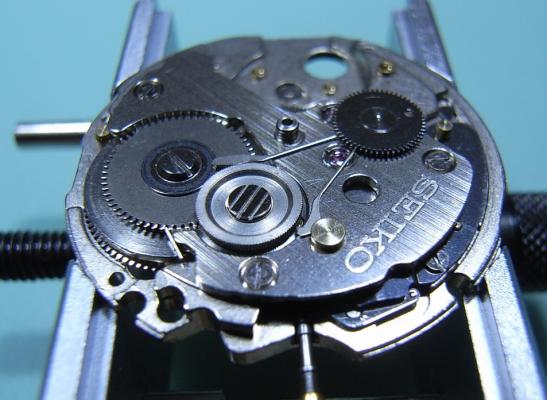
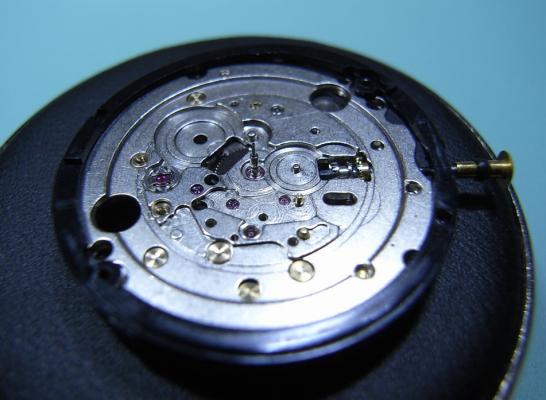
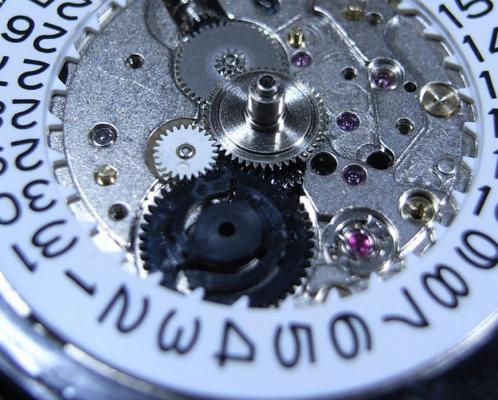
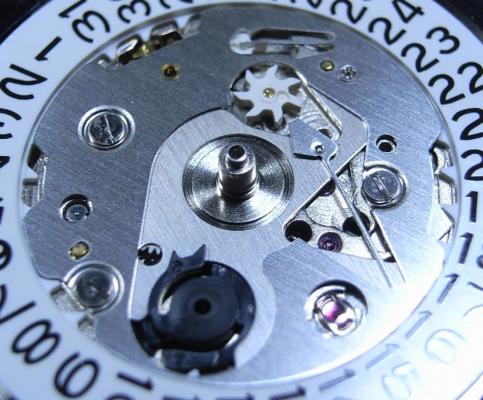
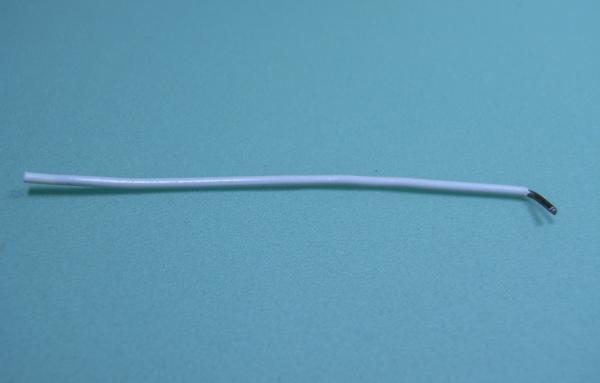
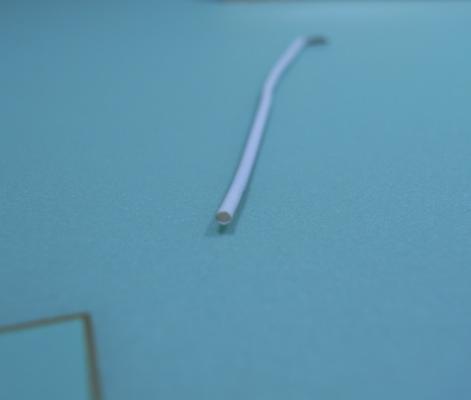
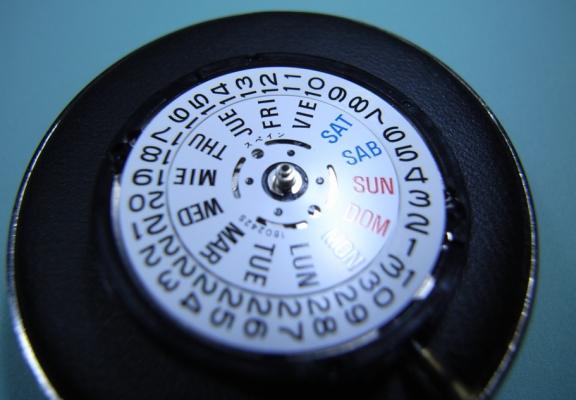
Assembly This is a very easy watch to re-assemble. In fact I'd recommend the 7S26A to be the first Japanese Movement to practice on, because it's so beautifully and logically laid out. The only downside to this watch is that you have to buy one special tool from Seiko, the S-921 Philipshead Screwdriver; but it's not very expensive and once you've got it, you have it for life. For oiling information and a parts list for your movement, please download the copy of the Tech Guide below: 7S26A_7S36A.pdf Drop in the Clutch and Intermediate Wheel. Then push the Stem into the shaft. Fit the Centre Wheel, and attach the Bridge. Then drop in the Mainspring Barrel, and refit the Click. Refit the Keyless Work, and I have to say the Seiko design is a HUGE improvement over the AS and ST Keyless Work design ... no fiddly Setting Lever screw to worry about ... Love it!! Once the Keyless Work is installed, install the Third Wheel, then the Fourth Wheel, and lastly the Escape Wheel. Next, fit the Barrel/Train Wheel Bridge. PLEASE NOTE: Be careful to check that you have pulled the Click out from underneath the bridge BEFORE you begin locating the pivots of the train. Once all the pivots on the train are in place, and you're happy it's all moving freely, use the three longest screws to secure it down. Install the Ratchet Wheel, and the Second Reduction Wheel. Two things to note here: Firstly, when screwing down the Ratchet Wheel, make sure to clear the leg of the Pawl Lever, as it has a nasty habit of wanting to slip under the screw. Secondly, as you screw down the Second Reduction Wheel (Reverse thread remember!), keep adjusting the Pawl Lever arms so they rest on either side of the wheel. Next, fit the Pallet and Pallet Cock, and then the Balance. This particular movement has the DiaShock system for the IncaBloc. To remove and refit these for oiling I suggest you make a simple tool from a plastic covered Paperclip. Straighten out the Paperclip and cut it to a comfortable length to work with in your fingers. Then pull the plastic cover down about 4-5mm ... as pictured below: Use this like you would Pegwood, over the top of the DiaShock Spring, as you use your tweezers to turn the spring and remove/refit it. The plastic cover will conform to the shape of the spring and hold it securely without damaging it ... It's works a treat! PS. Sorry I couldn't get a photo of me removing/refitting the spring with this little tool; but I don't have someone here to do the camera work, and only have two arms. Next, flip the movement over, and reinstall the plastic Location Ring. Install the Cannon Pinion, the black plastic Date Driving Wheel, then the Motion Work, and lastly the Calendar Ring. Install the Date Jumper Plate Install the white plastic Date-date Corrector Wheel and it's Intermediate Wheel Note: Remember from disassembly that the black plastic Date Driving Wheel needs to lip over this plate. Install the Date Dial Guard Place the Day Disk on the shaft and push the Circlip down the shaft after that and push down until it locates in the Circlip Groove. Lastly, reinstall the Oscillating Weight, Dial, and Hands. Case back up and your done! I really enjoyed working on this movement, and I thank my Heavenly Father for the skills and ability to be able to do this type of work ... amen!


 1 point