Leaderboard


Popular Content
Showing content with the highest reputation on 07/31/14 in all areas
-
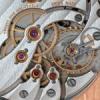
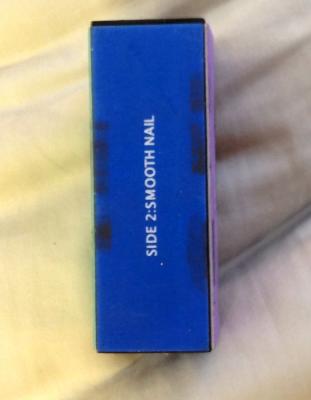
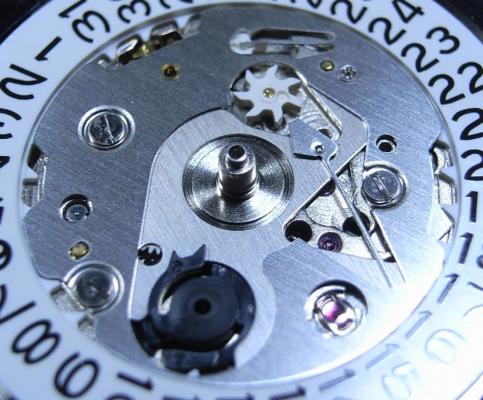
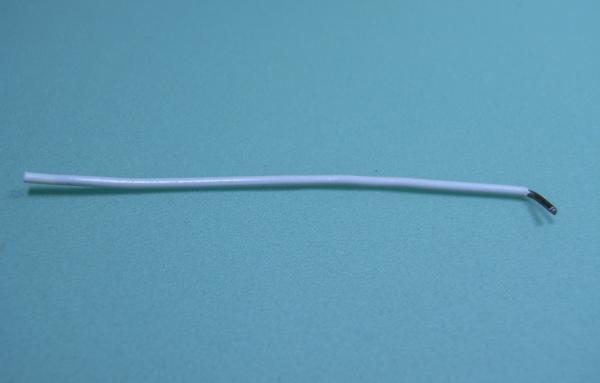
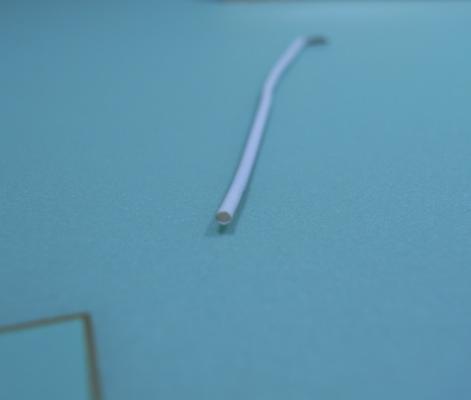
A 70 year old pocket watch repair man said you go into a drug store and go where they have nail products and a nail polishing buffing cube. I tried it and pics are attached. . As you can see the fine metal on the used buffing cube. This sample was use on a blue stock wire for pivots that was about 1mm in dia. Thought it was interesting so I thought I would pass it along. I strongly believe in this day and age where it is hard to find the master and apprenticeship connection that besides a full on course on watch repair that is expensive and competitive folks like me need these forums to learn what others have mastered or skills they have learned. Where I live there are no clubs or a big interest in horology. This site has helped me immensely. Thank you fellow horologists.
 1 point
 -
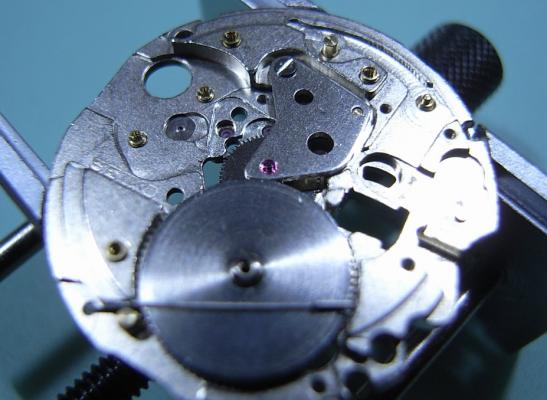
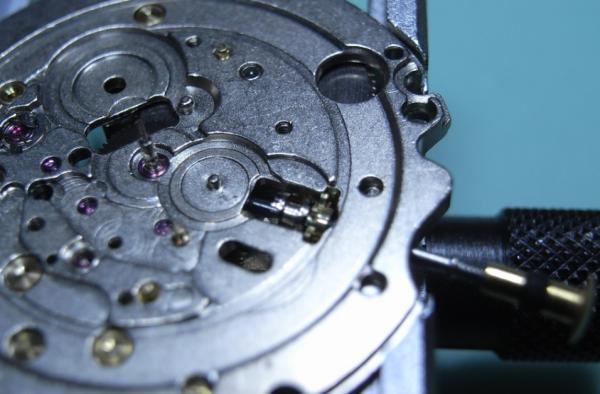
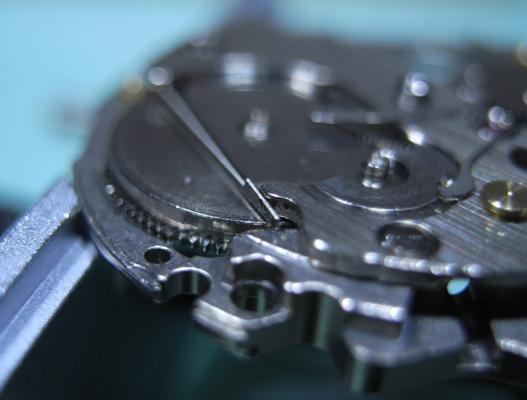
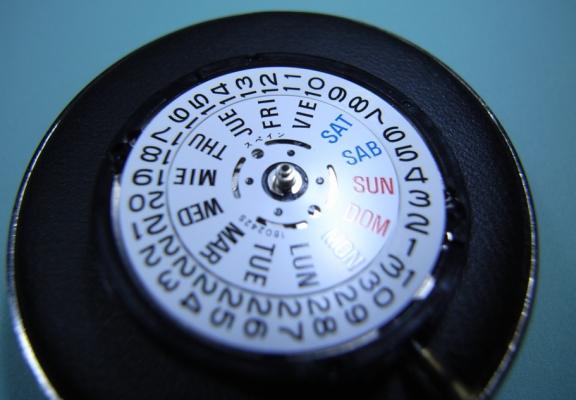
Also i forgot to mention that the distance between the regulating pins should be the same at the whole length of the pins. If not you wont have stable rate when the watch changes positions br emso p.s: sent from my s****y phone so sorry for typing mistakes :-)1 point
-
Ideally the space between the hairspring and the regulating pins should be as much as another hairspring thicknes. Less than that or more than that will lead to difference between horizontal and vertical positions rates which is bad as it leads to less accurate watch br emso p.s: sent from my s****y phone so sorry for typing mistakes :-)1 point
-
We want more pictures!!! pls...1 point
-
Please forgive me if this may be common knowledge but I just found this link I forgot I bookmarked... https://archive.org/details/TM9-1575 TM 9-1575 Ordnance Maintenance: Wrist Watches, Pocket Watches, Stop Watches, and Clocks (April 6, 1945)1 point
-
I turn the base 180 degrees and put something on it to weigh it down, this gives a bigger working area. With the light I have it much higher near the bottom lenses so it can't get close to the hand. I also use the 5x eye pieces from them, it means I can view a whole movement in one without only seeing part of it.1 point
-
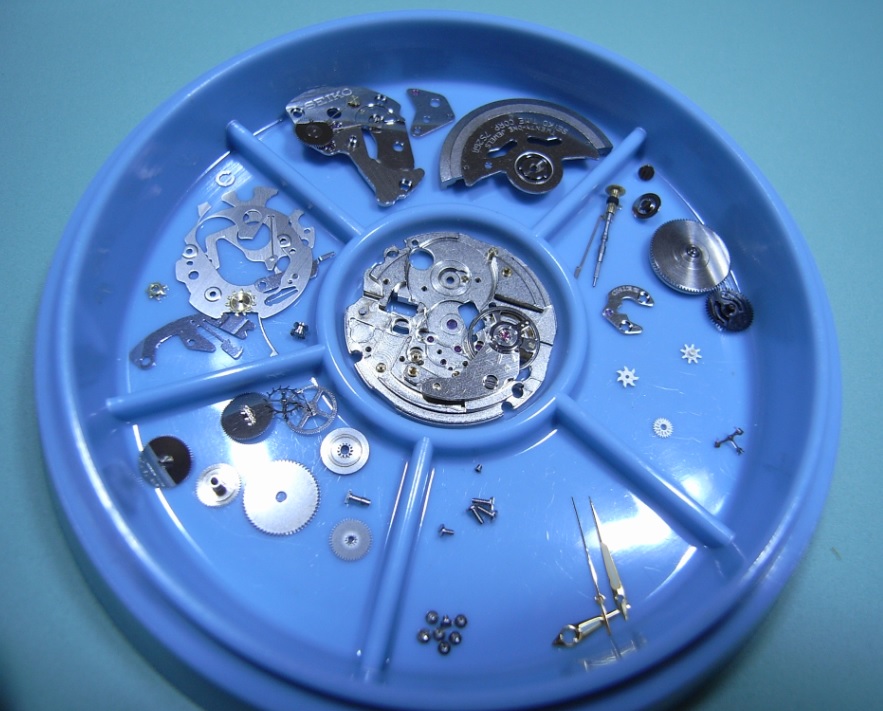
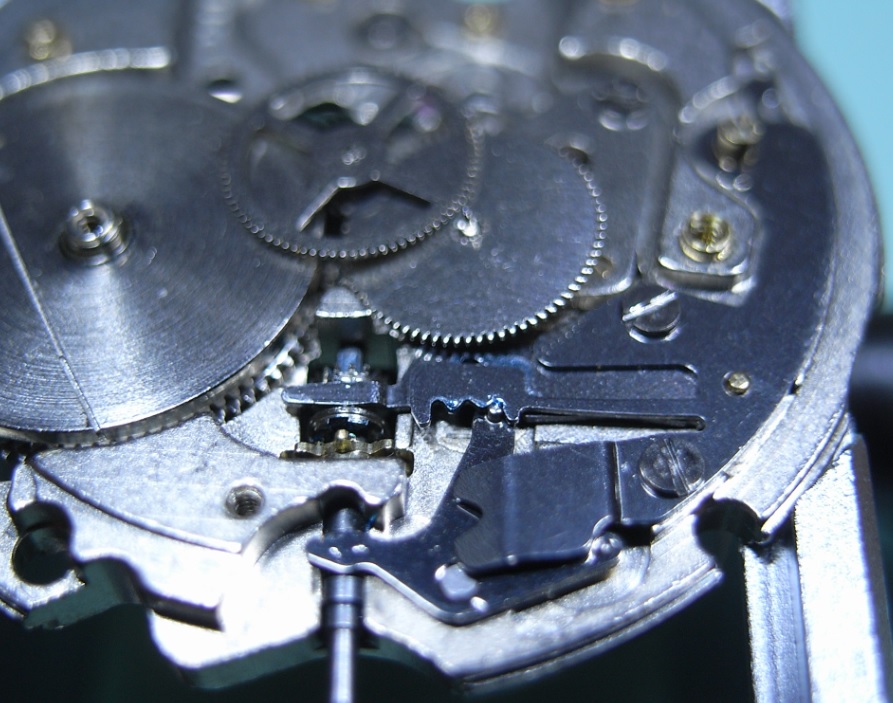
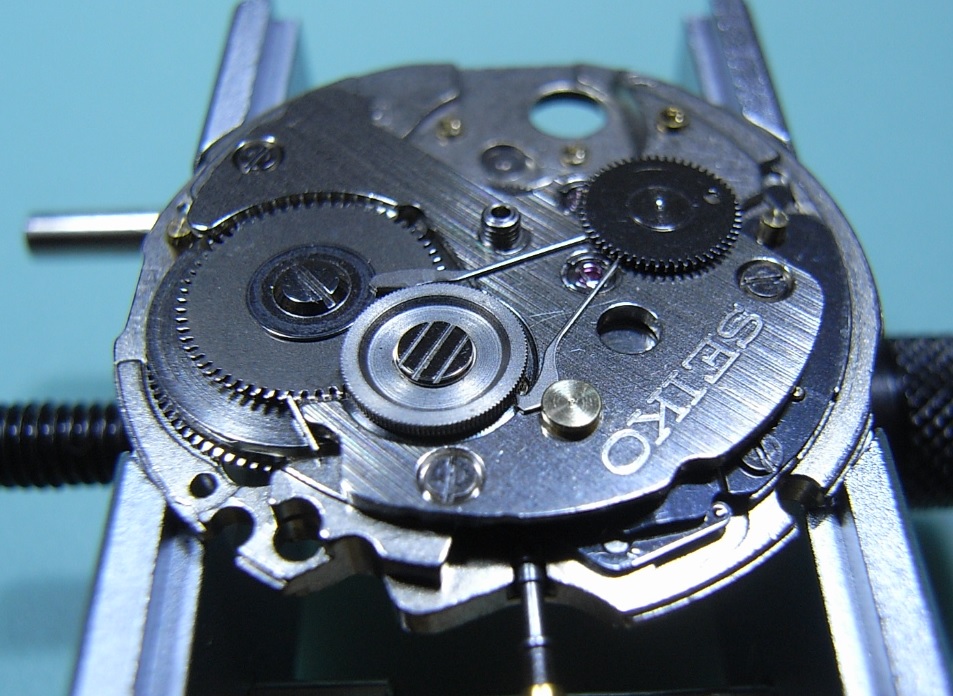
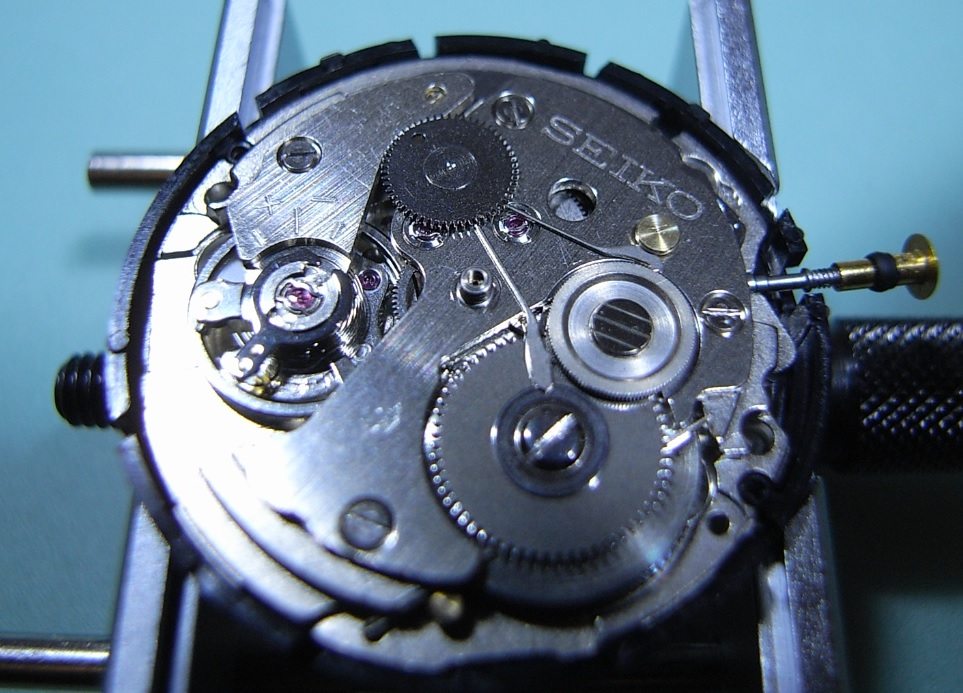
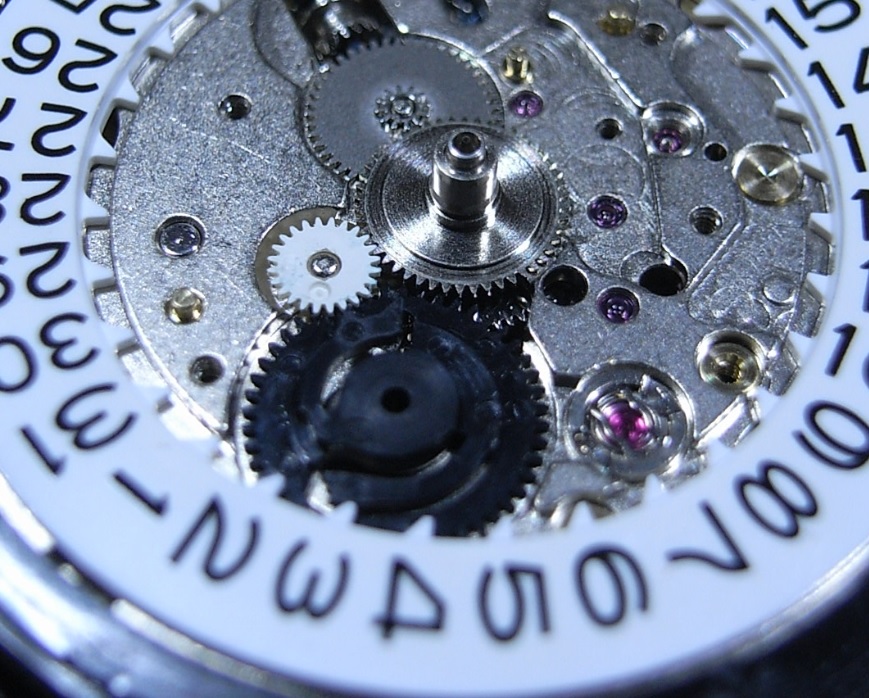
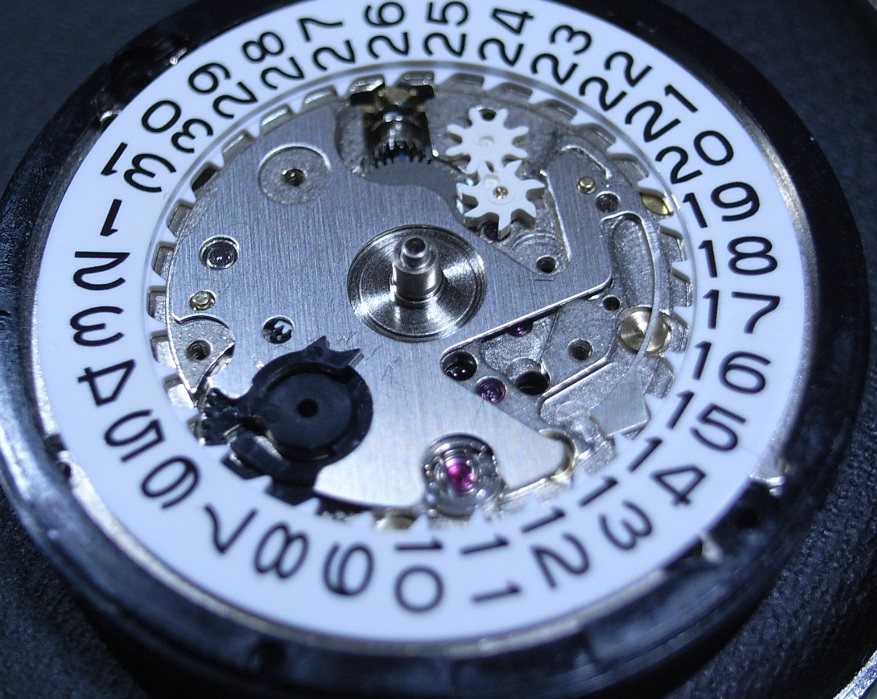
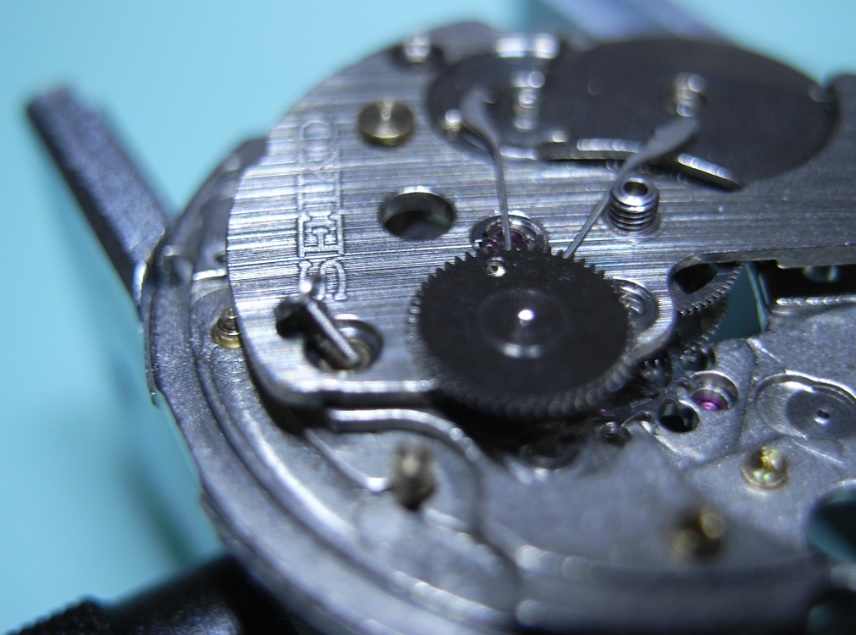
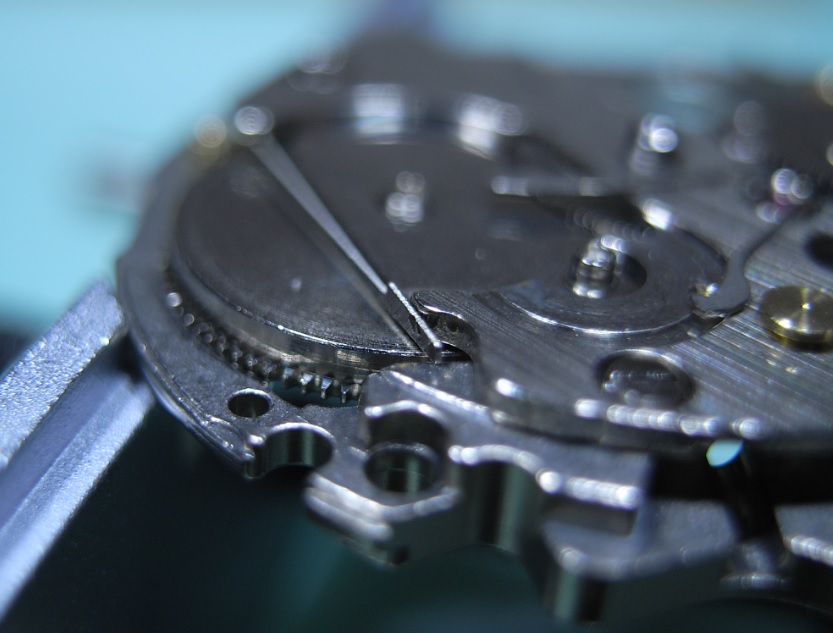
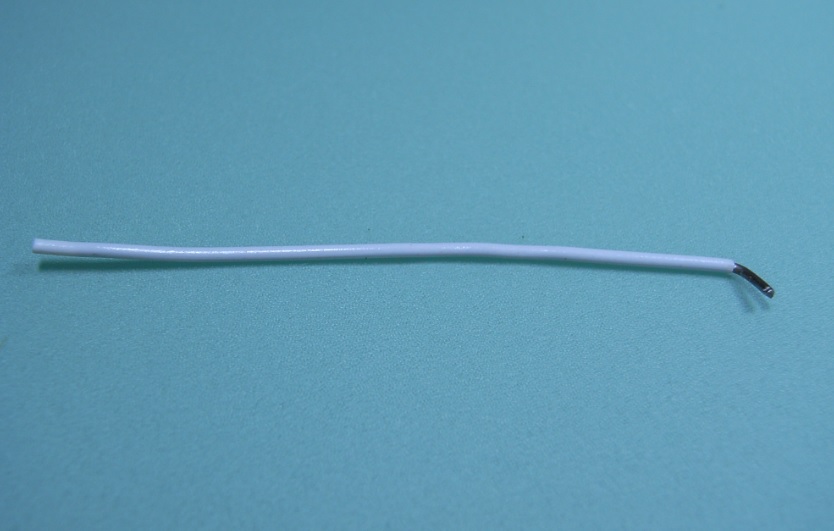
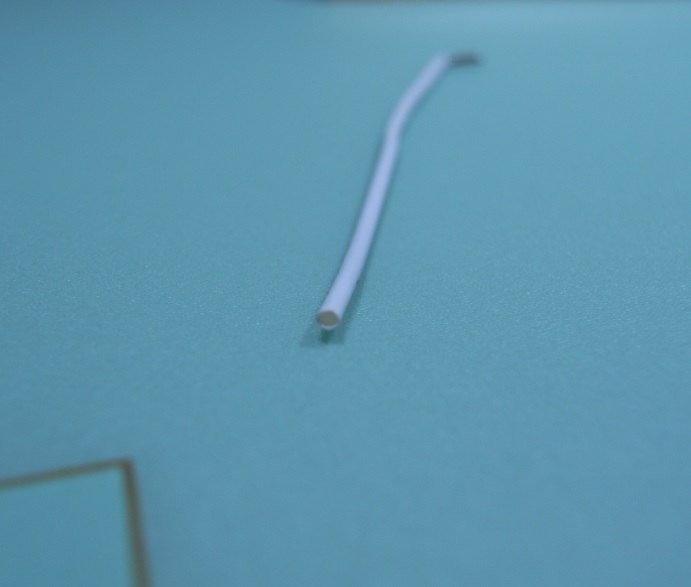
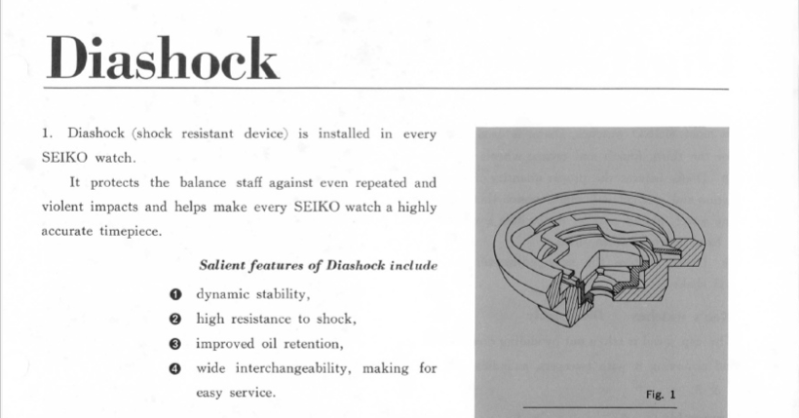
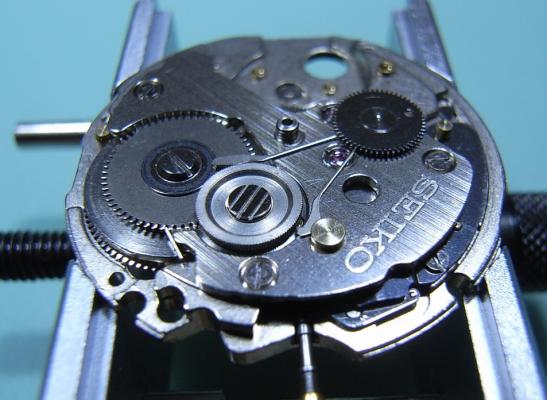
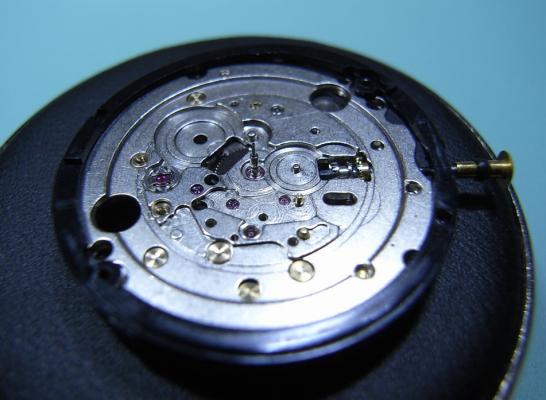
Assembly This is a very easy watch to re-assemble. In fact I'd recommend the 7S26A to be the first Japanese Movement to practice on, because it's so beautifully and logically laid out. The only downside to this watch is that you have to buy one special tool from Seiko, the S-921 Philipshead Screwdriver; but it's not very expensive and once you've got it, you have it for life. For oiling information and a parts list for your movement, please download the copy of the Tech Guide below: 7S26A_7S36A.pdf Drop in the Clutch and Intermediate Wheel. Then push the Stem into the shaft. Fit the Centre Wheel, and attach the Bridge. Then drop in the Mainspring Barrel, and refit the Click. Refit the Keyless Work, and I have to say the Seiko design is a HUGE improvement over the AS and ST Keyless Work design ... no fiddly Setting Lever screw to worry about ... Love it!! Once the Keyless Work is installed, install the Third Wheel, then the Fourth Wheel, and lastly the Escape Wheel. Next, fit the Barrel/Train Wheel Bridge. PLEASE NOTE: Be careful to check that you have pulled the Click out from underneath the bridge BEFORE you begin locating the pivots of the train. Once all the pivots on the train are in place, and you're happy it's all moving freely, use the three longest screws to secure it down. Install the Ratchet Wheel, and the Second Reduction Wheel. Two things to note here: Firstly, when screwing down the Ratchet Wheel, make sure to clear the leg of the Pawl Lever, as it has a nasty habit of wanting to slip under the screw. Secondly, as you screw down the Second Reduction Wheel (Reverse thread remember!), keep adjusting the Pawl Lever arms so they rest on either side of the wheel. Next, fit the Pallet and Pallet Cock, and then the Balance. This particular movement has the DiaShock system for the IncaBloc. To remove and refit these for oiling I suggest you make a simple tool from a plastic covered Paperclip. Straighten out the Paperclip and cut it to a comfortable length to work with in your fingers. Then pull the plastic cover down about 4-5mm ... as pictured below: Use this like you would Pegwood, over the top of the DiaShock Spring, as you use your tweezers to turn the spring and remove/refit it. The plastic cover will conform to the shape of the spring and hold it securely without damaging it ... It's works a treat! PS. Sorry I couldn't get a photo of me removing/refitting the spring with this little tool; but I don't have someone here to do the camera work, and only have two arms. Next, flip the movement over, and reinstall the plastic Location Ring. Install the Cannon Pinion, the black plastic Date Driving Wheel, then the Motion Work, and lastly the Calendar Ring. Install the Date Jumper Plate Install the white plastic Date-date Corrector Wheel and it's Intermediate Wheel Note: Remember from disassembly that the black plastic Date Driving Wheel needs to lip over this plate. Install the Date Dial Guard Place the Day Disk on the shaft and push the Circlip down the shaft after that and push down until it locates in the Circlip Groove. Lastly, reinstall the Oscillating Weight, Dial, and Hands. Case back up and your done! I really enjoyed working on this movement, and I thank my Heavenly Father for the skills and ability to be able to do this type of work ... amen!


 1 point
 -
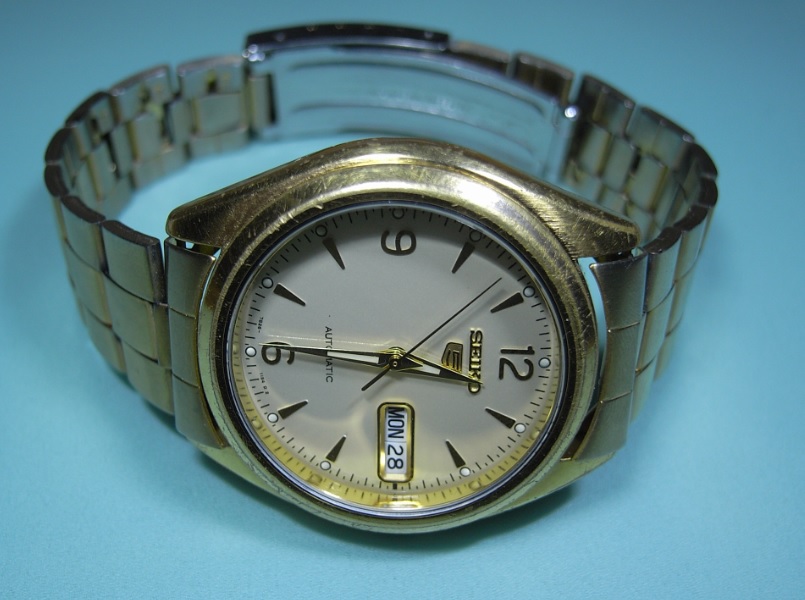
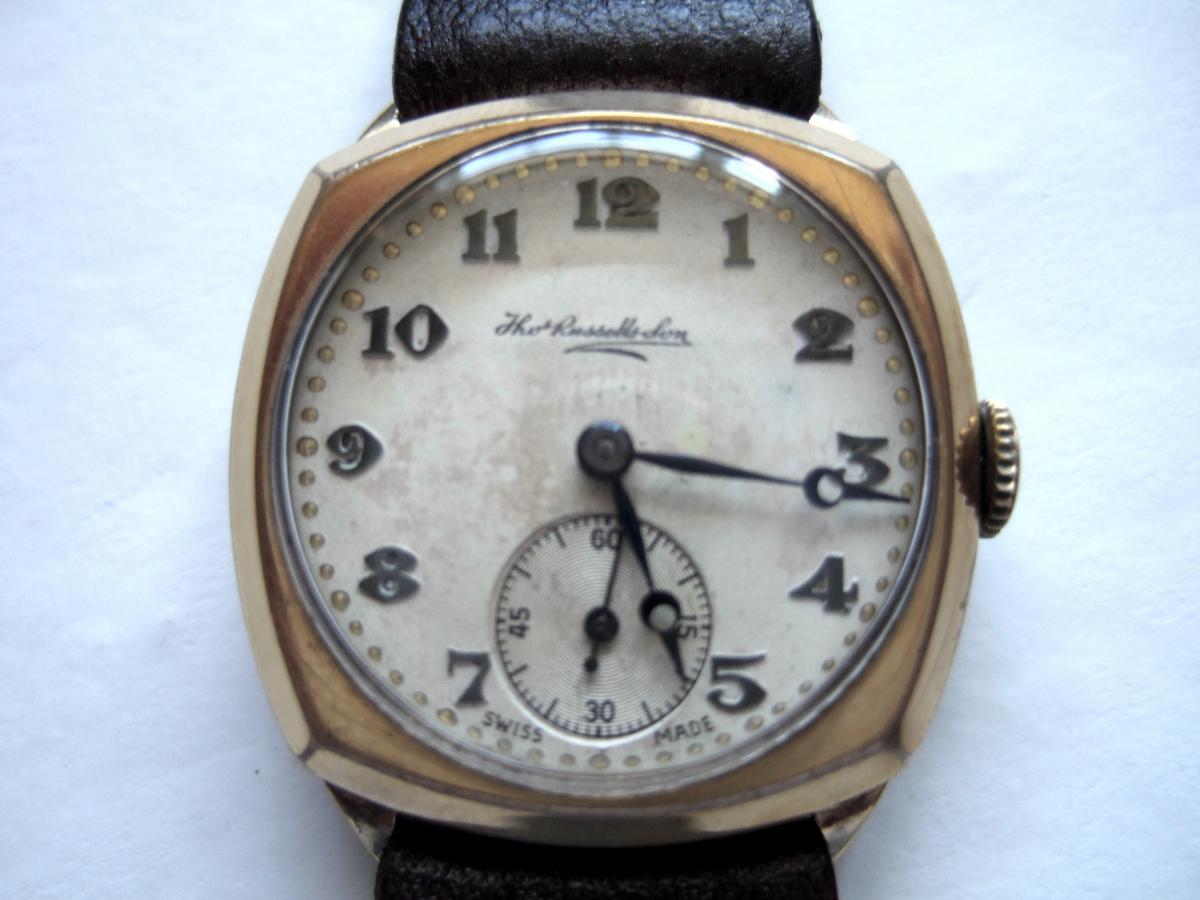
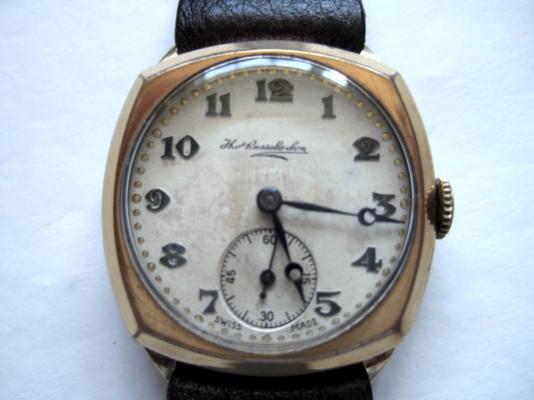
All cleaned up and serviced - with a nice new crystal. I didn't touch the dial, in the end.
 1 point