Leaderboard


Popular Content
Showing content with the highest reputation on 05/16/17 in all areas
-
For my education if shifting the anchor is not the 'best practice' and stoning the pallets will alter the depth what is the 'best practice'? Stone the pallet and then reface them with a bit of main spring soft soldered in place to give the original depth again?1 point
-
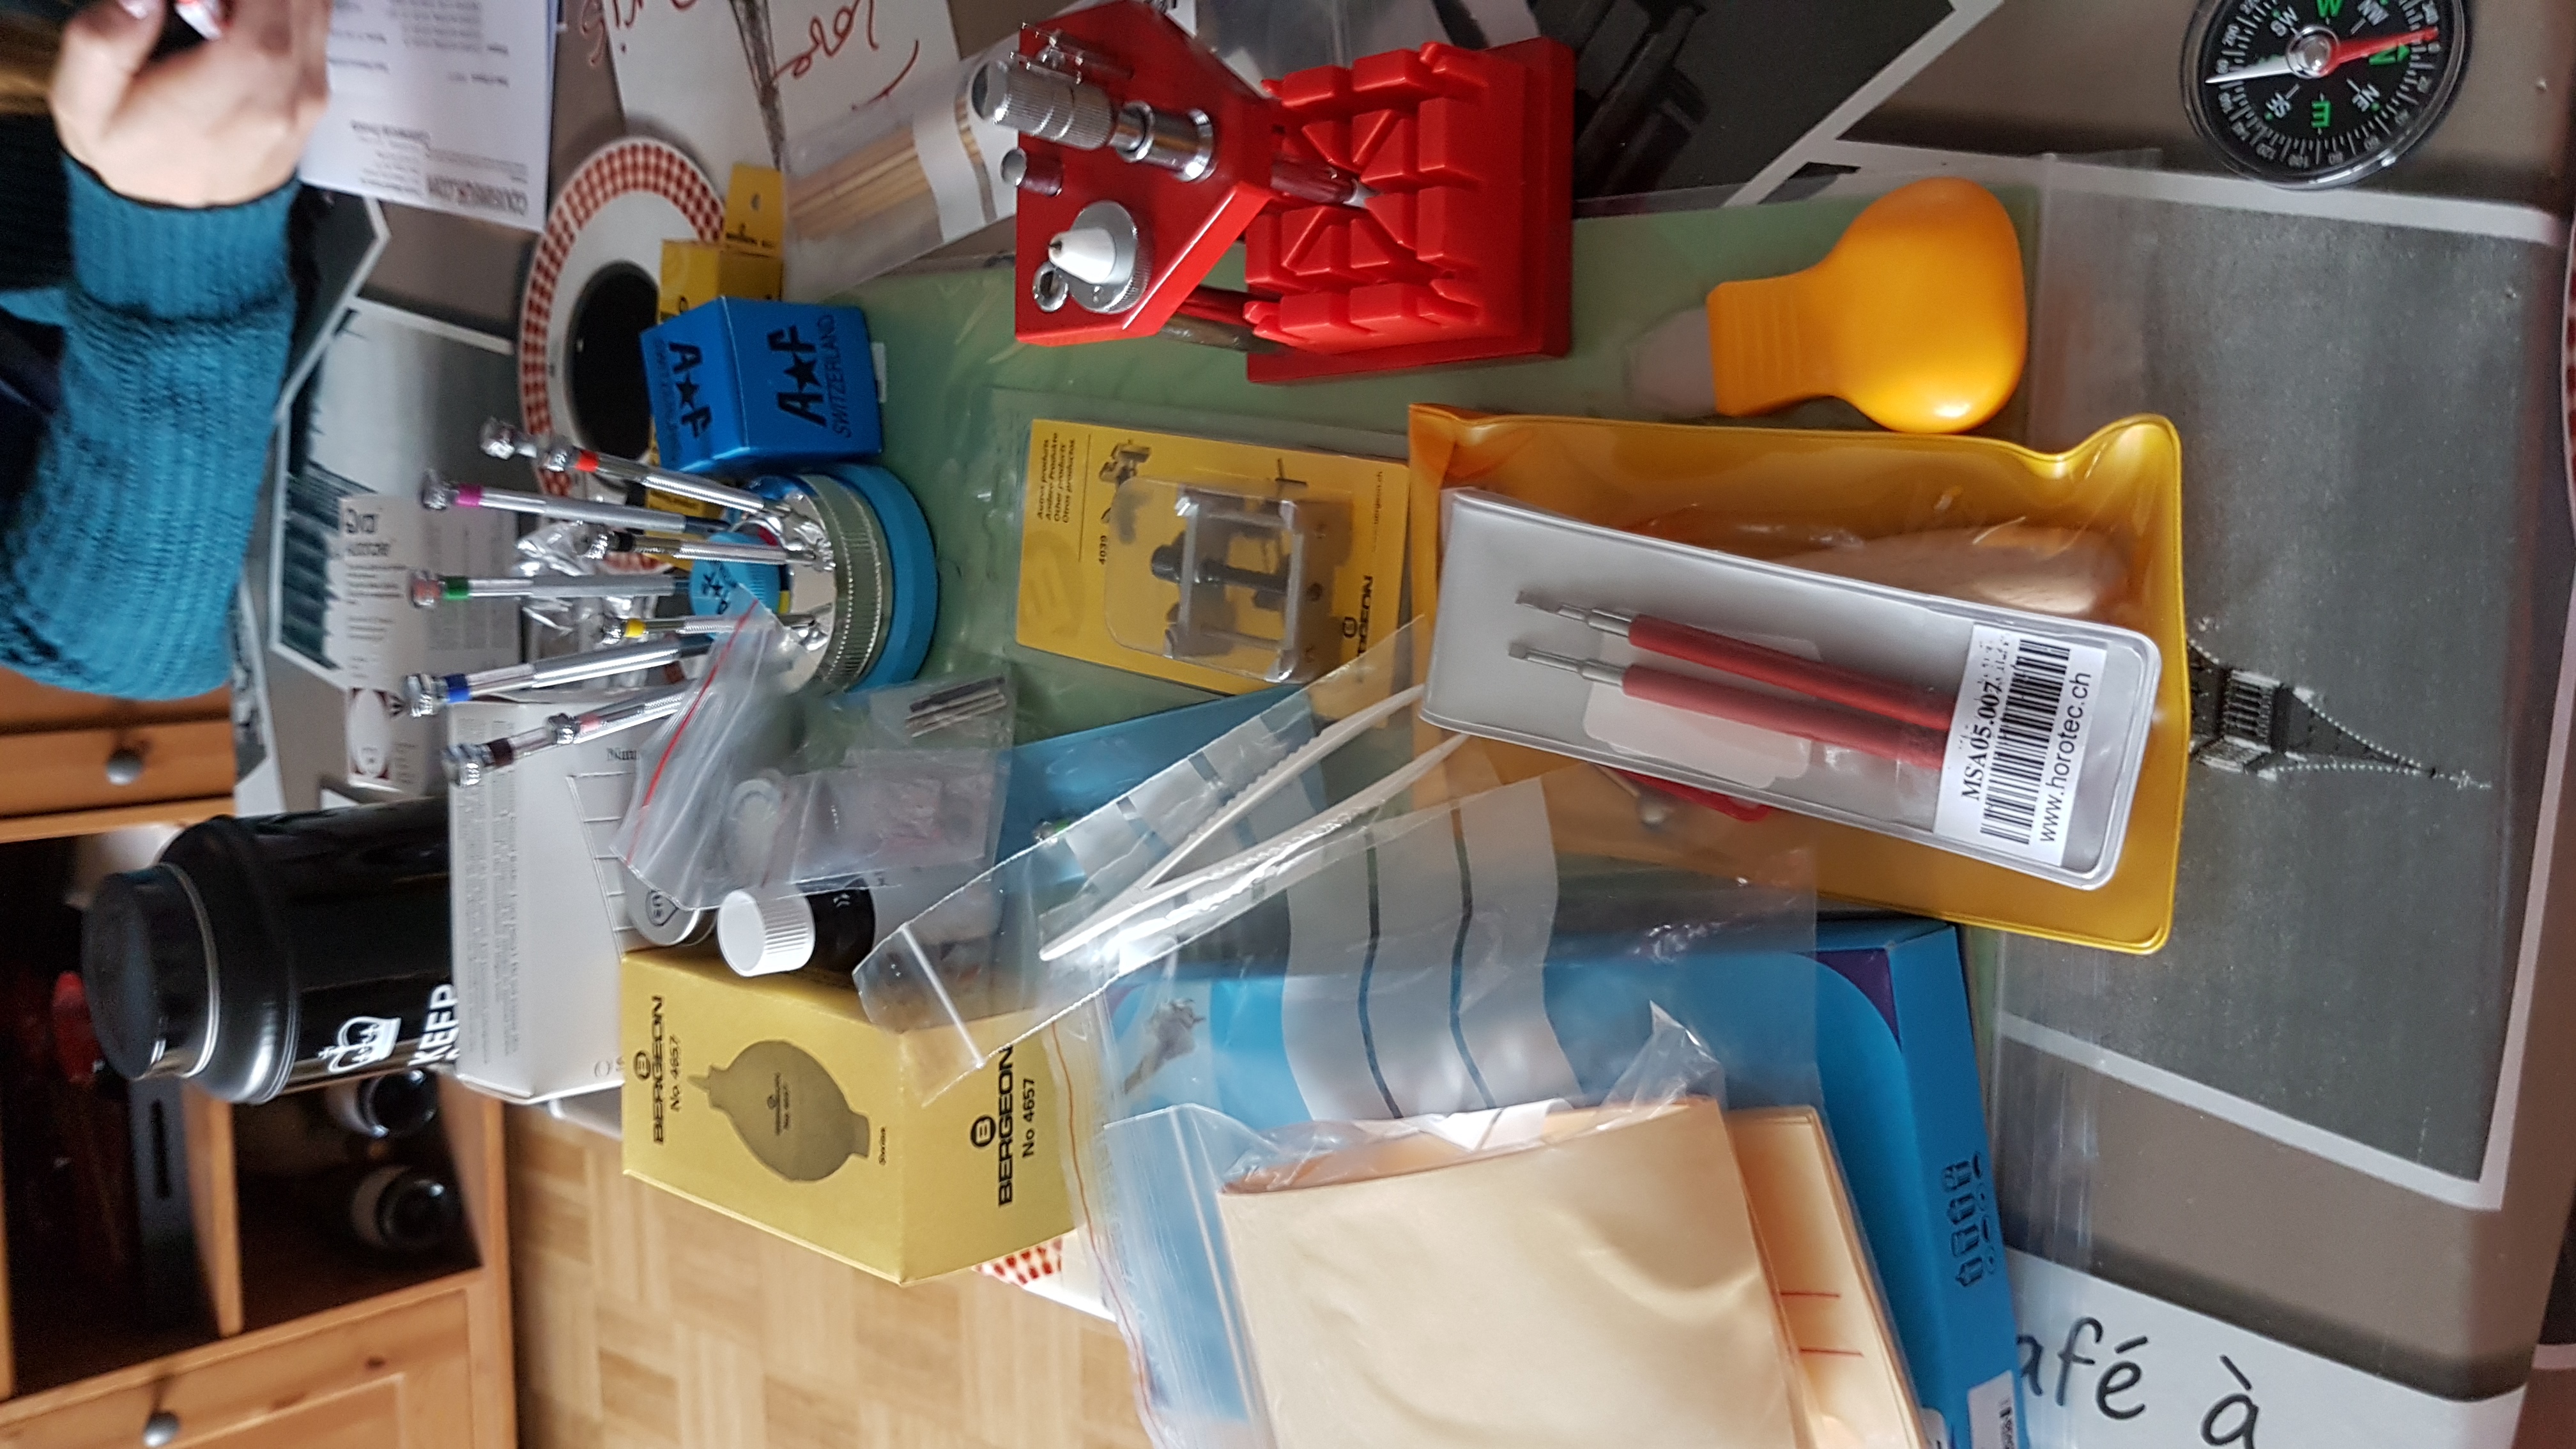
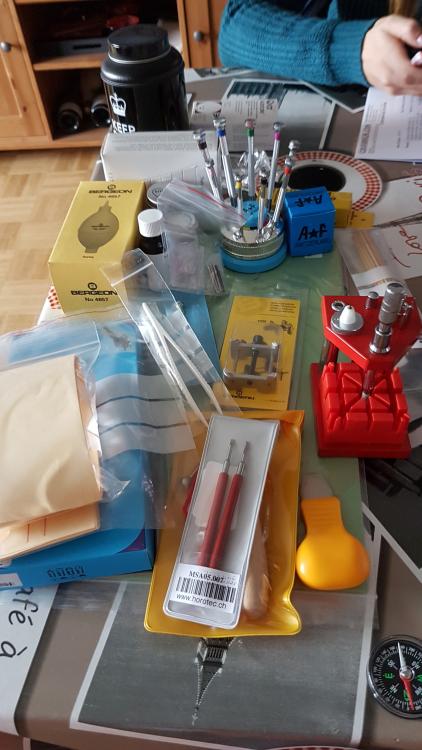
Hello, I'm really so happy, i have waited a couple of week before ordering all the necessary stuff, but now i have it Now i can try on my 2 HMC mechanical watches and after on Seiko5. Do you have tips for buying some training cheap watches ? Thanks, Julien.
 1 point
 -
So it started with the purchase of this Hamilton 912. It had a loose balance and upon examination one of the pivots was broken. So off I went to eBay to order a 3050 balance staff. Three came in the mail. I started by removing the hairspring from the balance and then removed the roller plate with Impulse Jewel and safe roller. I then got out my roller remover and punched out the roller and safety roller. Then I took the staff and balance and fit the balance and staff in my Staking set; flat arms on the balance flat against the Staking tools plate. I then got out my NEW staff remover. I then made a YouTube on how to use the tool. After I punched out the old stake I staked in a new one Did a good job. The next step was to put the double rollers back. That is when I noticed that the roller jewel was loose. I got out my combination tools and shellacked the jewel and tested that it was now in good. I then staked in the rollers and moved on the put the hairspring back on. I did so and noticed that the collet was cracked. I had another old Hamilton movement and started farting around with the two hairsprings. Need to use the older one so I cleaned in and installed in and put the balance back in. Now the fun started. When I tightened down the balance cock the bottom pivot of the balance staff was too big ( my mistake) and it cracked the lower jewel. So I went into my collection of jewels and found and Illinois lower balance jewel that was the right hole size and also fit the opening. I installed it oiled in and screwed on the cap jewel. Reinstalled the balance and had to take it off again and take off the hairspring and straighten it a bit as it was touching the balance arm. So once I had in all in place I noticed that the balance was not down far enough to allow the upper pivot to extend into the jewel hole. So I took a slice of watch paper and wedged it into the back of the balance. Finally that did it and with a little work in the Banking Pins I was able to get a beat. About 200degree turn is all I could get, but I had no energy left to try and get more. A new crystal is now on order and the watch works fine. What a day.Paper jammed in.Happy Sent from my iPhone using Tapatalk Pro1 point
-
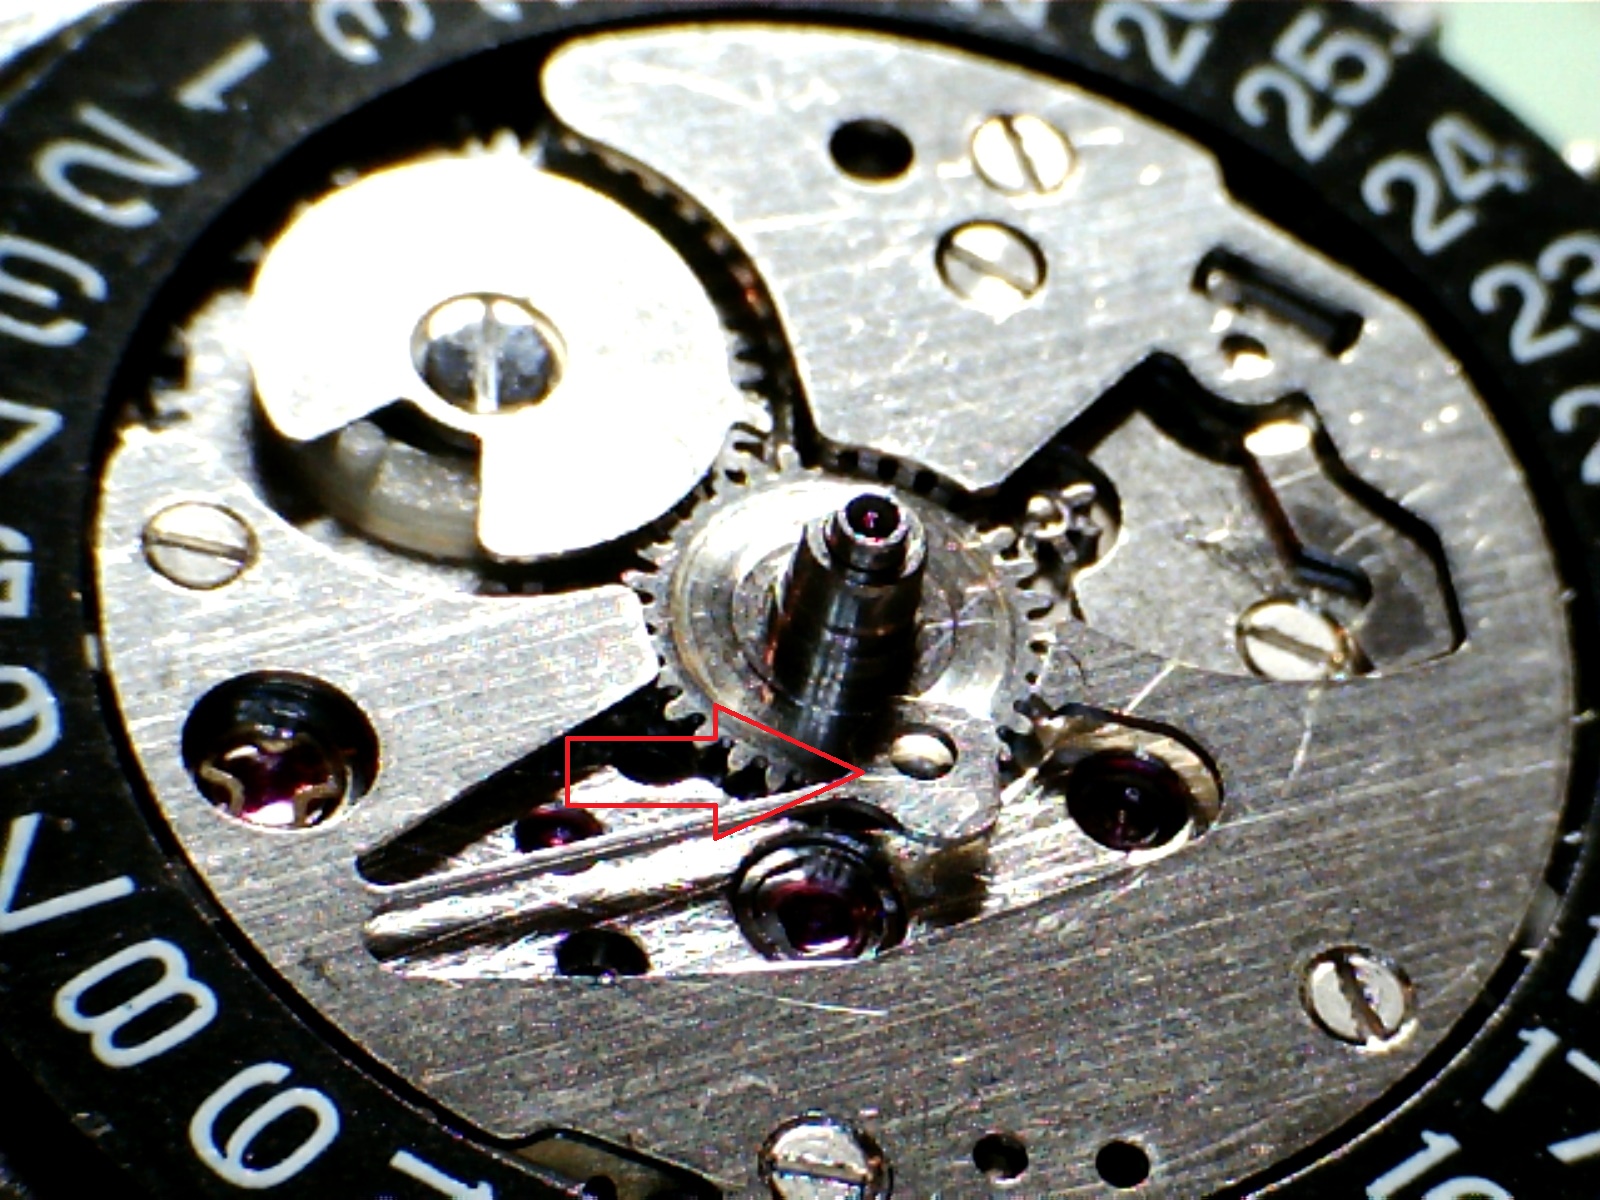
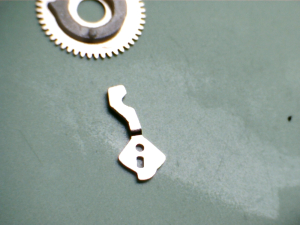
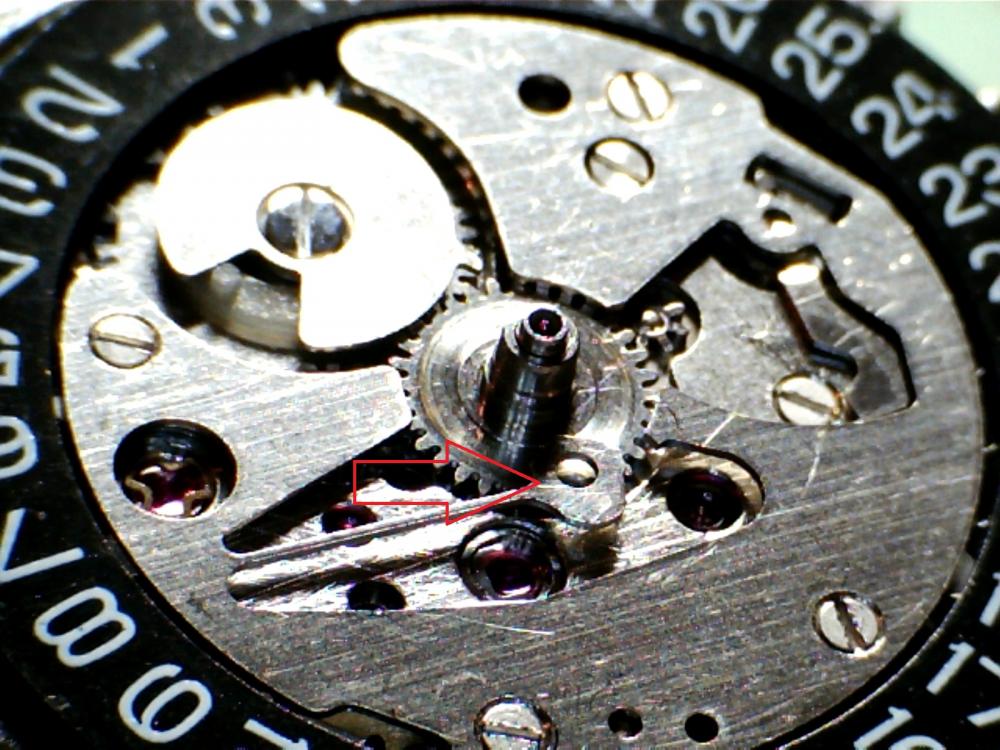
This little arm is that there? And this has to be in the right position . Lifting it out until it lays outside the star on the dayring.
 1 point
 -
That was an adventure!1 point
-
The concave shape of the brushes is from wear; they are manufactured straight. I would re-insert them in their original orientation. It will cause excessive wear on the commutator to rotate the brushes and little gained from the exercise.1 point
-
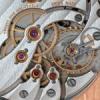
I have been down this road - there are a lot of AS movements that the information has been lost over time from the family listed here (on the right) http://www.ranfft.de/cgi-bin/bidfun-db.cgi?10&ranfft&&2uswk&AS_349 if you closely though you will see the motion work is the same, (the images are the same two images on ranfft for the whole family)1 point
-
Some nice tools Julian ☺1 point
-
That is a AS movement. Usually very hard to find anything about this old movements. But sure is a AS.1 point
-
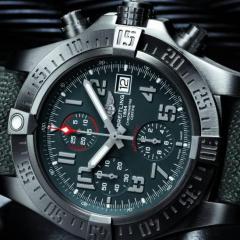
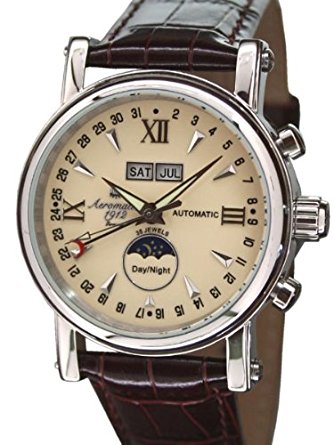
There also these "Aeromatics" https://www.amazon.com/gp/product/B00DYVH0AK/ref=ox_sc_sfl_title_2?ie=UTF8&psc=1&smid=A38ZZQJ53RZRAA which also capture a nice vintage look and they are automatic. The issue (as I see it though) is that the date and month must be set manually with the buttons that appear to be chronograph buttons. Ray
 1 point
 -
Saw one of these in a jeweller's window today and it reminded me of this post https://www.henry-london.com/moonphase/ Sadly their watches all have quartz movements, but the designs certainly capture that 1950s / 60s style1 point
-
Working in electronics we now use silver/tin and silver alone all the time since lead is now banned. Heat sinks are important to keep from melting other things. Wet rags, alligators clips and so on. I have a leftover hunk of 25mm thick granite counter I use to put hot parts on to cool them quickly. Also a heat sink will keep the soldered area hotter longer while keeping the rest cool. Old pliers with a rubber band on the handle to hold them closed helps quit a bit when soldering with silver. Use Oxy-MAPP, Oxy-propane or Oxy-acetylene mini torches as they heat faster than butane or propane micro torches. Speed is the key, heating things for a long time just melts it all to a puddle. Oxy-acetylene is like a paint brush it's so fast.1 point
-
Roy, my sister is a silversmith, lucky me, anyway its one of her skills, I, m about to send her a small fob watch case that has a snapped hinge, to see if she is happy to repair it, she obviously has the tooling etc, I will post again with the results and any info about tools heat etc etc ok1 point
-
I don't think white gold will be such a good idea? It's platina in white gold and that has a very high melting temperature. Silver will be long gone by then. Good tips with bury the case in sand though. I used special plaster when i soldered in gold. As the solder and the gold was very close in the melting points.1 point
-
There are lots of soldiers out there, all different melting temps, you can use white gold if you like. As i said working with silver , its keeping the heat to a minimum, i have a micro welding machine, very high tempeutures, when i do something small like a watch case you bury as much of the case as you can in sand or some of this new thermo paste , then its heat on heat off quick as you can. job done.1 point
-
There is low temperature paste that jewelers use when there is small parts they solder. Don't now if that would work. It melts at 227 degree and silver melts at 960 something. So there is a big difference. Only seen it in Swedish stores but sure that you can find it elsewhere.1 point
-
Hi Marc, If you ever do that, please post the results here, I'm very interested As for the original post, no very much is the answer: $5 for the silver solder, $30 for a micro torch (much cheaper one available too)1 point
-
I'm wondering if a resistance soldering setup would work here as used in dial foot soldering machines. The advantage they have for dial repair is that they keep the heat to a minimum reducing the risk to the dial paint so I wonder if it could also work for silver cases. Building a resistance soldering setup from an old pc power supply is on my to do list as I think it would be such a useful piece of kit to have.1 point
-
Morning Roy, well the really basic stuff is silver solder borax and one of little micro blow torches from cousins or about any where. the trouble with soldiering any silver is keeping the heat down to a minimum, too much heat ant the silver item your working on either becomes so soft its usless or the item just melts in front of you. Having worked for a jewellers for 20 plus years silver is a funny stuff , but for small jobs a quick in and out ,it could`nt be easyer. hope this helps.1 point